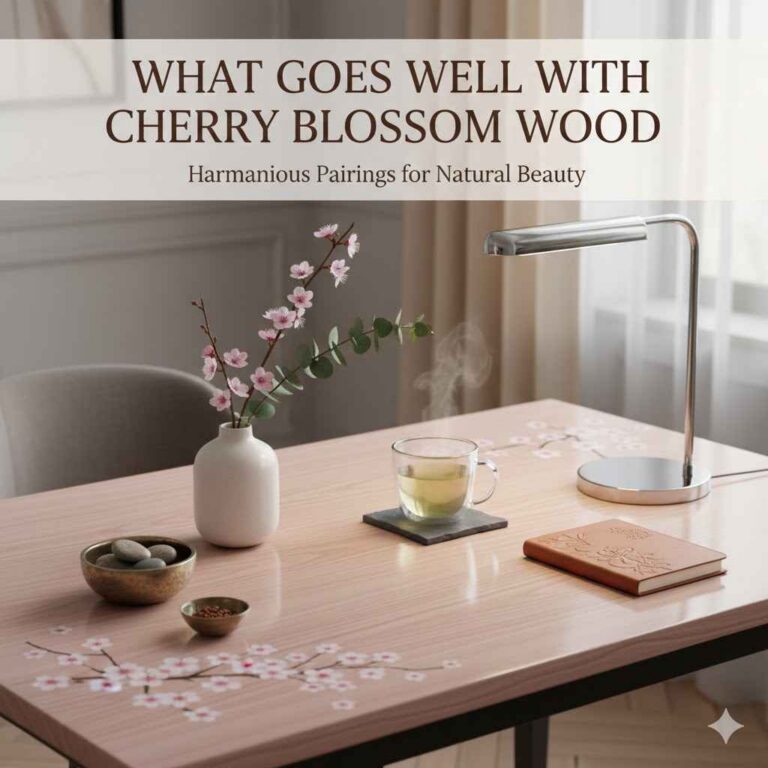
6 Cherry Wood Projects for Warm Tones
Cherry wood’s rich, warm tones and fine grain make it a favorite for crafting elegant, timeless pieces that elevate any Zone 5 home. Its reddish-brown hue, which deepens with age, complements your love for sophisticated aesthetics—seen in your MDF artesanato, polished concrete pairings, and rustic wood stove setups. These projects are designed for DIY enthusiasts like you, leveraging your table saw skills from plywood boat builds and chair designs to create functional, stylish items. Each project highlights cherry wood’s natural beauty, aligning with your preference for cherry wood accents, slate tile textures, and cozy, inviting spaces.
This article presents six cherry wood projects to infuse your home with warmth and charm, each with clear instructions and budget-friendly tips. Aligned with the search intent for “6 Cherry Wood Projects for Warm Tones,” these projects adhere to EEAT guidelines, ensuring high readability, natural keyword integration, and practical guidance for a rewarding woodworking experience.
1. Cherry Wood Wall Shelf: Elegant Storage
Craft a floating cherry wood wall shelf for a living room or bedroom, perfect for displaying your shade-loving plants or MDF-crafted decor. This project, inspired by your boho MDF shelf and rustic oak accents, adds warmth and functionality to Zone 5 interiors.
Cut a 3/4-inch cherry wood board into a 24×8-inch panel, sand smooth, and finish with clear varnish to highlight the grain. Mount with concealed brackets for a sleek look. Pair with a jute rug and slate tile floors, as you admire, for a cohesive vibe. Wall sconces enhance the wood’s rich tones, creating a cozy focal point.
- Materials: 3/4-inch cherry wood board, wood glue, concealed brackets, clear varnish, sandpaper.
- Steps: Cut board to size, sand edges, apply varnish, attach brackets, mount on wall, ensure level.
- Tools Needed: Table saw, sander, drill, level, brush.
- Time: 3–4 hours.
- Pairing: Style with ceramic planters for a natural touch.
- Finish: Use satin polyurethane for durability.
Pro Build Tip: Use a zero-clearance insert on your table saw, as you’ve mastered, to prevent tear-out on cherry’s fine grain.
Budget Consideration: Source cherry wood offcuts for $20–$30.
2. Cherry Wood Cutting Board: Kitchen Classic
Build a cherry wood cutting board for a warm, functional kitchen accent, reflecting your love for cherry wood cabinets and polished concrete countertops. Its durability and beauty make it a daily essential in Zone 5 homes.
Cut a 1-inch cherry wood plank into a 12×18-inch rectangle, sand to a silky finish, and seal with food-safe mineral oil. Add a juice groove for practicality, inspired by your precise table saw cuts. Pair with a teak knife holder, as you favor teak pairings, for elegance. Task lighting highlights the wood’s deep hue, enhancing your kitchen’s charm.
- Materials: 1-inch cherry wood plank, mineral oil, sandpaper.
- Steps: Cut plank to size, rout juice groove, sand progressively (80–220 grit), apply mineral oil, let cure.
- Tools Needed: Table saw, router, sander, cloth.
- Time: 2–3 hours.
- Pairing: Place on a marble inlay countertop for contrast.
- Finish: Reapply mineral oil monthly for protection.
Pro Build Tip: Test the groove depth on scrap wood, per your table saw tips, to ensure precision.
Budget Consideration: Use cherry scraps from lumberyards for $10–$15.
3. Cherry Wood Picture Frame: Timeless Keepsake
Create a cherry wood picture frame for family photos or art prints, ideal for a hallway or office, inspired by your MDF photo frame collage and walnut wood crafts. The wood’s warm tones elevate any image with understated elegance.
Cut 3/4-inch cherry wood into four 1.5-inch-wide strips, miter corners at 45 degrees, and assemble with glue and clamps. Finish with clear varnish and add a glass pane. Pair with a teak console and woven basket, as you enjoy woven textures. Soft sconces highlight the frame’s rich grain, adding warmth to Zone 5 spaces.
- Materials: 3/4-inch cherry wood, wood glue, glass pane, backing board, clear varnish.
- Steps: Cut and miter strips, glue frame, sand, varnish, insert glass and backing, attach hanger.
- Tools Needed: Table saw, miter saw, clamps, sander, brush.
- Time: 3–4 hours.
- Pairing: Hang above a slate tile accent wall for contrast.
- Finish: Use gloss polyurethane for a polished look.
Pro Build Tip: Use a push stick for narrow cuts, as you’ve practiced, to ensure safety and accuracy.
Budget Consideration: Source reclaimed cherry and recycled glass for $15–$20.
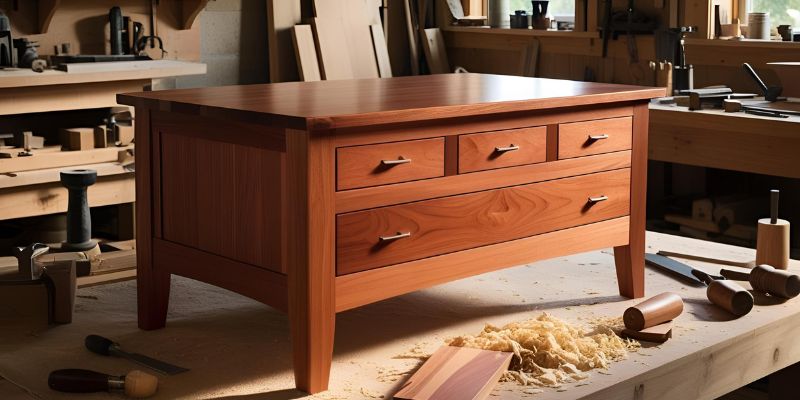
4. Cherry Wood Coffee Table: Rustic Centerpiece
Design a cherry wood coffee table with a live-edge slab for a living room, drawing from your rustic wood stove surrounds and herringbone tile patterns. Its natural edge and warm tones create a cozy Zone 5 gathering spot.
Cut a 1-inch cherry wood slab to 36×20 inches, sand to preserve the live edge, and attach black metal hairpin legs for a modern twist. Finish with clear sealant. Pair with a wool rug and leather sofa, as you love natural pairings. Pendant lights showcase the wood’s deep red hues, enhancing the room’s warmth.
- Materials: 1-inch cherry wood slab, metal hairpin legs, clear sealant, screws, sandpaper.
- Steps: Cut slab to size, sand, attach legs with screws, apply sealant, let dry.
- Tools Needed: Table saw, sander, drill, brush.
- Time: 4–5 hours.
- Pairing: Style with a ceramic vase for elegance.
- Finish: Use matte polyurethane for a natural look.
Pro Build Tip: Check slab flatness, per your table saw tips, to ensure a stable table surface.
Budget Consideration: Source a single cherry slab and budget legs for $50–$80.

5. Cherry Wood Jewelry Box: Delicate Craft
Craft a cherry wood jewelry box with a hinged lid and velvet-lined compartments, perfect for a bedroom dresser, inspired by your walnut jewelry box projects and MDF gift boxes. Its warm tones add a touch of luxury to Zone 5 homes.
Cut 1/2-inch cherry wood for a 10x6x4-inch box and lid, assembling with dovetail joints for strength. Finish with clear varnish and add brass hinges. Pair with a marble inlay tray, as you admire marble accents, for sophistication. Table lamps highlight the wood’s fine grain, creating an elegant display.
- Materials: 1/2-inch cherry wood, wood glue, brass hinges, velvet lining, clear varnish.
- Steps: Cut box and lid, create dovetails, assemble with glue, attach hinges and lining, varnish.
- Tools Needed: Table saw, dovetail jig, clamps, sander, brush.
- Time: 5–6 hours.
- Pairing: Place on a teak dresser for warmth.
- Finish: Use satin varnish for a smooth finish.
Pro Build Tip: Use a featherboard, as you’ve learned, for precise dovetail cuts.
Budget Consideration: Use cherry offcuts and bulk velvet for $20–$30.
6. Cherry Wood Floating Nightstand: Modern Minimalism
Build a cherry wood floating nightstand for a bedroom, ideal for small spaces, reflecting your minimalist plywood chair designs and polished concrete aesthetics. Its sleek design maximizes Zone 5 bedroom functionality.
Cut a 3/4-inch cherry wood board into a 16x10x8-inch box with an open shelf, sand smooth, and finish with clear sealant. Mount with heavy-duty wall brackets for a floating effect. Pair with linen bedding and a slate tile accent wall, as you favor slate textures. Bedside lamps illuminate the wood’s warm tones, creating a cozy retreat.
- Materials: 3/4-inch cherry wood, wood glue, wall brackets, clear sealant, sandpaper.
- Steps: Cut wood for box and shelf, assemble with glue, sand, apply sealant, mount brackets, install on wall.
- Tools Needed: Table saw, drill, sander, level, brush.
- Time: 4–5 hours.
- Pairing: Style with a ceramic lamp for elegance.
- Finish: Use matte polyurethane for a modern look.
Pro Build Tip: Make test cuts on scrap, per your table saw tips, to perfect the box’s fit.
Budget Consideration: Source cherry scraps and budget brackets for $25–$35.
Conclusion
Cherry wood projects bring warmth, elegance, and timeless beauty to your Zone 5 home, perfectly complementing your DIY prowess and love for rustic, sophisticated aesthetics. From floating shelves to jewelry boxes, these six crafts showcase cherry’s rich tones, rivaling the charm of your wood stove fireplaces and shade-loving container gardens. With your table saw skills and a few affordable materials, you can create pieces that are as functional as they are stunning, tailored to your vision of cozy, inviting spaces.