8 Tips for Crafting with Teak Wood Texture
Teak wood, prized for its rich golden-brown hue, tight grain, and natural oils, is a dream material for crafting. Its distinctive texture—smooth yet subtly pronounced—adds character and durability to furniture, decor, and more. Whether you’re a seasoned woodworker or a beginner, understanding how to work with teak’s texture can elevate your projects, highlighting its natural beauty while ensuring a lasting finish.
This article explores eight tips for crafting with teak wood texture, offering practical advice, expert insights, and creative ideas to make the most of this luxurious wood. From preparation to finishing, these tips will help you showcase teak’s unique qualities in your next masterpiece. Let’s dive into crafting with teak and bring its texture to life!
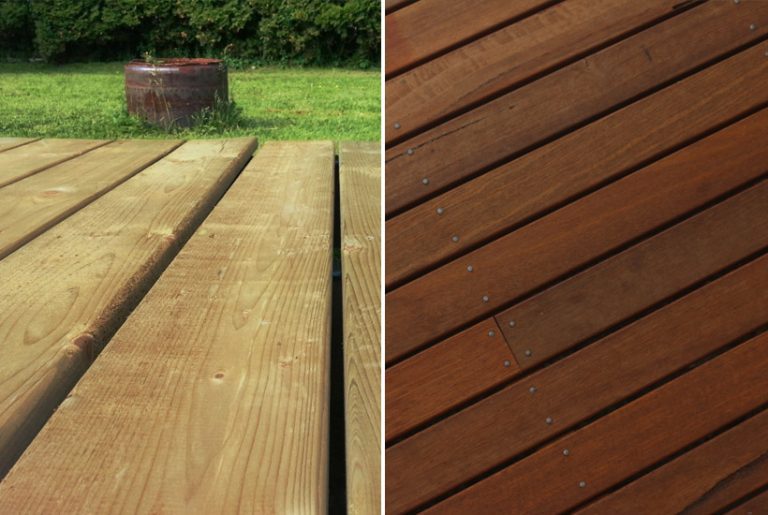
Sand with the Grain for Smoothness
Sanding teak wood along its grain enhances its smooth texture while preserving its natural patterns. This step is key to achieving a polished look without losing teak’s character.
Inspired by woodworking basics, this tip respects teak’s tight grain.
- Use medium-grit sandpaper (e.g., 120) to start, progressing to fine (e.g., 220-320).
- Sand in long, even strokes parallel to the grain to avoid scratches.
- Wipe with a damp cloth between grits to remove dust and reveal the texture.
- Feel the wood’s smooth, oily surface as you work—teak’s natural oils resist over-sanding.
- Enjoy a silky finish that highlights the grain’s subtle beauty.
Pro Crafting Tip: Finish with a hand-sanding block for precision on curved edges.
Budget Consideration: Reuse sandpaper from other projects if it’s still effective.
Highlight Texture with a Wire Brush
Use a wire brush to accentuate teak’s grain texture, creating a rustic, weathered look. This technique brings out the wood’s natural lines for a tactile, standout finish.
Drawing from distressing methods, this tip adds depth to teak projects.
- Choose a stiff wire brush and lightly scrub along the grain to raise softer wood fibers.
- Focus on areas where texture matters, like tabletops or panel faces.
- Wipe with a dry cloth to remove debris, revealing enhanced grain patterns.
- Apply after initial sanding but before final finishing for best results.
- Admire the deepened texture, perfect for a vintage or coastal vibe.
Pro Crafting Tip: Test on a scrap piece to gauge pressure and avoid over-brushing.
Budget Consideration: Use an inexpensive wire brush from a hardware store.
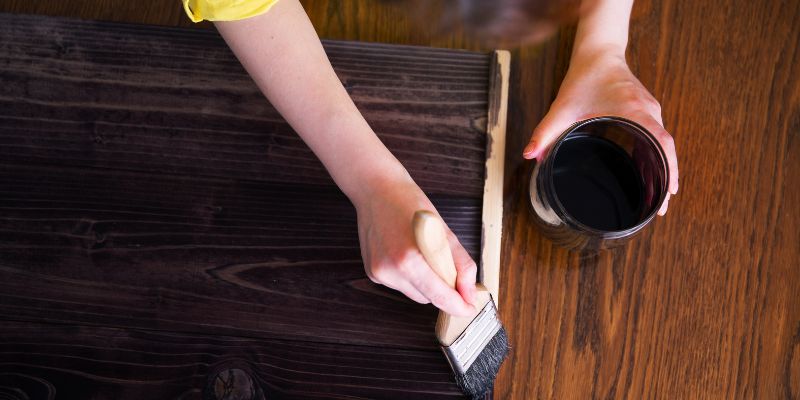
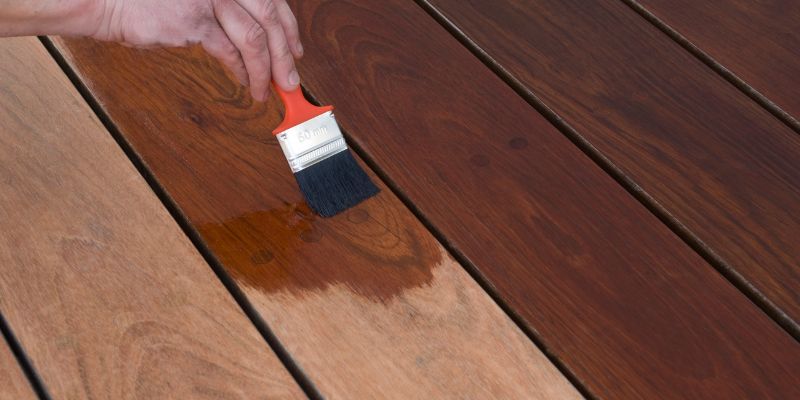
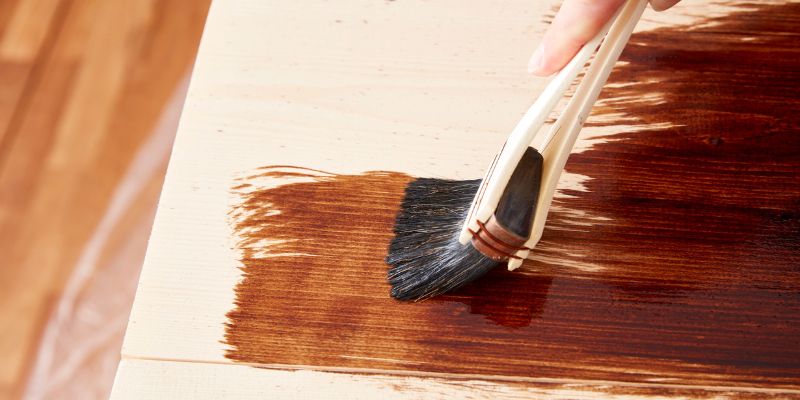
Use Oil-Based Finishes to Enhance Grain
Apply an oil-based finish like teak oil to enrich its texture and bring out the golden-brown tones. Teak’s natural oils pair beautifully with this method, amplifying its grain.
Inspired by traditional teak care, this tip boosts durability and beauty.
- Brush or wipe on a thin layer of teak oil, working it into the grain with a cloth.
- Let it soak in for 10-15 minutes, then wipe off excess to avoid stickiness.
- Repeat with 2-3 coats, sanding lightly (e.g., 320 grit) between applications.
- Watch the texture pop as the oil darkens and defines the grain lines.
- Enjoy a warm, lustrous finish that showcases teak’s natural sheen.
Pro Crafting Tip: Use a lint-free cloth for even application and less waste.
Budget Consideration: Buy small cans of teak oil for smaller projects.
Avoid Over-Finishing to Preserve Oils
Keep finishes light to maintain teak’s natural oily texture, which protects it from moisture and wear. Over-finishing can clog the grain and dull its tactile appeal.
Drawing from teak’s inherent qualities, this tip respects its built-in resilience.
- Stick to one or two coats of oil or a single sealant layer—less is more with teak.
- Test a small area to ensure the finish enhances rather than masks the texture.
- Skip heavy varnishes or polyurethanes that create a thick, plastic-like coating.
- Feel the wood’s natural oils under the finish, keeping its authentic touch.
- Appreciate teak’s ability to shine with minimal intervention.
Pro Crafting Tip: Use a matte sealant if extra protection is needed without gloss.
Budget Consideration: Avoid costly topcoats—teak oil alone is often enough.
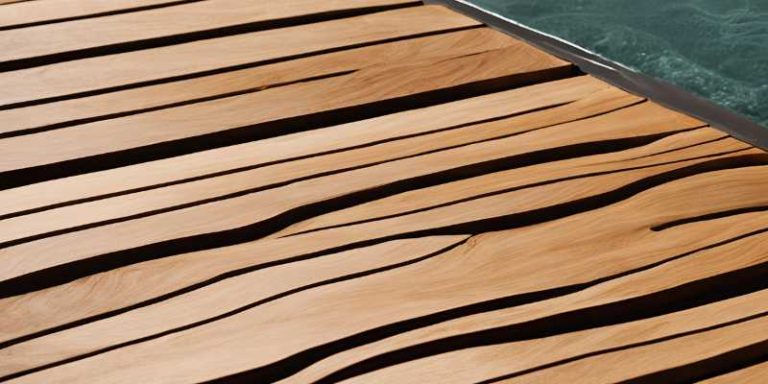
Cut Across the Grain for Contrast
Cut teak across its grain (cross-grain) in small sections to highlight its texture with bold, contrasting patterns. This technique adds visual interest to your craft.
Inspired by woodworking artistry, this tip showcases teak’s versatility.
- Use a sharp saw to make clean cross-grain cuts on edges or accents (e.g., table ends).
- Sand lightly to smooth without erasing the pronounced cross-grain texture.
- Incorporate into project details like drawer fronts or shelf ends for variety.
- Watch the tight, wavy grain lines stand out against straight-grain surfaces.
- Enjoy the unique texture contrast, adding depth to your design.
Pro Crafting Tip: Pair cross-grain cuts with straight-grain panels for balance.
Budget Consideration: Use teak scraps for small cross-grain accents.
Burnish for a Subtle Sheen
Burnish teak wood with a cloth or hardwood tool to enhance its texture and bring out a natural sheen. This hands-on method polishes without masking the grain.
Drawing from traditional finishing techniques, this tip adds a crafted glow.
- Rub a clean, dry cloth or a hardwood block firmly along the grain after sanding.
- Apply moderate pressure to compress the wood fibers and release natural oils.
- Focus on flat surfaces like tabletops or panels for an even, subtle shine.
- Feel the texture smooth out while retaining its tactile richness.
- Admire the soft luster that highlights teak’s golden tones.
Pro Crafting Tip: Burnish after oiling for a deeper, more radiant finish.
Budget Consideration: Use a free scrap wood piece as a burnishing tool.
Incorporate Texture with Carving
Carve shallow designs into teak to play up its texture, adding custom patterns or reliefs. Teak’s tight grain holds details well, making it ideal for artistic touches.
Inspired by handcrafted wood art, this tip personalizes your project.
- Sketch a simple design (e.g., leaves, waves) and carve with a chisel or Dremel tool.
- Work with the grain to enhance natural lines, keeping cuts shallow (1-2 mm).
- Sand lightly around carvings to smooth edges without erasing texture.
- Highlight carved areas with oil to deepen the contrast and grain.
- Enjoy a bespoke texture that makes your teak piece one-of-a-kind.
Pro Crafting Tip: Practice on a teak offcut to perfect your carving depth.
Budget Consideration: Use basic hand tools instead of pricey power tools.
Seal Joints to Protect Texture
Seal teak wood joints with glue or light caulk to protect its texture from wear and moisture, especially in outdoor or high-use projects. This keeps the grain pristine over time.
Drawing from woodworking durability, this tip ensures long-lasting beauty.
- Apply wood glue to tight-fitting joints (e.g., table legs, frames) before assembly.
- Use a small brush to dab glue or caulk into crevices, wiping excess immediately.
- Sand joints lightly after drying to blend with the surrounding texture.
- Check that the seal doesn’t cover the visible grain—keep it subtle.
- Appreciate how sealed joints maintain teak’s texture through years of use.
Pro Crafting Tip: Use waterproof glue for outdoor teak to boost weather resistance.
Budget Consideration: Opt for affordable wood glue over specialty sealants.
Conclusion
Crafting with teak wood texture is a rewarding way to create stunning, durable pieces that showcase its natural beauty. This article has explored eight tips, from sanding with the grain to sealing joints, each designed to enhance teak’s tight, oily texture while making your projects shine. Whether you’re building furniture, decor, or small crafts, these ideas will help you work with teak’s unique qualities effectively.
Pick a tip that suits your project and skill level, grab some teak wood, and start crafting. With its rich grain and golden glow, teak’s texture will inspire you to create stylish, timeless pieces that elevate any space—perfect for showcasing your woodworking passion!