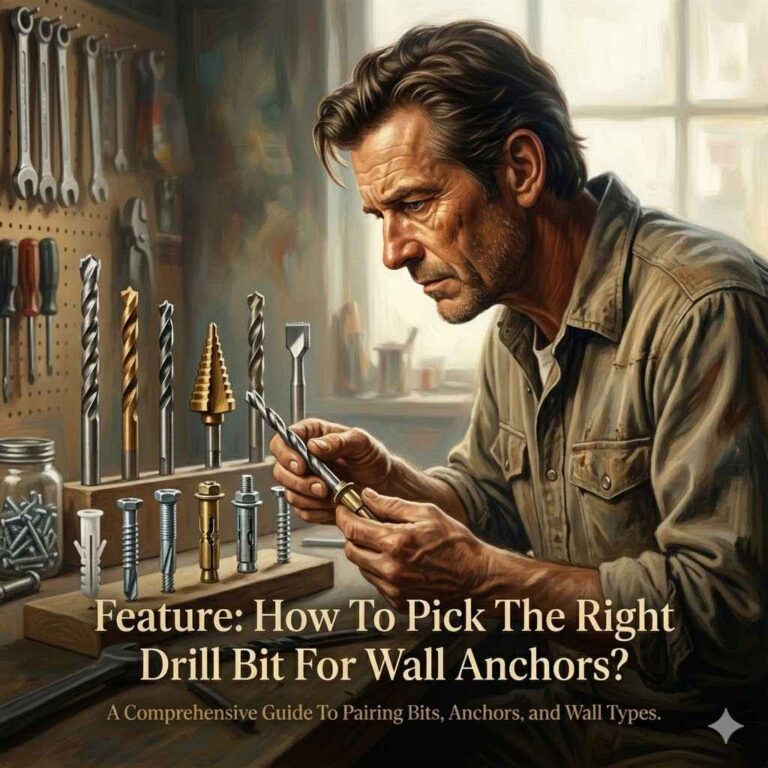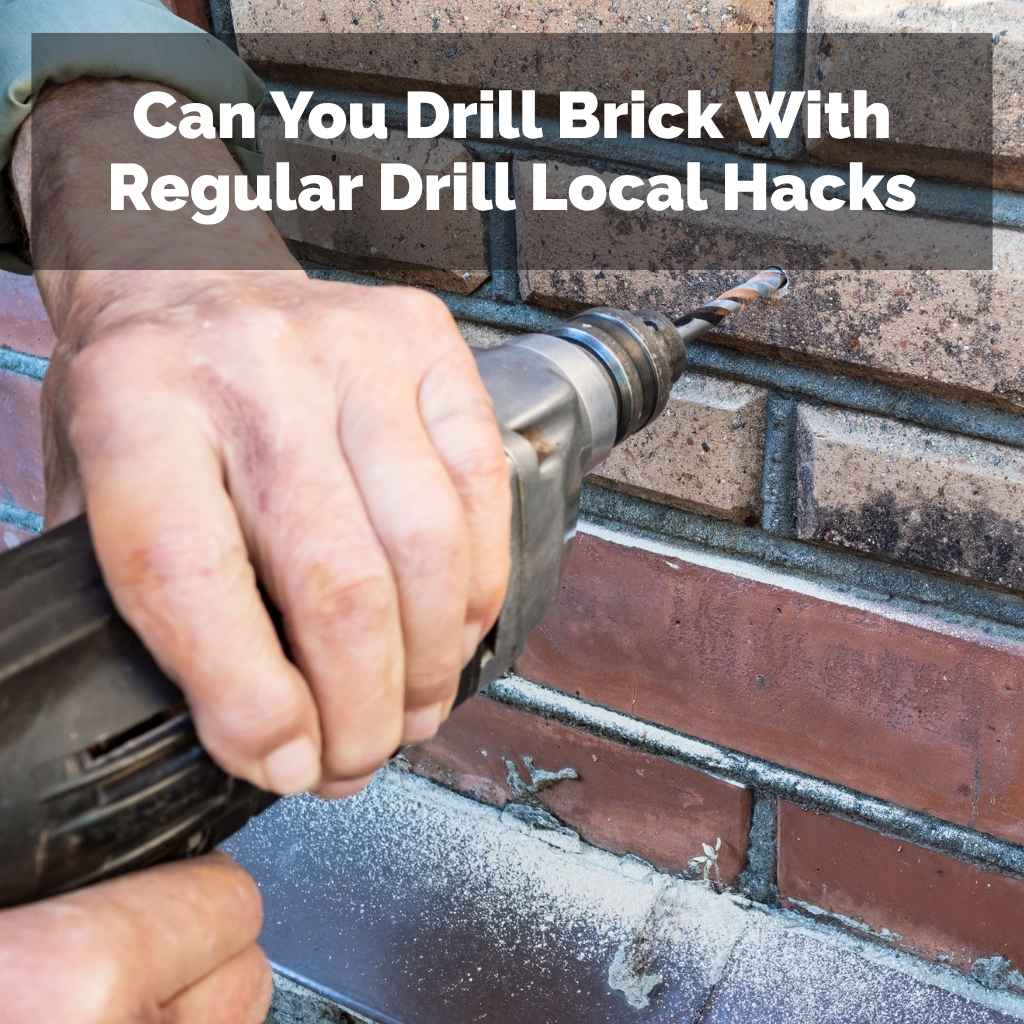
Can You Drill Brick With Regular Drill? Local Hacks
Sometimes you need to hang a shelf or mount something on a brick wall. A common question for DIYers is, “Can You Drill Into Brick With a Regular Drill? Local Hacks” might seem tricky if you’ve never done it before.
It can feel a bit confusing, but don’t worry! This guide will show you exactly how to do it easily. We’ll walk through simple steps to get the job done right.
Drilling Into Brick With Your Regular Drill Local Hacks
Many people wonder if their everyday drill is up to the task of tackling a tough material like brick. This section explores the possibilities and limitations of using a standard drill for brickwork. We will look at why certain drills are better suited for this job and what you can do to make your regular drill work effectively.
This involves understanding the right tools and techniques needed for success.
Understanding Your Regular Drill
A regular drill, often called a cordless or corded drill, is a versatile tool found in most homes. It spins a bit to create holes in various materials. These drills typically have adjustable speed settings and torque controls.
Torque is the twisting force the drill applies.
When it comes to drilling into something as hard as brick, the power and features of your drill matter. A drill with a hammer function is ideal for brick. This function adds a pounding action to the spinning, making it much easier to break through the dense material.
Without this, drilling brick can take a very long time and be quite difficult. It can even overheat and damage a less powerful drill.
For instance, a homeowner wanted to hang a heavy mirror on a brick exterior wall. They only had a basic cordless drill without a hammer setting. After trying for an hour, they had barely made a dent.
The drill got hot, and the bit seemed to just spin without penetrating effectively. This is a common scenario when the tool isn’t quite right for the job.
When Your Regular Drill Might Fall Short
Using a regular drill without a hammer function on brick can lead to several problems. The drill motor can overheat, causing damage. The drill bit might wear down quickly or even break.
You’ll likely experience very slow progress, making the task frustrating and time-consuming. For tough jobs, a more specialized tool might be needed.
Think about trying to cut through hard candy with a butter knife versus a sharp steak knife. The butter knife will struggle and might even bend. Similarly, a regular drill without enough power or the right action will struggle with brick.
It is important to know when your tool is capable and when it’s not.
One common issue is the lack of sufficient power. Drilling into brick requires a lot of force to break apart the material. A drill that is too weak will not be able to generate enough power.
This means you will not be able to create a hole of the desired depth or size. It is a bit like trying to push a heavy door open with just one finger.
Local Hacks for Enhanced Drilling
There are some clever ways to make drilling into brick easier with a regular drill. These “local hacks” involve using the right drill bits and techniques. They help you get the most out of your existing tools and achieve good results even on hard surfaces.
One effective hack is to use a masonry drill bit. These bits are made of very hard materials like carbide. They have a special tip designed to chip away at hard materials like brick and concrete.
Even with a regular drill, using the correct bit makes a huge difference. It’s like giving your drill a superpower for tough jobs.
Another tip is to use a slower speed on your drill. While it might seem counterintuitive, a slower speed can provide more torque. This allows the bit to grip and chip away at the brick more effectively.
It also helps prevent overheating. You want to grind away at the brick, not just spin wildly.
A homeowner in a rural area needed to mount a bird feeder on an old brick wall. They only had a standard cordless drill. They decided to try using a masonry bit and a slower drill speed.
They also sprayed a little water on the brick and bit as they drilled to keep it cool. This simple hack allowed them to successfully drill the necessary holes without damaging their drill or the wall.
Essential Tools and Techniques for Drilling Brick
To successfully drill into brick using your regular drill, having the right tools and knowing the correct techniques are key. This section covers the essential items you’ll need and the step-by-step methods that will ensure a smooth and efficient drilling process, even if your drill isn’t specifically designed for masonry.
Choosing the Right Drill Bit
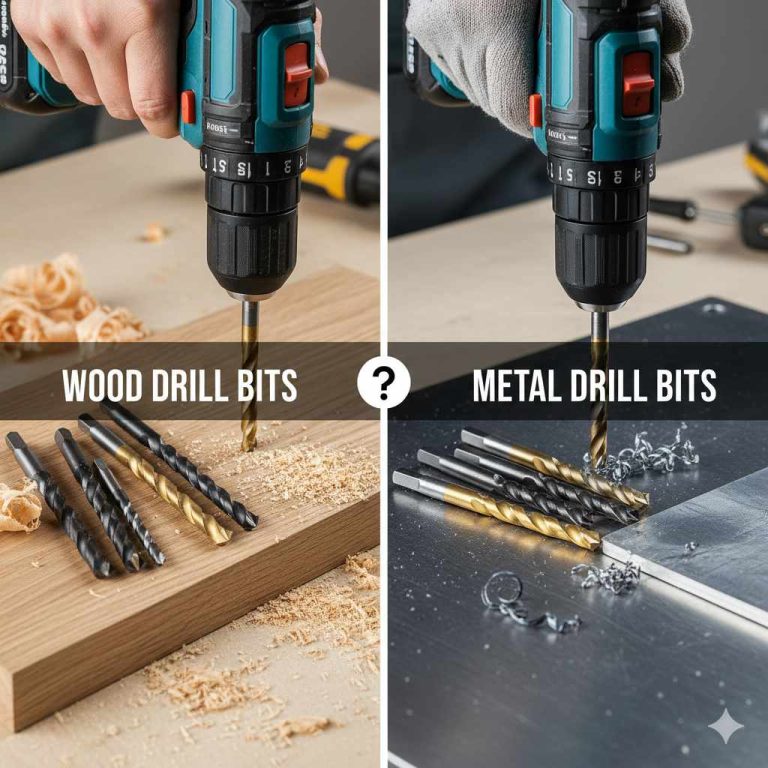
The most crucial element when drilling into brick is the drill bit. A standard wood or metal drill bit will dull very quickly and will not be effective. You need a bit specifically designed for masonry.
Masonry drill bits are made from extremely hard materials, most commonly tungsten carbide. This material is bonded to the tip of the bit. They have a specific flute design that helps clear dust and debris as you drill.
The tip is usually shaped to start drilling easily and to resist wear and tear from hard surfaces.
There are different types of masonry bits. For standard brick, a carbide-tipped bit is usually sufficient. For harder materials like concrete or stone, you might need a bit with a more robust carbide tip or even a diamond-grit bit, though these are typically for rotary hammers.
- Carbide-Tipped Masonry Bits: These are the workhorses for brick and mortar. They are affordable and widely available. The carbide tip is brazed onto a steel shank.
- Twist Masonry Bits: These look similar to standard twist bits but have a wider, chisel-like tip for masonry.
- Specialty Bits: For very hard materials or specific applications, there are other types, but for most home projects involving brick, a good carbide-tipped bit will do the job.
Using a carbide-tipped masonry bit with your regular drill transforms it into a capable tool for brick. The bit does the hard work of breaking down the brick material, while the drill provides the necessary rotation and power. Without this specific bit, you will likely be unsuccessful and may damage your drill or bit.
Safety First Always
Drilling into brick creates dust, which can be harmful if inhaled. Protecting your eyes and lungs is very important. Always wear safety glasses to prevent dust and debris from getting into your eyes.
A dust mask or respirator will protect your lungs.
Also, ensure the area you are drilling is stable. If you are drilling into a wall, make sure there are no wires or pipes behind the brick that you could accidentally hit. This is especially important if you are unsure about the construction of the wall.
- Wear safety glasses at all times.
- Use a dust mask or respirator.
- Check for hidden utilities before drilling.
- Wear gloves for a better grip and to protect your hands.
Think of safety gear as an essential part of your toolkit. It’s not optional. The dust produced when drilling masonry can contain silica, which is a lung irritant.
Proper protection ensures you can complete your project without any health concerns. Always prioritize your well-being.
Preparing the Drilling Area
Before you start drilling, it’s a good idea to mark the exact spot where you want the hole. Use a pencil or chalk for this. If you need to drill a pilot hole or a precise location, measuring tape and a level can be very helpful.
For a cleaner job, you can place a piece of masking tape over the spot you want to drill. This helps prevent the drill bit from “walking” or slipping when you start. It also helps to minimize chipping on the surface of the brick.
The tape gives the bit a slightly rougher surface to grip initially.
Consider the depth of the hole you need. Most drill bits have depth markers or you can wrap a piece of tape around the bit to indicate how far to drill. This ensures you don’t drill too deep or too shallow.
A scenario: Sarah wanted to hang a heavy garden trellis on her brick patio wall. She marked the spot, applied masking tape, and used a pencil to make a clear target. She then wrapped tape around her masonry drill bit to gauge the depth needed for the anchor.
This preparation made the drilling process much smoother and more accurate.
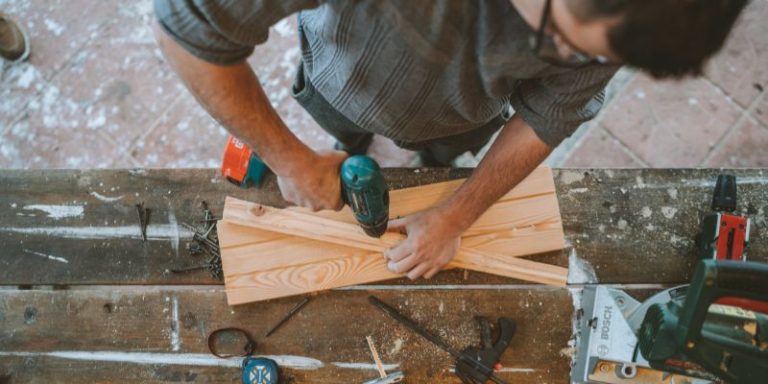
Drilling Techniques for Brick
When using a regular drill, applying the right pressure and technique is key. Start by holding the drill firmly and at a 90-degree angle to the wall. Begin drilling at a slow speed to create a small starting hole.
This is where the masking tape helps prevent the bit from skidding.
Once you have a small indentation, increase the drill speed slightly. Apply steady, consistent pressure. Let the drill bit do the work.
If you are using a drill with a hammer function, engage it now. If your drill does not have a hammer function, you will rely solely on the rotation and pressure.
Periodically pull the drill bit out of the hole while it’s still spinning slowly. This helps clear out the dust and debris, which is crucial for preventing the bit from overheating and getting stuck. This also allows you to see your progress.
If you are drilling a deep hole, you might need to drill in stages. Drill partway, pull out to clear dust, then continue. This makes the job easier and safer for your drill.
Here’s a quick technique check:
- Mark your spot and apply masking tape.
- Start slowly with a masonry bit to create an indentation.
- Increase speed and apply steady pressure.
- Periodically pull out the bit to clear dust.
- Use a consistent 90-degree angle.
A practical tip: If your regular drill starts to feel very hot, stop and let it cool down. Overheating is the quickest way to damage a drill motor. Patience is more effective than brute force here.
When a Regular Drill Isn’t Enough Local Hacks
While a regular drill can often get the job done with the right bits and techniques, there are times when it might not be sufficient. This section addresses those situations and introduces alternative methods or tools that can help you overcome the limitations of a standard drill when facing particularly tough brick or demanding projects, incorporating effective local hacks.
The Limitations of Standard Drills
A standard drill, especially a lower-powered one or one without a hammer function, has limitations when it comes to drilling into brick. Brick is a dense and hard material. Without the percussive hammering action, a standard drill relies solely on the rotational force of the bit to grind away at the brick.
This is a slow and arduous process.
For very hard bricks, old, dense bricks, or if you need to drill multiple holes or deep holes, a standard drill can struggle significantly. The motor can overheat and burn out. Drill bits can become dull or break.
The user can experience significant fatigue from the effort required. It can turn a simple task into a frustrating ordeal.
Imagine trying to break a rock with a spoon versus a hammer. The spoon will barely scratch the surface, and you’ll likely bend the spoon. A hammer, however, is designed for such tasks.
Similarly, a standard drill is designed for softer materials like wood and drywall, not dense masonry.
Statistics show that the average power output of a standard cordless drill might range from 20V to 18V, which is sufficient for most household tasks. However, drilling into brick effectively often requires higher torque and a percussive action that many standard drills lack. A typical drill motor might struggle to maintain consistent torque when encountering significant resistance from hard materials.
Recognizing When You Need More Power
You’ll know your regular drill is struggling if it makes a lot of noise but doesn’t seem to be drilling effectively. If the drill bit is spinning but not making much progress, or if the drill feels like it’s bogging down, it’s a sign that you need more power or a different tool.
Another indicator is the heat generated. If the drill body or the motor housing becomes uncomfortably hot to touch after only a short period of drilling, the motor is under severe strain. This can lead to permanent damage.
Also, if you are drilling for an extended period and making very little headway, it’s time to reconsider your approach.
Consider a homeowner trying to install a heavy-duty satellite dish on a brick chimney. They used their standard drill for about 15 minutes, making only a shallow 1/4-inch indentation. The drill got extremely hot, and the bit was showing signs of wear.
They realized their drill was not up to the task and decided to rent a hammer drill for the job.
The Hammer Drill Advantage
A hammer drill is specifically designed for drilling into hard materials like brick, stone, and concrete. It combines the rotational action of a regular drill with a rapid hammering or percussive action. This hammering motion breaks apart the material as the bit spins, making drilling much faster and easier.
Hammer drills have a clutch mechanism that can be engaged to activate the hammering action. When the clutch is disengaged, it functions like a regular drill. This dual functionality makes them incredibly versatile for various DIY projects.
For brickwork, engaging the hammer function is essential.
The hammering action is achieved through a system of cams or gears that create a pounding force. This force is delivered directly to the drill bit. It makes the process of penetrating dense materials significantly more efficient than relying on rotational force alone.
A comparison table can illustrate the difference:
| Feature | Regular Drill | Hammer Drill |
|---|---|---|
| Action | Rotation only | Rotation + Percussion (Hammering) |
| Best for | Wood, drywall, metal, soft plastics | Brick, concrete, stone, masonry |
| Speed in Brick | Slow, difficult, potential for damage | Fast, efficient, less strain on tool |
| Power Requirement | Moderate | Higher, especially with hammer function engaged |
If you frequently work with masonry or have demanding DIY projects, investing in a hammer drill is highly recommended. It will save you time, effort, and the frustration of battling tough materials with an inadequate tool.
Alternative Local Hacks for Stubborn Brick
Beyond using a hammer drill, there are a few advanced local hacks for tackling stubborn brick with a regular drill. These often involve a bit more effort or specific tools that might be readily available or easily borrowed.
One effective hack is to use a chisel and hammer to create a starter divot. Place the sharp edge of a masonry chisel on the brick surface exactly where you want to drill. Strike the chisel firmly with a hammer to create a small indentation.
This small divot gives your drill bit a stable starting point and significantly reduces the chance of the bit slipping.
Another technique involves drilling multiple smaller holes in a pattern to form the desired opening. For example, if you need a larger hole, you could drill several smaller holes close together and then use a chisel to carefully break away the remaining brick material between them. This requires patience and precision.
Cooling the drill bit and the brick is also a good hack. You can use a spray bottle filled with water to periodically spray the drill bit and the area around the hole. This helps to reduce friction and prevent overheating, which is a common problem when drilling hard materials.
Some professionals even use a can of compressed air upside down to spray a cooling agent.
A DIY enthusiast needed to install a mailbox post that required drilling through several layers of brick. Their regular drill was struggling. They decided to use a masonry chisel to create a small notch where they wanted to drill.
Then, they used their regular drill with a masonry bit, spraying water on the bit every 30 seconds. This allowed them to successfully drill the holes needed for mounting the post.
Common Challenges and Solutions
Even with the right tools and techniques, drilling into brick can present challenges. This section addresses common issues beginners face and provides practical solutions to overcome them, ensuring a successful DIY experience with your regular drill and brickwork.
Overheating the Drill or Bit
Overheating is a frequent problem when drilling into brick, especially with a regular drill. The friction generated between the spinning bit and the hard brick causes heat to build up rapidly. If the drill bit gets too hot, it can lose its temper (become softer and dull quicker).
If the drill motor overheats, it can suffer permanent damage.
The primary solution is to drill in short bursts and periodically pull the bit out of the hole while it’s still spinning slowly. This action helps to clear out the dust and debris, which acts as an insulator and traps heat. Cooling the bit with water or a dedicated cutting fluid can also significantly reduce heat buildup.
Compressed air can also be used to blow dust away and cool the bit.
When you feel the drill body getting warm, it’s time to give it a break. Let it cool down for a few minutes. If you’re using a corded drill, ensure the ventilation slots are clear.
For cordless drills, remove the battery while the tool is resting to help with cooling.
A homeowner was trying to mount a heavy shelf on their brick fi
Drill Bit Slipping or “Walking”
It’s frustrating when your drill bit starts to spin on the surface of the brick instead of biting into it. This “walking” or slipping is common, especially when starting a hole. It often happens because the smooth surface of the brick doesn’t provide enough initial grip for the bit.
The best way to combat this is to create a starting point. As mentioned before, applying a piece of masking tape to the drilling surface before you begin can provide better grip. Even better is to use a center punch and hammer to create a small dimple or mark on the brick where you want to drill.
This physical indentation gives the drill bit a place to sit and begin cutting immediately, preventing it from wandering.
Another trick is to start drilling at a very slow speed. This allows the bit to make a small indentation before you increase the speed and apply more pressure. Gradually increasing the drill speed as the bit bites into the material helps maintain control and prevents the bit from skipping across the surface.
A contractor was drilling holes for anchors in a brick wall for a commercial sign. The brick surface was very smooth. They used a center punch to create a small mark at each drilling location.
Then, they started their hammer drill at a low speed with the hammer function off. Once the bit engaged in the punched mark, they turned on the hammer function and increased the speed. This ensured precise hole placement.
Dust and Debris Management
Drilling brick produces a significant amount of fine dust. This dust is not only messy, getting everywhere in your home, but it can also be a health hazard if inhaled. Proper dust management is crucial for a clean and safe working environment.
Using a dust shroud that attaches to your drill and connects to a vacuum cleaner is the most effective solution. This accessory captures most of the dust right at the source. If you don’t have a dust shroud, you can try holding a small vacuum cleaner nozzle near the drilling point to suck up dust as it’s created.
Wearing a good quality dust mask or respirator is essential regardless of other dust control measures.
For smaller jobs, you can place a piece of cardboard or a dustpan directly below the drilling area to catch falling debris. After drilling, carefully sweep or vacuum up any remaining dust. Cleaning the area thoroughly will prevent dust from settling on surfaces and becoming a long-term nuisance.
A homeowner was drilling into their brick garage wall to hang storage racks. They didn’t have a dust shroud, so they used a shop vacuum with a crevice tool positioned right next to the drilling spot. They also wore a N95 respirator.
This combination kept the mess to a minimum and protected their lungs. They reported that the dust was significantly less than they expected.
Dealing with Mortar Joints vs. Solid Brick
When drilling into brickwork, you’ll often encounter mortar joints, which are the spaces filled with cementitious material between bricks. Drilling through mortar is generally easier than drilling through solid brick.
If your hole needs to go through multiple bricks and mortar joints, you’ll find the process alternates between easier (mortar) and harder (brick) sections. Some hacks suggest aiming for the mortar joints whenever possible, especially if you are using a less powerful drill. This is because mortar is softer and crumbles more easily.
However, if you need to place a screw or anchor directly into a brick for maximum strength, you must drill into the solid brick. If you are unsure whether you are drilling into mortar or solid brick, the resistance you feel will be a good indicator. Solid brick offers much more resistance than mortar.
For anchors, it’s often best to drill into the brick itself for the most secure hold. If an anchor is placed solely in mortar, it may not be strong enough to support the intended load. Always check the weight rating of your fasteners and ensure they are installed in a material capable of holding the weight.
Frequently Asked Questions
Question: Can I use my regular drill for all brick projects?
Answer: For small tasks like hanging a lightweight picture, a regular drill with a masonry bit might work. For heavier items, multiple holes, or very hard brick, a hammer drill is often necessary for efficiency and to avoid damaging your regular drill.
Question: How do I know if my drill has a hammer function?
Answer: Look for a symbol on your drill that resembles a hammer or a series of dots, often near the speed selector. Also, check your drill’s manual. If it has a hammer setting, it will be clearly indicated.
Question: What is the best type of drill bit for brick?
Answer: You absolutely need a masonry drill bit, typically one with a carbide tip. Standard wood or metal bits will dull immediately and are not suitable for brick.
Question: How deep should I drill into brick?
Answer: Drill to the depth recommended by the manufacturer of the screw, anchor, or fastener you are using. You can mark the desired depth on your drill bit with tape.
Question: Is it safe to drill into brick indoors?
Answer: Yes, but always wear a dust mask or respirator to avoid inhaling brick dust. Use a vacuum cleaner to manage the dust as you drill. Ensure you are aware of what might be behind the brick, such as wires or pipes.
Wrap Up
So, can you drill into brick with a regular drill? Yes, you can, by using the right masonry drill bits and employing smart techniques. Remember to start slowly, use steady pressure, and clear dust often.
If your drill struggles, consider a hammer drill or the alternative hacks discussed. You’ve got this project covered.