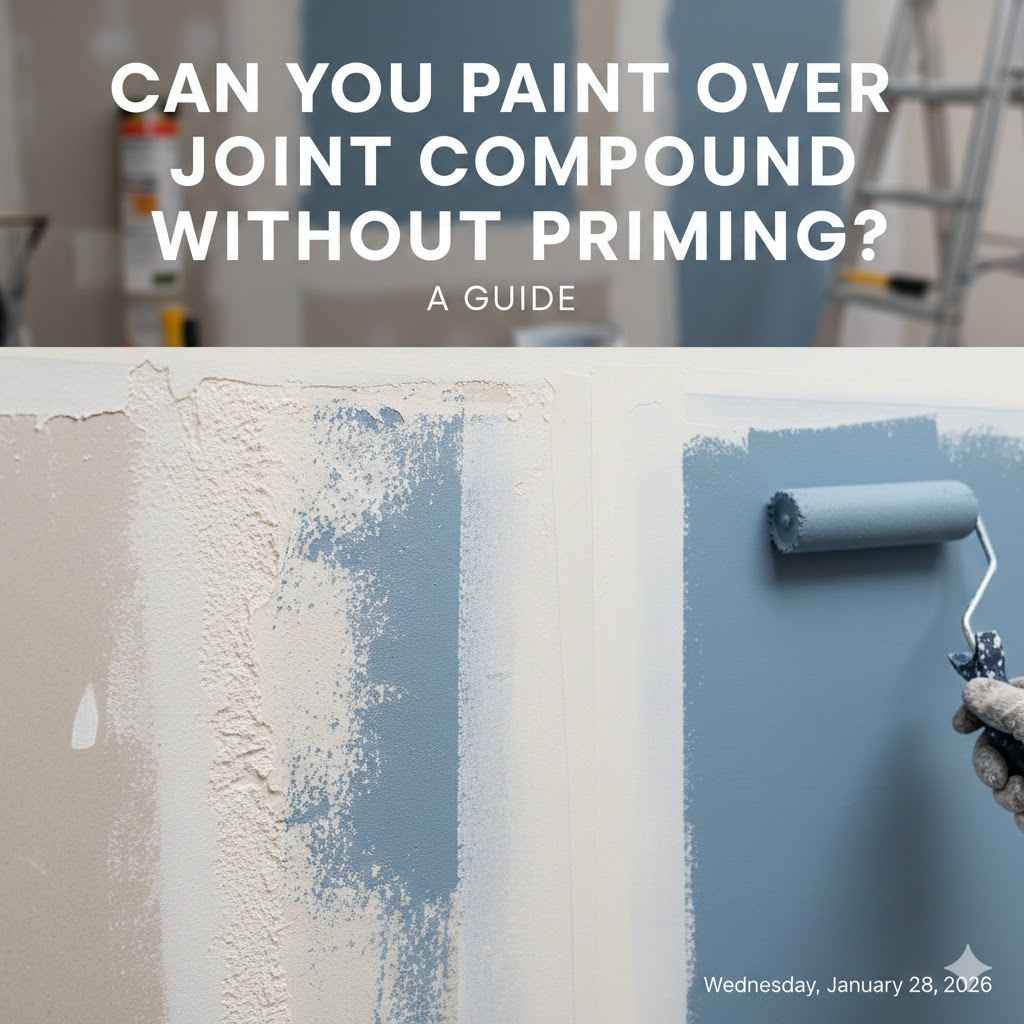
Can You Paint Over Joint Compound Without Priming? A Guide
Painting over fresh drywall work can be tricky for beginners. The big question is: Can You Paint Over Joint Compound Without Priming? It’s a common worry because getting it wrong can lead to peeling paint and an uneven finish. Don’t stress! This guide will break down the steps, making the whole process easier to handle. You’ll learn the best way to paint those areas, and how to avoid problems. Let’s get started, and make those walls look fantastic!
What Joint Compound Is and Why Priming Matters
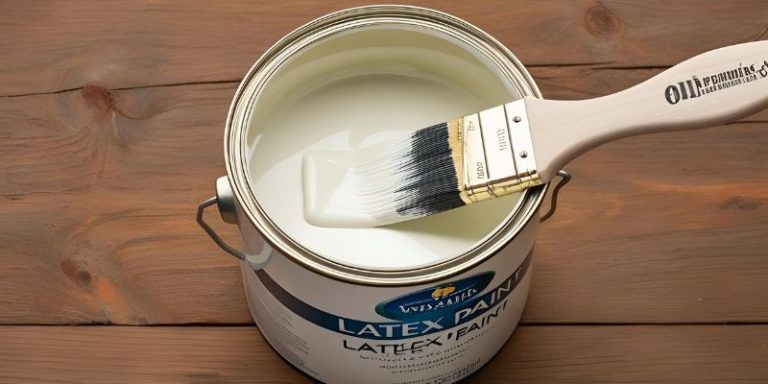
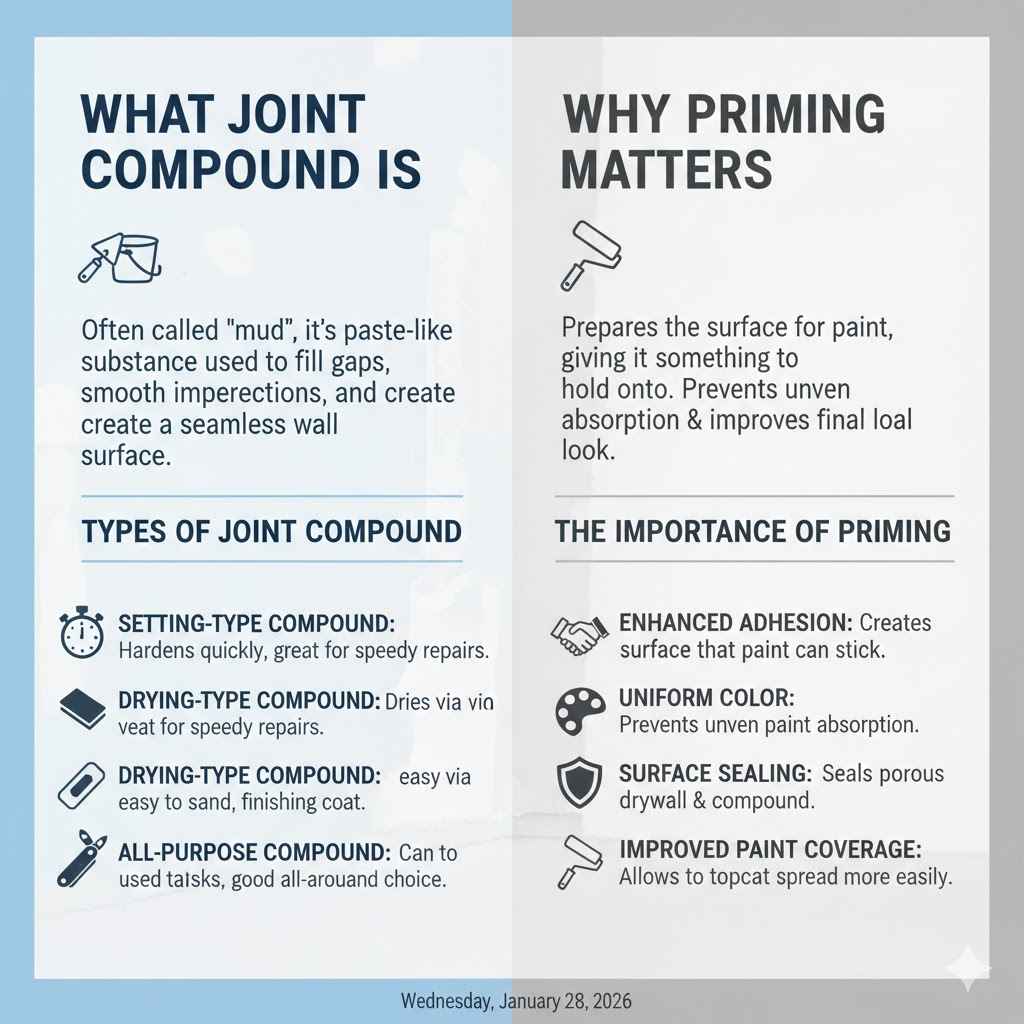
Joint compound, often called “mud,” is a vital material in drywall projects. It’s a paste-like substance used to fill in the gaps between drywall panels, smooth out imperfections, and create a seamless wall surface. Think of it as the filler that makes your walls look perfectly flat. There are different types of joint compound, each suited for particular jobs, such as setting-type, drying-type, and all-purpose compounds. They all serve the same general purpose: to give you a clean surface ready for painting.
Priming is important because it prepares the surface for paint. Think of primer as the first coat that sticks to the wall and gives the paint something to hold onto. Without priming, paint might not adhere properly to joint compound. It can result in problems like uneven absorption, where some areas absorb paint more than others. This causes the paint color to look different in various spots. Priming also seals the surface, reducing the amount of paint needed and improving the final look. We’ll look at the details in the coming sections.
Types of Joint Compound and Their Characteristics
There are several types of joint compound, each with unique properties and best uses. Setting-type compound hardens through a chemical reaction, making it very durable and suitable for repairs or areas requiring immediate work, as it dries quickly. Then, drying-type compound dries through evaporation, making it easier to sand and commonly used for the final coat before painting. Also, all-purpose compound can be used for most drywall tasks and provides a balance of workability, drying time, and strength. Choosing the right compound depends on your project’s needs.
- Setting-type Compound: Hardens quickly through a chemical reaction. Great for speedy repairs.
- Drying-type Compound: Dries via evaporation. Easy to sand, and suitable for the finishing coat.
- All-Purpose Compound: Can be used for most tasks. A good all-around choice.
The Importance of Priming: What Does Primer Do?
Primer does more than just prepare the wall for paint. It also offers the following advantages. It bonds the topcoat to the drywall, creating a uniform surface and guaranteeing a long-lasting finish. Primer also provides a seal that ensures the paint doesn’t soak into the joint compound at different rates. Without primer, the joint compound might absorb more paint. That can create patches of uneven color. Priming also helps to hide imperfections, giving your walls a beautiful look.
- Enhanced Adhesion: Primer creates a surface that paint can stick to.
- Uniform Color: Prevents uneven paint absorption.
- Surface Sealing: Seals the porous drywall and compound.
- Improved Paint Coverage: Primer allows the topcoat to spread more easily.
Can You Paint Over Joint Compound Without Priming? The Short Answer and Risks
The short answer is: you can, but it’s not the best idea. While it’s possible to skip priming in some situations, it’s generally not suggested. Painting directly over joint compound without priming might seem faster, but it often leads to problems later on. This includes paint that doesn’t adhere well, uneven color, and a less durable finish. Consider priming for the best outcome.
However, if you’re in a hurry or working on a small project, you might consider painting without priming. Make sure you use high-quality paint, and prepare the surface well. This includes sanding and cleaning the joint compound. You’re taking a risk, though. The painted surface might not look as good or last as long. A little bit of extra effort from priming can save you a lot of time and trouble in the long run.
Potential Problems When Skipping Primer
Deciding to skip priming might seem time-saving at first, but it can lead to several problems down the line. One of the most common issues is poor adhesion, where the paint doesn’t stick well to the joint compound. This can lead to peeling, flaking, or blistering of the paint, ruining the finish. The uneven absorption of paint is also a frequent problem, causing the color to look different in different areas. Additionally, the finished surface may not be as durable, making it more prone to damage or wear over time. If you decide to paint directly, prepare yourself for potential issues.
- Poor Adhesion: Paint doesn’t stick well.
- Uneven Color: Different areas absorb paint differently.
- Reduced Durability: The paint is more likely to be damaged.
- Increased Paint Usage: Without primer, you’ll need more coats.
When Painting Without Primer Might Work (Rare Situations)
There are rare situations where skipping primer might be acceptable. This is more the exception than the rule. If you’re using a high-quality paint with excellent adhesion properties and the joint compound is perfectly smooth, you might get away without priming. For instance, if you’re doing a small touch-up and the area is already painted, you may not need to prime. However, you should still carefully consider the risks involved. It’s usually better to prime, but a well-prepared surface and the correct paint can help you avoid some of the problems.
- Small touch-up jobs: For tiny patches, you might get by.
- Using self-priming paint: Some paints have primer mixed in.
- Surface is already painted: If the surface is old paint, a new coat may stick.
How to Prime and Paint Joint Compound Correctly
The correct method is to prime before you paint. Following these steps will help you achieve a professional-looking finish on your walls. First, you should prepare the surface by sanding the joint compound to create a smooth, even surface. Then, remove any dust with a damp cloth or a vacuum. Apply a coat of primer, letting it dry completely according to the product’s instructions. Finally, apply two coats of paint. This procedure will guarantee a durable and beautiful result.
You can see how important preparing your surfaces for paint is from the following numbers. According to a study, priming before painting can extend the life of the paint by up to 50%. Also, using a good primer can save as much as 30% on paint costs by improving coverage. The investment in proper prep work saves you time and money.
Surface Preparation: Sanding and Cleaning
Surface preparation is the most important part of the job. It ensures the primer and paint stick well. Start by sanding the joint compound. This creates a smooth surface. Use fine-grit sandpaper for the best results. Sand the areas you patched and feather the edges of the compound to blend seamlessly with the surrounding wall. After sanding, remove all dust using a damp cloth or vacuum. This step is critical because dust can affect the paint and primer. The cleaner the surface, the better the finish. Remember, take your time and do the task properly.
- Sanding: Smooth out the joint compound.
- Feathering: Blend the edges of the compound.
- Dust Removal: Wipe the surface clean.
Choosing the Right Primer and Paint
Choosing the correct primer and paint is essential for the best results. Pick a high-quality primer made for drywall. These primers are formulated to seal the joint compound and provide a good base for the paint. Consider the sheen for the final coat of paint. Flat paint hides imperfections best, while glossier paints are more durable. Using quality products and following the manufacturer’s directions is important.
- Drywall Primer: Use a primer made specifically for drywall.
- Paint Type: Choose a paint that works for your needs.
- Sheen: Consider the desired look and durability.
Applying Primer and Paint: Step-by-Step
When you’re ready to paint, make sure you have the right tools, like brushes, rollers, and paint trays. Begin by applying a coat of primer. Make sure you cover the joint compound and the surrounding areas. Let the primer dry completely. Follow the manufacturer’s instructions to know how long you should wait. After the primer has dried, you can start painting. Apply two coats of paint. Let the first coat dry before you apply the second one. This process ensures even coverage and a smooth finish.
- Apply Primer: Cover the joint compound and surrounding areas.
- Let Dry: Wait for the primer to dry completely.
- First Paint Coat: Apply the first coat of paint evenly.
- Second Paint Coat: Let the first coat dry, and then add the second.
Troubleshooting Common Painting Problems
Even with the best preparation, problems can arise. Recognizing these issues and knowing how to fix them can save you a lot of trouble. If you notice peeling paint, this often means that the surface wasn’t prepped correctly, or the primer and paint didn’t adhere. Uneven color can result from uneven absorption, often caused by skipping primer or not applying the paint evenly. Blistering might be caused by painting in humid conditions or applying too much paint at once.
Understanding these issues and how to solve them is essential to getting a professional-looking finish. When you see a problem, take the necessary steps to fix it to protect your efforts. Remember, patience and attention to detail are key to excellent painting results.
Dealing with Peeling or Flaking Paint
Peeling or flaking paint is a common problem, usually caused by poor adhesion. This can occur when the surface isn’t prepped properly. Also, it might mean the primer or paint wasn’t applied correctly. When you experience this, sand the affected areas to remove the old paint and prep the surface. Then, apply a new coat of primer and repaint. You should always fix the root cause before attempting to repaint. That guarantees the new paint adheres correctly and prevents problems from returning.
- Identify the Cause: Determine why the paint is peeling.
- Sand the Surface: Remove loose paint.
- Reprime and Repaint: Ensure good adhesion.
Correcting Uneven Color or Texture
Uneven color or texture can make your walls appear imperfect, but this can be fixed. This problem is often because of uneven paint absorption or poor application techniques. If you notice this issue, applying a coat of primer can solve it. The primer will seal the surface and help the paint absorb evenly. When painting, use even strokes and proper techniques. This ensures the paint spreads smoothly. Take your time, and apply the correct number of coats for the best results.
- Apply Primer: Seal the surface for even absorption.
- Use Proper Techniques: Apply paint evenly.
- Apply Multiple Coats: Two coats are usually ideal.
Addressing Blistering and Other Issues
Blistering can be caused by painting in conditions that aren’t ideal, or by applying too much paint. Blisters are bubbles that form in the paint film. To fix this, you should let the paint dry completely, then sand the blisters and repaint the area. Other problems like cracking or bubbling can be addressed by sanding and fixing the source of the issue. When you notice these problems, address the root cause, and follow the steps mentioned to guarantee a good result. Always make sure you’re using high-quality materials and painting under the right conditions.

Frequently Asked Questions
Question: Do I have to prime before painting joint compound?
Answer: It’s highly recommended to prime before painting joint compound to ensure proper paint adhesion and an even finish.
Question: Can I use any type of primer?
Answer: Use a drywall primer or a primer specifically designed for the type of paint you’re using.
Question: How many coats of paint should I apply?
Answer: Apply at least two coats of paint for the best coverage and durability.
Question: What’s the best way to sand joint compound?
Answer: Use fine-grit sandpaper and sand in a circular motion to avoid creating scratches.
Question: What if my paint is peeling after I paint over the joint compound?
Answer: You may need to sand the area, reprime, and repaint to ensure proper adhesion.
Final Thoughts
Understanding whether you can paint over joint compound without priming is a key aspect of any drywall project. While it might be possible to skip the priming step in rare situations, the benefits of priming are hard to ignore. Priming prepares the surface for paint, ensuring better adhesion, even color, and a more durable finish. Preparing the wall, picking the right products, and applying the paint correctly will make your results more professional. Remember to prepare the surface first, use the right primer, and apply the paint evenly. With these steps, you’ll achieve a beautiful, long-lasting look. Go ahead, and start your painting project with confidence!