Can You Put Polyurethane Over Polycrylic? Expert Tips
Yes, water-based polyurethane can go over fully cured polycrylic. Oil-based polyurethane is a poor bet and usually calls for stripping first; if the polycrylic is soft, cloudy, or contaminated, start over. Bad layering can cause peeling, fisheyes, or a gummy finish that wastes days of sanding. This guide explains which clear coats fit, when layering is worth the risk, and when to strip and restart.
Can you put polyurethane over polycrylic?


Yes, sometimes. Water-based polyurethane is the sensible pairing when the polycrylic has fully cured, the surface is clean, and the finish has been scuff sanded for tooth. Oil-based polyurethane is far less forgiving over polycrylic and is usually the wrong choice unless the old finish is removed first.
The split between water-based polyurethane and oil-based polyurethane
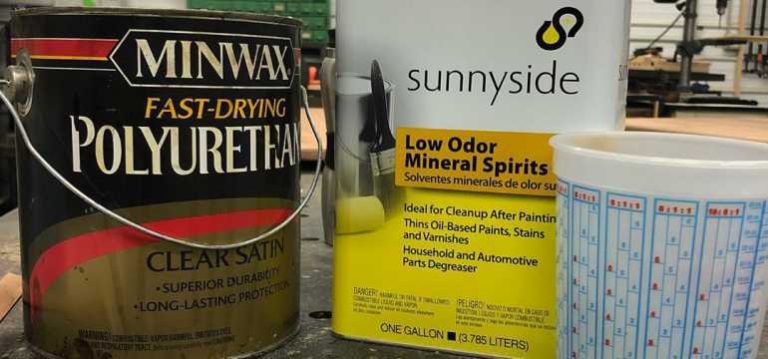
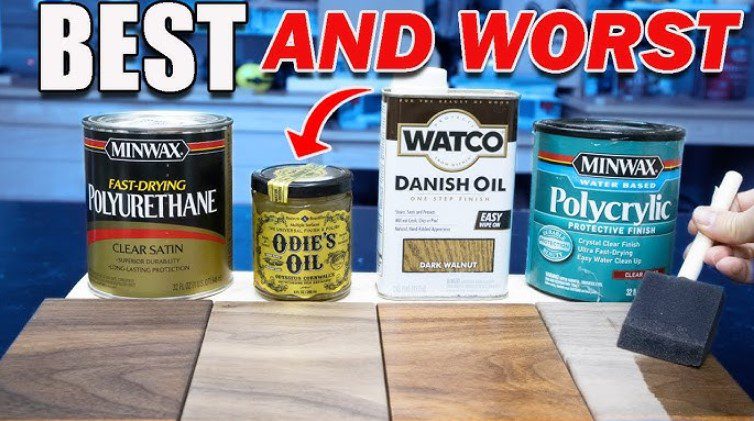
Polycrylic is a water-based protective finish. Polyurethane comes in oil-based and water-based forms. That split matters because oil-based polyurethane dries and cures differently, lays down a warmer amber tone, and is more likely to create compatibility trouble over an existing water-based finish. Water-based polyurethane is the safer match when topcoating polycrylic, and one guide calls that the safest route.
When the safest answer is to stop and strip
If the polycrylic is soft, has turned cloudy, shows fisheyes, or feels slick from wax or polish, do not keep stacking coats. Strip and restart when contamination is widespread, when the old film never hardened, or when the surface needs a different sheen and the existing film is too damaged to save.
According to Can You Put Polyurethane Over Polycrylic (4 Simple Steps) — WoodHungry says polycrylic is dry to the touch after 30 minutes.
What changes when you mix these finishes?
The main changes are adhesion, clarity, and color. Polycrylic is valued for a clear look with minimal yellowing and is commonly used on indoor furniture, cabinets, and trim. Polyurethane is often chosen for higher durability and abrasion resistance, and it is described as ideal for high-traffic areas like floors and tabletops.
Clarity, ambering, odor, and cure behavior
Oil-based polyurethane usually brings stronger odor and VOCs, plus a warm amber cast that can deepen over time. Water-based polyurethane has lower VOCs than oil-based versions, dries faster, and keeps a clearer look, though it may be less resistant than oil-based polyurethane in some uses. Polycrylic is also water-based and dries rapidly, but it may take a long time to fully cure.
That cure difference matters. A coating can feel dry and still be soft underneath enough to fail under a new film. WoodHungry notes polycrylic can be dry to the touch after 30 minutes, yet recommends 24 hours after the final coat before usual use. That is still not the same as fully cured.
How long should polycrylic cure before polyurethane?
Polycrylic should be fully cured before polyurethane goes on top, not merely dry to the touch. I wait for the film to harden all the way through before I topcoat. Drying can happen quickly, but curing can take days or weeks depending on coat thickness, humidity, temperature, and how many coats were applied. A 24-hour wait may be enough for light handling in some cases, but it is not a safe universal topcoat timer.
Why dry time is not cure time
Dry to the touch only means the surface skin has set. The lower layers can still hold moisture and solvents, especially on thick builds and in humid rooms. If a new coat traps that slower evaporation, the film can cloud, wrinkle, or stay soft far longer than expected.
Real-world factors that slow curing
- High humidity slows water release.
- Thick coats cure slower than thin coats.
- More coat count means more trapped moisture.
- Cool rooms stretch cure time.
- Poor airflow keeps the film soft longer.
When a 24-hour wait is not enough
If the piece still smells strongly of finish, feels cool and slightly rubbery, or marks easily under a fingernail, it is not ready. That is especially true on tabletops and cabinets where stacked coats stay wet beneath the surface longer than a thin trim coat.
Do you need to sand polycrylic before polyurethane?
Yes. Scuff sanding is the normal way to create mechanical adhesion before applying polyurethane over polycrylic. The goal is to dull the sheen without cutting through the finish. If you sand too aggressively and break through to bare wood in spots, the new coat can telegraph flaws or bond unevenly.
What scuff sanding does
A light abrasive pass gives the new coat something to grip. It does not need to remove the old finish. It only needs to knock down gloss and leave a uniform matte look.
Which grits to use and how hard to sand
Common sandpaper grits often include sizes around 150, 220, and 320. WoodHungry recommends 150 grit for sanding, which is useful when the old film is slick or hard. On finer cabinetry work, 220 or 320 can be a safer choice if the surface only needs a light dulling. The right grit depends on the existing sheen and thickness of the film.
How to avoid sanding through the finish
- Use a sanding block or soft pad for flat, even pressure.
- Make only enough passes to remove the shine.
- Stop as soon as the surface looks evenly dull.
- Check edges, corners, and moldings often; they cut through fastest.
- Vacuum dust before any wipe-down.
What needs to be cleaned before topcoating?
Dust, oils, waxes, and silicone contamination all need to go. Sanding alone will not fix a greasy handprint, furniture polish, or a wax film. Clean the surface after scuff sanding, and do not skip this step on handled furniture, tabletops, or anything that has seen cleaners or polish.
Safe wipe-down options
Use a vacuum, tack cloth, or lint-free cloth to remove dust. For a final wipe-down, mineral spirits or denatured alcohol are commonly used when the existing finish and product directions allow it. Use only a light pass, then let the surface fully flash off before coating.
When cleaning alone will not fix the problem
If the finish has silicone contamination, a wax build-up, or repeated oil exposure, the coating may still fisheye after cleaning. That is a sign the surface needs deeper remediation, not just another wipe.
Decision matrix: topcoat, scuff-sand, strip, or stop
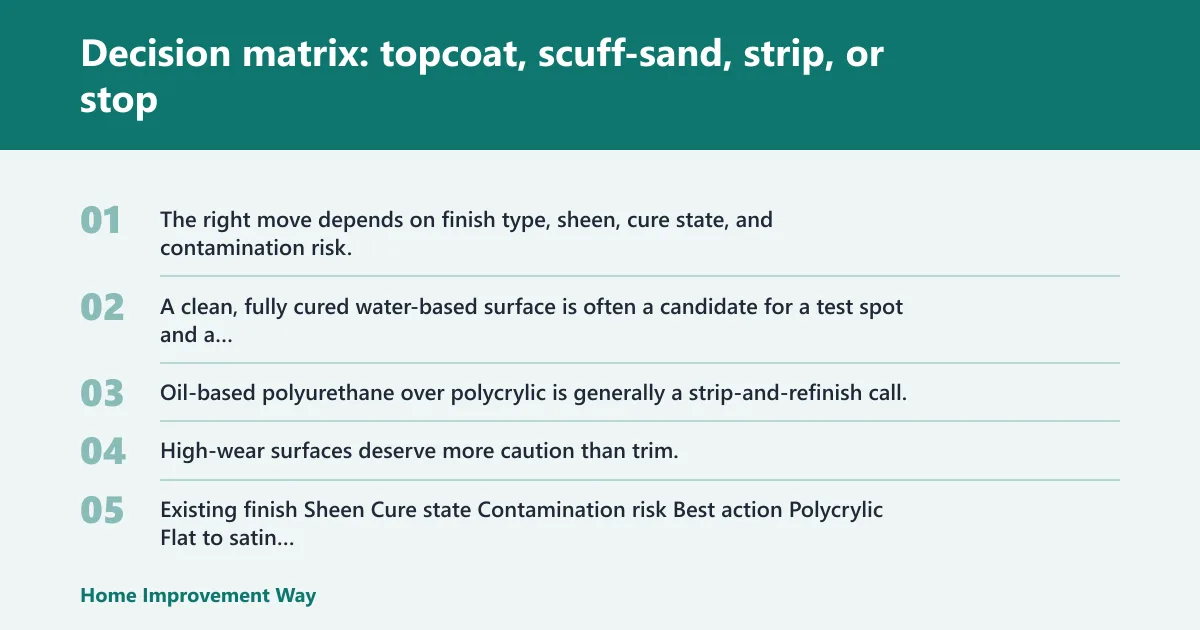
The right move depends on finish type, sheen, cure state, and contamination risk. A clean, fully cured water-based surface is often a candidate for a test spot and a water-based polyurethane topcoat. Oil-based polyurethane over polycrylic is generally a strip-and-refinish call. High-wear surfaces deserve more caution than trim.
| Existing finish | Sheen | Cure state | Contamination risk | Best action |
|---|---|---|---|---|
| Polycrylic | Flat to satin | Fully cured | Low | Scuff-sand and topcoat with water-based polyurethane |
| Polycrylic | Gloss | Fully cured | Low | Scuff-sand more carefully, then topcoat |
| Polycrylic | Any | Not fully cured | Low | Do not mix finishes yet |
| Polycrylic | Any | Fully cured | Moderate to high | Clean, test, then scuff-sand and topcoat only if the test passes |
| Polycrylic | Any | Fully cured | High | Strip and refinish |
| Polycrylic | Any | Any | Any | Do not mix finishes with oil-based polyurethane |
Project type matters
Tabletops: use the strictest standard. These surfaces see heat, moisture, and abrasion, so the finish needs excellent bond strength. If there is any contamination or cure doubt, strip or stop.
Cabinets: water-based polyurethane over cured, scuff-sanded polycrylic can work well if the surface is clean and the test spot behaves.
Trim: trim is lower risk because it sees less abuse. A clean, cured polycrylic base often accepts a water-based polyurethane topcoat after proper prep.
Handled furniture: drawers, doors, chair arms, and side tables pick up oils fast. If the piece is frequently touched, cleaning becomes as important as sanding.
Test a small inconspicuous area first. That hidden spot should get the same cleaning, sanding, and topcoat sequence you plan to use on the rest of the piece. If the test spot peels, bubbles, clouds, or stays tacky, stop before the full surface is coated.
What to watch for during the test
- Peeling at the edge of the test patch.
- Bubbling or trapped-looking blisters.
- Cloudiness that spreads after drying.
- Sticky or gummy feel after cure time.
- Visible fisheyes or craters from contamination.
How long to wait before calling it a fail
Give the test area enough time to dry and then continue curing. A patch that looks fine at first can still fail later if the base coat was not cured. If the test remains soft, hazy, or lifts at the edge after normal handling, the safer call is to strip and restart.
Why does polyurethane over polycrylic peel or bubble?
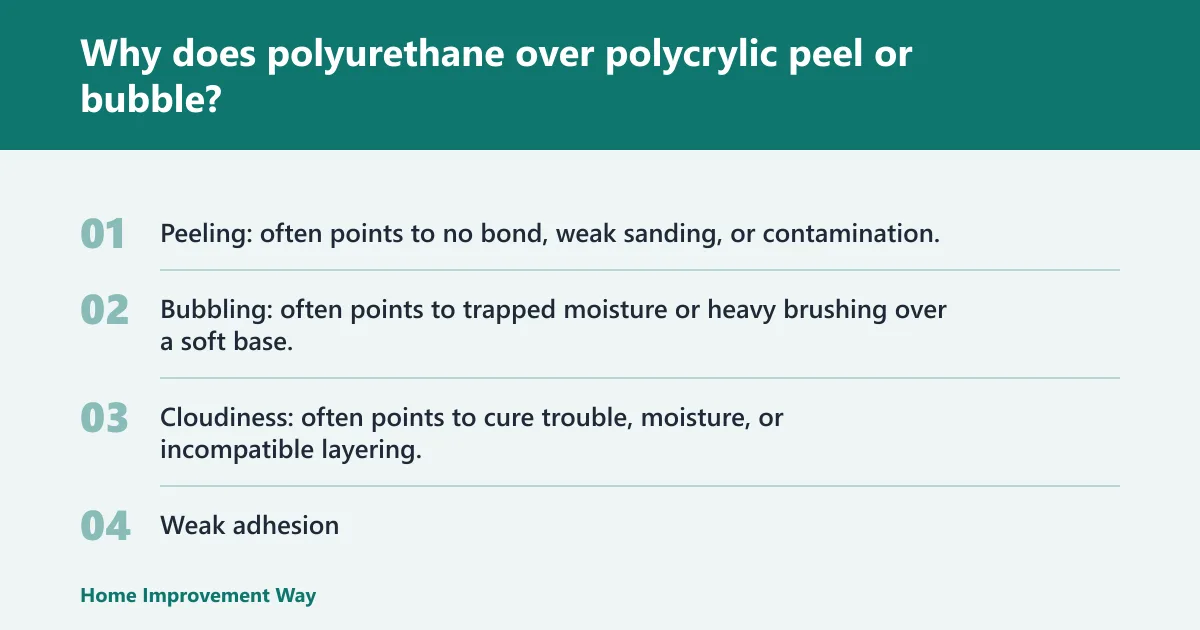
Peeling and bubbling usually come from poor adhesion, trapped moisture, or surface contamination. If the polycrylic was not fully cured, the topcoat can lock in water or solvent and fail as it tries to escape. Wax, silicone, and oil leave slick spots that the new film cannot grab.
Failure-case checklist
- Peeling: often points to no bond, weak sanding, or contamination.
- Bubbling: often points to trapped moisture or heavy brushing over a soft base.
- Cloudiness: often points to cure trouble, moisture, or incompatible layering.
- Weak adhesion: often shows up as easy scratch-through or edge lift.
What to do next
Small isolated defects may be sanded back, cleaned, and recoated if the rest of the finish is stable. Widespread peeling, repeated fisheyes, or cloudy failure across the panel usually means the surface needs to come off.
Should I use polyurethane or polycrylic for a tabletop?
For a tabletop, polyurethane is usually the stronger choice, especially in water-based form if you want to preserve clarity over a light wood or paint color. Polycrylic is better suited to indoor furniture, cabinets, and trim, while polyurethane is described as ideal for high-traffic areas like tabletops.
Oil-based polyurethane adds more warmth and usually more durability, but it also brings stronger odor and a higher chance of yellowing. If the tabletop is already finished with cured polycrylic, water-based polyurethane is the more practical topcoat option, provided the surface passes the test spot and prep steps.
Frequently asked questions
Can you put oil-based polyurethane over polycrylic?
Usually no. Oil-based polyurethane over polycrylic is the riskiest pairing because the chemistry, odor, and cure behavior work against reliable adhesion. If the goal is a tougher tabletop finish, the safer move is to strip the polycrylic, prep the wood again, and start with the finish system you actually want.
Can you put water-based polyurethane over polycrylic?
Yes, if the polycrylic is fully cured, scuff sanded, and free of dust, oil, wax, and silicone. Water-based polyurethane is the better match because it keeps the clarity of the base coat better than oil-based polyurethane and is the recommended route when layering is needed.
What grit sandpaper should I use before topcoating polycrylic?
Use a grit that dulls the sheen without cutting through the film. 150 grit is a workable choice on slicker surfaces, while 220 or 320 can be better for a lighter scuff on cabinets or trim. The right grit is the one that leaves an even matte surface, not bare wood.
How long should polycrylic cure before polyurethane?
Wait until the polycrylic is fully cured, not merely dry to the touch. Drying can happen fast, but curing may take days or weeks depending on humidity, film thickness, and coat count. A 24-hour wait may allow handling, but it is not a reliable topcoat rule.
Why does polyurethane over polycrylic peel or bubble?
Peeling and bubbling usually mean the base was not cured, was contaminated, or was not sanded well enough for adhesion. Oil, wax, silicone, and trapped moisture are common offenders. When those defects show up in a test area, the safest fix is often to stop and strip rather than keep coating.
Should I use polyurethane or polycrylic for a tabletop?
For a tabletop, polyurethane is usually the better fit because it is built for higher wear and better abrasion resistance. If the surface is already polycrylic and in good shape, a water-based polyurethane topcoat can work after cure, scuff sanding, cleaning, and a successful hidden test spot.
Sponsored / affiliate links. As an Amazon Associate I earn from qualifying purchases. I may earn additional commission from eligible campaigns.