Can You Put Vinyl Flooring Over Wooden Floorboards: Easy
Yes, you can absolutely put vinyl flooring over wooden floorboards, and it’s a fantastic DIY project for beginners! The key to success is ensuring your original wood floor is solid, clean, and completely level. A small amount of prep work, like securing loose boards and laying a thin underlayment, will give you a beautiful, durable new floor.
Hello, I’m Md Meraj! I know how it feels to look at old, worn-out wooden floorboards and wish for something fresh and new. Maybe they’re drafty, scuffed, or just don’t fit your style anymore. The good news is, you don’t have to go through the massive job of ripping them all out. Installing beautiful, modern vinyl flooring right on top is one of the easiest and most affordable upgrades you can do.
Many homeowners worry this project is too complicated, but I’m here to show you it’s not. With the right steps and a little patience, you can completely transform a room in just a weekend. In this guide, I’ll walk you through everything you need to know, from checking your old floor to laying the final plank. Let’s get started!
Why Put Vinyl Flooring Over Wood? The Pros and Cons
Deciding to cover up a natural wood floor can feel like a big step. But modern vinyl flooring offers some incredible benefits that make it a smart choice for many homes. Let’s break down why it might be the perfect solution for you.
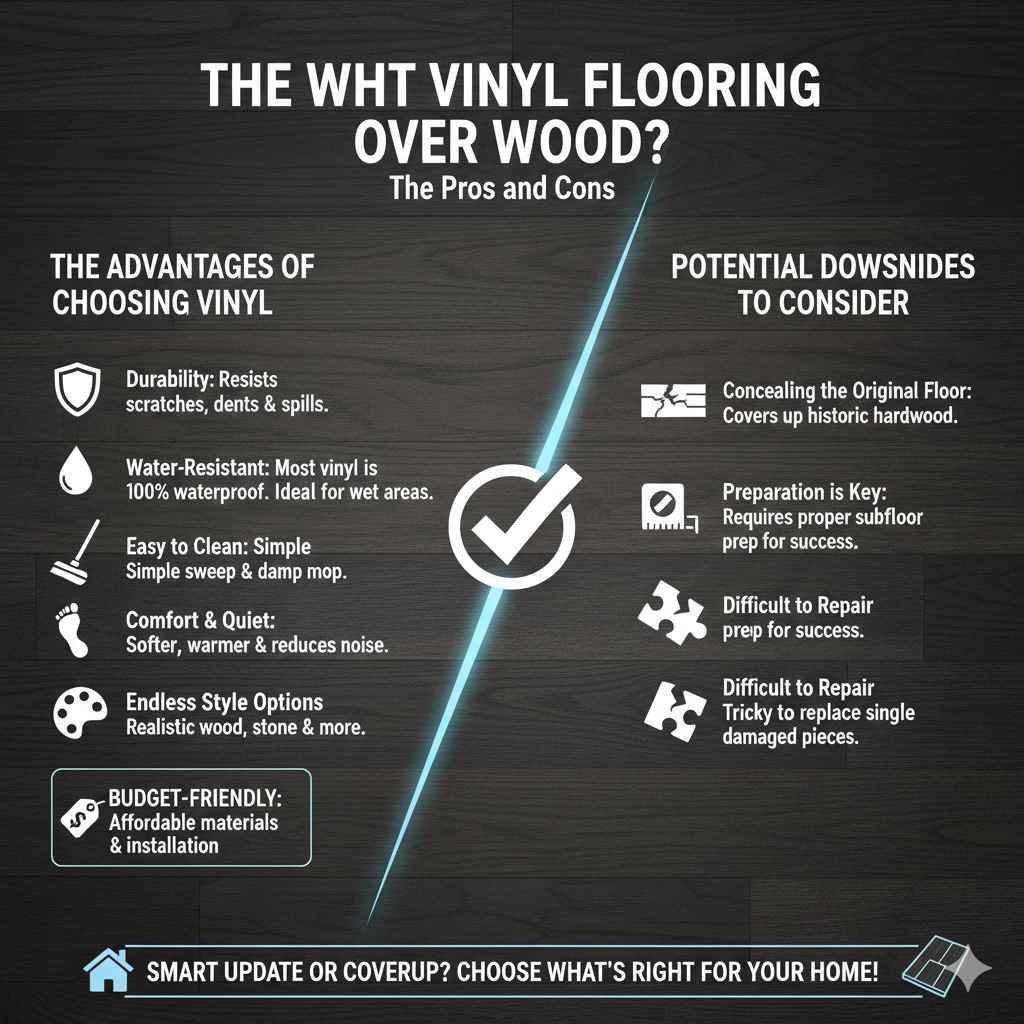
The Advantages of Choosing Vinyl
- Durability: Vinyl is incredibly tough. It stands up to scratches, dents, and spills, making it perfect for busy homes with kids or pets.
- Water-Resistant: Unlike wood, which can warp and stain from moisture, most vinyl flooring is 100% waterproof. This makes it a fantastic option for kitchens, bathrooms, and laundry rooms.
- Easy to Clean: A simple sweep and a damp mop are all you need to keep vinyl floors looking brand new. No special waxes or polishes required!
- Comfort and Quiet: Vinyl is softer and warmer underfoot than old, hard floorboards. It also helps reduce noise, making your home feel more peaceful.
- Endless Style Options: Modern vinyl comes in a huge variety of styles. You can get realistic wood looks, stone tile patterns, and more—all without the high cost and maintenance.
- Budget-Friendly: Both the materials and installation are generally much more affordable than refinishing or replacing hardwood floors.
Potential Downsides to Consider
- Concealing the Original Floor: If you have beautiful, historic hardwood that could be restored, covering it with vinyl means you lose that original feature. It’s a matter of personal preference.
- Preparation is Key: You can’t just throw vinyl down and call it a day. The project’s success depends entirely on making sure the wooden floorboards underneath are properly prepared.
- Difficult to Repair: While durable, if a plank or tile does get seriously damaged, it can be tricky to replace just one piece, especially with sheet vinyl.
First Things First: Is Your Wooden Floor Ready?
Before you buy a single box of flooring, you need to play detective. The condition of your existing wooden floorboards will determine how much prep work you have ahead of you. A solid, level base is non-negotiable for a great-looking vinyl floor.
What to Look For: The Inspection Checklist
Get down on your hands and knees and inspect your floor closely. Here’s what you need to check:
- Check for Levelness: Use a long, straight-edged board or a 4-foot level. Slide it across the floor in several different directions. Look for any significant dips or high spots. A floor that isn’t flat will cause the vinyl planks to separate or buckle over time.
- Find Loose or Squeaky Boards: Walk across the entire floor. Do any boards move, bend, or squeak loudly when you step on them? These will need to be secured.
- Look for Damage: Inspect for signs of rot, water damage, or termite damage. Soft, spongy spots or dark stains are major red flags. If you find these, you must address the underlying issue before proceeding.
- Measure the Gaps: Old floorboards often have gaps between them. Small gaps (less than 1/4 inch) are usually fine, but larger ones will need to be filled.
Here’s a quick table to help you decide what to do based on what you find.
| Problem Found | Easy DIY Solution | When to Stop and Re-evaluate |
|---|---|---|
| Uneven surface (minor bumps or dips) | Sand down high spots. Use a self-leveling compound for low spots. | The floor has a noticeable slope or is severely warped. |
| Loose or squeaky boards | Screw them down firmly into the floor joists below. | The boards are moving because the subfloor underneath is rotten. |
| Gaps between boards | Fill small gaps with wood filler. Lay a thin plywood underlayment over the top. | The gaps are wide enough to see through to the space below. |
| Minor surface damage (scratches, dents) | This is fine! It will be covered by the new floor. | You find soft, crumbling wood, which indicates rot or insect damage. |
Gathering Your Tools and Materials
Having everything you need on hand before you start makes any DIY project go smoothly. You don’t need a lot of fancy equipment for this job. Most of these tools are likely already in your garage!
Your Shopping List:
- The Flooring: Luxury Vinyl Plank (LVP) or Luxury Vinyl Tile (LVT) with a click-lock system is the most beginner-friendly.
- Underlayment: A thin (1/4 inch) plywood or a dedicated vinyl underlayment pad. This helps smooth out minor imperfections and provides a better base.
- Tools for Measuring & Marking: Tape measure, pencil, and a combination square.
- Cutting Tools: A sharp utility knife and a straight edge are all you need for most cuts. A jigsaw can be helpful for tricky shapes around doorways.
- Installation Tools: A tapping block, pull bar, and a rubber mallet (often sold together in a kit).
- Safety Gear: Knee pads are a must! You’ll be on the floor for a while. Gloves and safety glasses are also a good idea. For tips on staying safe during home projects, the National Institute for Occupational Safety and Health (NIOSH) offers great resources.
- Other Supplies: Pry bar (for removing baseboards), screws or nails (for securing loose boards), and wood filler if needed.
The Step-by-Step Guide to a Perfect Vinyl Floor
Alright, you’ve checked your floor and gathered your tools. Now for the fun part! Follow these steps carefully, and you’ll have a professional-looking floor in no time.
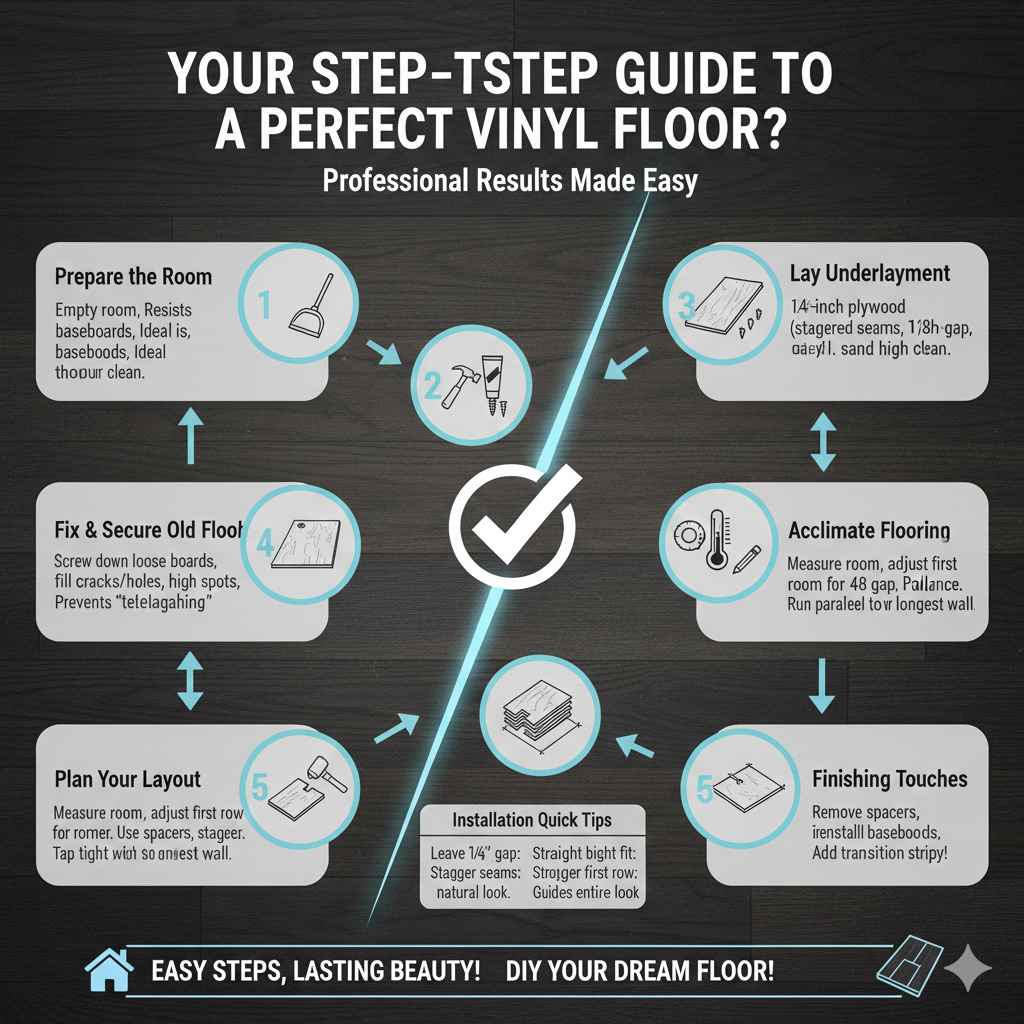
Step 1: Prepare the Room
Start by completely emptying the room of all furniture. Next, use a pry bar to gently remove the baseboards. Be careful not to damage them, as you’ll want to put them back on later. Label the back of each piece so you know where it goes. Finally, give the floor a thorough sweep and vacuum to remove all dust and debris.
Step 2: Fix and Secure the Old Floorboards
Now, address the issues you found during your inspection. Walk around and screw down any loose or squeaky boards directly into the floor joists. You can usually find the joists by looking for the old nail patterns. Fill any large cracks or holes with wood filler and let it dry completely. If you have any high spots, sand them down until they are flush with the rest of the floor.
Step 3: Lay Down the Underlayment
This is the most important step for a lasting finish. Laying a 1/4-inch plywood underlayment over your old floorboards creates a perfectly smooth, flat surface. This prevents the old board lines from eventually showing through your new vinyl, a problem called “telegraphing.”
- Lay the plywood sheets down, staggering the seams so they don’t line up.
- Leave a small 1/8-inch gap between sheets and around the walls to allow for expansion.
- Secure the plywood to the floorboards using short screws every 6-8 inches along the edges and in the center.
If your floor is already very smooth and level, you may be able to use a thinner foam or felt underlayment pad instead of plywood. Check the manufacturer’s instructions for your specific vinyl flooring to be sure.
Step 4: Acclimate Your New Flooring
Vinyl flooring needs to get used to the temperature and humidity of your home. Take the planks out of their boxes and lay them in small stacks in the room where they will be installed. Let them sit for at least 48 hours before you start laying them. Skipping this step can cause the planks to expand or shrink after installation, creating ugly gaps.
Step 5: Plan Your Layout
Measure the width of your room and divide it by the width of one plank. This will tell you if you’ll be left with a very thin, awkward-looking plank on your last row. If so, it’s better to cut your first row of planks narrower to make the first and last rows a more even size. Most people run the planks parallel to the longest wall in the room, as this tends to look best.
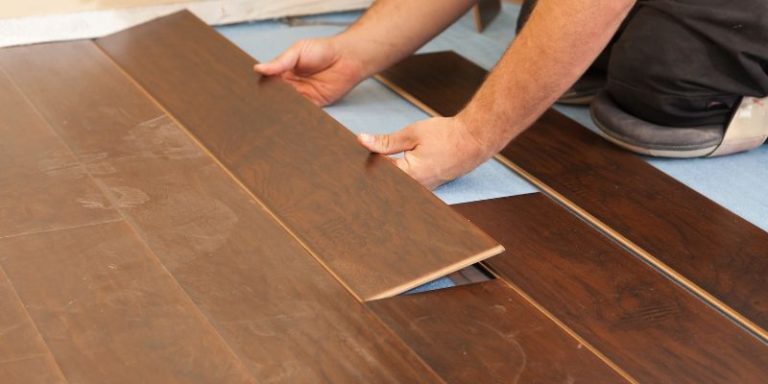
Step 6: Install the Vinyl Planks
This is where it all comes together! Most modern vinyl planks use a “click-lock” or “floating floor” system.
- Start the First Row: Begin in a corner (usually the left one). Lay your first plank down, leaving a 1/4-inch expansion gap between it and the walls. Use spacers to maintain this gap.
- Connect the Planks: Take your second plank and insert its tongue into the groove of the first plank at a slight angle. Lower it until it clicks into place. Continue this all the way down the first row.
- Cut the Last Plank: When you get to the end of the row, measure the remaining space and cut a plank to fit. You can use the leftover piece to start your next row (as long as it’s at least 6 inches long).
- Stagger the Seams: You never want the short seams of your planks to line up row after row. Staggering them makes the floor stronger and look more natural.
- Tap into Place: Use your rubber mallet and tapping block to gently tap the planks together for a tight, secure fit. The pull bar is used for the last plank in a row to pull it tight.
Continue this process row by row across the room. It’s like putting together a simple puzzle!
| Vinyl Plank Installation at a Glance | |
|---|---|
| Action | Why It’s Important |
| Leave a 1/4″ expansion gap around the perimeter | Allows the floor to expand and contract with temperature changes, preventing buckling. |
| Stagger the seams between rows | Creates a stronger, more stable floor and gives a more professional, natural wood look. |
| Use a tapping block and mallet | Ensures a tight lock between planks without damaging the edges. |
| Start with a straight first row | The first row is your guide for the entire room. If it’s crooked, the whole floor will be. |
Step 7: Finishing Touches
Once all the planks are laid, you can remove the spacers from around the edges. Reinstall your baseboards using a nail gun or hammer and finishing nails. The baseboards will hide the expansion gap perfectly. Install transition strips in doorways where the new vinyl meets another type of flooring. And that’s it! You can now move your furniture back in and enjoy your beautiful new floor.
Frequently Asked Questions (FAQ)
Can I put peel-and-stick vinyl tiles over wooden floorboards?
It’s generally not recommended. Peel-and-stick tiles require a perfectly smooth, non-porous surface to adhere properly. The gaps and texture of wooden floorboards will cause the tiles to fail and peel up over time. For the best results, you must install a plywood underlayment first.
Do I really need an underlayment for vinyl flooring over wood?
Yes, in most cases, it’s essential. An underlayment (like 1/4-inch plywood) does two critical things: it smooths out any imperfections in the old floorboards, and it prevents the lines of the boards from telegraphing through to the surface of the vinyl over time. Some vinyl planks come with a pre-attached underlayment pad, but this is not a substitute for a solid, flat subfloor.
How do I level my uneven wooden floorboards?
For minor issues, you can sand down high spots with a belt sander. For low spots or dips, you can use a self-leveling compound. You pour it into the low area, and it spreads out to create a flat surface. For more serious structural issues, it’s best to consult a professional.
What thickness of vinyl flooring should I choose?
For residential use, a thickness between 4mm and 6mm is a great choice. More important than total thickness is the “wear layer.” This is the top protective coating that resists scratches and scuffs. Look for a wear layer of at least 12 mil for good durability in most homes. For high-traffic areas, 20 mil is even better.
Will installing vinyl flooring damage the wood underneath?
If you install a “floating” click-lock vinyl floor, it won’t damage the wood. The floor isn’t glued or nailed down, so the original floorboards are preserved underneath. This can be a great option if you think you might want to restore the wood floor in the future. Just ensure there are no moisture issues before covering it up.
Can I install vinyl flooring over painted or sealed floorboards?
Yes, you can. The paint or sealant on the floorboards won’t affect the installation of a floating vinyl floor. Just make sure the surface is clean, solid, and free of any flaking paint or debris before you begin.
How much does this project cost compared to refinishing wood?
Installing DIY vinyl flooring is typically much more affordable than professionally refinishing a hardwood floor. Material costs for quality vinyl plank flooring range from $2 to $5 per square foot. Refinishing can cost anywhere from $3 to $8 per square foot, depending on the condition of your floors and labor costs in your area. For more detailed cost information, resources like the National Association of Home Builders often provide construction cost surveys.
Conclusion: You Can Do This!
Covering old wooden floorboards with modern vinyl flooring is one of the most rewarding and impactful DIY projects a homeowner can tackle. It’s affordable, it’s practical, and the results are immediate. By taking the time to properly inspect and prepare your existing floor, you are setting yourself up for a smooth installation and a beautiful, durable finish that will last for years.
Don’t be intimidated by the process. Just break it down into simple, manageable steps. Remember, the key is preparation—a solid and level base makes all the difference. With a little bit of work, you can give any room in your home a stunning makeover. Now go ahead and get started on creating a space you’ll be proud of!