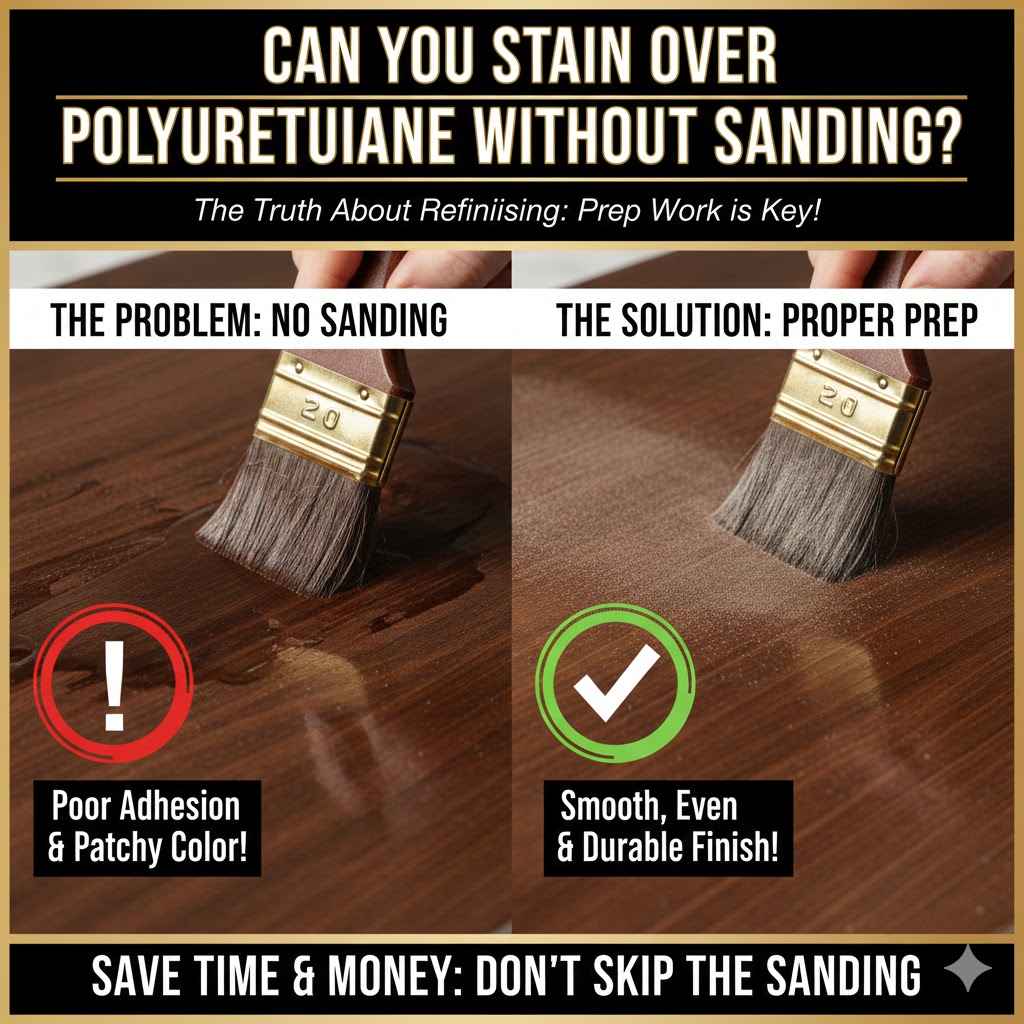
Can You Stain Over Polyurethane Without Sanding
Many people wonder if they can stain over polyurethane without all the extra work of sanding. It sounds like a great way to save time, right? For beginners, this question comes up a lot because refinishing furniture can seem tricky.
You want a beautiful new look without making a huge mess or spending all day on prep. This article will show you a simple way to achieve that fresh finish. We’ll go step-by-step to help you get the results you want, answering: Can You Stain Over Polyurethane Without Sanding? Let’s get started and see how easy it can be.
Staining Over Existing Polyurethane Without Sanding
This section covers the core question: Can you stain over polyurethane without sanding? We will explore the methods and products that make this possible. It’s about achieving a fresh look on wood furniture or floors that already have a protective polyurethane coating.
Many homeowners and DIYers look for shortcuts to refinish projects quickly. Knowing the right techniques helps you avoid hours of tedious sanding, making your project much more manageable.
Understanding Polyurethane Finishes
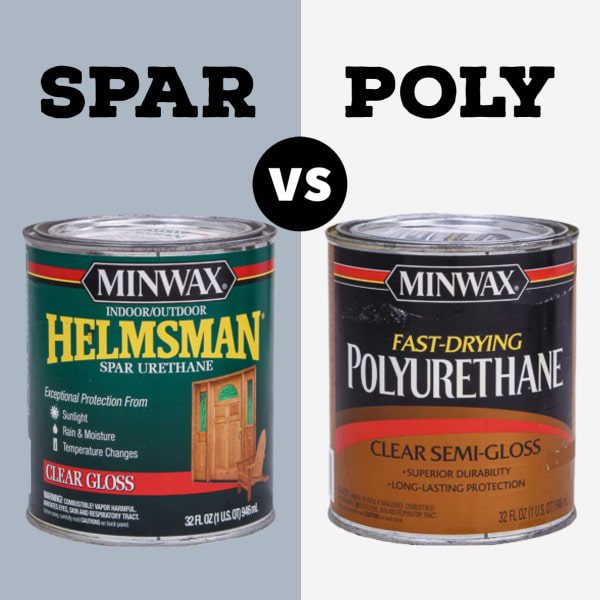
Polyurethane is a durable clear coating often applied to wood. It protects the wood from moisture, scratches, and wear. It comes in different sheens like gloss, semi-gloss, satin, and matte.
The type of polyurethane, whether oil-based or water-based, can affect how well you can apply new finishes over it. Oil-based poly is generally tougher and less porous than water-based poly. This makes it a bit harder for new stains to adhere to.
Water-based poly is more forgiving. Learning about these differences is key to choosing the right approach for your project.
The Challenge of Adhesion
Polyurethane creates a smooth, non-porous barrier on wood. Think of it like a plastic wrap over your wood. When you try to apply a stain directly over a smooth, sealed surface, the stain has trouble gripping.
It can bead up, wipe off easily, or not penetrate the wood at all. This is why sanding is traditionally recommended. Sanding scuffs up the surface, creating tiny scratches.
These scratches give the stain something to grab onto, allowing it to soak into the wood and change its color.
Without sanding, you need a different strategy. The goal is to find a product that can bond to the slick surface of the polyurethane. This often means using a special type of stain or a primer designed for this purpose.
These products are formulated to stick to non-porous surfaces. They act as a bridge, allowing your new color to adhere effectively. This avoids the dust and mess of sanding, which is a huge plus for many DIYers.
Products That Work Over Polyurethane
There are specific types of finishes that allow you to achieve a stained look without removing the old polyurethane. These often fall into a few categories. One is a gel stain.
Gel stains are thicker and sit more on top of the surface rather than soaking in deeply. This makes them excellent for use over existing finishes. Another option is a high-quality bonding primer followed by a paint or another type of stain.
Some paints are also designed to stick to slick surfaces without much prep.
When looking for products, check the labels carefully. You want to see phrases like “bonds to slick surfaces,” “no sanding required,” or “use over existing finishes.” This will save you from buying products that won’t work. Always test your chosen product in an inconspicuous area first.
This ensures it adheres well and gives you the look you want before you commit to the entire project. This small step can prevent major headaches later on.
How To Stain Over Polyurethane Without Sanding A Step-By-Step Guide
This section provides a clear, easy-to-follow guide on how to stain over polyurethane without sanding. We’ll break down each step so you can confidently tackle your project. Following these instructions will help you achieve a beautiful, updated look on your wood furniture or surfaces.
We’ll focus on the practical application of products and techniques discussed earlier.
Preparation Is Key Even Without Sanding
Even though you’re skipping the sanding step, thorough preparation is still crucial. The surface needs to be clean and free of any grease, grime, or old wax. This ensures that your new finish will adhere properly.
You’ll want to use a good degreaser or a mild soap and water solution. Wipe down the entire surface you plan to refinish. After cleaning, make sure the surface is completely dry.
Any moisture trapped under the new finish can cause problems.
Sometimes, polyurethane can become slightly hazy or dulled over time. If this is the case, a light scuff with a very fine-grit sandpaper (like 220 or 320 grit) can help. This isn’t a full sanding job, but just a light “de-glossing” of the surface.
It creates just enough texture for the new stain to grip better. However, many products are designed to adhere even without this light scuff. Always check the product’s specific recommendations.
For this guide, we assume you want to avoid sanding altogether.
Another important preparation step is to gather all your supplies. This includes your chosen stain, brushes or rags for application, a good quality topcoat if needed, and drop cloths to protect your work area. Having everything ready before you start prevents interruptions and makes the process smoother.
A clean workspace is as important as a clean surface.
Choosing The Right Product
As mentioned, not all stains work over polyurethane without sanding. You need a product specifically designed for this. Gel stains are a popular choice.
They are thicker than traditional stains and are more like a tint or a glaze. They don’t penetrate the wood like oil-based stains. Instead, they dry on top of the existing finish, giving the appearance of a stained wood.
This makes them ideal for covering a polyurethane layer.
Another excellent option is a bonding primer. You can apply a thin coat of a high-adhesion bonding primer over the polyurethane. Once the primer is dry, you can then apply your chosen paint or even a traditional stain over the primer.
This creates a solid base for your new color. Some brands offer “all-in-one” paints that include primer and topcoat properties, and many of these can adhere to glossy surfaces. Always read product descriptions to confirm they are suitable for use over a sealed surface without sanding.
When selecting your product, consider the finish you want. Gel stains offer a richer, more opaque color. Paints give you a wide range of color options and can create a completely new look.
If you want a wood-grain look, gel stain is usually the better bet. If you want a solid color, paint is the way to go. Remember to choose a product that complements the overall style of your furniture or project.
Applying The Gel Stain Or Bonding Primer
If you are using a gel stain, apply it with a foam brush or a good quality synthetic bristle brush. Work in small sections. Apply a thin, even coat.
You want to wipe off the excess almost immediately. Use a clean, lint-free rag. Wipe in the direction of the wood grain.
The longer you leave the gel stain on before wiping, the darker the color will become. You can build up layers if you want a deeper shade, but it’s best to do this after the first coat has dried.
If you are using a bonding primer, apply it with a synthetic bristle brush or a roller. Aim for thin, even coats. Avoid overloading the brush, as this can lead to drips and an uneven finish.
Most bonding primers are self-leveling, meaning they will smooth out as they dry. Allow each coat to dry completely according to the manufacturer’s instructions. You might need two coats of primer for full coverage, especially if you are covering a dark finish with a light color.
For both gel stains and primers, it’s important to follow the manufacturer’s drying times. Rushing the process can lead to a poor finish. Ensure good ventilation in your workspace.
Open windows and doors or use a fan to help the product cure properly. This also helps to dissipate any strong odors from the products.
Applying A Topcoat For Protection
After your gel stain or paint has dried completely, you will likely need to apply a topcoat. This is especially true for gel stains, which can sometimes be prone to scratching if not protected. A clear protective topcoat seals in your color and provides durability.
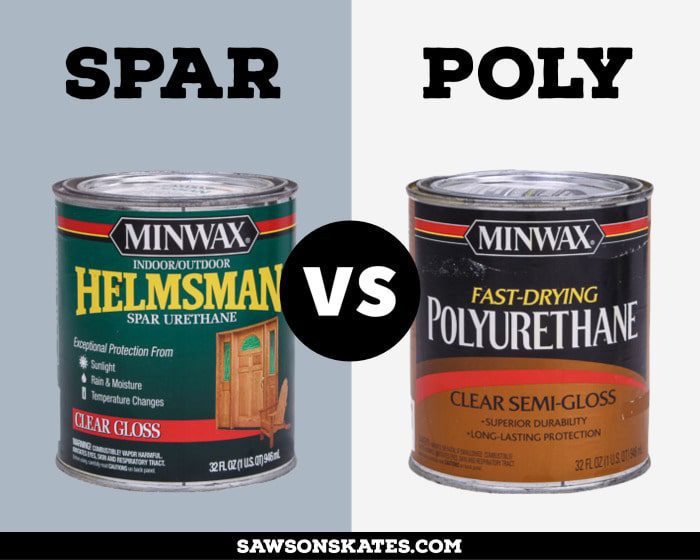
Options include polyurethane, polycrylic, or a furniture wax. Polycrylic is a good choice as it’s water-based, dries clear, and is less likely to yellow over time, especially over lighter colors. Polyurethane is also durable but can sometimes add a slight amber tint, particularly oil-based versions.
Apply the topcoat in thin, even coats. Use a high-quality synthetic brush or a foam applicator. Avoid over-applying, as this can lead to drips and an uneven finish.
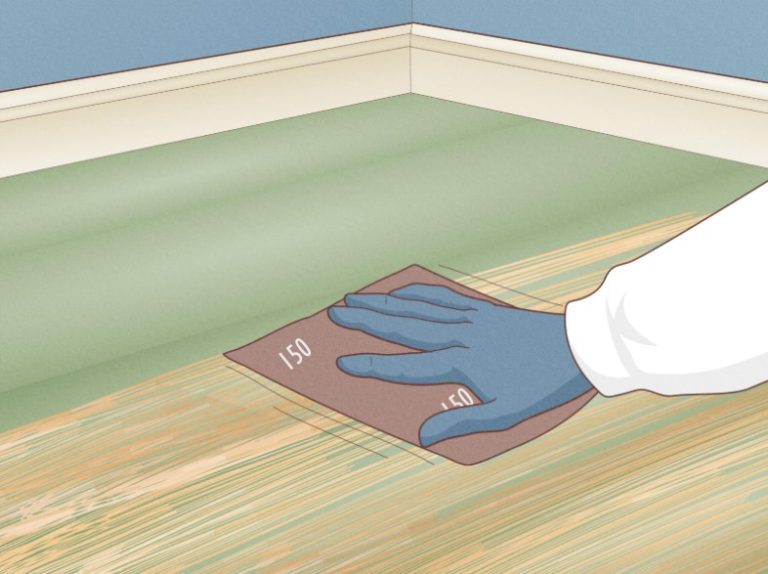
It’s better to apply multiple thin coats than one thick coat. Allow each coat to dry thoroughly between applications. Lightly sanding with a very fine grit sandpaper (400 or higher) between coats can create an even smoother finish.
This is optional but recommended for a professional look.
If you used a paint over a bonding primer, you may or may not need a separate topcoat depending on the type of paint. Many paints designed for furniture or cabinets are durable enough on their own. However, for high-traffic areas like tabletops or dresser drawers, adding a clear topcoat will significantly increase the lifespan of your finish.
Always check the paint manufacturer’s recommendations. For ultimate protection, a topcoat is often a wise investment.
Alternatives To Staining Over Polyurethane Without Sanding
While the methods described above are effective, sometimes you might consider other approaches or variations. This section explores those alternatives. It provides a broader view of how to refresh wood finishes, offering flexibility based on your project goals and the condition of the existing finish.
Re-coating With Polyurethane In A Different Sheen
If you like the current color of your wood but want to change the look or refresh the finish, you can simply re-coat with a different sheen of polyurethane. For example, if you have a glossy finish and want a more subdued look, you can apply a satin or matte polyurethane over the existing gloss. This is one of the simplest ways to update a piece.
The process here is very similar to the preparation steps for staining. You’ll need to clean the surface thoroughly. Then, ensure it’s completely dry.
If the existing polyurethane is in good condition with no major scratches or damage, you can often apply the new coat of polyurethane directly over it. However, a light scuff sanding with a very fine grit (320 or 400) can help the new layer adhere better and prevent peeling. Apply thin, even coats of your new polyurethane, allowing them to dry between applications.
This is a great way to refresh a piece without changing its color.
This method is ideal when the wood underneath the current polyurethane is still in great shape and you’re happy with its natural color. It’s about renewing the protective layer and adjusting the visual sheen. This is also a good option if you are unsure about using stains or paints and prefer to maintain the natural wood appearance.
The key is a clean, dry surface for optimal adhesion.
Using Trans-Tint Dyes Or Wood Conditioners
Trans-Tint dyes are liquid colorants that can be mixed with water-based or solvent-based finishes. They can sometimes be added directly to a water-based polycrylic or polyurethane. This allows you to add a hint of color without necessarily staining in the traditional sense.
It’s more like tinting your topcoat. You still need a clean surface, and often a light scuffing helps. The dye essentially becomes part of the finish itself.
Wood conditioners are typically used before applying traditional stains to ensure even absorption. However, some DIYers have experimented with using them to help other products adhere better. They are designed to penetrate the wood, but on a sealed surface, their effect is different.
They might slightly open up the pores of the polyurethane or create a tackier surface. It’s less common to use them for staining over poly without sanding, but it’s an area where some experimentation occurs in the DIY world. Always test these methods first.
When using dyes mixed into finishes, consistency is important. Stir the dye thoroughly into your chosen topcoat. Apply thin, even coats.
Build up the color gradually to achieve your desired shade. This method offers more control over the intensity of the color. It’s a way to subtly alter the existing finish rather than completely cover it.
Painting Over Polyurethane
Painting is a very popular and accessible way to update furniture with a polyurethane finish. Many paints are formulated to adhere to various surfaces, including glossy ones, with minimal preparation. This involves a thorough cleaning and sometimes a light scuffing.
Then, a good quality primer that adheres to slick surfaces is applied. After the primer is dry, you can apply your chosen paint color.
The advantage of painting is the vast array of color options available. You can completely transform the look of a piece. Many modern paints are also quite durable, especially those designed for cabinets or furniture.
For extra protection and a smooth finish, a clear topcoat can be applied over the paint. This is a straightforward process for beginners and offers a dramatic change.
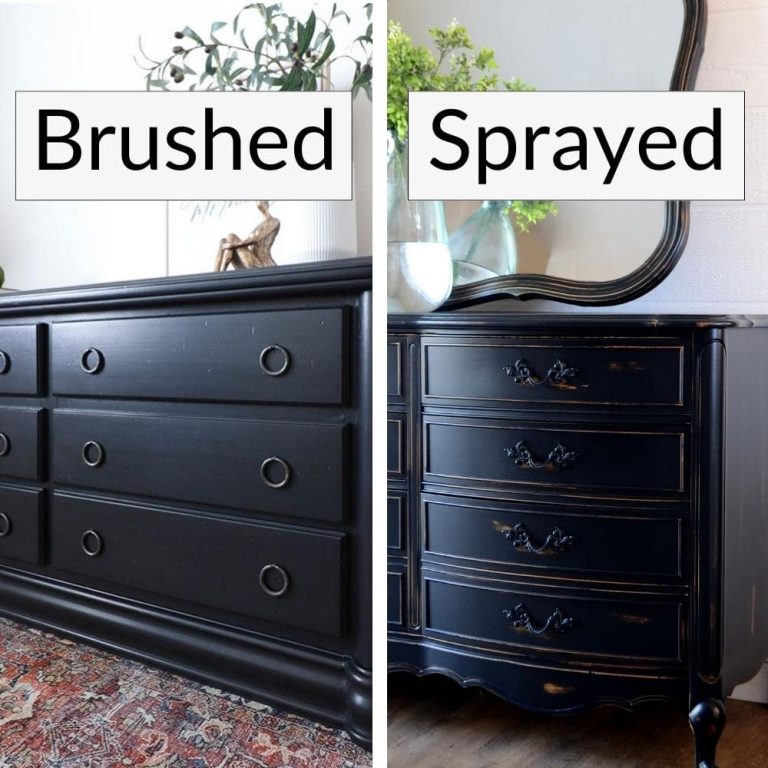
A common scenario is painting a wooden dresser that has a worn polyurethane finish. Instead of stripping it down, you clean it well, apply a bonding primer, and then paint it a new, fresh color. This breathes new life into the furniture without the labor-intensive work of sanding down to bare wood.
The result can be a modern, stylish piece that looks brand new.
Common Issues And How To Avoid Them
Even with simplified methods, some challenges can arise when you try to stain over polyurethane without sanding. Being aware of these potential problems can help you prevent them. This section addresses common issues and offers solutions to ensure your project is a success.
It’s about troubleshooting and achieving a smooth, professional-looking finish.
Adhesion Problems And Peeling
The most common issue is poor adhesion, leading to peeling or chipping paint or stain. This happens when the surface isn’t clean enough or the product isn’t designed to stick to the slick polyurethane. Even a trace of oil, wax, or residue can prevent proper bonding.
If the polyurethane itself is failing or peeling, you definitely need to address that first, possibly with some sanding.
To avoid adhesion problems, always start with a thorough cleaning. Use a good degreaser. After cleaning, don’t touch the surface with bare hands, as skin oils can interfere with adhesion.
Wear gloves. Also, choose products specifically labeled for use on “slick surfaces” or “no-prep” applications. Using a bonding primer is your best defense against this.
Always test your chosen products on a small, hidden area before starting the main project. This allows you to see if there are any adhesion issues before they become a major problem.
If you notice peeling after the fact, it might mean you need to remove the failed finish and start again, perhaps with proper sanding this time. However, sometimes a few small spots might indicate a larger issue with the surface prep or product choice. Sometimes, a light sanding of the affected area and reapplication of the primer and topcoat can fix minor peeling spots.
Uneven Color Or Streaks
Another issue is an uneven color distribution or visible streaks, especially with gel stains. This can happen if the stain is applied too thickly or if it’s not wiped off evenly. Gel stain needs to be worked quickly and wiped consistently.
If you apply too much stain and don’t wipe it off effectively, you can end up with dark patches or streaks that are difficult to correct.
To prevent unevenness, apply the gel stain in thin coats. Use a good quality brush or rag. Work in small sections.
Wipe off the excess stain immediately and consistently across the entire surface. If you are using a paint, applying too much at once can lead to drips and an uneven look. Use thin coats and a good brush or roller.
If you end up with streaks, you might be able to fix them by carefully wiping with a clean rag while the stain is still wet. If the stain has dried, it can be more challenging. Sometimes, you can lightly go over the streaky area with a clean, dry brush or rag to try and blend it.
In some cases, a light scuffing with fine-grit sandpaper might help, followed by another thin application of stain. Patience and practice are key here.
Durability Concerns
While methods exist to avoid sanding, the long-term durability might be a concern for some. Polyurethane is known for its toughness. If you’re applying a less durable finish over it, or if the adhesion isn’t perfect, the new finish might not last as long as a properly sanded and finished piece.
This is why choosing high-quality products and proper prep is so important.
To ensure durability, always use products designed for the intended use. If the furniture will see heavy use, invest in a durable bonding primer and a tough topcoat. For tabletops or high-traffic areas, a good quality polycrylic or polyurethane topcoat is essential.
Even if you skip sanding, using a product that bonds well and protecting it with a durable topcoat will give you the best results and longevity. Consider the environment where the piece will live. A piece in a low-traffic guest room may not need the same level of protection as a kitchen table.
Real-life example: A homeowner wanted to update an old oak dresser without stripping it. They cleaned it thoroughly, applied a high-adhesion bonding primer, and then painted it a soft blue. They finished it with two coats of a water-based polycrylic.
Two years later, the paint and topcoat are still holding up well, with no signs of peeling or excessive wear, even with daily use by their children. This demonstrates that with the right products and process, you can achieve a durable finish without sanding.
When Sanding Might Still Be Better
While it’s possible to stain over polyurethane without sanding, there are situations where traditional sanding is still the superior option. This section discusses those scenarios. It helps you make an informed decision based on your project’s needs and desired outcome.
Deep Scratches And Damage
If the existing polyurethane finish has deep scratches, gouges, or is peeling in large areas, simply applying a new finish on top will not hide these imperfections. In fact, the new color might make them even more noticeable. Sanding down to the bare wood allows you to repair these damages properly.
You can fill gouges, sand out deep scratches, and create a smooth, uniform surface before applying any new finish.
Sanding down to the wood also gives you more flexibility with your finish. You can choose any type of stain, from oil-based to water-based, and achieve the deepest, most even color penetration. It allows you to completely reset the finish.
For pieces with significant damage or if you’re aiming for a flawless, showroom look, sanding is often the best route.
Achieving A True Wood Stain Look
Traditional wood stains are designed to penetrate the wood fibers, giving them depth and a natural look. When you stain over polyurethane without sanding, you are typically using a product that sits on top of the finish (like a gel stain) or tinting the finish itself. This can sometimes look more like a painted finish or a glaze rather than a deep, rich wood stain.
If your goal is to achieve the authentic, varied tones of a true wood stain, sanding is usually necessary.
The ability of a stain to penetrate the wood is what creates its characteristic look. Without this penetration, the color might appear more uniform or artificial. Many enthusiasts and professionals prefer the look and feel of a deeply stained wood.
For these individuals, the effort of sanding is well worth it to achieve that authentic aesthetic. It’s about embracing the natural beauty of the wood grain.
Extensive Color Changes Or Stripping
If you are planning a drastic color change, such as going from a dark espresso to a very light whitewash, or if you need to strip off an old, damaged finish completely, sanding is the most effective method. Trying to cover a dark finish with a light gel stain or paint without proper prep can lead to poor coverage and a muddy appearance. Sanding allows you to remove the old finish entirely and start with a clean slate.
This also applies if the existing polyurethane is old and potentially brittle or if it contains lead (in very old finishes). In such cases, careful removal with proper safety precautions is necessary. Sanding, when done with the right tools and techniques, can efficiently remove the old finish and prepare the wood for a brand-new look.
It offers control over the entire finishing process from start to finish.
Frequently Asked Questions
Question: Can I use any type of stain over polyurethane without sanding?
Answer: No, not all stains will work. You generally need specialized products like gel stains or a high-adhesion bonding primer first. Traditional penetrating stains will not adhere well to smooth polyurethane without sanding.
Question: Will staining over polyurethane without sanding be as durable as sanding?
Answer: Durability can vary. When done correctly with the right products and a good topcoat, it can be quite durable. However, a properly sanded and finished piece often offers the best long-term resilience.
Question: What is the best way to clean wood before applying a new finish without sanding?
Answer: Thoroughly clean the surface with a degreaser or a mild soap and water solution. Ensure the wood is completely dry before proceeding. Any oily residue can prevent proper adhesion.
Question: How many coats of gel stain should I apply?
Answer: It depends on the desired color depth. Start with one thin coat, wipe off excess immediately, and let it dry. You can then add more thin coats to build up the color if needed, allowing drying time between each coat.
Question: Can I use a colored polyurethane directly over existing polyurethane?
Answer: Yes, some tinted polyurethanes or polyurethanes with added dyes can be applied over existing polyurethane, especially if it’s lightly scuffed. This is similar to re-coating with a different sheen but adds a touch of color.
Summary
You absolutely can stain over polyurethane without sanding if you use the right products like gel stains or a bonding primer. Clean the surface well and apply your chosen finish carefully. Add a protective topcoat for lasting results.
This method saves time and effort, giving your projects a fresh new look quickly and easily.