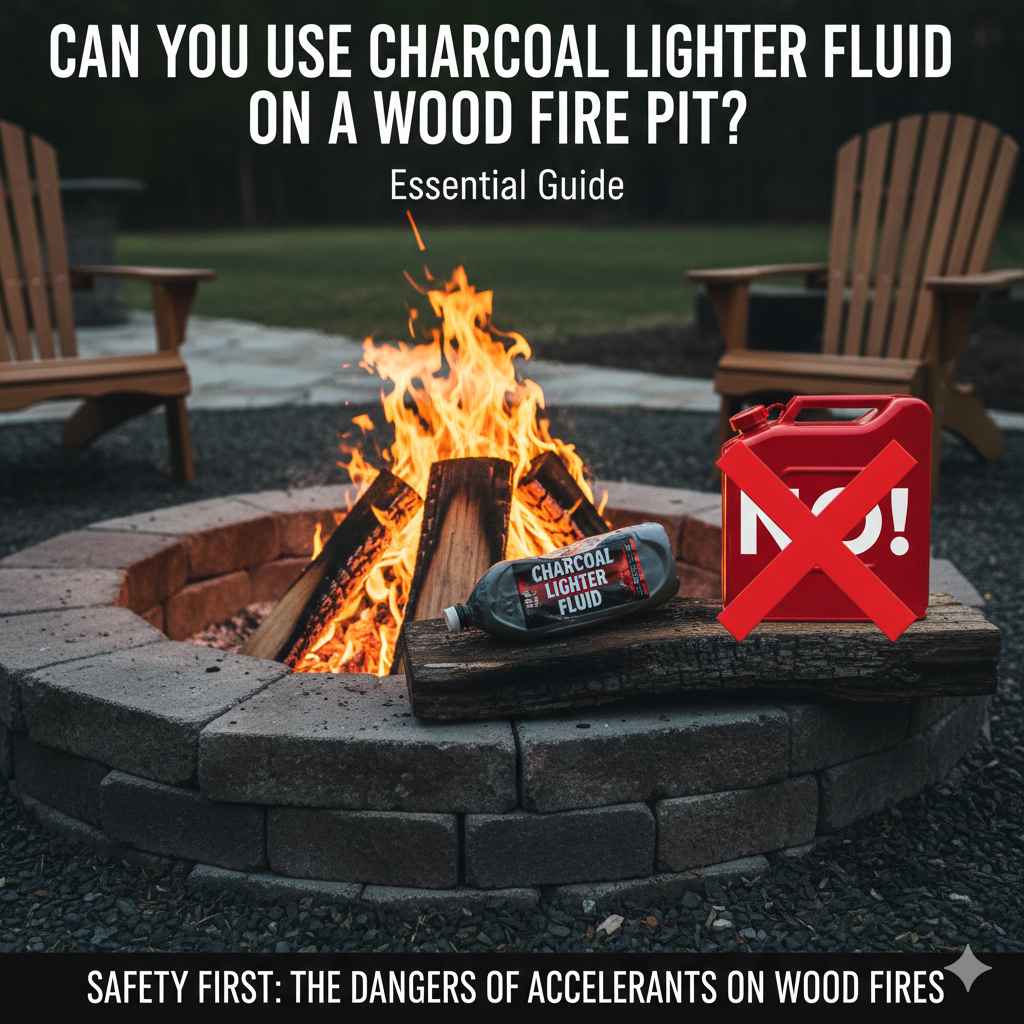
Can You Use Charcoal Lighter Fluid On Wood Fire Pit? Essential Guide
While tempting for a quick light, you should generally not use charcoal lighter fluid on a wood fire pit. Lighter fluid is designed for charcoal briquettes, not seasoned logs. It burns too fast, leaves a nasty chemical taste and smell, and can potentially damage your fire pit structure due to intense, uneven heat. Stick to natural kindling and approved fire starters for a safer, better-smelling wood fire.
Starting a backyard fire should be relaxing, right? You’ve got your favorite chairs set up, the night is cooling down, and you just want that perfect, crackling wood fire going. But sometimes, those big logs refuse to catch, and the temptation to grab that can of charcoal lighter fluid is strong. It seems like an easy shortcut!
As your woodworking and home improvement friend, I want to stop you before you douse your oak logs in chemicals. Using lighter fluid designed for charcoal on natural firewood isn’t just messy; it can be unsafe and ruin the cozy atmosphere you are aiming for. Don’t worry! We’re going to break down exactly why it’s not recommended and give you simple, safer, and surprisingly effective ways to get that beautiful wood fire going quickly.
We’ll cover the chemical differences, the safety risks, and—most importantly—the best alternatives so you can master the art of the wood fire with total confidence.
Understanding the Difference: Charcoal Fluid vs. Wood Fire
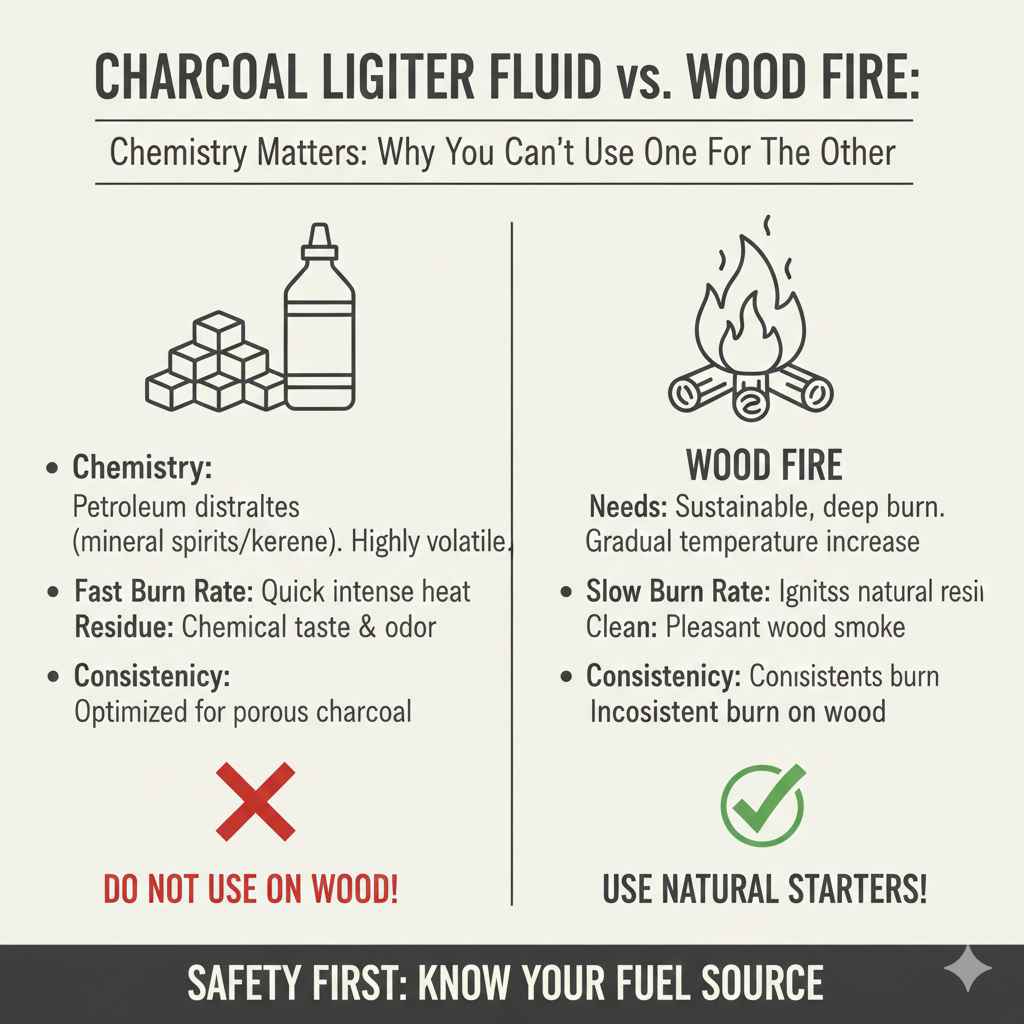
Why the big fuss? If both are for fire, what’s the problem? The issue comes down to chemistry and how these accelerants are designed to burn. Think of it like trying to use maple syrup instead of motor oil in your car—they both look liquid, but they do very different jobs.
The Chemistry of Charcoal Lighter Fluid
Charcoal lighter fluid is primarily made of petroleum distillates, often mineral spirits or kerosene. These are highly volatile, meaning they evaporate quickly and ignite easily, providing the intense, quick burst of heat needed to turn cold, dense charcoal into glowing embers.
- Fast Burn Rate: Designed to burn off completely within the first few minutes.
- Residue: Leaves behind chemical residues and strong odors.
- Consistency: Optimized for the porous, packed structure of charcoal briquettes.
The Needs of a Seasoned Wood Fire
When you are building a wood fire, you aren’t just looking for a quick flash; you are aiming for a sustainable, deep burn. Seasoned firewood needs a gradual increase in temperature to fully ignite the natural resins and cellulose in the wood.
Using lighter fluid on wood often results in an uncontrolled flare-up, followed by the chemical smell overwhelming the pleasant scent of burning wood. Worse yet, the fluid doesn’t soak in effectively like it does with charcoal, leading to inconsistent burning.
Safety First: Why Lighter Fluid Poses Risks to Your Fire Pit
My biggest concern, and the reason I always advise against this shortcut, is safety. When you’re working around fire, simple mistakes can lead to big problems. Let’s look at the tangible risks.
1. Flashback and Unexpected Flare-Ups
Because lighter fluid vaporizes so quickly, applying it, stepping back, and then striking a match can cause a sudden, intense “flashback” that travels back to the can if it’s too close. This is dangerous for your hands and face. Wood fires don’t need this kind of violent introduction.
2. Chemical Contamination and Smoke Quality
This is key for backyard enjoyment. When the fluid burns off, it releases smoke laced with chemical byproducts. Instead of that lovely, comforting campfire smell, you might get a harsh, acrid smell that lingers on your patio furniture and clothing. This chemical smoke is not healthy to breathe deeply, especially if children or pets are nearby.
3. Potential Fire Pit Damage
While many modern fire pits are durable, an extremely fast, intense, and localized blast of heat—which lighter fluid provides—can stress materials unevenly. If you have a fire pit made of thin metal or stone, this uneven heat expansion can potentially cause warping or cracking over time. We want our backyard investments to last!
For a comprehensive look at fire safety standards, organizations like the National Fire Protection Association (NFPA) provide guidelines on safe fuel use around outdoor recreational fires. Always check local ordinances regarding accelerants.
The Right Way to Start a Wood Fire: The Fire Triangle Method
Getting a wood fire started is easy when you follow the basic principles of fire-building. This requires three elements working together, often called the Fire Triangle: Heat, Fuel, and Oxygen.
Understanding Fire Fuel Stages
To build a successful fire, you layer your fuel from smallest and easiest to ignite to largest and slowest burning:
- Tinder: The material that catches the initial spark (e.g., dry leaves, dryer lint, cotton balls, very fine wood shavings).
- Kindling: Small sticks, usually pencil-sized to thumb-sized, that catch fire from the tinder.
- Fuel Wood: The main logs that create a long-lasting, robust fire.
Step-by-Step: Building a Confident Wood Fire Without Lighter Fluid
Forget the chemicals; let’s build a superior fire using tried-and-true methods. This technique ensures a strong, self-sustaining fire that builds gradually.
Tools and Materials You Will Need:
- Seasoned firewood (less than 20% moisture content).
- Natural fire starters (see recommendations below).
- Lighter or long-reach fireplace matches.
- Gloves.
Method 1: The Teepee or Log Cabin Structure
This structure promotes excellent airflow (Oxygen), which is crucial for a clean burn.
Step 1: Prepare the Base
Ensure your fire pit is clean and dry. Place a layer of thicker kindling or small scrap wood pieces on the very bottom to slightly elevate your tinder from the cold/damp ground or metal base.
Step 2: Ignite the Tinder Nest
Place your chosen tinder (e.g., a few crumpled pieces of dry newspaper or a natural fire starter cube) directly in the center of your prepared base.
Step 3: Build the Kindling Structure
Arrange your smallest, driest kindling around the tinder. The Teepee method works best here: lean the smallest pieces together over the tinder like a tiny cone, leaving an opening on the side facing the wind (or where you will light it).
Step 4: Add the First Fuel Logs
Lean two or three of your smallest (wrist-sized) fuel logs against the outside of the kindling structure. Keep them slightly separated to allow oxygen to feed the growing flame.
Step 5: Light and Nurture
Use your long-reach lighter or match to gently light the tinder from the base opening. Once the kindling catches fully and you have strong flames licking the smaller fuel logs, step back. Resist the urge to poke or add large logs too soon!
Step 6: Gradual Feeding
Only when the initial logs are actively burning and have a decent bed of hot embers should you begin adding larger logs. This gradual addition keeps the fire hot and prevents it from smoking excessively.
Best Natural Fire Starters (The Safe Alternative to Fluid)
If you need a little boost beyond dry paper, there are excellent, safe commercial products designed specifically for wood fires that mimic the quick lighting power of fluid without the chemicals. These are affordable and highly recommended for DIYers.
| Fire Starter Type | Pros | Cons | Best Use For |
|---|---|---|---|
| Wax-Coated Wood Shavings (Fatwood/Fire Sticks) | Burns hot and long (up to 15 minutes); completely natural and waterproof. | Can be slightly more expensive than paper starters. | Damp conditions or starting dense hardwood logs. |
| Paraffin Wax Cubes | Inexpensive; easy to light; burns consistently. | Can leave a slight, temporary waxy smell if overused. | Quick, easy lighting for typical backyard fires. |
| Dryer Lint & Wax Mix | Almost free to make; very effective tinder. | Requires some prep time to mix and form into balls. | Budget-conscious builders who like simple DIY prep. |
What About Those Commercial Fire Logs?
You might see “Fire Logs” or “Fire Starters” in the store. It’s vital to read the label!
Commercial Fire Logs (e.g., Duraflame Logs): These are usually made of compressed sawdust and wax. They are designed for indoor fireplaces and provide a long, slow burn. While perfectly safe for wood fire pits, they don’t help you start your natural wood fire quickly; they are the fuel.
Accelerant-Soaked Starters: These are often small, compressed discs or logs soaked in a safe, less volatile accelerant than lighter fluid. These are generally fine to use under your kindling pyramid, provided they are explicitly labeled as suitable for outdoor wood fires.
Expert Tip: The Magic of Dry Kindling
The number one reason fires fail to start is wet or insufficiently small kindling. If you gather sticks outside, they often look dry on the surface but hold moisture deep inside.
If you are serious about DIY fire starting, keep a small bucket of feather sticks** or very small, dry splits ready near your woodpile. Feather sticks are small pieces of dry wood that have been carefully shaved into curls that remain attached to the stick. These curls ignite almost instantly, providing the perfect bridge between tinder and your first fuel log.
Remember the advice from forestry experts: for the quickest, safest ignition, your fuel should be dry, and your starter pieces should be very small.
Fire Pit Material Considerations
The type of material your fire pit is made from also influences how you should start your fire, which further reinforces why violent chemical acceleration is a bad idea.
Steel/Metal Fire Pits
These conduct heat very quickly. An uneven blast from lighter fluid can cause localized “hot spots” that lead to premature rust or warping of the metal basin. A slower, gradual heat buildup is much kinder to steel.
Stone/Brick Fire Pits
Natural stone (like flagstone or river rock) is generally very durable, but many modern fire pits use concrete or engineered stone. Concrete can sometimes crack if it contains trapped moisture and is exposed to sudden, intense heat, causing steam to build up rapidly inside the material. This is known as thermal shock.
Clay/Terracotta Fire Pits
These are the most susceptible to cracking from thermal shock. If you have a delicate clay or terracotta bowl-style pit, using gentle, natural methods to establish heat is essential for longevity.
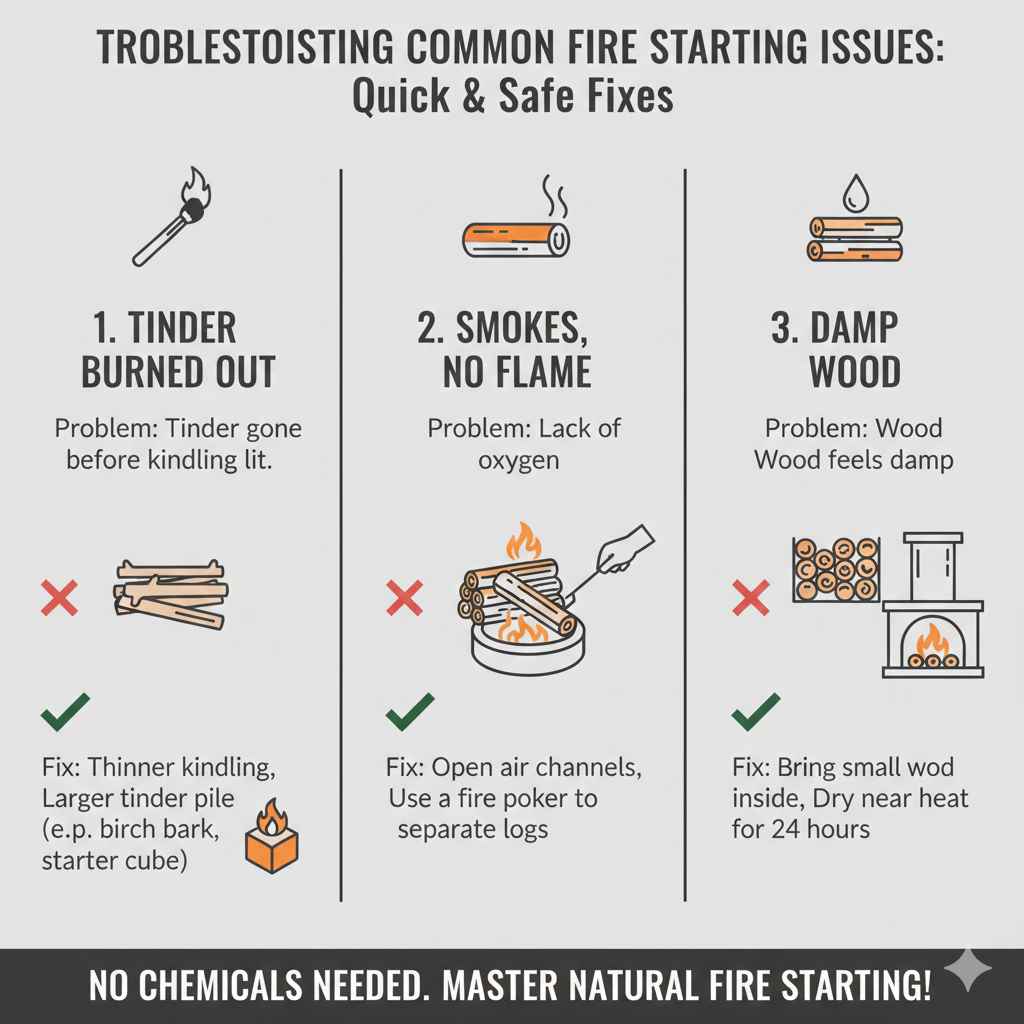
Troubleshooting Common Fire Starting Issues
Even with the right setup, sometimes a fire just won’t take hold. Here are quick fixes that don’t involve chemicals:
Problem: The tinder burned out before the kindling caught.
Fix: Your kindling pieces were too thick, or the tinder pile wasn’t big enough. Use thinner kindling next time or supplement the tinder with a piece of dry birch bark or a small, natural fire starter cube.
Problem: The fire smokes but won’t flame up strongly.
Fix: Lack of oxygen. Your wood pieces might be packed too tightly, or the wind isn’t catching it right. Gently poke the base with a poker to open air channels underneath, ensuring the flames can breathe.
Problem: My wood feels damp even though it’s been outside.
Fix: Bring the smallest pieces of wood (kindling and tinder) inside for 24 hours near a warm spot (but not touching a heat source) to ensure they are fully seasoned before attempting to burn.
Frequently Asked Questions (FAQ) for Beginner Fire Builders
Q1: Is it toxic to breathe the smoke from lighter fluid once it burns out?
A: Yes, even after the initial flash, the smoke produced by burning petroleum distillates contains harmful particulates and volatile organic compounds (VOCs). It’s best to avoid heavy exposure to smoke from chemical accelerants.
Q2: Can I use rubbing alcohol to start a wood fire instead of lighter fluid?
A: While some sources suggest using isopropyl alcohol (rubbing alcohol), it still burns very quickly and can cause an unpredictable flare-up, similar to lighter fluid. For wood fires, natural, slow-burning starters are much safer and provide better results.
Q3: How long does it take for seasoned wood to catch fire without any accelerant?
A: With good tinder and properly sized kindling arranged in a Teepee or Log Cabin structure, a seasoned log should begin actively burning within 5 to 10 minutes of lighting the tinder nest.
Q4: If I must use something wet to start my wood fire, what is safe?
A: If your wood is slightly damp, using common household items like cotton balls soaked in petroleum jelly (Vaseline) or commercially available dry fire starter logs are far superior and safer options than liquid lighter fluid.
Q5: Should I soak my wood in water to “season” it for a better burn?
A: Absolutely not! Wood must be dry (seasoned) to burn efficiently. Soaking wood in water will make it much harder, not easier, to ignite, as the energy from your starter will be spent boiling off the excess water before the wood even chars.
Q6: Where is the safest place to store my charcoal lighter fluid if I use it for my grill?
A: Store lighter fluid tightly capped, away from any source of heat, sparks, or flame, preferably outdoors in a secure shed or garage, away from direct sunlight. Never store it near your woodpile.
Conclusion: Confidence Through Preparation
You now know the definitive answer: please keep that can of charcoal lighter fluid strictly for the barbecue grill, not for your cozy wood fire pit. While the temptation for a quick fix is understandable when battling damp wood or stubborn kindling, the risks associated with chemical accelerants—unpleasant smoke, uncontrolled flare-ups, and potential structural stress—simply aren’t worth the small time saving.
Building a beautiful, lasting wood fire is an incredibly satisfying DIY skill. By mastering the Fire Triangle, respecting the three stages of fuel (tinder, kindling, fuel wood), and utilizing safe, natural fire starters, you gain complete control. Every time you light that beautiful, natural fire without chemicals, you’ll feel more confident. Grab those feather sticks, build your Teepee structure, and enjoy the clean, crackling warmth of a fire you built the right way. Happy fire building!