DIY Shelves Plywood: Easy Step-By-Step Guide For Home Decor
In the realm of home improvement and interior design, the utilization of DIY shelves plywood has emerged as a versatile and cost-effective solution for maximizing vertical space while enhancing aesthetic appeal. The inherent properties of plywood, including its strength-to-weight ratio and ease of manipulation, make it an ideal material for custom shelving projects. By leveraging cutting, finishing, and joining techniques, creators can fabricate unique shelving units tailored to specific dimensions and decor styles.
This article delves into the intricacies of designing and constructing DIY plywood shelves, offering insights and inspiration for your next home project that promises to elevate both functionality and design.
Creative DIY Shelves With Plywood: Step-By-Step Guide
Creating stylish and functional DIY shelves using plywood can transform any space in your home. This guide highlights essential tips, materials, and step-by-step instructions for crafting beautiful, sturdy shelves tailored to your needs. From design ideas to practical assembly techniques, discover how to elevate your interior decor while making the most of your DIY skills. Embrace the versatility of plywood and learn to build shelving solutions that not only save space but also showcase your personal style.
Understanding Plywood for DIY Projects
Types of plywood suitable for shelving. Benefits of using plywood for DIY shelves.
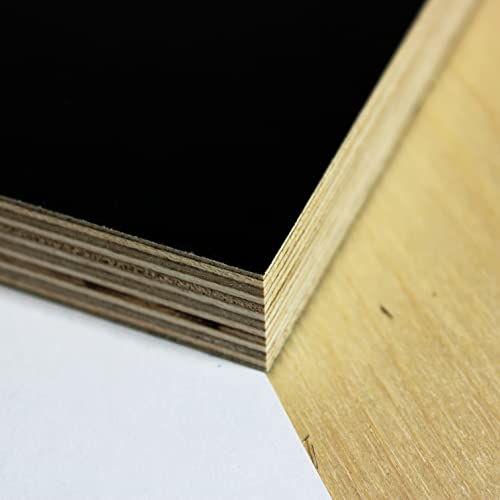
Plywood is a great choice for DIY shelves because it’s strong and versatile. Different types of plywood work better for shelving. Here’s a quick breakdown of some suitable options:
| Type of Plywood | Best For | Benefits |
|---|---|---|
| Birch Plywood | Heavy items | Very strong! |
| Oak Plywood | Stylish shelves | Looks great! |
| Softwood Plywood | Lightweight items | Easy to work with! |
Using plywood for DIY shelves has many perks. It’s durable, cost-effective, and surprisingly flexible.
Plus, you can paint or stain it however you like. Imagine your shelf looking snazzy while holding your favorite books and snacks. Who says shelves can’t be fun?
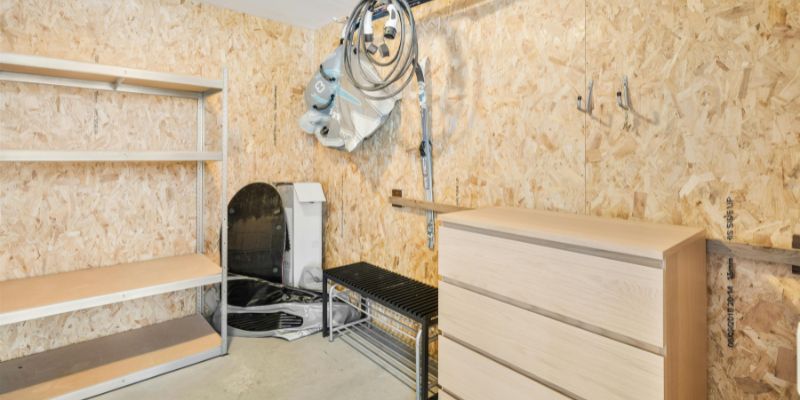
Essential Tools and Materials for DIY Shelves
List of required tools (saw, drill, etc.). Necessary materials (plywood types, screws, brackets).
Ready to build some fabulous shelves? First, you need the right gear. Grab a saw to cut plywood like a pro. A drill is vital for making holes and screwing things together—think of it as your trusty sidekick!
Don’t forget bolts and brackets to hold everything in place. Now, about that plywood: use good quality, sturdy pieces to keep your treasures safe. Here’s a neat little table to remember your must-haves:
| Tools | Materials |
|---|---|
| Saw | Plywood |
| Drill | Screws |
| Measuring tape | Brackets |
| Level | Wood glue (for extra strength!) |
Designing Your DIY Plywood Shelves
How to measure and plan your shelf layout. Popular shelf designs and styles (floating shelves, corner shelves).
First, grab a tape measure. Figure out how much space you have for your new shelves. Don’t forget to measure twice; nobody wants a shelf that looks like a crooked picture! Popular styles include floating shelves that seem to float on the wall and corner shelves that hug those awkward spaces.
Here’s a quick look at some of the designs:
| Design Style | Description |
|---|---|
| Floating Shelves | Easy to install, perfect for minimalists! |
| Corner Shelves | Great for saving space, like a ninja of storage! |
Planning your layout will keep your shelves both stylish and useful.
Happy measuring!
Step-by-Step Guide to Building DIY Plywood Shelves
Preparing plywood sheets for cutting. Cutting and assembling the shelves. Finishing touches: sanding and staining.
Start by preparing your plywood sheets. Measure and mark where you will make cuts. Ensure you wear safety gear. Next, it’s time to cut the shelves.
Use a saw, and follow your marked lines carefully. After cutting, assemble the shelves by joining the pieces together with wood glue or screws. Lastly, add the finishing touches: sand the edges smoothly and apply a stain to enhance the wood’s beauty.
- Measure and mark your plywood sheets carefully.
- Use a saw for precise cuts.
- Join pieces with wood glue or screws.
- Smooth edges with sandpaper.
- Apply wood stain for a nice finish.
Mounting and Securing Your Plywood Shelves
Different mounting options (brackets, wall anchors). Tips for ensuring stability and safety.
Once you have your lovely plywood shelves ready, it’s time to make them sturdy. You can use brackets for a classic hold or try wall anchors if you’re feeling adventurous. It’s like choosing between pizza or burgers—both are great, but there’s a time for each! To keep your shelves safe, make sure they’re level.
An unsteady shelf is like a wobbly dancer; it won’t end well! Here’s a quick table of options:
| Mounting Type | Pros | Cons |
|---|---|---|
| Brackets | Easy to install | May need extra support for heavy items |
| Wall Anchors | Very strong | Can be tricky to install |
So, choose wisely and don’t forget to make sure everything is tight and secure. Happy shelving!
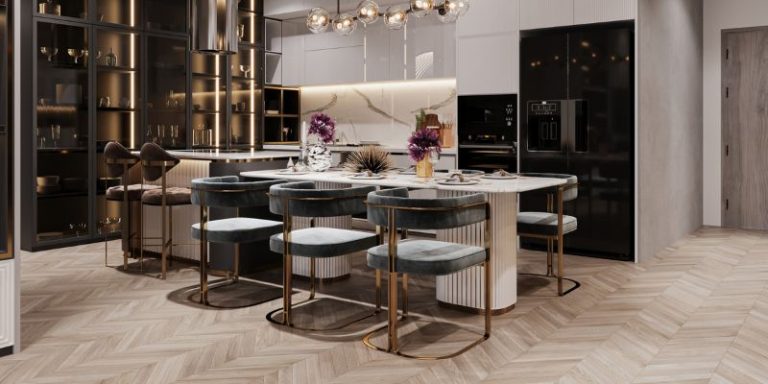
Decorating and Organizing Your New Shelves
Ideas for styling your shelves. Recommended items to store and display.
Once your DIY plywood shelves are up, it’s time to make them shine! Think of colorful books, quirky plants, or family photos to add some personality. Use fun containers for small items; they can be the “outfit” for your shelves.
Don’t forget about candles—they add cozy vibes. Here’s a quick list of great items to display:
| Item | Why It’s Great |
|---|---|
| Books | They’re full of knowledge and look amazing! |
| Plants | They breathe life into any space. |
| Candles | Perfect for making every day feel like a special occasion. |
| Photo frames | They capture memories and happiness! |
Mix and match items to keep it fresh. Remember, the goal is to show off your style and keep everything neat.
Happy decorating!
Common Mistakes to Avoid When Building DIY Shelves
Pitfalls in measurements and assembly. Neglecting weight capacity considerations.
Building your own shelves can be fun, but watch out for some sneaky mistakes! First, double-check your measurements. A shelf that’s too short is like a superhero without powers. Next, when choosing materials, think about how much weight they need to hold.
If you load up a weak shelf, it might just crash down like a bad movie! Here’s a handy table that shows common pitfalls:
| Mistake | Consequence |
|---|---|
| Poor measurements | Shelf won’t fit or is uneven |
| Ignoring weight limits | Shelf collapses under pressure |
Keep these tips in mind, and your DIY adventure will be a success!
Maintenance Tips for DIY Plywood Shelves
Cleaning and upkeep suggestions. How to repair and refinish over time.
To keep your DIY plywood shelves looking great, follow these easy tips:
- Clean regularly with a soft cloth and mild soap.
- Avoid harsh chemicals that can damage the finish.
- Check for scratches or dents; fill them with wood filler.
- Sand lightly if the surface feels rough.
- Refinish every few years for a fresh look.
These simple steps can help maintain your shelves and extend their life!
Conclusion
In conclusion, DIY shelves made from plywood offer a versatile and cost-effective solution for enhancing your storage and décor. With a little creativity and basic tools, you can customize your space to fit your needs. Whether you opt for a simple design or a more intricate setup, these shelves not only serve a practical purpose but also add a personal touch to any room.
FAQs
What Are The Best Types Of Plywood To Use For DIY Shelves, And How Do They Differ In Strength And Finish?
For DIY shelves, good options include birch plywood, oak plywood, and marine plywood. Birch plywood is strong and has a smooth finish, making it suitable for visible shelves. Oak plywood is durable and offers an elegant grain, providing both strength and aesthetic appeal. Marine plywood is highly resistant to moisture, making it ideal for humid environments, although it may not always have the same fine finish as the others.
How Can I Determine The Appropriate Thickness Of Plywood For My DIY Shelf Project Based On The Intended Load And Design?
To determine the appropriate thickness of plywood for your DIY shelf project, first assess the intended load: heavier loads may require thicker plywood. Generally, 3/4-inch plywood is recommended for shelves expected to hold substantial weight, while lighter loads can be supported by 1/2-inch plywood. Consider the width and span of the shelf; longer spans often necessitate thicker material or additional supports. Finally, consult a load capacity chart for plywood to confirm your choice based on the specific dimensions and weight distribution.
What Tools And Supplies Do I Need To Build Sturdy, Aesthetically Pleasing DIY Plywood Shelves?
To build sturdy, aesthetically pleasing DIY plywood shelves, you’ll need the following tools and supplies: quality plywood sheets cut to your desired dimensions, a circular saw or table saw, a drill, wood screws, and brackets or shelf supports for added stability. Sandpaper or an electric sander will help achieve a smooth finish, while wood stain or paint can enhance the aesthetic appeal. Additionally, a level will ensure proper alignment, and a measuring tape will help you accurately mark your cuts. Don’t forget safety gear, such as goggles and gloves, for protection while working.
How Can I Finish Or Treat Plywood Shelves To Protect Them From Moisture And Wear While Enhancing Their Appearance?
To protect plywood shelves from moisture and wear while enhancing their appearance, consider applying a clear finish such as polyurethane, which provides a durable and water-resistant coating. Start by sanding the shelves to create a smooth surface, then clean off dust before applying the finish with a brush or roller in thin, even coats. Allow adequate drying time between coats, typically two to three, for maximum protection. Finally, consider adding a wood stain before the clear finish to enhance the grain and color of the plywood.
What Are Some Creative Design Ideas For Incorporating Plywood Shelves Into Small Or Unconventional Spaces?
To maximize space in small or unconventional areas, consider using plywood shelves that are cantilevered from the wall, creating an open, airy feel while eliminating the need for bulky supports. Incorporate multi-level shelving that extends vertically to draw the eye upward, perfect for compact rooms. Floating shelves can be arranged in staggered patterns to add visual interest and efficiency in corners or alcoves. Additionally, use plywood shelves with built-in storage solutions like baskets or crates to keep the area organized and aesthetically pleasing.