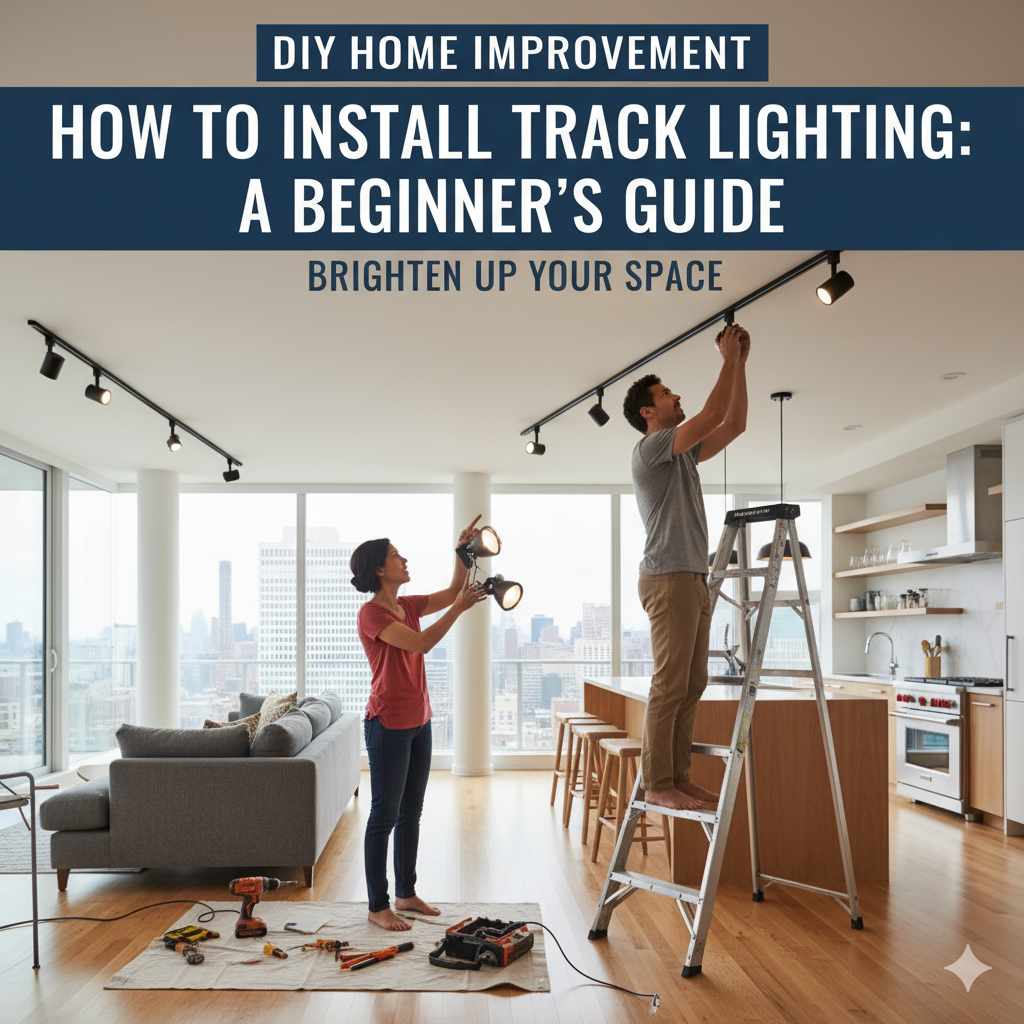
DIY Track Lighting: Genius & Effortless Solutions
Quick Summary:
Transform your home lighting with DIY track lighting! This guide offers easy, step-by-step solutions for installing versatile and adjustable track lighting yourself. Learn to plan, choose components, and mount your new system safely and affordably, bringing professional-looking illumination to any space with confidence.
Hey there, DIY enthusiasts! Ever feel like your home’s lighting is a bit… static? Maybe you’ve got dark corners that need a spotlight, or artwork you’d love to highlight, but the thought of hiring an electrician feels daunting and expensive. You’re not alone! Many of us wish we could easily adjust and direct our lights to suit our needs and moods. That’s where the magic of track lighting comes in. It’s incredibly flexible and can completely change the feel of a room. And guess what? You absolutely can do it yourself!
I’m Md Meraj, and I’m here to show you that installing do it yourself track lighting isn’t as complicated as it sounds. We’ll break down the process into simple, manageable steps, just like we do with any good woodworking project. We’ll cover everything from picking the right track and fixtures to safely connecting it all. By the end of this guide, you’ll have the knowledge and confidence to tackle this project and enjoy beautiful, customizable lighting in your home. Ready to light up your space?
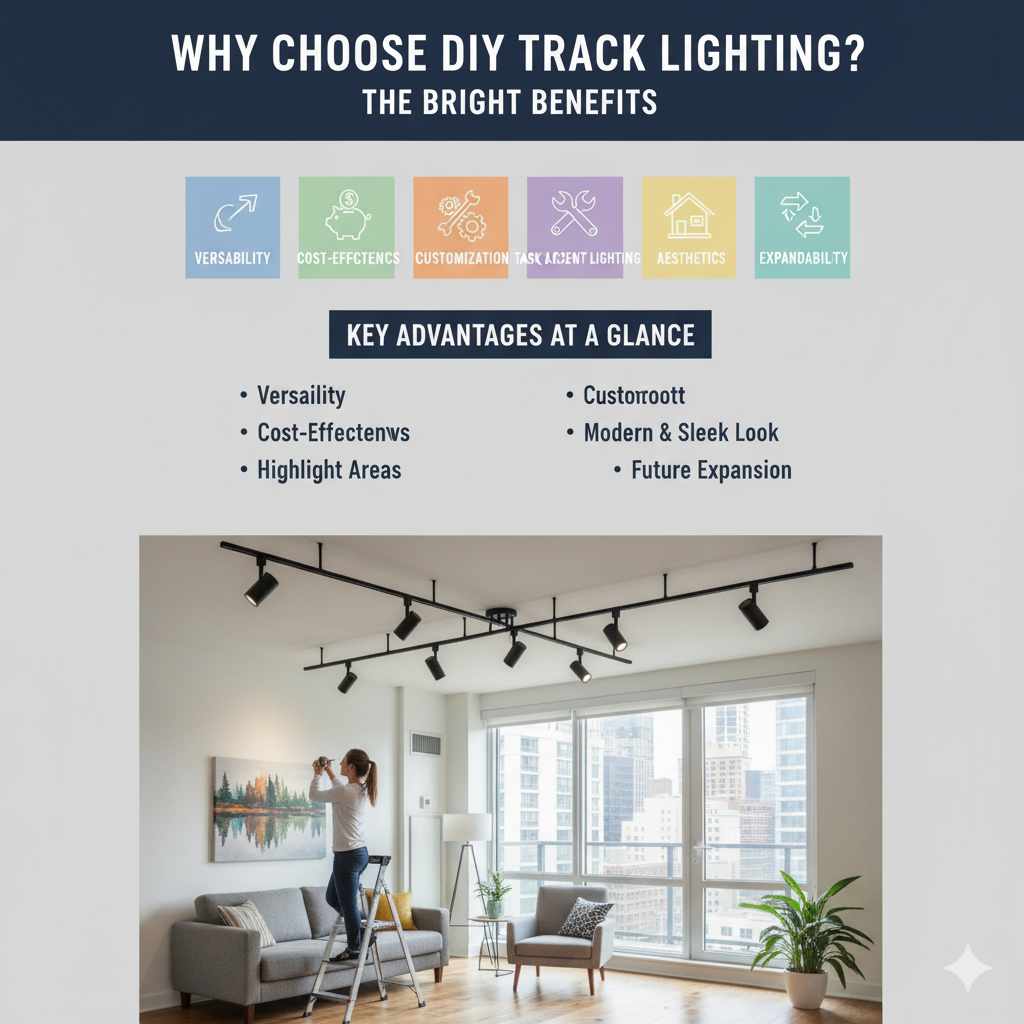
Why Choose DIY Track Lighting? The Bright Benefits
Track lighting is a fantastic choice for homeowners looking for flexibility and modern style. Unlike traditional ceiling lights that cast a fixed pool of light, track systems offer adjustable heads that can be aimed precisely where you need them. This means you can highlight artwork, illuminate a reading nook, or provide general room lighting – all from a single system. It’s like having a spotlight in your pocket, ready to shine wherever you point it!
For the DIYer, the appeal goes beyond just functionality. Installing your own track lighting can save you a significant amount of money compared to hiring a professional. Plus, the satisfaction of completing a home improvement project yourself is incredibly rewarding. You get to learn new skills, build confidence, and end up with a lighting solution that perfectly fits your space and budget. Let’s explore why this project is a smart move for your home.
Key Advantages of DIY Track Lighting:
- Versatility: Easily move and aim light heads to change the mood or focus.
- Cost-Effectiveness: Save on labor costs by doing it yourself.
- Customization: Choose the track length, number of heads, and style to match your decor.
- Aesthetics: Modern and sleek, track lighting can enhance the look of any room.
- Task & Accent Lighting: Perfect for highlighting specific areas or features.
- Expandability: Many systems allow you to add more fixtures or extend the track later.
Understanding Track Lighting Components: Your Lighting Toolkit
Before we grab our tools, let’s get familiar with the parts that make up a track lighting system. Think of it like gathering your lumber and fasteners before building a shelf. Knowing each piece helps you choose the right ones and understand how they fit together.
At its core, a track lighting system consists of a few key elements:
The Essential Parts:
- Track: This is the long bar that houses the electrical conductors. It comes in various lengths and can often be cut to size or connected together for longer runs. Tracks can be surface-mounted (directly to the ceiling or wall) or recessed (fitted into a ceiling opening).
- Power Feed: This is where the electricity connects to the track. It can be a simple end feed, a center feed, or a live-end feed, depending on where you want the power to enter the system.
- End Caps: These cover the open ends of the track, giving it a finished look.
- Track Heads (or Lights): These are the actual light fixtures that attach to the track. They come in countless styles, from spotlights to floodlights, and often have adjustable arms and heads.
- Connectors: If you need to turn corners or create complex layouts, you’ll use connectors like straight, L, T, or X connectors.
- Mounting Hardware: This includes screws, anchors, and sometimes special clips or brackets needed to secure the track to your ceiling or wall.
You’ll also need to consider the type of track system. The most common for DIY projects are the 120-volt single-circuit systems, which are relatively straightforward to install. For more complex needs or specific fixture types, you might encounter low-voltage systems or different circuit configurations, but for a beginner-friendly approach, sticking to standard 120V is usually best.
Planning Your DIY Track Lighting Project: Measure Twice, Light Once!
Just like any good project, good planning is the foundation for success. Before you buy a single component, take some time to figure out exactly what you need and where it’s going. This prevents costly mistakes and ensures your new lighting will be both beautiful and functional.
Think about the room you’re lighting. What’s its purpose? What do you want the light to do? Are you trying to illuminate a large area, highlight a specific piece of art, or create a cozy reading spot? Sketching out your room and marking where you want the track and lights to go is incredibly helpful. Measure everything carefully – the length of the walls, the ceiling height, and the placement of existing electrical boxes.
Steps for Effective Planning:
- Assess Your Needs: What is the primary function of the lighting? (e.g., general illumination, task lighting, accent lighting).
- Choose the Room: Select the room where you want to install the track lighting.
- Sketch Your Layout: Draw a simple diagram of the room, including windows, doors, and furniture. Mark the desired location of the track.
- Determine Track Length: Measure the area where the track will be installed. Decide if you need a single piece, multiple pieces connected, or if you’ll need to cut the track to size.
- Locate Power Source: Identify an existing electrical junction box in the ceiling or wall that you can safely tap into. If no suitable box exists, you may need to consult an electrician or consider a plug-in track system (which uses a standard wall outlet).
- Select Track Heads: Choose the number and type of track heads that suit your lighting needs and aesthetic. Consider beam spread (spot vs. flood) and whether you want LED or other bulb types.
- Consider Connectors: If your layout requires turns or multiple sections, plan for the necessary connectors (L, T, X).
- Gather Tools and Materials: Make a comprehensive list of everything you’ll need.
A crucial step here is checking local building codes. While simple track lighting installations are often within the scope of DIY, it’s always wise to be informed. You can often find resources from your local government’s building department website, like this guide on electrical safety from the U.S. Consumer Product Safety Commission, which offers valuable safety tips.
Tools and Materials You’ll Need for Your DIY Track Lighting Project
Alright, planning is done! Now, let’s talk about the tools and materials that will help you bring your DIY track lighting vision to life. Having the right gear makes the job smoother, safer, and more enjoyable. Don’t worry if you don’t have everything; many of these are common tools you might already own or can easily borrow.
Essential Tools:
- Safety Glasses: Always protect your eyes!
- Voltage Tester: Crucial for ensuring the power is off before you start wiring.
- Screwdriver Set: Both Phillips and flathead, in various sizes.
- Wire Strippers/Cutters: For preparing electrical wires.
- Pliers: Needle-nose pliers are particularly useful for electrical work.
- Drill and Drill Bits: For making pilot holes and driving screws.
- Stud Finder: To locate ceiling joists or wall studs for secure mounting.
- Ladder: A stable ladder is essential for working overhead.
- Measuring Tape: For accurate measurements.
- Pencil: For marking.
- Drywall Saw (if recessing): For cutting openings in the ceiling.
- Caulk Gun and Caulk (optional): For sealing around recessed fixtures.
Materials to Purchase:
- Track Lighting Kit: Many manufacturers offer starter kits that include a section of track, a power feed, end caps, and a few track heads. This is a great way to begin.
- Additional Track Sections & Connectors: If your layout is larger than a standard kit.
- Additional Track Heads: If you need more lights than what comes in a kit.
- Mounting Hardware: Usually included with the track, but check to ensure it’s suitable for your ceiling type.
- Wire Nuts: To connect electrical wires securely.
- Electrical Tape: For added insulation and security.
- Junction Box (if needed): If you need to create a new power source.
It’s always a good idea to have a few extra wire nuts and a roll of electrical tape on hand. When in doubt about any electrical component, it’s best to visit a reputable hardware store or lighting supplier and ask for assistance. They can help you select the right parts for your specific project.
Step-by-Step: Installing Your DIY Track Lighting System
Now for the exciting part – the installation! We’ll break this down into manageable steps. Remember, safety is paramount. Always turn off the power at the breaker box before you begin any electrical work. Use your voltage tester to confirm the power is off at the junction box.
Step 1: Turn Off the Power!
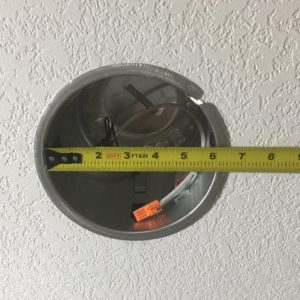
Locate your home’s electrical panel (breaker box). Find the breaker that controls the circuit for the area where you’ll be working. Flip it to the “OFF” position. Double-check by trying to turn on a light or outlet in that area. Then, use your non-contact voltage tester at the existing junction box to ensure there’s no power.
Step 2: Prepare the Mounting Area
If you’re surface-mounting, mark the location of the track on your ceiling or wall. If you’re installing into drywall without a joist directly above, you may need to use special drywall anchors designed for heavier loads or consider installing blocking between joists if you’re comfortable with more involved ceiling work. For recessed lighting, you’ll need to cut an opening in the ceiling for the track’s power feed and potentially for the track itself, following the manufacturer’s instructions precisely.
If you’re using a new junction box, you’ll need to carefully mount it according to its instructions, ensuring it’s securely fastened to a ceiling joist or appropriate bracing. This often involves cutting a hole in the drywall and feeding power from an existing circuit (which might require an electrician if you’re not experienced with circuit wiring).
Step 3: Mount the Track
This is where your measurements and planning pay off. Align the track with your markings. If you’re using a power feed that connects directly to a junction box, you’ll typically mount the power feed first, then attach the track sections to it. Use the provided mounting hardware and your drill to secure the track to the ceiling or wall. Ensure it’s level and firmly attached. If you need to connect multiple track pieces, use the appropriate connectors as you go.
For recessed tracks, the power feed (often called a “recessed housing” or “junction box”) is usually installed first, and then the track snaps into place, often with a trim piece that blends with the ceiling. Always refer to the specific instructions for your track system and any recessed components.
Step 4: Wire the Power Feed
This is the most critical electrical step.
- Open the junction box cover on your power feed.
- You’ll see wires coming from your ceiling (typically black for hot, white for neutral, and bare copper or green for ground).
- Inside the power feed, you’ll find corresponding terminals or wires.
- Connect the wires using wire nuts: Black to black, white to white, and ground to ground.
- Ensure all connections are secure. Gently tug on the wires to check.
- Carefully tuck the wires back into the junction box and secure the cover.
If your power feed is a “plug-in” type, this step involves simply plugging the system into a nearby outlet. This is a much simpler option, though it might limit where you can place the track and could be less aesthetically pleasing if the cord is visible.
Step 5: Attach Track Heads
Most track heads simply slide into the track and lock into place. Many systems have a small lever or tab that you push to release or lock the fixture. Ensure the power feed is positioned correctly for the heads you plan to use. Some systems have specific sections for power feeds, while others are more flexible. Slide each track head onto the track where you want it, making sure it’s securely seated.
Step 6: Install End Caps
Once all your track heads are in place and the track is fully assembled, attach the end caps to any open ends of the track. These usually snap or slide into place, providing a clean, finished look.
Step 7: Restore Power and Test
Turn the power back on at the breaker box. Test each track head to ensure it’s working correctly. You should now be able to adjust the position and angle of each light to direct the illumination where you need it.
For detailed instructions and visual guides, check out resources like This Old House, which often provides excellent DIY project walkthroughs.
Advanced Techniques and Customization Options
Once you’ve mastered the basics, you might want to explore more advanced ways to customize your track lighting. This is where you can really get creative and tailor the system to your exact needs.
Extending Your Track
Most track systems are modular. If you find you need more coverage, you can simply purchase additional track sections and the appropriate connectors (straight, L, T, or X) to expand your system. This is perfect for larger rooms or if you decide to add lighting to another section of the same room.
Adding More Fixtures
If your existing power feed can handle the load (check the wattage rating on your power feed and the total wattage of your intended fixtures), you can add more track heads to your existing track. Simply purchase compatible heads and slide them into available spaces on the track.
Using Different Types of Track Heads
Track systems are designed to accommodate a variety of lighting needs. You can mix and match:
- Spotlights: For focused beams, ideal for artwork or specific objects.
- Floodlights: For wider beams, good for general area illumination.
- Pendant Lights: Some systems allow you to hang pendant lights from the track for a decorative touch.
- Linear Lights: For a more diffused, bar-like light.
Controlling Your Lights
Beyond a simple on/off switch, you can integrate dimmers with your track lighting system. Ensure the dimmer switch is compatible with your track lighting’s wattage and type (especially important for LEDs). Smart home integration is also an option, allowing you to control your track lights via an app or voice commands, provided you choose compatible smart fixtures or a smart switch.
Surface vs. Recessed Mounting
We’ve touched on this, but it’s worth reiterating. Surface mounting is generally easier for DIYers as it requires minimal alteration to your ceiling. Recessed mounting offers a cleaner, more integrated look, but involves cutting into the ceiling and often requires more precision. The choice depends on your aesthetic goals and comfort level with ceiling work.
For those interested in the electrical side of things, understanding circuit load is important. The Electrical Contractor Magazine has articles explaining how to calculate circuit load, which can be helpful if you’re planning a large system.
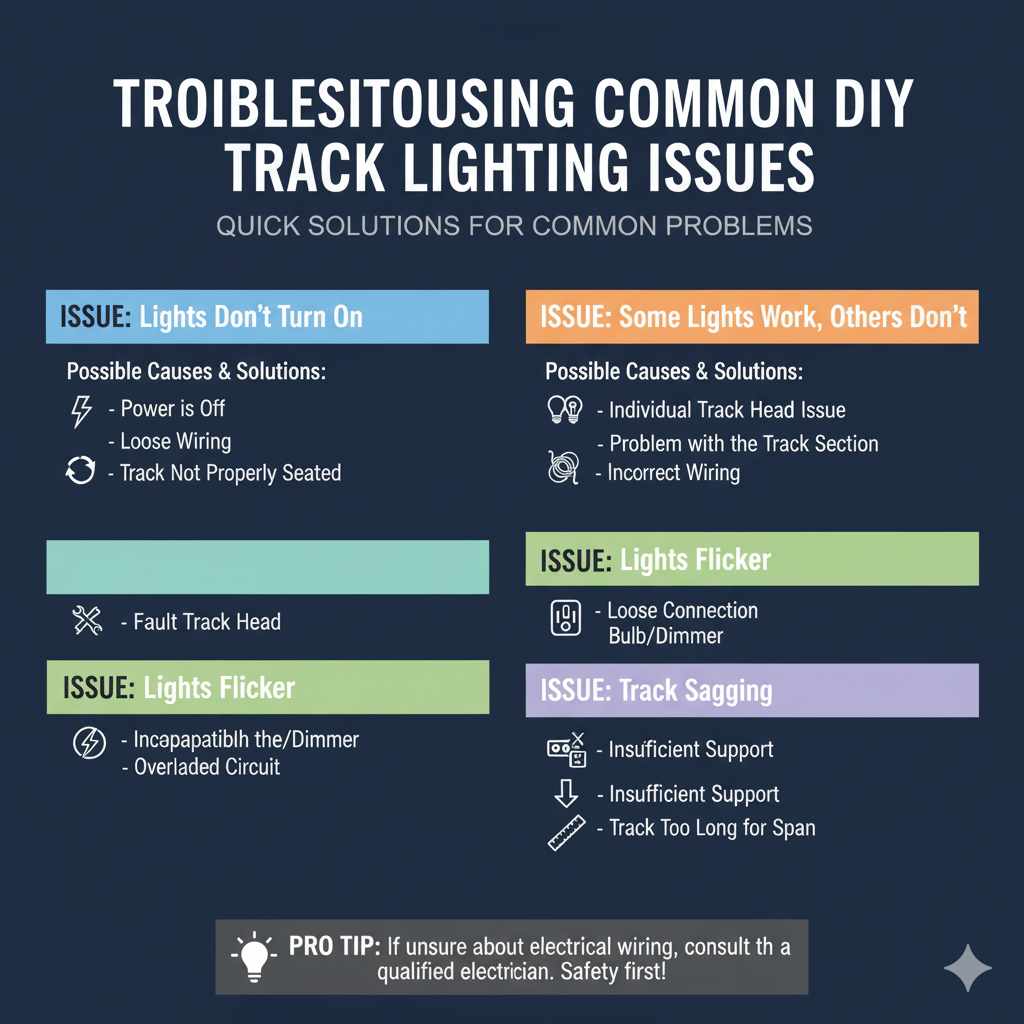
Troubleshooting Common DIY Track Lighting Issues
Even with the best planning, sometimes things don’t go perfectly. Here are a few common issues you might encounter and how to solve them, keeping your DIY confidence high!
Issue: Lights Don’t Turn On
Possible Causes & Solutions:
- Power is Off: Double-check the breaker and use your voltage tester at the junction box.
- Loose Wiring: Ensure all wire nuts are tight and connections are secure at the power feed.
- Faulty Track Head: Try swapping a working track head with the non-working one. If the problem follows the head, the head is likely faulty.
- Track Not Properly Seated: Ensure the track heads are fully clicked into the track.
Issue: Some Lights Work, Others Don’t
Possible Causes & Solutions:
- Individual Track Head Issue: As above, the faulty head is the most likely culprit.
- Problem with the Track Section: Less common, but a damaged section of track could interrupt power flow. Inspect the track for any visible damage.
- Incorrect Wiring: If you have multiple circuits or complex wiring, a connection might be missed or incorrect.
Issue: Lights Flicker
Possible Causes & Solutions:
- Loose Connection: Check all wire connections at the power feed and where the track heads connect to the track.
- Incompatible Bulb/Dimmer: If using LED bulbs, ensure they are dimmable and compatible with your dimmer switch. Some LED drivers can be sensitive.
- Overloaded Circuit: If the circuit is overloaded, it can cause flickering. Try removing some other devices from the same circuit.
Issue: Track Sagging
Possible Causes & Solutions:
- Insufficient Support: The track needs to be securely fastened to the ceiling joists or using appropriate anchors. Add more mounting points or use stronger anchors if needed.
- Track Too Long for Span: For very long runs, additional support might be necessary, or you may need to consider a heavier-duty track system.
Remember, if you’re ever unsure about electrical wiring, it’s always best to consult a qualified electrician. Safety first!
Frequently Asked Questions (FAQ) About DIY Track Lighting
Q1: Is installing track lighting difficult for a beginner?
A: Installing basic surface-mount track lighting is generally considered a manageable DIY project for beginners. The steps involve mounting the track and connecting wires, which are straightforward if you follow instructions carefully. Recessed lighting or complex layouts might be more challenging.
Q2: What’s the difference between a 1-circuit and a 3-circuit track?
A: A 1-circuit track has a single set of electrical conductors, meaning all lights on that track section operate on the same switch and dimmer. A 3-circuit track has three independent sets of conductors, allowing you to control groups of lights separately or use different switches for different lights on the same track.
Q3: Can I use any type of bulb in track lighting?
A: Most track lighting systems are designed for specific types of bulbs, most commonly LED or halogen. Always check the specifications for your track heads and the track system itself. Ensure the wattage doesn’t exceed the fixture’s or track’s rating, especially if you’re mixing different types of bulbs.
Q4: How do I know if I need a professional electrician?
A: You should consider hiring an electrician if: you need to add a new circuit, you’re uncomfortable working with electricity, you’re dealing with old or faulty wiring, you need to install a junction box where none exists, or your local building codes require a licensed professional for the work.
Q5: Can track lighting be installed on a sloped ceiling?
A: Yes, many track lighting systems offer special connectors or mounting hardware designed for sloped ceilings. You’ll need to ensure the track is mounted securely and that the track heads can be aimed effectively given the slope.
Q6: How much does DIY track lighting typically cost?
A: The cost can vary widely. A basic starter kit (track, power feed, 2-3 heads) might range from $50 to $150. Adding more track, connectors, and heads can increase the cost. Doing it yourself can save you hundreds of dollars in labor costs compared to professional installation.
Q7: What are the advantages of LED track lights?
A: LED track lights are highly energy-efficient, have a much longer lifespan than traditional bulbs, produce less heat, and offer a wide range of color temperatures and brightness levels. They are also often dimmable and more environmentally friendly.
Conclusion: Light Up Your Home with Confidence!
See? Installing do it yourself track lighting is a rewarding project that brings both style and incredible functionality to your home. By breaking it down into planning, gathering your tools, and following those step-by-step instructions, you’ve gained the confidence to tackle this yourself. Remember to always prioritize safety, especially when working with electricity – turn off the power, use your voltage tester, and if anything feels beyond your comfort level, don’t hesitate to call in a pro.
You now have the knowledge to create a lighting system that perfectly suits your needs, whether it’s highlighting your favorite art, illuminating a workspace, or simply creating a warmer, more inviting atmosphere. The ability to adjust and direct light gives you unparalleled control over your home’s ambiance. So go ahead, plan your layout, grab your track, and get ready to enjoy beautifully customized lighting that you installed with your own two hands. Happy lighting!