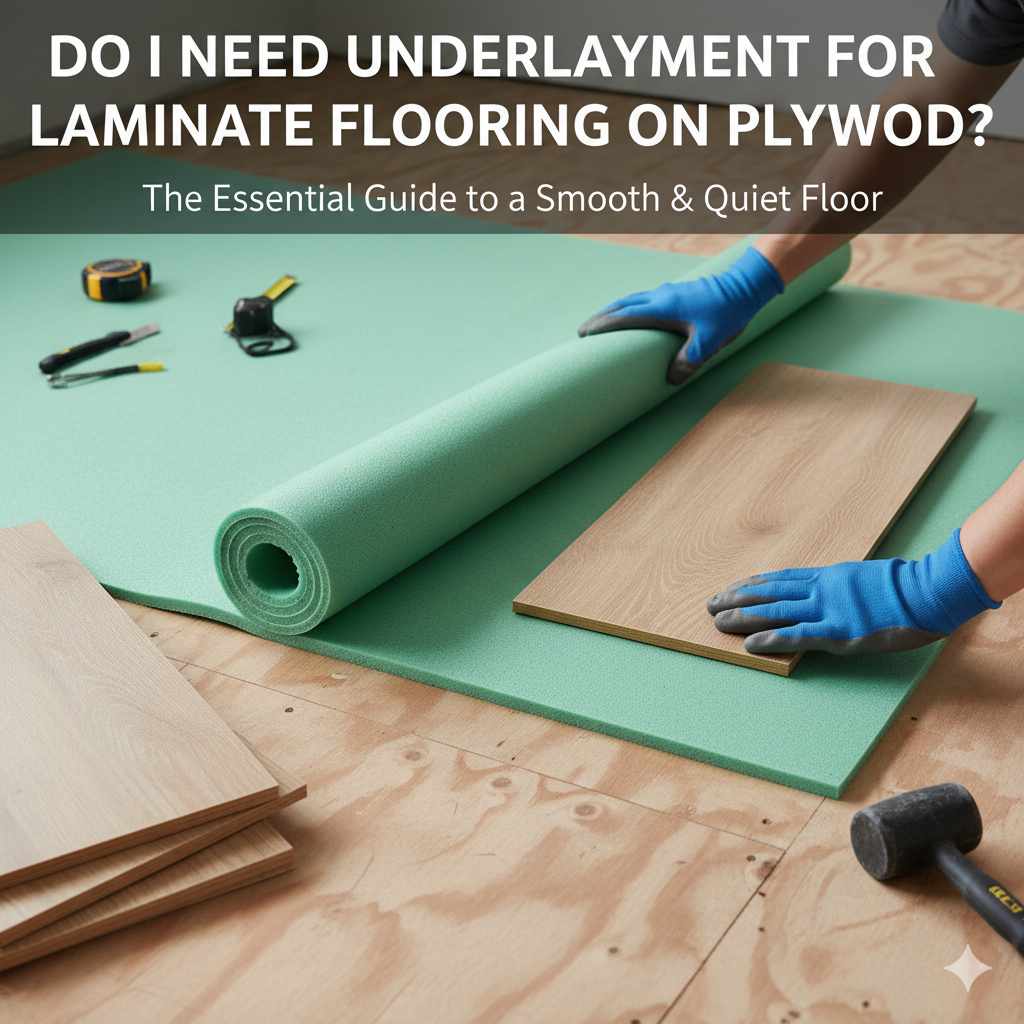
Do I Need Underlayment For Laminate Flooring On Plywood: Essential Guide
Do I need underlayment for laminate flooring on plywood? Yes, generally you absolutely do need underlayment for laminate flooring on plywood. It provides crucial cushioning, sound dampening, and moisture protection, leading to a more comfortable, durable, and beautiful floor. Skipping it can lead to a hollow sound, uneven wear, and potential moisture damage.
Hey there, DIY enthusiasts and home renovators! Md Meraj here, ready to tackle a question that pops up a lot when you’re laying down that beautiful new laminate flooring: “Do I really need underlayment on top of my plywood subfloor?” It’s a common point of confusion, and I get it. You want to get the job done right, but also efficiently. Sometimes, it feels like an extra step that might not be necessary, especially if your plywood subfloor looks pretty smooth. But trust me, that thin layer of underlayment is like the unsung hero of your flooring project. It makes a world of difference in how your floor looks, feels, and lasts. We’re going to break down exactly why it’s so important and what you need to know to make the best choice for your home. Let’s get your flooring project off to a confident start!
Why Underlayment is Your Laminate Floor’s Best Friend on Plywood
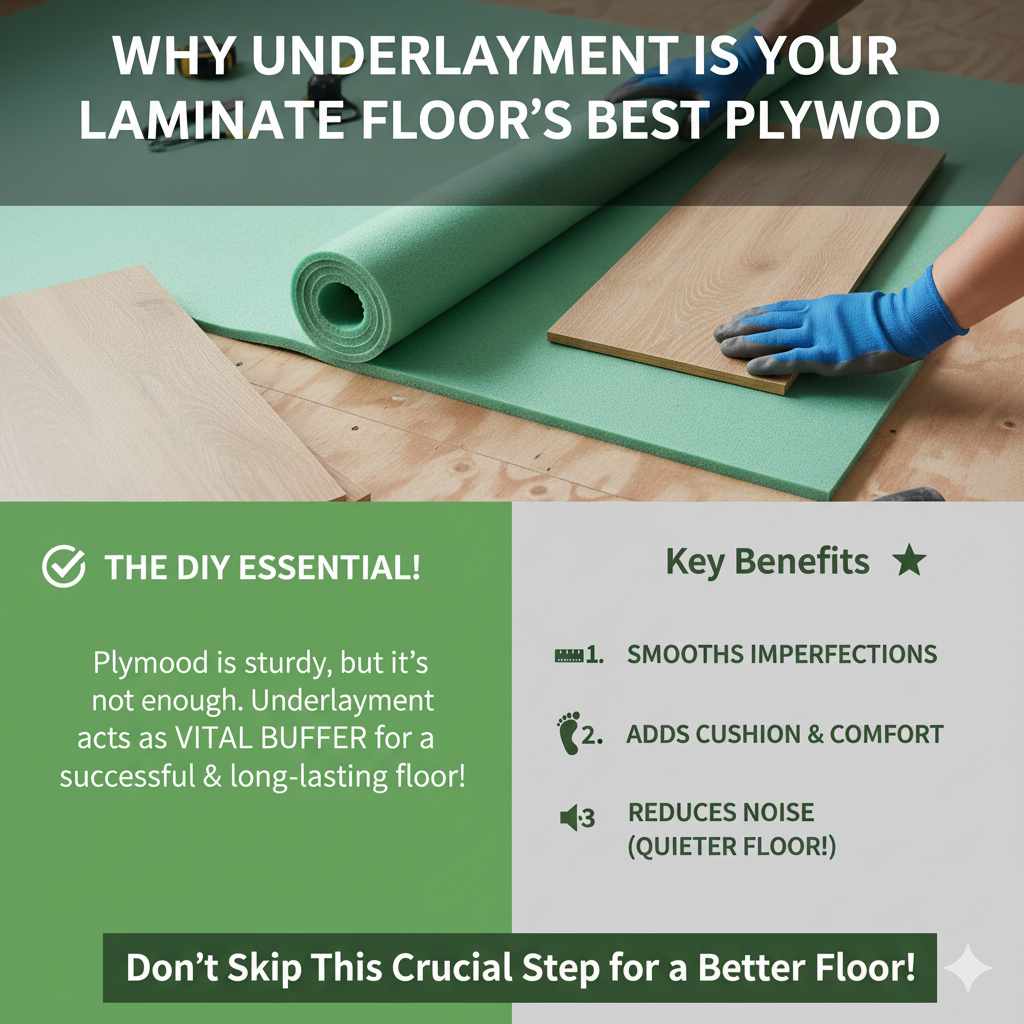
When you’re installing laminate flooring over a plywood subfloor, you might be tempted to lay the laminate directly down. After all, plywood is a solid base, right? While plywood provides a sturdy foundation, it’s not designed to be the final, comfortable surface. This is where underlayment comes in, acting as a vital buffer between your laminate planks and the subfloor. It’s not just an optional add-on; it’s a critical component for a successful and long-lasting installation.
Think of it like this: if you were building a comfortable chair, you wouldn’t just put fabric directly over the wooden frame. You’d add padding. Underlayment is the padding for your floor. It smooths out minor imperfections in the subfloor, provides a softer feel underfoot, and crucially, helps to reduce noise.
The Crucial Roles of Laminate Underlayment
Underlayment performs several essential functions that directly impact the quality and longevity of your laminate flooring:
Cushioning and Comfort: This is perhaps the most noticeable benefit. Underlayment provides a soft, forgiving layer that makes walking on your laminate floor much more comfortable. It absorbs impact, reducing fatigue when you’re on your feet for long periods.
Sound Dampening: Laminate flooring can sometimes sound hollow or clicky when walked upon, especially over a hard subfloor. Underlayment absorbs much of this sound, both from footsteps within the room and from the room below. This creates a quieter, more peaceful environment.
Moisture Barrier: While not all underlayments are designed for this, many offer excellent moisture protection. Plywood subfloors, especially in basements or ground-level installations, can be susceptible to moisture. A good underlayment with a vapor barrier can prevent moisture from wicking up into the laminate, which can cause swelling, warping, and mold.
Smooths Subfloor Imperfections: Even the most carefully installed plywood subfloor can have minor dips, bumps, or variations in height. Underlayment acts as a forgiving layer that helps to even out these small inconsistencies, preventing stress on the laminate planks’ locking mechanisms.
Extends Flooring Life: By providing cushioning and preventing moisture damage, underlayment helps to protect your laminate flooring from premature wear and tear, thus extending its lifespan.
Types of Underlayment for Laminate Flooring
Not all underlayment is created equal. The type you choose will depend on your specific needs and the conditions of your subfloor. Here are the most common types you’ll encounter when installing laminate over plywood:
1. Foam Underlayment
Description: This is the most popular and generally most affordable option. It’s lightweight, easy to cut and install, and provides good cushioning and sound absorption. It often comes in rolls or pre-cut sheets.
Pros: Cost-effective, easy to work with, good for basic cushioning and sound reduction.
Cons: Can be less durable than other options, may not offer significant moisture protection unless it has an integrated vapor barrier.
Best For: Rooms on upper levels, situations where moisture is not a major concern, budget-conscious projects.
2. Felt Underlayment
Description: Made from compressed natural or synthetic fibers, felt underlayment is denser than foam. It offers excellent sound dampening qualities and can be quite durable.
Pros: Superior sound absorption, good durability, can offer some moisture resistance.
Cons: Heavier and can be a bit trickier to cut and handle than foam, generally more expensive than basic foam.
Best For: Rooms where noise reduction is a top priority, such as bedrooms or apartments.
3. Cork Underlayment
Description: Cork is a natural, renewable resource known for its excellent insulating properties. It provides great cushioning, sound absorption, and is naturally resistant to mold and mildew.
Pros: Excellent thermal and acoustic insulation, durable, eco-friendly, naturally resistant to mold and pests.
Cons: Can be one of the more expensive options, may require a separate vapor barrier in very damp areas.
Best For: High-end installations, areas where natural materials are preferred, excellent all-around performance.
4. Combination Underlayment (Foam with Integrated Vapor Barrier)
Description: These products are designed to offer multiple benefits in one. They often consist of a foam layer with a built-in polyethylene vapor barrier. This is a very common and practical choice for laminate flooring.
Pros: Combines cushioning, sound dampening, and moisture protection in a single product, convenient to install.
Cons: Can be slightly more expensive than basic foam, the vapor barrier aspect is critical and needs to be installed correctly.
Best For: Ground-level installations, basements, kitchens, bathrooms, or any area where moisture is a potential concern.
5. Rubber Underlayment
Description: Made from recycled rubber, this is a very dense and durable option. It offers excellent soundproofing and cushioning.
Pros: Extremely durable, superior sound dampening, very good cushioning.
Cons: Can be expensive, has a distinct rubber smell initially, requires careful handling.
Best For: High-traffic areas, commercial applications, or situations where maximum sound reduction is paramount.
When You Might Consider Skipping Underlayment (With Extreme Caution)
While the general rule is to always use underlayment, there are rare, specific circumstances where some manufacturers might allow for direct installation onto a plywood subfloor. However, this is highly dependent on the specific laminate flooring product and its warranty.
Laminate with Built-in Underlayment: Some premium laminate flooring planks come with an attached underlayment backing. In this case, you would not install additional underlayment. Always check the manufacturer’s installation guide for your specific flooring.
Specific Manufacturer Directives: A very small number of laminate manufacturers might explicitly state that their product can be installed directly over a perfectly prepared plywood subfloor under specific conditions. These conditions usually involve extremely precise subfloor preparation, including a perfect moisture reading and flatness.
Important Note: Even in these rare cases, you’re often sacrificing the benefits of added cushioning, sound dampening, and moisture protection. For most DIYers, using a dedicated underlayment is the safest and most beneficial route.
Preparing Your Plywood Subfloor for Laminate
Before you even think about laying down underlayment or laminate, your plywood subfloor needs to be in prime condition. Think of it as preparing a canvas before painting. A smooth, clean, and dry subfloor is crucial for a successful laminate installation.
Key Preparation Steps:
1. Cleanliness is Key: Vacuum thoroughly to remove all dust, dirt, and debris. Any grit left behind can create bumps and wear down the laminate over time.
2. Check for Flatness: Plywood subfloors can warp or become uneven. Use a long, straight edge (like a metal yardstick) to check for high spots and low spots. Low spots should be filled with a leveling compound. High spots may need to be carefully sanded down. Most laminate manufacturers specify a maximum allowable deviation (e.g., 3/16 inch over a 10-foot span). The Concrete Network provides excellent resources on subfloor preparation, which often applies to plywood too.
3. Secure Loose Boards: Any squeaking or loose plywood planks should be secured. Drive screws through the plywood into the joists below to eliminate movement.
4. Inspect for Damage: Look for any signs of water damage, rot, or delamination in the plywood. Damaged sections should be repaired or replaced.
5. Moisture Test: This is especially important for ground-level or basement installations. Use a reliable moisture meter to check the moisture content of the plywood. Ensure it’s within the range recommended by your laminate flooring manufacturer. If moisture levels are high, you’ll need to address the source of the moisture and consider a robust vapor barrier underlayment.
Installing Underlayment Over Plywood: A Step-by-Step Guide
Once your plywood subfloor is prepped and ready, it’s time to lay down the underlayment. This process is generally straightforward, but paying attention to details will ensure the best results. For this guide, we’ll assume you’re using a common foam underlayment with an integrated vapor barrier, as it’s a popular and effective choice.
Tools and Materials You’ll Need:
Your chosen underlayment (rolled or sheet)
Utility knife or sharp blade
Measuring tape
Straight edge or ruler
Heavy-duty tape (e.g., construction tape, duct tape) for seams
Optional: Stapler or adhesive if required by the underlayment manufacturer
Step-by-Step Installation:
1. Roll Out the Underlayment: Begin in a corner of the room. Roll out the underlayment perpendicular to the direction you plan to lay your laminate planks. If your underlayment has a plastic vapor barrier film, ensure the printed side (usually indicating which side faces up) is visible.
2. Cut to Fit: Measure the length of the room and cut the underlayment to size using your utility knife and a straight edge. Make clean, straight cuts.
3. Lay the First Row: Lay the first section of underlayment snugly against the wall. Ensure it lies flat and smooth, without any wrinkles or bubbles.
4. Continue Laying Rows: Roll out the next section of underlayment next to the first, butting the edges together. Do not overlap the underlayment. Overlapping can create an uneven surface for the laminate.
5. Seal the Seams: If your underlayment has an integrated vapor barrier, use the recommended heavy-duty tape to seal all seams between the underlayment sections. This creates a continuous moisture barrier. Ensure the tape adheres well to the plastic film.
6. Cut Around Obstacles: Carefully cut the underlayment to fit around any pipes, doorways, or other fixed elements.
7. Trim Excess: Trim any excess underlayment along the walls. It’s usually best to leave a slight overlap at the walls (around 1-2 inches) that can be trimmed flush once the laminate is installed.
8. Check for Gaps and Wrinkles: Do a final check to ensure the entire floor is covered smoothly and that there are no gaps or significant wrinkles.
Important Considerations During Installation:
Manufacturer’s Instructions: Always refer to the specific installation instructions provided by the underlayment manufacturer and your laminate flooring manufacturer.
Vapor Barrier Orientation: If your underlayment has a vapor barrier, ensure it is oriented correctly (usually facing up towards the laminate). This is critical for preventing moisture issues.
Temporary Securing: Some underlayments might require light stapling or adhesive along the edges. Check the product guidelines.
Underlayment vs. Laminate with Attached Padding: Making the Right Choice
As mentioned earlier, some laminate planks come with pre-attached padding. This can seem like a convenient shortcut, but it’s important to understand the differences and when each option is best.
| Feature | Separate Underlayment (with Vapor Barrier) | Laminate with Attached Padding |
| :———————- | :——————————————————————————————————————————————- | :——————————————————————————————————————————————————- |
| Moisture Protection | Can offer a robust, continuous vapor barrier when installed correctly, ideal for basements and ground floors. | Integrated padding may not offer the same level of moisture protection. Some may have a basic barrier, but it’s less robust than a separate vapor barrier. |
| Cushioning & Comfort| Allows you to choose the thickness and type of cushioning based on preference and needs. Can be thicker and more luxurious. | Cushioning is pre-determined by the manufacturer. May be thinner and less customizable. |
| Sound Dampening | Offers greater flexibility to choose an underlayment specifically designed for superior sound absorption. | Sound dampening is built-in, but its effectiveness can vary widely depending on the quality of the attached padding. |
| Subfloor Imperfections | A good separate underlayment can better compensate for minor subfloor imperfections, providing a smoother final surface. | Attached padding may not be as effective at smoothing out subfloor inconsistencies, potentially leading to more stress on the laminate’s locking system. |
| Installation Ease | An extra step, but manageable. Allows for better control over moisture barrier installation. | Simplifies installation by combining two steps into one. However, you lose the ability to tailor moisture protection. |
| Cost | Can range from very affordable to premium, depending on the type chosen. | Often included in the overall cost of the laminate plank, but premium options can be more expensive upfront. |
| Warranty | Always check the warranty. Some manufacturers require specific types of underlayment. | Always check the warranty. Manufacturers may have specific requirements for subfloor prep and installation, even with attached padding. |
Recommendation: For most DIY projects, especially in areas prone to moisture (basements, ground floors, kitchens), a separate underlayment with a dedicated vapor barrier is the safer and more reliable choice. If you are on an upper floor and moisture isn’t a concern, laminate with attached padding can be a good time-saving option, provided it meets your comfort and soundproofing needs.
Key Factors to Consider When Choosing Underlayment
When you’re at the home improvement store, faced with a wall of underlayment options, how do you pick the right one for your plywood subfloor? Here are the key factors to keep in mind:
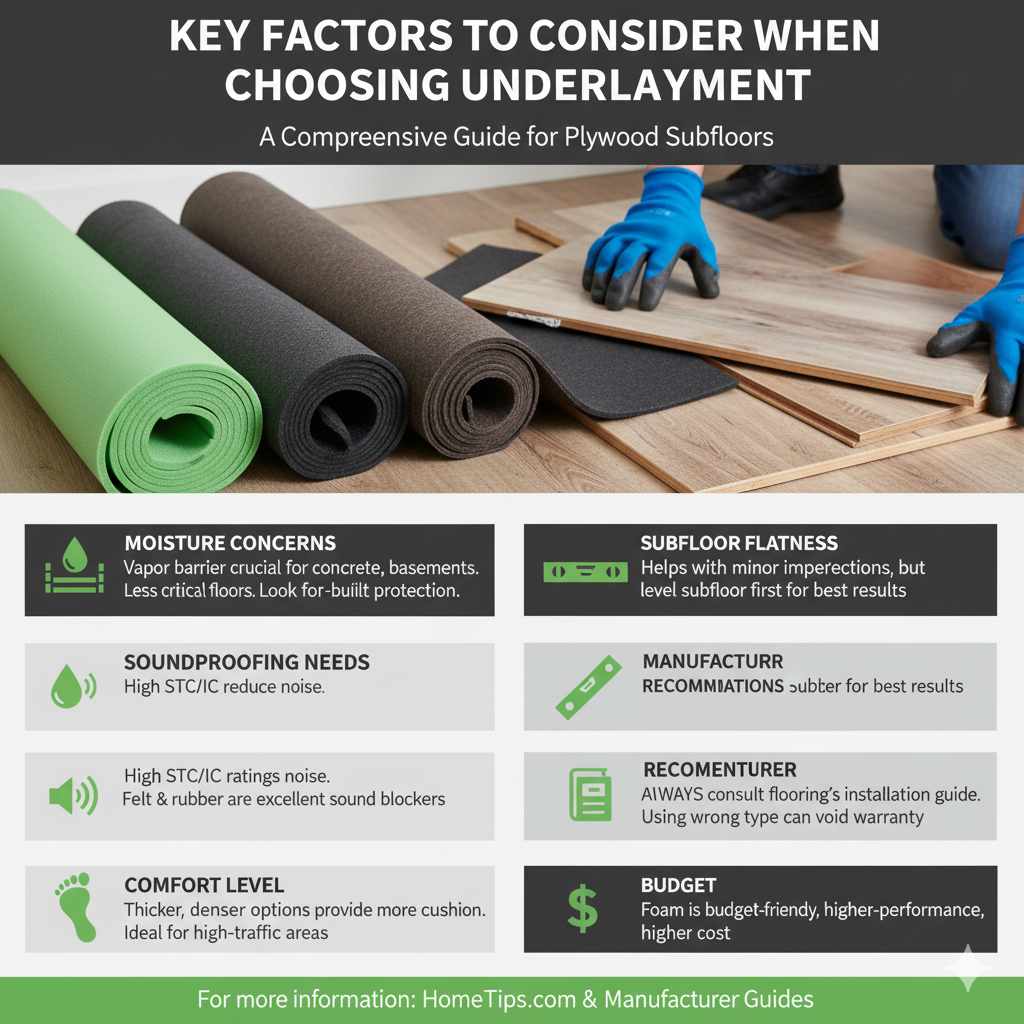
Moisture Concerns: This is paramount. If you’re installing on a concrete slab, in a basement, or on a ground level, a vapor barrier is essential. Look for underlayments specifically labeled as having a vapor barrier, or plan to install a separate 6-mil polyethylene sheeting beneath your chosen underlayment. For upper floors, a vapor barrier is usually less critical.
Soundproofing Needs: If you live in an apartment, a multi-story home, or simply want a quieter living space, prioritize underlayments with high Sound Transmission Class (STC) or Impact Insulation Class (IIC) ratings. Felt and rubber underlayments often excel here.
Comfort Level: How soft do you want your floor to feel? Thicker and denser underlayments generally provide more cushioning. If you have kids or pets who spend a lot of time on the floor, or if you simply want a more luxurious feel, opt for a thicker, higher-quality underlayment.
Subfloor Flatness: While underlayment helps smooth minor imperfections, it can’t fix a severely uneven subfloor. If your plywood has significant dips or humps, you might need a thicker or more forgiving underlayment, but it’s always best to level the subfloor first.
Manufacturer Recommendations: This is non-negotiable. Always consult the installation guide for your specific laminate flooring. The manufacturer will specify what type of underlayment is required or recommended, and what is prohibited. Using the wrong underlayment can void your warranty. Websites like The Home Depot’s guide to underlayment can offer general advice, but your flooring manufacturer’s specs are the ultimate authority.
Budget: Underlayment costs can vary significantly. Foam is generally the most budget-friendly, while cork and high-performance felt or rubber options will cost more. Balance your budget with the performance you need.
Frequently Asked Questions About Underlayment for Laminate on Plywood
Q1: Do I really need underlayment if my plywood subfloor is perfectly smooth and level?
A: Even a perfectly smooth plywood subfloor benefits from underlayment. It provides essential cushioning for comfort, sound dampening to reduce hollow noises, and can offer a crucial moisture barrier, especially in certain areas of the home. It also helps protect the laminate’s locking system from potential stress.
Q2: Can I use the same underlayment for laminate as I would for vinyl or carpet?
A: Not always. Laminate flooring has specific requirements due to its click-lock system. Some underlayments suitable for vinyl or carpet might be too soft or too thick for laminate, potentially causing the planks to flex and break. Always check the laminate flooring manufacturer’s installation guide for approved underlayment types.
Q3: How thick should the underlayment be for laminate flooring on plywood?
A: Most laminate flooring manufacturers recommend underlayment between 1mm and 3mm thick. Thicker underlayment might be allowed in some cases, but exceeding a certain thickness (often around 6mm, but check your specific product) can compromise the integrity of the click-lock system and void warranties.
Q4: Do I need a separate vapor barrier if my underlayment has one built-in?
A: Generally, no. If your underlayment clearly states it has an integrated vapor barrier and you install it according to the manufacturer’s instructions (ensuring seams are properly taped), an additional vapor barrier is usually not needed. However, for very high-moisture situations, some experts might recommend a separate, heavy-duty vapor barrier. Always defer to your flooring manufacturer’s guidelines.
Q5: Can I install laminate flooring directly over old existing flooring on top of the plywood?
A: This is generally not recommended. While some laminate can go over existing hard-surface flooring (like tile or linoleum), it’s almost never recommended to install over carpet. Furthermore, the underlying plywood subfloor needs to be the direct base for the underlayment and laminate to ensure proper support and prevent issues. Always remove old flooring down to the subfloor unless the laminate manufacturer explicitly states otherwise for a specific type of existing floor.
Q6: What happens if I skip the underlayment?
A: Skipping underlayment can lead to a floor that feels hard and unforgiving underfoot. You’ll likely experience increased noise, with hollow sounds and clicking. More critically, without a moisture barrier, you risk moisture damage to the laminate and subfloor. The locking mechanisms of the planks can also be stressed, leading to premature wear, separation, or breakage.
Q7: Is it okay to use multiple layers of underlayment to increase cushioning?
A: No, this is a common mistake and is almost always prohibited. Layering underlayment can create an unstable base for the laminate planks. This instability puts excessive stress on the click-lock joints, leading to breakage, gapping, and a voided warranty. Stick to a single layer of the recommended underlayment type and thickness.
Conclusion: Investing in Your Floor’s Future
So, to circle back to our main question: do you need underlayment for laminate flooring on plywood? The resounding answer from this seasoned DIYer is yes, almost always. It’s not an unnecessary expense or an extra step to be skipped; it’s an investment in the comfort, longevity, and overall quality of your beautiful new floor.
By taking the time to prepare your plywood subfloor properly and selecting the right type of underlayment for your specific needs – considering moisture, sound, and comfort – you’re setting yourself up for a successful installation. You’ll enjoy a floor that feels great underfoot, sounds quiet and solid, and stands the test of time. Remember to always consult your laminate flooring manufacturer’s installation guide, as it’s the ultimate authority on what’s best for their product.
With the right preparation and materials, you can confidently tackle this project and create a stunning, durable floor you’ll be proud of for years to come. Happy flooring!