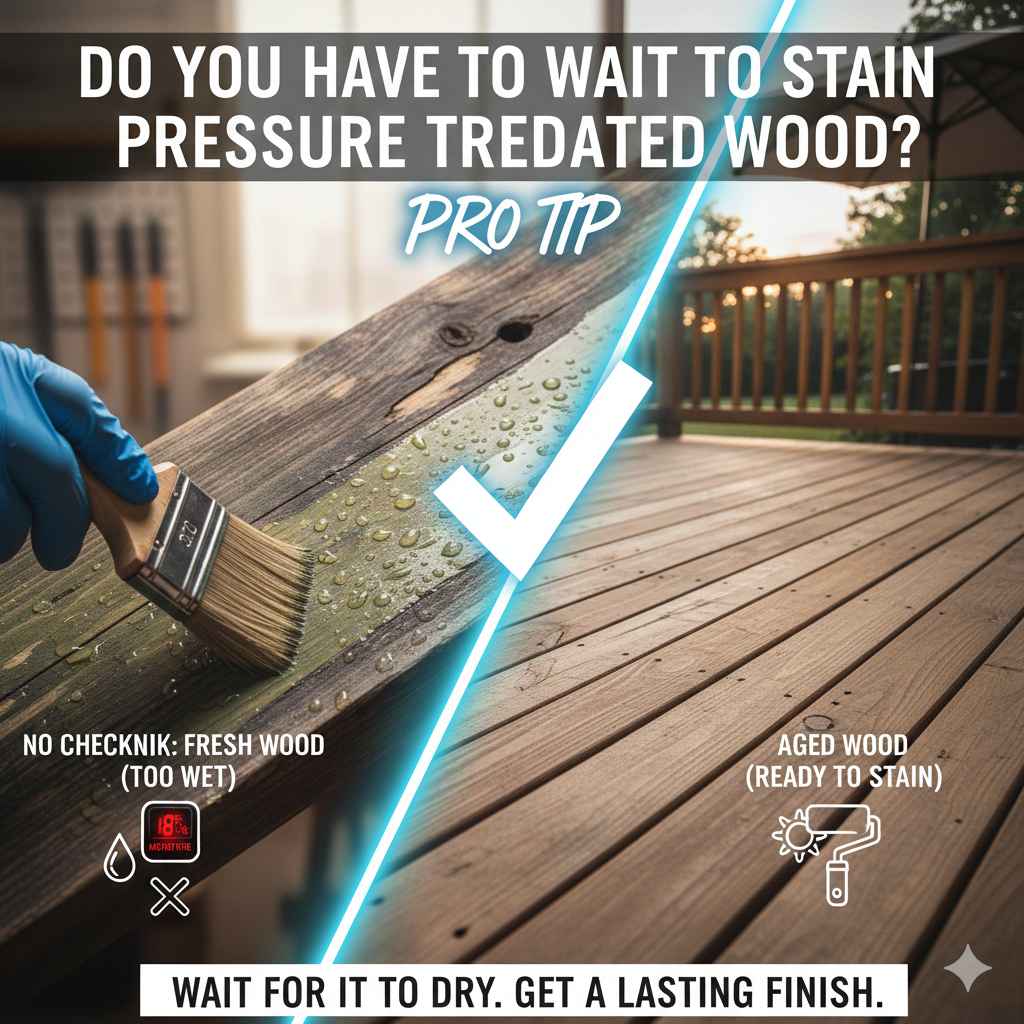
Do You Have to Wait to Stain Pressure Treated Wood? Pro Tip
Yes, you must wait to stain new pressure-treated wood. The wood is saturated with moisture from the chemical treatment and needs time to dry out. Staining it too soon traps that moisture, causing the stain to peel, bubble, and fail to protect the wood properly. A simple water test will show you when it’s ready.
Hello there, fellow DIYer! I’m Md Meraj, and today we’re tackling one of the most common questions I hear from homeowners: “Do I really have to wait to stain my new pressure-treated deck or fence?” You’ve just finished building a beautiful new outdoor project, and you’re excited to put on that final, protective coat of stain. The urge to finish the job right away is strong, I get it!
But rushing this step can lead to a lot of frustration down the road. Staining pressure-treated wood too early is a classic mistake that can ruin your hard work. Don’t worry, though. I’m here to walk you through exactly why you need to wait, how to know when the time is right, and how to get a beautiful, long-lasting finish. Let’s make sure your project looks great for years to come!
Why Patience is Your Best Friend with Pressure-Treated Wood
To understand why you need to wait, it helps to know a little about what “pressure-treated” wood actually is. In a nutshell, the wood is placed in a big tank, and a chemical preservative is forced deep into its fibers under high pressure. This process is amazing for protecting the wood from rot, decay, and hungry insects.
The only catch? The liquid solution that carries those preservatives is mostly water. This means your brand-new lumber comes from the store saturated with moisture. Think of it like a wet sponge. If you try to wipe up a spill with a sponge that’s already full of water, it just won’t absorb anything. Your wood is the same. It can’t absorb the stain properly until it has had a chance to dry out.
If you apply stain to wet wood, you’re essentially sealing that moisture inside. This can lead to all sorts of problems:
- Peeling and Flaking: The stain won’t be able to bond with the wood fibers. As the trapped moisture tries to escape, it will push the stain right off the surface, leaving you with a peeling mess.
- Uneven Finish: The stain will look patchy and blotchy because it will absorb differently in areas that are slightly drier than others.
- Mold and Mildew Growth: Trapping moisture underneath a layer of stain creates the perfect dark, damp environment for mold and mildew to grow.
- Wasted Time and Money: You’ll have to strip off the failed stain and start all over again, which is a lot more work than just waiting in the first place!

The “Pro Tip”: How to Know Exactly When Your Wood is Ready
So, how long do you have to wait? You might hear different answers—a few weeks, a few months, or even a year. The truth is, there’s no single magic number. The drying time depends on many factors, like your local climate, how much sun your project gets, and the type of wood you have.
Instead of guessing, I’m going to teach you a simple, foolproof method called the “Sprinkle Test” (or water test). This is the best way to let the wood tell you when it’s ready.
How to Perform the Sprinkle Test
- Find a few spots on your deck or fence. Choose areas that get different amounts of sun and shade.
- Sprinkle a few drops of water onto the surface of the wood. You don’t need to pour a whole bucket—just a small sprinkle is fine.
-
Watch what the water does. This is the important part!
- If the water beads up on the surface, the wood is still too wet. The pores are full of moisture and cannot absorb any more liquid. You need to wait longer.
- If the water soaks into the wood within a few minutes, congratulations! The wood is dry enough to absorb stain. It’s ready for you to get to work.
I recommend doing this test every week or two after your project is built. It takes all the guesswork out of the process and ensures you stain at the perfect time for the best results.
General Drying Time Estimates
While the sprinkle test is the most reliable method, it’s helpful to have a general idea of how long you might be waiting. The environment plays a huge role in how quickly wood dries.
| Climate / Condition | Estimated Drying Time | Important Notes |
|---|---|---|
| Hot, Dry, and Sunny | 2 to 4 weeks | Direct sunlight can speed up drying significantly. Check your wood weekly. |
| Warm and Mildly Humid | 4 to 8 weeks | This is a common scenario. Be patient and rely on the sprinkle test. |
| Cool, Damp, or Humid | 2 to 6 months (or more) | In shady or damp climates, drying takes much longer. Proper air circulation around the boards is key. |
| Kiln-Dried After Treatment (KDAT) Wood | Ready immediately | This wood is dried at the factory after treatment. It’s more expensive but can be stained right away. Check the lumber tag to be sure. |
Your Step-by-Step Guide to Staining Pressure-Treated Wood
Once the sprinkle test gives you the green light, you’re ready to go! Follow these steps for a professional-looking finish that will protect your investment.
Step 1: Clean the Wood (Yes, Even New Wood!)
You might think new wood is clean, but it can have a slick, waxy surface called “mill glaze” from the milling process. It can also have dirt and grime from the lumber yard. This glaze can prevent stain from penetrating properly.
Use a good quality deck cleaner and a stiff-bristled brush to scrub the entire surface. This will open up the wood’s pores to accept the stain. Make sure to follow the product instructions carefully. After scrubbing, rinse the wood thoroughly with a garden hose. Avoid using a pressure washer on its highest setting, as it can damage the soft wood fibers. The U.S. Environmental Protection Agency (EPA) advises against using bleach for mold on porous surfaces like wood, so stick to designated deck cleaners.
After cleaning, you’ll need to let the wood dry completely. This usually takes 2-3 sunny days. Yes, it’s more waiting! But it’s essential. You can perform the sprinkle test again to be 100% sure it’s dry.
Step 2: Choose the Right Stain
The stain aisle can be overwhelming, but it boils down to two main types for pressure-treated wood. Your choice will depend on the look you want and how much maintenance you’re willing to do.
| Stain Type | Pros | Cons | Best For |
|---|---|---|---|
| Water-Based (Acrylic) | – Easy cleanup with soap and water – Dries quickly – Low odor (low VOCs) – Holds color well |
– Can sometimes form a film on the surface – May require more frequent re-coating |
Beginners who want an easy application and cleanup. Great for vibrant, solid colors. |
| Oil-Based (Alkyd) | – Penetrates deep into the wood – Conditions the wood – Rich, beautiful finish – Very durable |
– Stronger odor (higher VOCs) – Longer drying time – Messy cleanup (requires mineral spirits) |
Homeowners looking for maximum durability and a rich, natural wood look. |
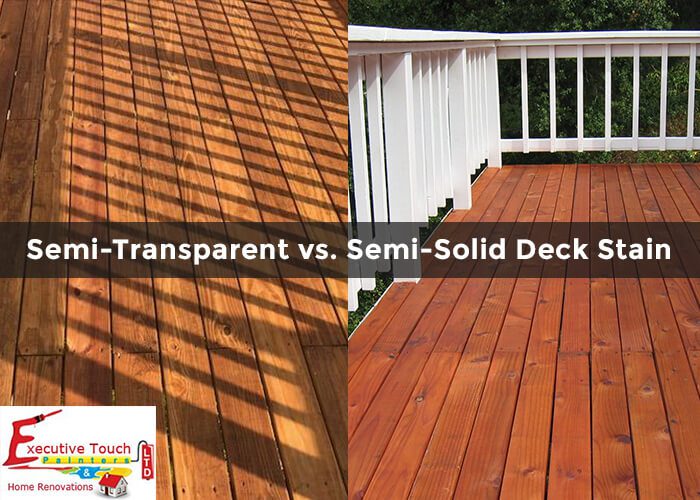
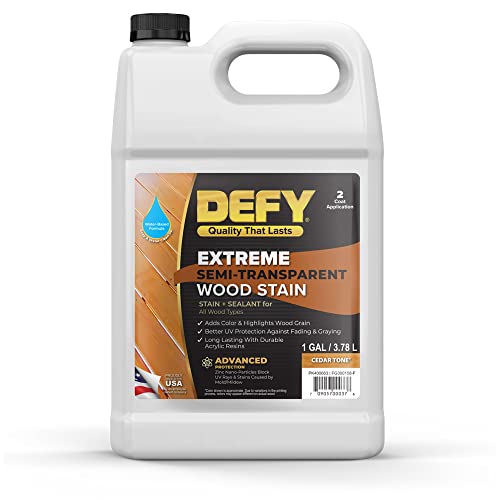
For a new project, I often recommend a semi-transparent stain. It provides good UV protection while still allowing the natural beauty of the wood grain to show through.
Step 3: Gather Your Tools and Prepare the Area
Having everything ready beforehand makes the job go smoothly. Here’s what you’ll likely need:
- Your chosen stain
- Paint tray
- Stir sticks (do not shake the can!)
- Paint brushes (natural bristles for oil, synthetic for water-based)
- Pad applicators or paint rollers
- Rags for cleanup
- Plastic tarps or drop cloths
- Painter’s tape
- Gloves and safety glasses
Before you start, check the weather forecast. You need a few days of dry, mild weather with no rain in sight. The ideal temperature for staining is typically between 50°F and 90°F (10°C to 32°C). Avoid staining in direct, hot sunlight, as it can cause the stain to dry too quickly and create lap marks.
Use your tarps and painter’s tape to protect any siding, plants, or concrete that you don’t want to get stain on.
Step 4: Apply the Stain Like a Pro
Now for the fun part! The key to a great finish is applying a thin, even coat.
- Stir, Don’t Shake: Thoroughly stir your stain with a stir stick. Shaking the can can create air bubbles that will leave a rough finish on your wood. Keep stirring occasionally as you work.
- Work in Small Sections: To avoid lap marks, work on just two or three boards at a time, running their full length. This technique is called “maintaining a wet edge.”
- Apply a Thin Coat: Dip your brush or roller in the stain and apply a light, even coat. Don’t slop it on! Too much stain will just sit on the surface and become sticky and prone to peeling. The goal is to get the wood to absorb the stain, not to create a thick layer on top.
- Back-Brush for a Perfect Finish: If you’re using a roller or sprayer, always go back over the area with a brush. This technique, called back-brushing, pushes the stain into the pores of the wood for better penetration and a more uniform look.
- Wipe Away Excess: After letting the stain sit for 5-15 minutes (check the can for specific instructions), use a clean, lint-free rag to wipe off any stain that hasn’t been absorbed. This is a critical step for preventing a sticky, tacky surface.
Step 5: Let It Dry and Enjoy
Follow the manufacturer’s directions for dry times. Stay off the surface for at least 24-48 hours to allow it to cure properly. After that, you’re ready to bring out the patio furniture and enjoy the beautiful, protected space you’ve created with your own two hands!

Frequently Asked Questions (FAQ)
1. How long do you have to wait to stain pressure treated wood?
You must wait until the wood is dry. This can take anywhere from a few weeks to several months depending on your climate and sun exposure. The best way to know for sure is to use the “sprinkle test.” If water soaks in, it’s ready. If it beads up, you need to wait longer.
2. Can you stain wet pressure treated wood?
No, you should never stain wet pressure-treated wood. The wood is already saturated with moisture from the treatment process and cannot absorb the stain. Staining it wet will cause the stain to peel, flake, and fail, forcing you to strip it all off and start over.
3. What is the best stain for pressure treated wood?
Both oil-based and water-based stains work well. Oil-based stains penetrate deeply and are very durable, while water-based stains are easier to clean up and hold their color well. A high-quality, semi-transparent stain is often a great choice for new projects as it provides UV protection while letting the wood grain show.
4. Do I need to sand pressure treated wood before staining?
Generally, no. Sanding is not usually necessary for new pressure-treated wood. In fact, sanding can sometimes close the pores of the wood, making it harder for the stain to penetrate. A thorough cleaning with a deck cleaner is more important. The only time you might sand is to smooth out a fuzzy or splintered area.
5. What is the best temperature for staining a deck?
The ideal temperature is between 50°F and 90°F (10°C to 32°C). Avoid staining in direct, intense sunlight or when temperatures are too hot, as this can make the stain dry too fast and leave lap marks. Also, ensure there is no rain in the forecast for at least 24-48 hours.
6. Can I use paint instead of stain on my pressure treated deck?
You can, but it’s often not recommended for horizontal surfaces like deck floors. Paint forms a film on the surface that can trap moisture and is prone to chipping and peeling under heavy foot traffic. Stain penetrates the wood, making it more durable for walking surfaces. Paint can be a good option for vertical surfaces like fences or railings.
7. How often should I restain my deck?
This depends on the type of stain you used and your climate. A good rule of thumb is to inspect your deck every year. Transparent stains may need a refresh every year, semi-transparent stains every 2-3 years, and solid stains can last up to 5 years. A good indicator is when water no longer beads on the surface and starts to soak in. For more maintenance tips, check out this guide from the Forest Products Laboratory, a part of the U.S. Department of Agriculture.
Your Project Deserves a Great Finish
Building a new deck or fence is a big accomplishment, and the final step of staining is what protects that investment and brings its beauty to life. It might feel frustrating to have to wait, but as we’ve learned, patience is the most important tool you have for this part of the job.
By letting your pressure-treated wood dry out completely, you’re setting your project up for success. Remember the simple sprinkle test—it will never steer you wrong. When the time is right, a proper cleaning and a careful application of a quality stain will give you a finish that you can be proud of for years to come.