Engineered Hardwood Acclimate: Proven Install Time
Engineered Hardwood Acclimation: Your Proven Install Time Guide
Get your new engineered hardwood floor ready for installation with our simple guide. Learn the essential acclimation times to prevent warping and ensure a beautiful, lasting finish. We’ll break down exactly how long engineered hardwood should acclimate before installing, making your DIY project a success.
Hey there, DIYers! Ashraf here. So, you’ve got a beautiful new engineered hardwood floor ready to transform your home. That’s exciting! But before you start laying down those planks, there’s a crucial step that many beginners overlook: acclimation. Think of it like letting your tools adjust to the workshop temperature before you start a precise cut. Engineered hardwood, like any natural wood product, needs to get used to its new environment. Skipping this step can lead to frustrating problems down the road, like gapping, cupping, or buckling. Don’t worry, it’s not complicated! In this guide, I’ll walk you through exactly why acclimation matters and the proven install times you need to know. Let’s get your new floor ready to shine!
Why Does Engineered Hardwood Need to Acclimate?
Imagine bringing a chilled bottle of water into a warm room. Condensation forms, right? Wood behaves similarly, but instead of condensation, it’s about moisture content. Engineered hardwood flooring is made of multiple layers: a real wood veneer on top and a core of plywood or high-density fiberboard (HDF) underneath. These different layers have varying responses to changes in temperature and humidity.
When you bring your new flooring home, it’s likely been stored in a warehouse or transported in conditions quite different from your living room. If you install it immediately, the wood will try to adjust to your home’s environment. This adjustment process causes the wood to expand or contract. If it does this after it’s been fixed to the floor, it can push against itself or pull away from the subfloor, leading to all sorts of unsightly and structural issues. Proper acclimation allows the moisture content of the wood to stabilize and match that of your home, preventing these problems. It’s a simple step that guarantees a much better, longer-lasting result.
Understanding Acclimation Time: The Key Factors
So, how long should engineered hardwood acclimate before installing? The short answer is: it depends. But don’t let that scare you! We can narrow it down by looking at a few key factors that influence the process.
Manufacturer’s Recommendations: This is your absolute first stop. Every manufacturer has specific guidelines based on their product’s construction and testing. Always check the installation manual that comes with your flooring.
Climate and Season: Are you installing in the dry winter or the humid summer? The existing moisture levels in your home are a big deal.
Storage Conditions: Where was the flooring stored before you bought it? Was it in a climate-controlled warehouse or a humid shed?
Type of Installation: Will you be gluing, floating, or nailing the floor? Different installation methods can have slightly different acclimation needs.
These factors all play a role in how quickly your engineered hardwood will reach equilibrium with your home’s environment.
How Long Should Engineered Hardwood Acclimate Before Installing? The General Rule
For most engineered hardwood flooring, the general recommendation is to acclimate it for at least 72 hours (3 days). However, many manufacturers suggest a longer period, often 5 to 10 days. Some situations might even require up to 14 days.
This range covers most scenarios, but it’s crucial to remember that this is a guideline, not a hard-and-fast rule. The best approach is always to follow the manufacturer’s specific instructions. Think of it like choosing the right drill bit for the job – you wouldn’t use a tiny wood bit on concrete, would you? Using the manufacturer’s guide ensures you’re using the right “tool” for your specific flooring.
Here’s a quick breakdown of what might influence the duration:
Typical Indoor Environment (Average Humidity/Temperature): 72 hours to 5 days is often sufficient.
Extreme Climate Differences (e.g., very dry winter to humid summer): You might need 5 to 10 days, or even longer, to allow the wood to adjust slowly.
Flooring Delivered in Humid Conditions: If your flooring arrived damp or from a very humid environment, it will need more time to dry out and stabilize in your drier home.
To give you a clearer picture, let’s look at typical acclimation times based on installation methods.
Acclimation Times by Installation Method
The way you plan to install your engineered hardwood can also slightly affect how long it needs to acclimate.
| Installation Method | Recommended Acclimation Time | Notes |
| :—————— | :————————— | :——————————————————————————————————————————————————————————————————————————————————————————————————————————————————————- |
| Floating Floor | 72 hours to 7 days | This is a common method where planks are joined together but not attached to the subfloor. The floor needs to settle and adjust before it’s walked on. |
| Glue-Down | 72 hours to 10 days | When using adhesive, it’s vital the wood’s moisture content is stable. The adhesive needs a consistent surface to bond to, and expansion/contraction after gluing can break the bond. |
| Nail-Down/Staple| 72 hours to 10 days | Similar to glue-down, the planks need to be stable before being fastened. This method is typically used for thicker engineered wood or solid wood, but some engineered products are designed for it. Fastening unstable wood can lead to issues with the fasteners or the wood itself. |
Important Note: Always check your specific product’s installation guide. These are general guidelines, and your manufacturer’s instructions are paramount. For example, some manufacturers of high-density fiberboard (HDF) core engineered wood might have slightly different recommendations due to the core material’s stability.
How to Properly Acclimate Engineered Hardwood Flooring
Acclimating your flooring is straightforward, but doing it correctly is key. Here’s your step-by-step guide:
Step 1: Choose the Right Location
You’ll want to acclimate your flooring in the same room or environment where it will be installed. This means the actual room where the floor will go. If you have multiple rooms with different temperature or humidity levels, you might need to acclimate the flooring in each respective room.
Ideal Conditions: Try to acclimate your flooring when your home’s heating and cooling systems are running normally, mimicking the conditions it will experience year-round.
Avoid Extremes: Don’t acclimate flooring in a garage, basement, or attic that experiences drastic temperature and humidity swings unless your flooring is specifically rated for those conditions.
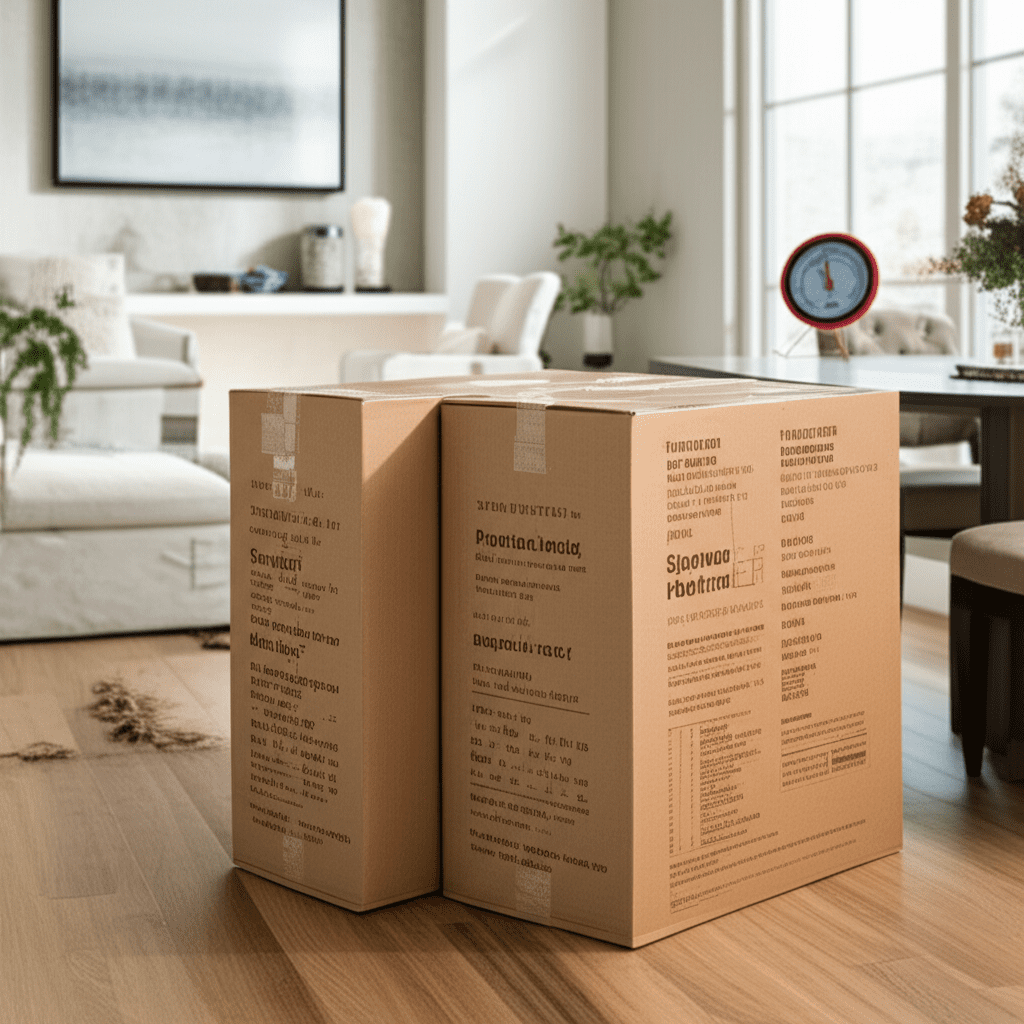
Step 2: Prepare the Flooring Boxes
Keep it Packaged (Mostly): For the initial period, it’s generally best to keep the flooring in its original, unopened cartons. This protects the planks from dust, debris, and direct air drafts that could cause uneven acclimation.
Allow Air Circulation: However, you don’t want the boxes sealed airtight. Manufacturers often recommend opening the cartons or at least loosening the bands slightly to allow air to circulate around the planks. Some suggest stacking the cartons flat, off the floor, with spacers between them for optimal airflow.
Step 3: Set Up for Airflow
Good air circulation is essential. The goal is for the wood to slowly and evenly absorb or release moisture to match your home’s environment.
Stacking: Stack the unopened or partially opened cartons flat, no more than 4-5 boxes high. Use small pieces of wood or cardboard (spacers) to create a few inches of space between the stacks and between the bottom boxes and the floor. This allows air to move freely underneath and around the cartons.
Placement: Position the stacks in the room, away from direct sunlight, heating vents, or cooling vents, as these can cause rapid and uneven temperature changes.
Step 4: Monitor Conditions (Optional but Recommended)
For the best results, especially if you live in a region with highly variable humidity, consider using a hygrometer (humidity meter) and a thermometer.
Hygrometer: This tool measures the relative humidity in your home. For most engineered hardwood, the ideal indoor humidity range is between 35% and 55%.
Thermometer: This measures the temperature. A stable temperature within your normal living range is best.
Your goal is to ensure your home’s environment is stable and within the manufacturer’s recommended humidity and temperature ranges before and during acclimation. If your home is too dry or too humid, you might need to use a humidifier or dehumidifier. According to the U.S. Environmental Protection Agency (EPA), maintaining a stable indoor environment is crucial for the longevity of building materials.
Step 5: The Waiting Game (and How to Know it’s Ready)
This is where patience comes in. Resist the urge to open those boxes and start laying planks too early.
Manufacturer’s Timeline: Stick to the recommended acclimation period.
Visual Check (Use with Caution): While not a definitive scientific method, some installers will open a few planks from the middle of a few boxes towards the end of the acclimation period. They look for any signs of moisture or extreme dryness. However, relying solely on visual cues can be misleading.
The most reliable indicator is time and stable environmental conditions. If your manufacturer provides a specific moisture content percentage (often around 6-9% for engineered hardwood, but check your manual!), a wood moisture meter can be used. You’d test a few planks and compare them to the subfloor’s moisture content (if applicable).
Common Mistakes to Avoid During Acclimation
Even with the best intentions, beginners can make a few common mistakes. Let’s cover them so you can steer clear:
Not Reading the Manufacturer’s Instructions: This is the golden rule. Every product is different.
Acclimating in the Wrong Location: Storing boxes in a damp basement or a hot attic defeats the purpose.
Opening Boxes Too Early: While air circulation is good, opening all boxes and exposing planks to direct drafts or sunlight can be detrimental. Keep them mostly sealed in their cartons.
Ignoring Environmental Conditions: Installing in extreme humidity or dryness without acclimation is a recipe for disaster.
Rushing the Process: Patience is a virtue, especially with flooring installation.
What if My Flooring Arrived Damaged or Wet?
If you open the boxes and find damaged, warped, or visibly wet planks, contact your supplier immediately. Do not attempt to acclimate or install damaged flooring. Document the damage with photos and follow the supplier’s return or exchange process.
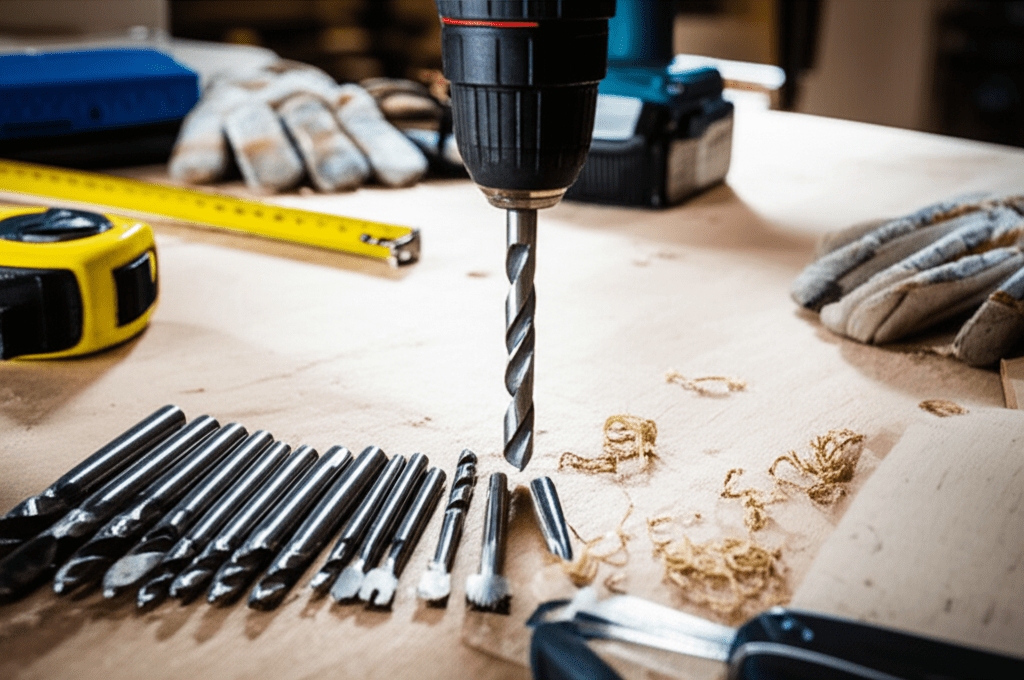
Tools That Help with Acclimation
While acclimation itself doesn’t require many tools, having a few on hand can ensure you’re doing it right and make the process smoother.
Manufacturer’s Installation Guide: The most important “tool” you have!
Hygrometer/Thermometer: To measure humidity and temperature. These are relatively inexpensive and can be found at most hardware stores or online.
Pallet Jack or Dolly: If you have a large amount of flooring, this can help move the heavy boxes to the acclimation area without straining yourself.
Spacers:** Small pieces of scrap wood or cardboard to lift the boxes off the floor for better airflow.
Frequently Asked Questions About Engineered Hardwood Acclimation
Here are some common questions beginners have about acclimating engineered hardwood:
Q1: Do I need to acclimate engineered hardwood if I live in a very stable climate?
A1: Even in stable climates, there can be subtle differences in moisture content between the flooring’s storage location and your home. It’s always best practice to follow the manufacturer’s recommended acclimation period to ensure the wood is fully adjusted.
Q2: Can I speed up the acclimation process?
A2: No, you should not try to speed up acclimation. Rapid changes in temperature or humidity can shock the wood and lead to damage. Allow the flooring to adjust naturally over the recommended time.
Q3: What’s the difference between acclimation and acclimatization?
A3: In this context, the terms are often used interchangeably. Both refer to the process of allowing the flooring material to adjust its moisture content to the surrounding environment.
Q4: How do I know if my engineered hardwood is acclimated?
A4: The most reliable way is to follow the manufacturer’s recommended time frame (usually 72 hours to 10 days) and ensure your home’s environment is stable and within the recommended humidity (35-55%) and temperature ranges. Using a wood moisture meter to check the planks against the subfloor is the most precise method, but often not required if manufacturer guidelines are followed.
Q5: Can I store the boxes flat on the floor during acclimation?
A5: It’s better to stack them off the floor using spacers. This allows for better air circulation around the entire package, promoting more even acclimation. Avoid stacking them too high, as this can hinder airflow to the lower boxes.
Q6: What if the acclimation period falls during a time when my HVAC is off?
A6: It’s ideal to acclimate your flooring when your HVAC system is running normally. If your HVAC is off for an extended period during the acclimation phase, try to maintain a consistent temperature and humidity as best as possible. If there are extreme seasonal changes (like a very dry winter or humid summer), it might be wise to wait until your HVAC is operational for consistent conditions.
Conclusion: Your Flooring, Ready for Its Close-Up
You’ve done the hard part – choosing your beautiful new engineered hardwood floor and understanding the crucial acclimation process. By following these steps, keeping an eye on your home’s environment, and most importantly, adhering to your manufacturer’s specific instructions, you’re setting yourself up for a successful and stunning floor installation.
Remember, acclimation isn’t just a suggestion; it’s a vital step that protects your investment and ensures your floor looks great for years to come. It’s about giving the wood the time it needs to settle into its new home, just like you might need a moment to adjust when you visit a new place.
So, be patient, be prepared, and enjoy the process. Once your engineered hardwood has properly acclimated, you’ll be ready to tackle the installation with confidence, knowing you’ve laid the groundwork for a durable and beautiful floor. Happy installing!