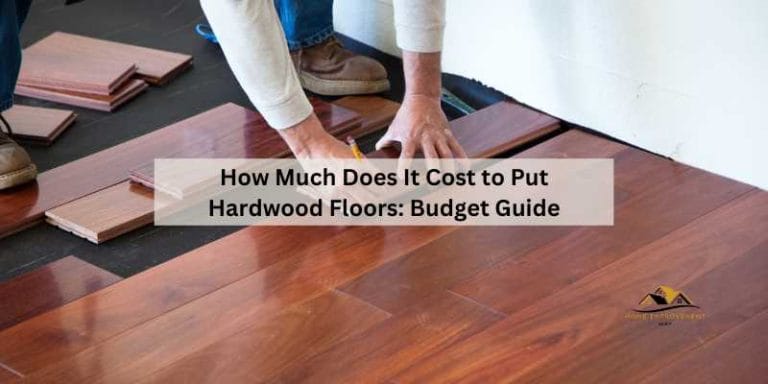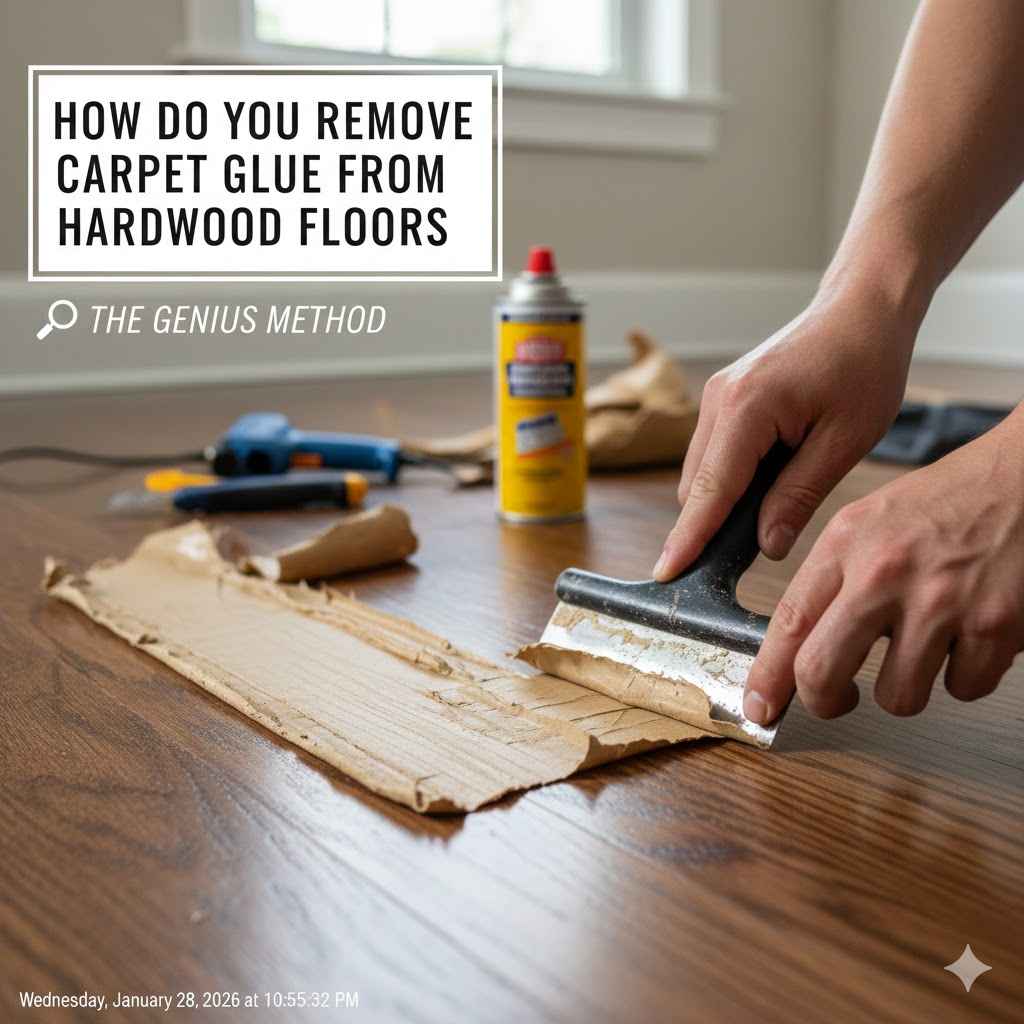
How Do You Remove Carpet Glue From Hardwood Floors Genius
To remove carpet glue from hardwood floors, start by scraping away thick patches with a plastic putty knife. Gently warm stubborn adhesive with a hairdryer to soften it for easier removal. For tough, dried-on glue, use a commercial adhesive remover made specifically for hardwood, always testing it on a small, hidden spot first.
Hello there! I’m Md Meraj, and I’m so glad you’re here. Pulling up old carpet and discovering beautiful hardwood floors underneath is one of the best surprises a homeowner can get. But then you see it: a sticky, stubborn mess of old carpet glue. Don’t worry! This is a common challenge, and it’s one you can absolutely handle yourself. It might look tough, but with a little patience and the right steps, you can get that glue off for good. I’m here to walk you through the entire process, making it simple and safe. Let’s get those floors looking brand new again!
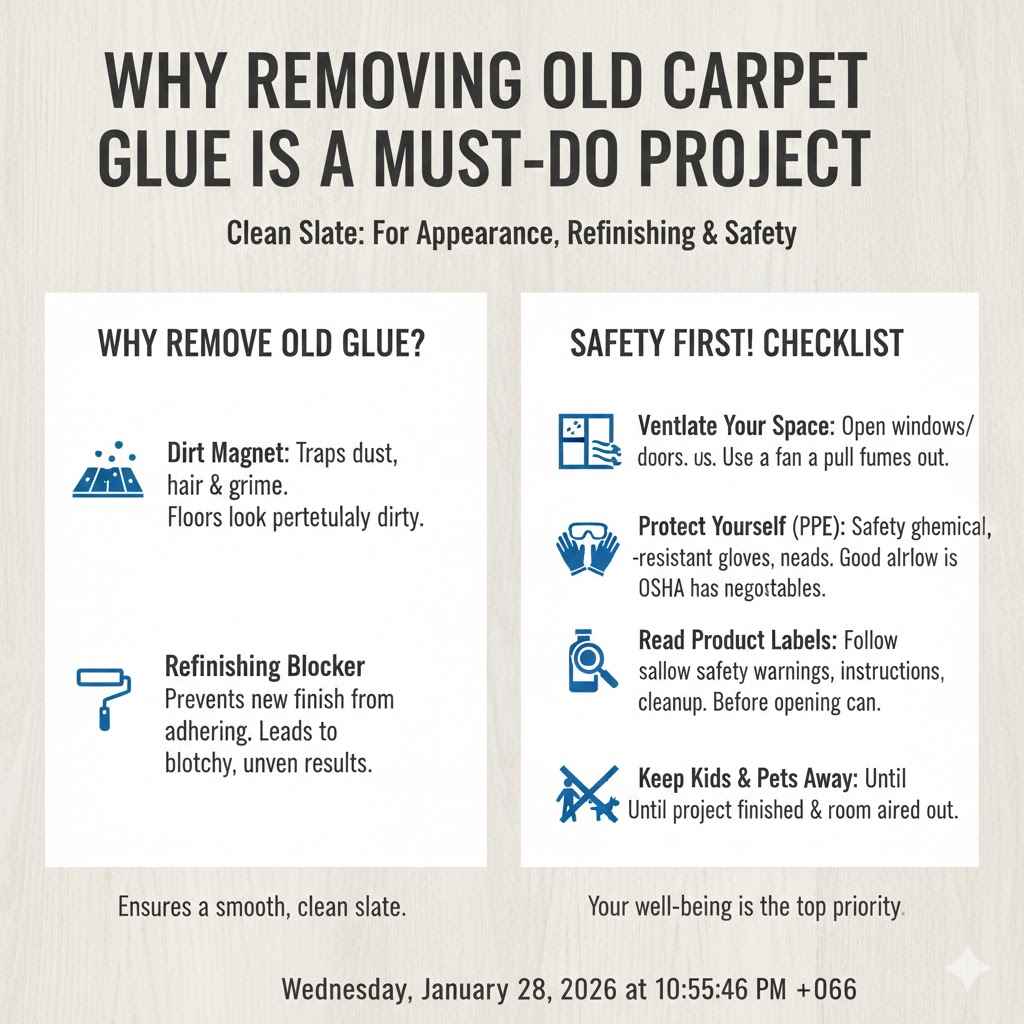
Why Removing Old Carpet Glue is a Must-Do Project
It can be tempting to just cover that old glue with a new rug, but taking the time to remove it properly is well worth the effort. Old adhesive isn’t just an eyesore; it can cause real problems for your beautiful hardwood floors.
First, leftover glue is a dirt magnet. It creates a sticky surface that traps dust, pet hair, and grime, making your floors look perpetually dirty. No amount of sweeping or mopping will get them truly clean. Second, if you plan to refinish, sand, or stain your floors, the glue must go. Any adhesive left behind will prevent the new finish from adhering properly, leading to a blotchy, uneven, and unprofessional look. Getting rid of the glue now ensures a smooth, clean slate for whatever you plan to do next.
Safety First! Your Pre-Project Checklist
Before we even think about touching that glue, let’s talk about staying safe. DIY projects are fun, but your well-being is always the top priority. Some adhesive removers can have strong fumes, and you’ll be on your knees for a while, so a little preparation goes a long way. Here’s what you need to do before you start:
- Ventilate Your Space: Open up all the windows and doors in the room. If you have a box fan, place it in a window facing out to help pull fumes out of the room. Good airflow is non-negotiable, especially when working with chemical solvents.
- Protect Yourself: Your personal protective equipment (PPE) is your best friend. Make sure you have safety goggles to protect your eyes from splashes, chemical-resistant gloves to protect your skin, and a pair of comfortable knee pads to save your joints. For more on selecting the right gear, the Occupational Safety and Health Administration (OSHA) has great resources.
- Read Product Labels: If you choose to use a commercial adhesive remover, read the entire label before you open the can. Pay close attention to the manufacturer’s safety warnings, application instructions, and cleanup procedures.
- Keep Kids and Pets Away: Designate the work area as a kid- and pet-free zone until the project is completely finished and the room has aired out.
Gather Your Tools and Materials
Having everything you need within arm’s reach makes the job go much smoother. You don’t want to be running to the garage or hardware store mid-scrape! Here is a handy list of the tools you might need, depending on the method you choose. Not every project will require all of these items, but it’s good to know your options.
Tool & Material Checklist
| Tool/Material | Purpose |
|---|---|
| Plastic Putty Knife or Scraper | Safely scraping glue without scratching the wood. Avoid metal scrapers! |
| Hairdryer or Heat Gun | To gently soften old, brittle glue, making it easier to scrape. |
| Clean Rags or Old Towels | For wiping up softened glue and cleaning the floor. |
| Commercial Adhesive Remover | A chemical solvent designed to dissolve stubborn glue. Choose one safe for hardwood. |
| Safety Goggles | To protect your eyes from chemical splashes or flying debris. |
| Chemical-Resistant Gloves | To protect your hands from solvents. |
| Knee Pads | To protect your knees during long hours on the floor. |
| Bucket with Warm Water | For rinsing and cleaning up after glue removal. |
| Mild Soap or Wood Floor Cleaner | For the final cleaning step to remove any residue. |
How Do You Remove Carpet Glue From Hardwood Floors: A Step-by-Step Guide
Alright, you’re prepped and ready to go! Now comes the fun part: reclaiming your hardwood floors. We’ll break this down into simple, manageable steps. Remember to be patient—some types of glue are more stubborn than others.
Step 1: Always Start with a Test Spot
This is the most important rule of any floor-cleaning project. Before you apply anything to your entire floor, you must test your chosen method on a small, hidden area. A corner inside a closet or a spot that will be covered by a large piece of furniture is perfect. This test will show you how your specific floor finish and the glue react to the removal method, preventing a potential disaster.
Apply your chosen cleaner or method to the test spot, let it sit for the recommended time, and try to scrape the glue. After cleaning it up, check for any discoloration, dullness, or damage to the wood’s finish. If everything looks good, you’re ready to proceed!
Step 2: Scrape Away the Easy Stuff First
Before using any liquids or heat, tackle the thick, chunky parts of the glue first. Take your plastic putty knife and, holding it at a low angle, gently push it under the edges of the dried glue. Often, large pieces will pop right off. This is sometimes called “dry scraping.” The goal here is to remove the bulk of the adhesive without much effort, making the next steps easier. Don’t force it or gouge the wood. If it doesn’t come up easily, move on to one of the methods below.
Step 3: Choose Your Removal Method
Not all carpet glues are the same. Some are water-based and relatively easy to remove, while others are old, tar-like adhesives that require more power. You may need to try more than one method to see what works best on your floors. Let’s start with the gentlest approach first.
Method A: The Heat Method (Safest First Choice)
This is my favorite method to start with because it’s chemical-free and surprisingly effective on many types of older, brittle adhesives. The heat softens the glue, making it pliable enough to scrape away.
- Apply Heat: Grab your hairdryer (a heat gun on its lowest setting also works, but be extra careful not to scorch the wood). Hold it about 3-4 inches from the surface of the glue. Move it back and forth over a small section (about one square foot) for a minute or two.
- Watch for Softening: You’ll see the glue start to get shiny or slightly gummy. That’s your cue that it’s ready.
- Scrape Gently: Immediately take your plastic scraper and, using that same low angle, push into the softened glue. It should peel away much more easily now. Scrape the softened glue into a small pile.
- Wipe and Repeat: Use a clean, dry rag to wipe up the glue shavings. Move on to the next section and repeat the process until you’ve cleared the entire floor.
Method B: The Solvent Method (For Stubborn Glue)
If heat doesn’t do the trick, it’s time to bring in a commercial adhesive remover. These products are specifically designed to dissolve tough glues. It’s crucial to choose a product that is labeled as safe for hardwood floors. Citrus-based removers are often a good starting point as they are less harsh than stronger chemical solvents.
The National Wood Flooring Association provides great information on different types of floor finishes, which can help you understand what you’re working with before applying chemicals.
Solvent Comparison
| Solvent Type | Pros | Cons | Best For |
|---|---|---|---|
| Citrus-Based Removers | Less toxic fumes, more pleasant smell, biodegradable. | May work slower, might require more scrubbing. | Lighter-duty adhesives, homes with kids/pets. |
| Soy-Based Removers | Low VOCs, very effective, can stay wet longer. | Can be oily and require extra cleanup with a degreaser. | Thick, stubborn mastic and tar-like adhesives. |
| Chemical Solvents | Work very quickly and powerfully. | Strong fumes, requires excellent ventilation, harsher on finishes. | Toughest, industrial-strength adhesives. Use as a last resort. |
How to use a solvent:
- Apply the Solvent: Following the product’s directions, apply a thin layer of the remover directly onto the glue. Don’t saturate the floor, as excess liquid can seep between the floorboards.
- Let it Sit: This is the most important part. The solvent needs time to work and break down the adhesive. The label will tell you how long to wait—it could be anywhere from 15 minutes to an hour.
- Scrape and Wipe: Once the time is up, the glue should be very soft and almost jelly-like. Use your plastic scraper to easily lift it off the floor. Wipe the residue away with a clean rag.
- Neutralize if Needed: Some chemical removers require a neutralizer (usually water or mineral spirits) to stop the chemical reaction. Check the instructions and clean the area as directed.
Method C: The Oil Method (A Natural Alternative)
Believe it or not, plain old cooking oil can be effective for some types of adhesives. Oil works by breaking down the sticky bonds in the glue. This method is best for smaller patches of glue residue rather than an entire floor covered in thick mastic.
- Apply the Oil: Pour a small amount of vegetable oil, olive oil, or mineral oil directly onto the glue patch. Use a rag to spread it into a thin, even layer.
- Give it Time: Let the oil sit and soak into the glue for a few hours, or even overnight if possible. This gives it time to penetrate and loosen the adhesive.
- Scrape it Off: Use your plastic scraper to lift the now-gummy glue. It should come off in soft clumps.
- Clean Up the Oil: The final step is crucial. You need to remove all the oil residue. Wipe the area with a rag soaked in a mixture of warm water and a few drops of mild dish soap. Then, wipe it down again with a clean, damp cloth to rinse, and finally, dry it completely with a towel.
Step 4: The Final Clean-Up
Once all the glue is gone, your job isn’t quite finished. You’ll likely have some remaining residue from the remover, oil, or tiny bits of glue. It’s time for a final, gentle clean to restore the floor’s natural beauty.
- Wipe with Mineral Spirits (Optional): If you used an oily or heavy-duty solvent, wiping the floor with a rag lightly dampened with mineral spirits can help remove any leftover film. Test this on your hidden spot first! Be sure to ventilate well.
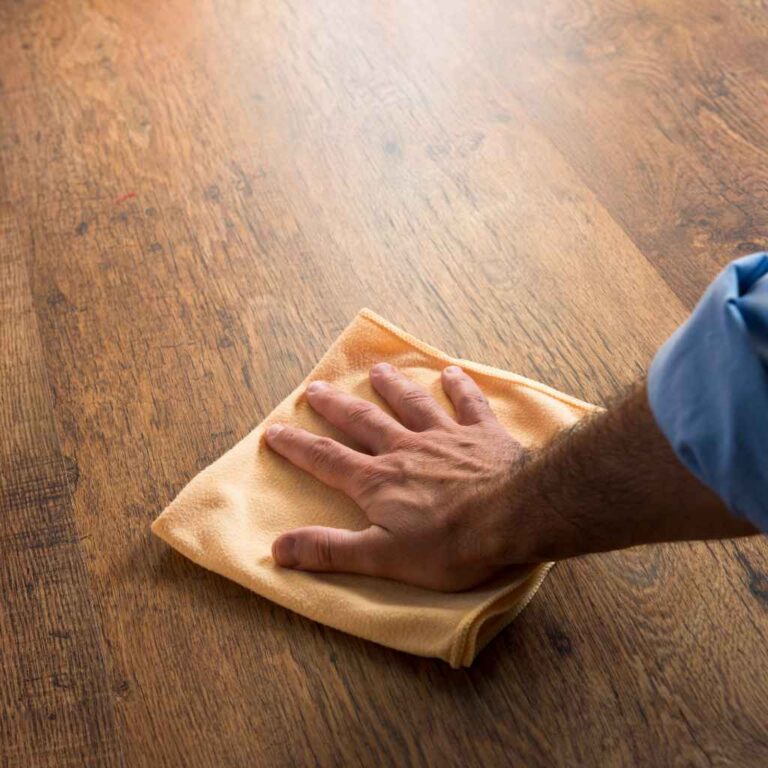
- Use a Hardwood Floor Cleaner: Next, clean the entire floor with a pH-neutral cleaner specifically designed for hardwood floors. Avoid using water and vinegar, as the acid can dull the finish over time. Follow the cleaner’s instructions, using a microfiber mop for best results.
- Dry Thoroughly: Never let water or liquid sit on a hardwood floor. Immediately after cleaning, go over the entire surface with a dry, clean towel or microfiber cloth to ensure it’s completely dry.
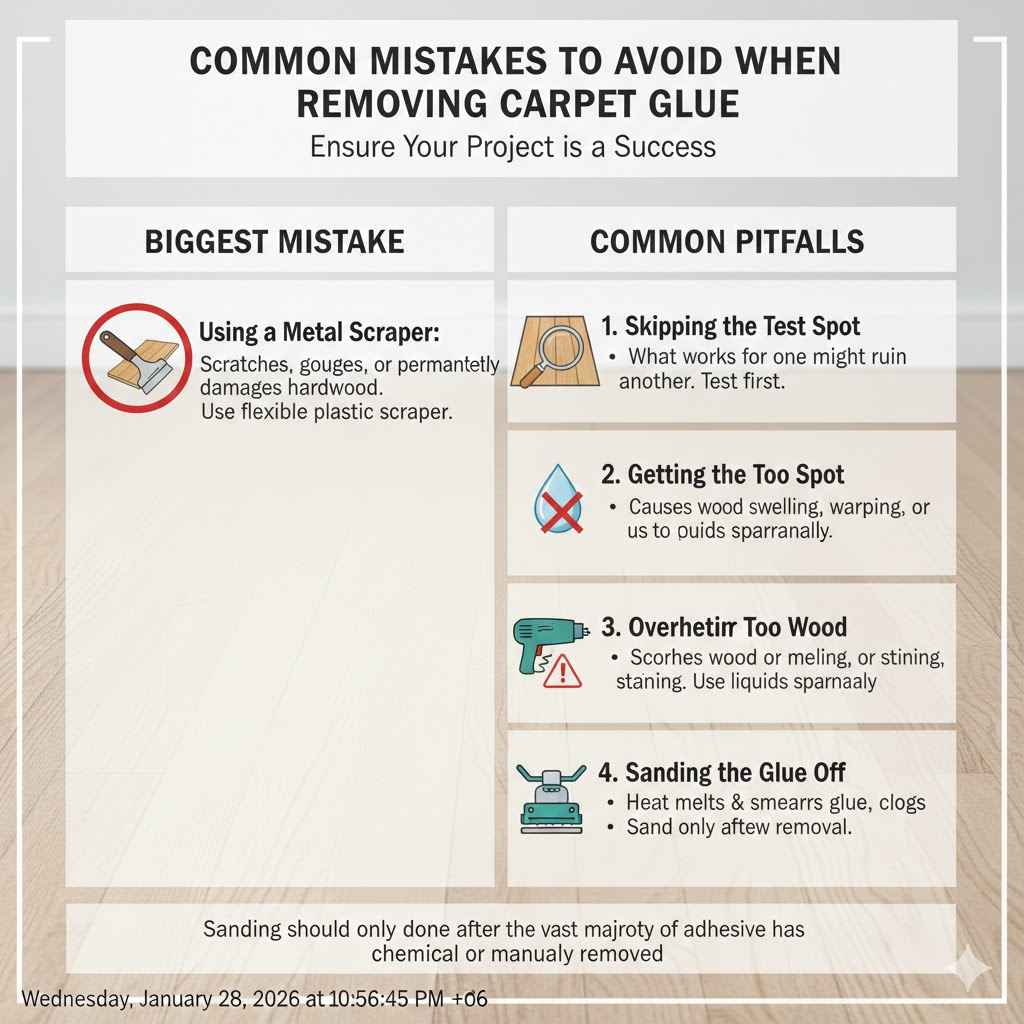
Common Mistakes to Avoid When Removing Carpet Glue
Even with the best intentions, it’s easy to make a mistake. Here are a few common pitfalls to watch out for to ensure your project is a success:
- Using a Metal Scraper: This is the number one mistake! A metal scraper will almost certainly scratch, gouge, or permanently damage your hardwood floors. Always stick to a flexible plastic scraper.
- Skipping the Test Spot: I can’t say this enough. What works for one floor might ruin another. A five-minute test can save you from hours of repair work and heartache.
- Getting the Floor Too Wet: Wood and water are not friends. Using too much water or solvent can cause the wood to swell, warp, or stain. Always use liquids sparingly.
- Overheating the Wood: If you use a heat gun, keep it moving and use the lowest effective setting. Holding it in one spot for too long can scorch the wood or melt the finish, creating a worse problem.
- Sanding the Glue Off: While you can technically sand glue off, it’s a terrible idea for a beginner. The heat from the sander will melt the glue, smearing it around and instantly clogging your sandpaper. Sanding should only be done after the vast majority of the adhesive has been chemically or manually removed.
Frequently Asked Questions (FAQ)
Can I use Goo Gone to remove carpet glue from hardwood floors?
Yes, you can often use Goo Gone, as it is a citrus-based remover. However, it’s very important to use the product specifically labeled for hardwood or finished surfaces. Always test it in an inconspicuous area first, as it has an oily base that can potentially affect some finishes if left on for too long.
Will vinegar remove carpet glue from wood?
Vinegar is generally not recommended for removing carpet glue from hardwood. While it’s a great natural cleaner, its acidic nature can dull or damage the polyurethane finish on your floors over time. It’s also not very effective at dissolving strong adhesives. It’s better to stick with methods known to be safe for wood finishes.
How long does it take to remove carpet glue from hardwood floors?
The time it takes can vary greatly depending on the size of the room, the type of glue, and how long it’s been there. A small room with easy-to-remove glue might take a few hours. A large room with stubborn, tar-like adhesive could take a full weekend. Patience is key!
Is it better to sand the glue off?
No, you should avoid sanding as the primary removal method. The friction and heat from a power sander will melt the glue, creating a gummy mess that clogs your sandpaper and gets smeared into the wood grain. Chemical or heat removal should always come first. Sanding is the final step for preparing a floor for a complete refinish, after the glue is gone.
What is the hardest carpet glue to remove?
Old, black, tar-based mastic adhesive is typically the most difficult to remove. It’s thick, extremely sticky, and often requires strong solvents and a lot of patient scraping. This type of adhesive was common in older homes, so be prepared for a bit more work if you uncover it.
Can I paint or stain over old carpet glue on hardwood?
No, you should never paint or stain over old glue. The paint or stain will not adhere properly to the glued areas, resulting in a splotchy, uneven, and peeling finish. The surface must be completely clean and free of all adhesive before you can apply a new finish.
How do I know what kind of glue I’m dealing with?
You can often tell by the color and texture. A light-tan or yellowish, brittle glue is likely an older, water-based adhesive that might come up with heat. A sticky, dark brown or black substance is probably a tougher, solvent-based mastic. Testing different removal methods is the best way to determine what works for your specific type.
Conclusion: Enjoy Your Beautifully Restored Floors!
And there you have it! Taking on a project like removing old carpet glue might seem daunting at first, but by breaking it down into simple, methodical steps, it becomes a completely achievable DIY task. You’ve learned how to prepare your space safely, choose the right tools, and apply different removal techniques, from gentle heat to powerful solvents.
The key is to work patiently, test your methods, and never use tools that could damage the beautiful wood you’ve uncovered. Take pride in every patch of glue you remove, because you’re not just cleaning a floor—you’re restoring a piece of your home’s character. Now, stand back and admire your hard work. Those gorgeous, clean hardwood floors were there all along, just waiting for you to bring them back to life. Happy renovating!