How Long To Leave Hydrogen Peroxide On Hardwood Floors: Proven Best
For general spot cleaning and light stain removal on sealed hardwood floors, leave a hydrogen peroxide solution (typically 3% diluted) on the stain for no more than 10 to 15 minutes. Always test first, rinse thoroughly, and avoid prolonged soaking to protect the wood finish.
Hello there! I’m Md Meraj, and I know that keeping hardwood floors looking beautiful can sometimes feel like a big chore. Stains happen—whether it’s red wine, pet accidents, or stubborn scuff marks—and many folks reach for hydrogen peroxide as a natural cleaning powerhouse. It’s cheap and effective, but here’s the tricky part: how long is too long? Leaving it on too briefly does nothing, but leaving it too long can damage that beautiful finish. Don’t worry! We are going to walk through this step-by-step. By the end of this guide, you will know the perfect timing and technique to safely tackle those tough spots and restore your wood floors with confidence. Let’s dive into making your floors shine again!
Why Hydrogen Peroxide is a Go-To for Hardwood Floors
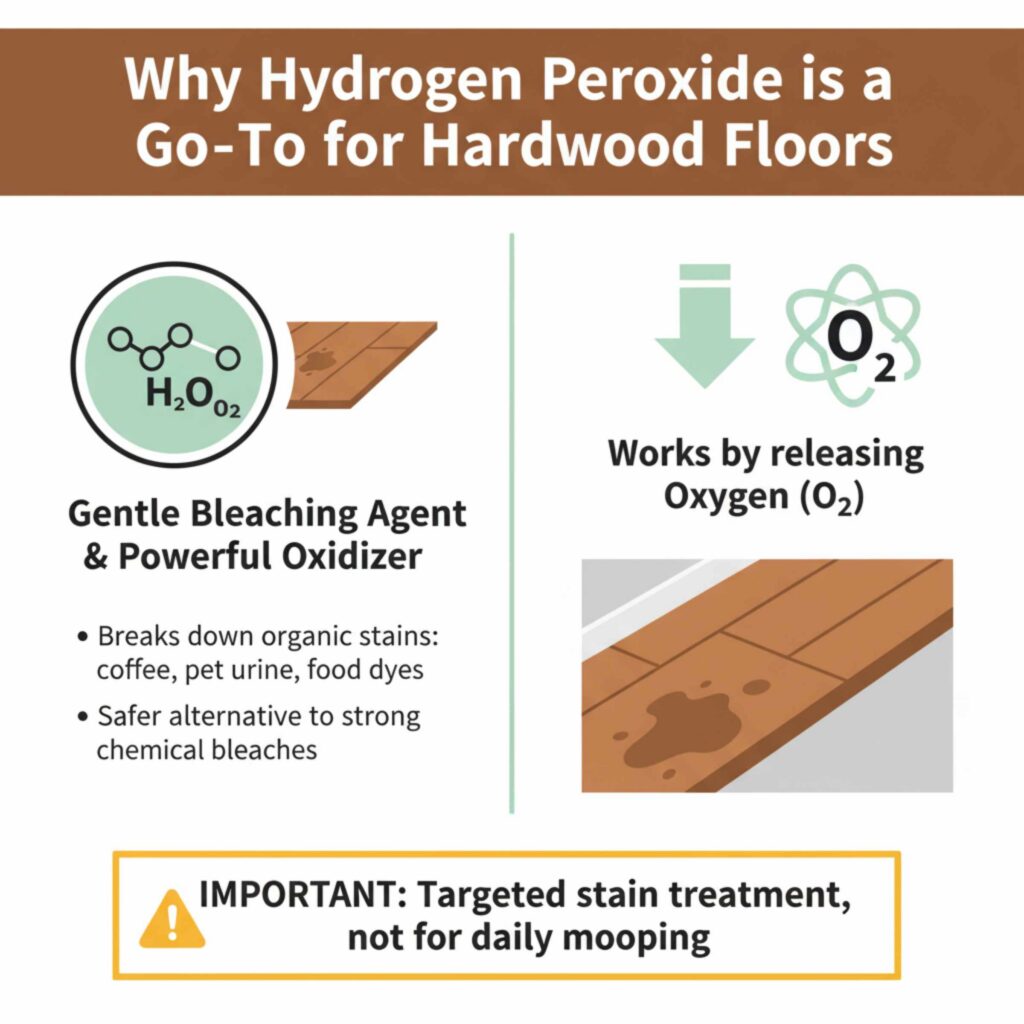
Hydrogen peroxide (H2O2) is a fantastic tool for homeowners, largely because it is a gentle bleaching agent and a powerful oxidizer. Unlike harsh chemical strippers, it often works wonders without requiring heavy scrubbing that can scratch your wood.
It works by releasing oxygen, which helps break down the compounds that make up many common stains, especially organic ones like coffee, food dyes, or pet urine. This makes it a popular, safer alternative for cleaning without resorting to strong commercial bleaches.
However, we must treat it with respect. It’s not meant for daily mopping; it’s a targeted stain treatment. Knowing the right timing is the difference between a sparkling floor and a dull patch.
Understanding Your Hardwood Floor Finish: The Crucial First Step
Before we talk about time, we must talk about the surface. Hydrogen peroxide interacts very differently with raw wood versus sealed wood. If you skip this step, you risk damaging your floor permanently.
Sealed vs Unsealed Floors
Most modern hardwood floors are sealed. This seal protects the wood from moisture and surface spills. Common sealants include polyurethane, varnish, or urethane.
Sealed Floors: These are easier to clean. The peroxide primarily works on the surface stain, and the finish acts as a barrier against deep penetration. For these, you can use a slightly stronger approach with controlled timing.
Unsealed/Waxed Floors: If your floors are oiled, waxed, or completely raw (less common today), hydrogen peroxide can penetrate the wood grain quickly, causing discoloration or etching. If you have unsealed floors, it is best to consult a flooring professional before using any liquid spot treatment, including peroxide. For this guide, we will focus primarily on modern, sealed hardwood floors.
How to Test Your Seal
Want a quick check? Put one small drop of water in an inconspicuous spot (like under a rug edge or in a closet).
If the water beads up, your seal is good!
If the water soaks in quickly and darkens the wood, you likely have an unsealed or very worn floor. Proceed with extreme caution if you choose to use peroxide on these types of floors.
The Golden Rule: How Long to Leave Hydrogen Peroxide on Hardwood Floors
When dealing with sealed hardwood floors, precision in timing prevents damage. The goal is to give the peroxide enough time to lift the stain without allowing it to sit long enough to break down the polyurethane topcoat.
The Proven Best Timing for Sealed Floors
For most common household stains (coffee, food, mild water marks) on floors sealed with polyurethane, the optimal application time is between 10 and 15 minutes.
This window allows the oxygenation process to lift the stain effectively. Any less time, and you might see minimal results; any more time, and you increase the risk of the finish becoming dull or hazy.
What About Stubborn Stains? (The Poultice Method)
For deep or old stains, simply wiping peroxide on top won’t work. You need to use the poultice method, which requires a longer contact time, but this is still controlled.
A poultice is a paste that holds the cleaning agent against the stain longer, drawing the discoloration out of the wood rather than just bleaching the surface.
Here is a quick comparison of timing based on the application method:
| Application Method | Recommended Time on Sealed Hardwood | Best For |
|---|---|---|
| Direct Wipe/Spray (3% Solution) | 5 – 10 minutes | Light surface spills, fresh marks |
| Damp Cloth Dwell (3% Solution) | 10 – 15 minutes | General spot cleaning, moderate stains |
| Peroxide Poultice (Paste) | 30 minutes to 1 hour (Max) | Deep, set-in stains (e.g., dark pet stains) |
Safety First: Tools and Dilution Ratios You Need
As your woodworking guide, I always stress safety. Hydrogen peroxide is generally safe, but we need to use the right concentration and have the right supplies ready.
Essential Supplies Checklist
Before you start, gather everything. You don’t want to leave a soaking wet peroxide solution on the wood while you run to find a cloth.
- Hydrogen Peroxide: Use the standard 3% solution found in any drugstore. This is the ideal strength for wood cleaning.
- Distilled Water: Helps dilute the solution and avoids mineral deposits from hard tap water.
- Soft, White Cloths or Paper Towels: Absolutely no abrasive scrubbers or colored cloths (dyes can transfer).
- Clean Water: For rinsing the area afterward.
- Timer: This is your most important tool for tracking the 10–15 minute window!
- Protective Gloves (Optional but Recommended): To protect your skin, although 3% is generally mild.
Dilution Guide for Hardwood Floors
For routine spot cleaning on sealed floors, I strongly recommend diluting the 3% solution slightly, especially if you have a very sensitive or older finish.
- Mix one part 3% Hydrogen Peroxide with one part Distilled Water (a 1:1 ratio).
- This creates a gentle but effective cleaning solution, roughly 1.5% concentration.
- For very stubborn, localized stains where you plan to use the poultice method, you can use the 3% solution undiluted, but you must watch the clock carefully.
Step-by-Step Guide: Safely Applying Hydrogen Peroxide
Now that we know the time limit (10–15 minutes) and have our supplies, let’s walk through the actual process. Remember: Test first!
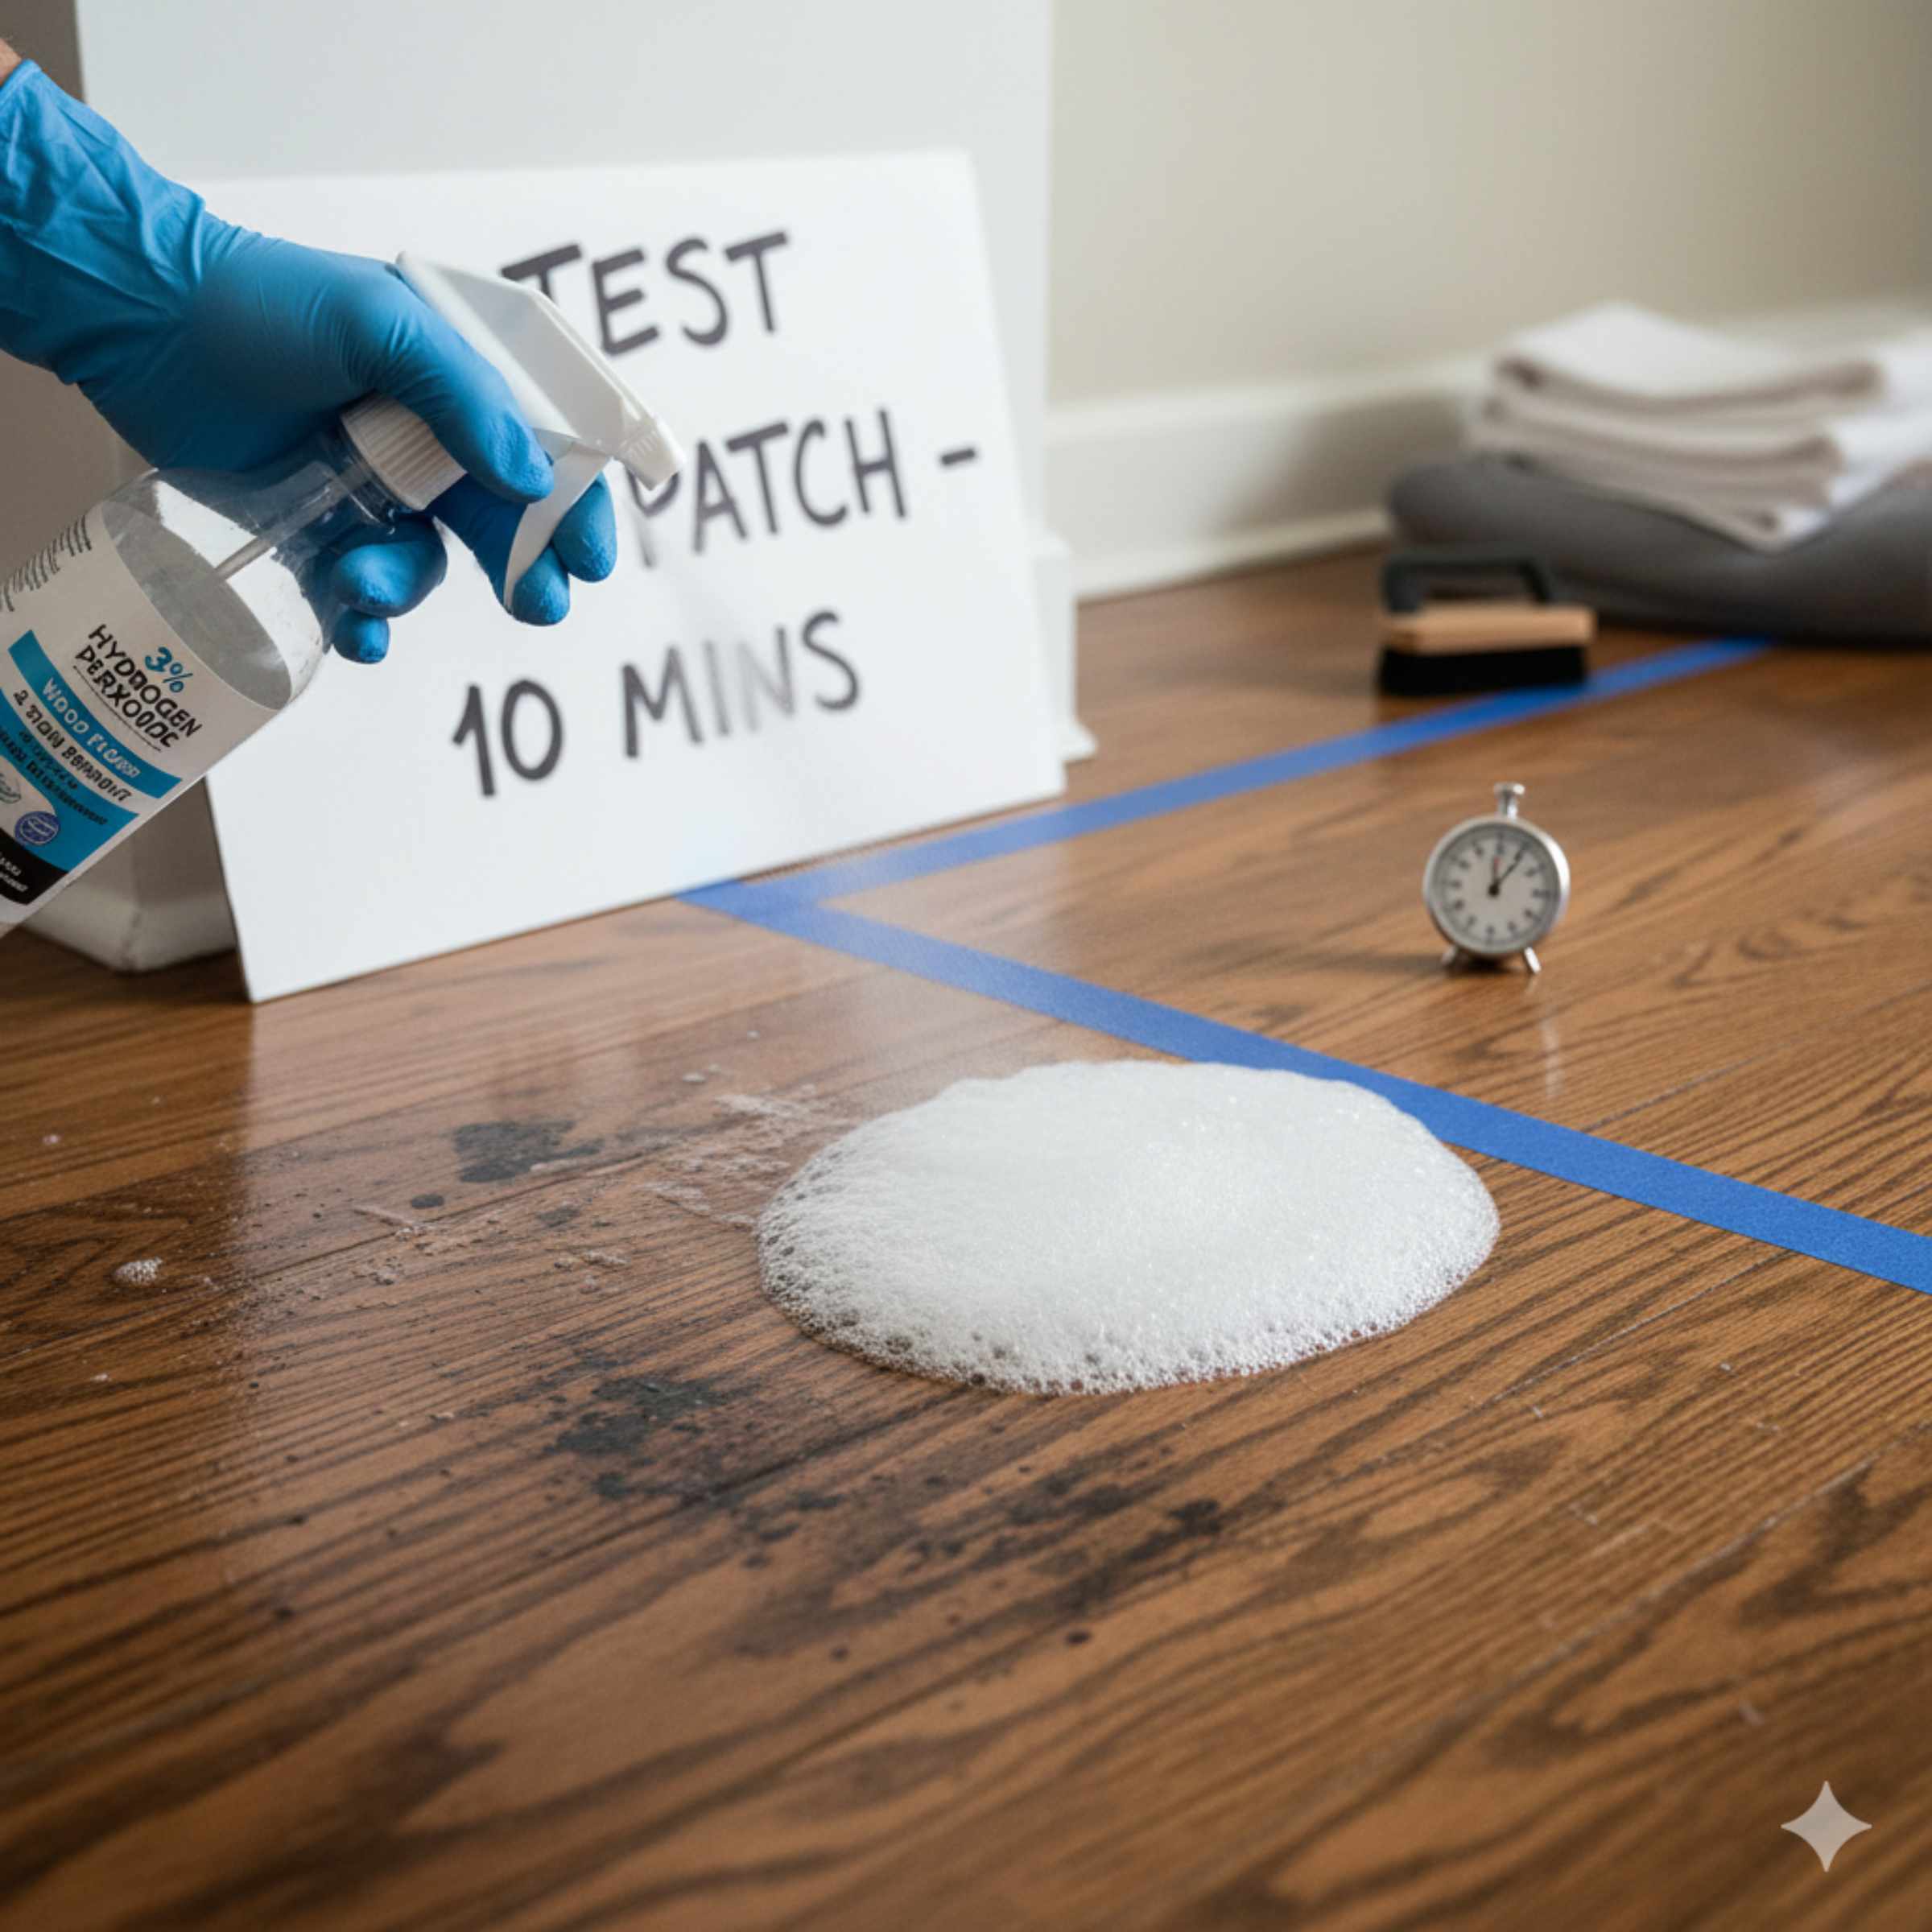
Step 1: The Patch Test (Non-Negotiable!)
Find a spot that is hidden from view. Apply a small amount of your chosen peroxide solution (diluted or straight 3%) to the spot. Let it sit for 15 minutes. Wipe it dry. If the area looks the same color, you are safe to proceed. If the finish looks dull or lighter, stop immediately and consult a professional.
Step 2: Prepare the Area
Sweep or vacuum the area thoroughly. You do not want any grit or dust trapped under your cleaning cloth, as this will scratch the floor when you press down.
Step 3: Apply the Solution
If you are using the direct application method:
- Dampen a clean, white cloth with your diluted hydrogen peroxide solution. Do not soak the cloth to the point where it is dripping heavily.
- Gently lay the damp cloth directly over the stain you are treating.
- If using the poultice method, mix your 3% peroxide with an absorbent material (like baking soda or chalk powder) to create a thick paste. Spread this paste thickly over the stain.
Step 4: Set the Timer and Wait (The Critical Phase)
This is where your timer comes in!
For Direct Application (Damp Cloth): Set the timer for exactly 10 minutes. Check the stain progress around the 8-minute mark.
For Poultice Application: Set the timer for 30 minutes. Poultices work slower and need longer contact, but never leave them on for more than an hour on sealed wood.
During this time, resist the urge to peek or rub! Let the chemical reaction do the work.
Step 5: Remove and Inspect
Once the timer goes off, immediately remove the cloth or scrape away the poultice.
If the stain is gone or significantly lighter, proceed to the next step.
If the stain remains, you can carefully reapply the solution for another 5 minutes, but do not exceed 20 minutes total for direct application. For deep stains, a second poultice application might be necessary later, but give the wood a break in between.
Step 6: Neutralize and Rinse Thoroughly
This step is vital for protecting your finish. You must neutralize the peroxide residue to stop the bleaching action.
- Take a fresh cloth dampened only with plain, clean water.
- Wipe the treated area thoroughly to remove all traces of the peroxide solution.
- Follow up immediately with a third, dry cloth to remove all surface moisture. Hardwood hates standing water!
Step 7: Condition and Polish (If Necessary)
After the area has completely dried (give it an hour), check the spot. If the stain is gone but the surrounding area looks slightly duller than the rest of the floor, you might need to lightly re-wax or apply a small amount of floor polish meant for your specific finish to blend the spot back in.
Hydrogen Peroxide vs Other Common Stain Removers
As a DIY expert, I always want you to have options. Hydrogen peroxide is great, but sometimes other solutions are better suited depending on the stain type. Choosing the right cleaner prevents unnecessary cleaning time.
Here’s a quick comparison chart to help you decide when to reach for the peroxide bottle:
| Stain Type | Best First Attempt | Peroxide Application Note |
|---|---|---|
| Grease/Oil/Crayon | Mild dish soap and water solution | Peroxide won’t break down heavy oils well. |
| Ink/Marker | Rubbing Alcohol (Isopropyl) | Test alcohol carefully; it can dull some finishes quickly. |
| Dark Organic (Coffee, Wine, Pet Urine) | Hydrogen Peroxide (10-15 minutes) | Excellent lifting power for discoloration. |
| Scuff Marks/Rubber | Pencil eraser or tennis ball | Physical removal is usually best for surface marks. |
Common Mistakes to Avoid When Using Peroxide on Wood
The primary reason homeowners struggle with peroxide is misunderstanding how it interacts with wood finishes. Here are the pitfalls I see most often:
- Over-Soaking: Leaving the cloth damp on the floor for hours hoping the stain “magically” disappears. This leads to water damage and finish clouding.
- Using Too High a Concentration: Household 3% is safe for brief contact. Never use industrial-strength (30%+) peroxide on floors; it will etch and burn the wood immediately.
- Not Rinsing: Failing to neutralize the acid/bleaching agent means it continues to work, eventually causing light spots or damage to the seal.
- Using Abrasives: Scrubbing the peroxide-soaked cloth aggressively. If you need to scrub hard, the stain is too deep for surface treatment, and you need the poultice method instead.
Deep Dive: Understanding the Science Behind the Wait Time
Why is 10–15 minutes the sweet spot? It relates directly to the stability of the sealant.
Polyurethane finishes, which protect most modern floors, are durable but are not infinitely resistant to chemical action. Hydrogen peroxide works by oxidation—it essentially uses oxygen molecules to break down the chemical bonds of the staining agent.
For light stains, the bonds break relatively quickly, perhaps within 5 to 10 minutes. However, the sealant itself begins to react slowly to the ongoing oxidation process. Around the 15-minute mark, the risk of noticeable damage to the protective layer significantly increases, which manifests as a dull spot that is hard to fix without refinishing that area.
For homeowners dealing with old, dark pet stains, even the poultice method (which allows longer contact) relies on the absorbent material (like baking soda) to wick the stain out of the wood pores, rather than just bleaching the surface layer for an extended period.
You can find more information on the chemical interaction of common household cleaners and wood finishes by consulting resources like those provided by the National Wood Flooring Association, which stress the importance of quick rinsing for all wet cleaning methods on wood floors.
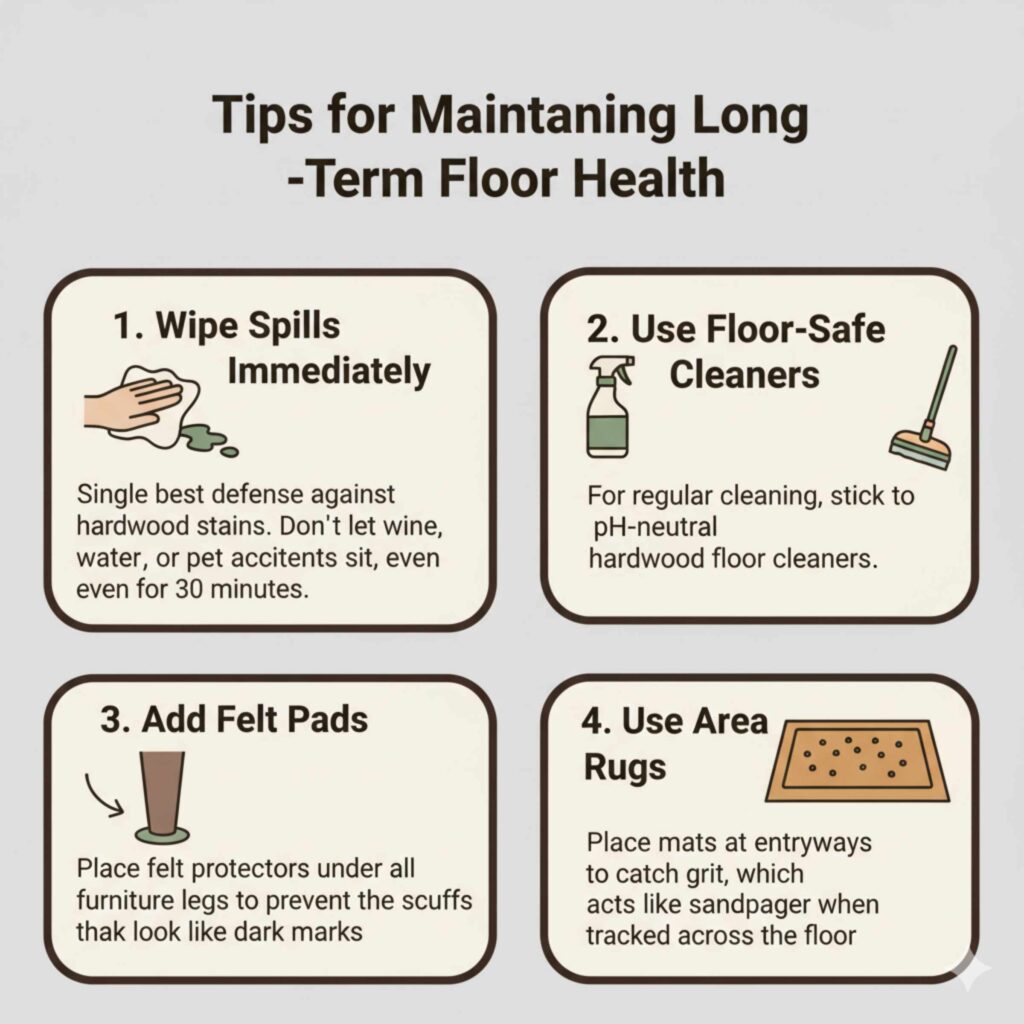
Tips for Maintaining Long-Term Floor Health
Preventing stains is always easier than removing them! To reduce your need for peroxide spot treatments, keep these maintenance tips in mind:
1. Wipe Spills Immediately: This is the single best defense against hardwood stains. Do not let wine, water, or pet accidents sit, even for 30 minutes.
2. Use Floor-Safe Cleaners: For regular cleaning, stick to pH-neutral hardwood floor cleaners.
3. Add Felt Pads: Place felt protectors under all furniture legs to prevent the scuffs that look like dark marks.
4. Use Area Rugs: Place mats at entryways to catch grit, which acts like sandpaper when tracked across the floor.
Frequently Asked Questions (FAQ) About Peroxide and Wood Floors
Q1: Can I use hydrogen peroxide straight from the brown bottle (3%) without diluting it?
Yes, you can, but only for short durations (under 10 minutes) and only on very tough spots. Diluting it 1:1 with water is safer for routine spot treatments on most sealed floors, as it reduces the immediate bleaching power on the finish.
Q2: Will hydrogen peroxide remove black marks from hardwood floors?
It depends on the mark. If the black mark is surface-level grime or light rubber transfer, peroxide often works well within 15 minutes. If the black mark is deep penetration from a metal object or severe water damage, peroxide might not be enough, and you may need sanding or professional intervention.
Q3: I see a dull spot after using peroxide. What did I do wrong?
A dull spot usually means the peroxide sat too long (over 15 minutes) or the solution was too strong, causing slight etching or damage to the clear polyurethane finish. Try applying a small amount of wood floor restorer or polish specifically designed for your finish type to try and blend the area back in.
Q4: Is it safe to use hydrogen peroxide on laminate flooring?
Laminate flooring has a synthetic wear layer, not real wood. While it is more resistant to surface stains, prolonged exposure to peroxide can cloud or damage this top layer. Use the same 10-15 minute rule, but test a hidden area first, as laminate reacts differently than wood finishes.
Q5: How long can I leave the peroxide poultice on the floor?
For a poultice (paste), you can safely leave it on for up to one hour, provided you made the paste with an absorbent material like baking soda. Never leave a liquid-soaked cloth or an overly wet poultice on the floor for hours, as this guarantees water damage underneath the finish.
Q6: Does this work on white or light-colored wood floors?
It works, but you must be much more cautious. Because light floors show bleaching more easily, reduce your initial application time to 5–7 minutes. It’s better to reapply twice gently than to damage the wood color once aggressively.
Conclusion: Confidence in Cleaning Your Hardwood
Hydrogen peroxide can be a safe and highly effective solution for removing stains from sealed hardwood floors—when used correctly. The key takeaway from this guide is simple but critical: 10 to 15 minutes is the ideal maximum time for most spot treatments on sealed hardwood. This window gives the peroxide enough time to lift stains without risking damage to the protective finish.
By first confirming your floor type, using the proper dilution, setting a timer, and rinsing and drying the area immediately after treatment, you dramatically reduce the chances of dull spots, discoloration, or moisture damage. For tougher, set-in stains, the poultice method offers a controlled way to work deeper without prolonged soaking—still with clear time limits.
Remember, hardwood floors are durable, but they are not waterproof. Gentle, targeted cleaning always beats aggressive scrubbing or extended exposure to liquids. When in doubt, test first, go slow, and repeat carefully rather than rushing the process.
With the right technique and timing, you can confidently tackle stains, protect your floor’s finish, and keep your hardwood looking beautiful for years to come!