How Many Coats Of Danish Oil For Perfect Finishing?
In the realm of wood finishing, particularly in the utilization of Danish oil, understanding the application process is crucial for achieving optimal results. Danish oil, a blend of oil and varnish, penetrates the wood grain, enhancing both aesthetic appeal and durability. The effectiveness of this treatment largely hinges on the number of coats applied, which can significantly influence the final sheen and protection levels. Factors such as wood type, environmental conditions, and desired finish all play a role in determining how many coats of Danish oil are necessary.
Delving deeper into this topic reveals nuances that can elevate your woodworking projects.
How Many Coats Of Danish Oil Are Needed For Best Results?
Danish oil is a popular choice for finishing wood due to its ability to enhance the natural beauty while providing protection. Understanding how many coats of Danish oil to apply is crucial for achieving optimal results. The number of coats can vary based on the type of wood, desired finish, and specific application techniques. Factors such as drying time and surface preparation also play significant roles in determining the ideal number of coats for your project.
Understanding Danish Oil
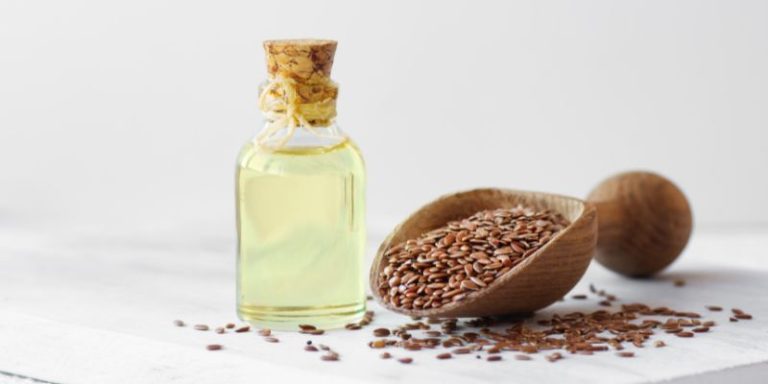
Definition and composition of Danish oil. Benefits of using Danish oil for wood finishing.
Danish oil is a special finish for wood, made from a mix of oils and resins. It seeps into the wood, protecting it like a superhero. Using Danish oil makes wood look shiny and new, while also keeping it safe from spills and dirt. Plus, it’s easy to apply!
Imagine giving your old wooden chair a refreshing spa day, and voilà! It’s ready to impress your friends.
| Benefits of Danish Oil | Why You’ll Love It |
|---|---|
| Enhances Wood’s Natural Beauty | Brings out colors like magic! |
| Water-Resistant | Say bye to spills! |
| Easy to Apply | No expert skills needed! |
Factors Influencing the Number of Coats
Type of wood being treated. Desired finish and sheen level. Environmental conditions and application technique.
Choosing how many coats of Danish oil to use depends on various factors. First, the type of wood makes a difference. Some woods soak up oil like a sponge, needing more coats, while others keep it on the surface. Next, consider the desired finish and sheen level.
Want a glossy look? You may need extra coats for that shiny smile! Lastly, don’t forget about environmental conditions and how you apply the oil.
Humidity can slow things down, while a wobbly hand can lead to unevenness. Here’s a quick table to help you pick:
| Factor | Impact on Coats |
|---|---|
| Type of Wood | Softwoods need more coats |
| Desired Finish | Glossy finishes require extra |
| Environmental Conditions | Humidity may slow absorption |
| Application Technique | Careful application ensures better coverage |
Preparation Before Application
Importance of surface preparation. Recommended sanding techniques. Cleaning the wood before application.
Proper surface preparation is key to achieving a smooth finish. Without it, the Danish oil may not adhere well. Here are some important steps:
- Sanding techniques: Use fine-grit sandpaper for a smooth surface. Sand in the direction of the wood grain.
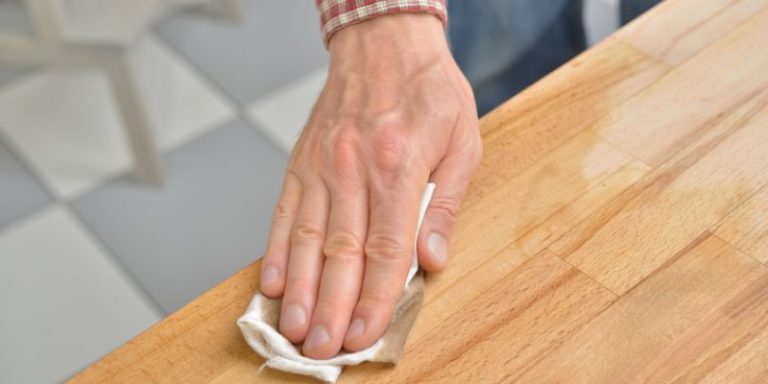
- Cleaning the wood: Wipe down the surface with a damp cloth to remove dust and debris.
This will ensure a better bond and a more beautiful finish. Remember, good preparation leads to great results!
Application Process of Danish Oil
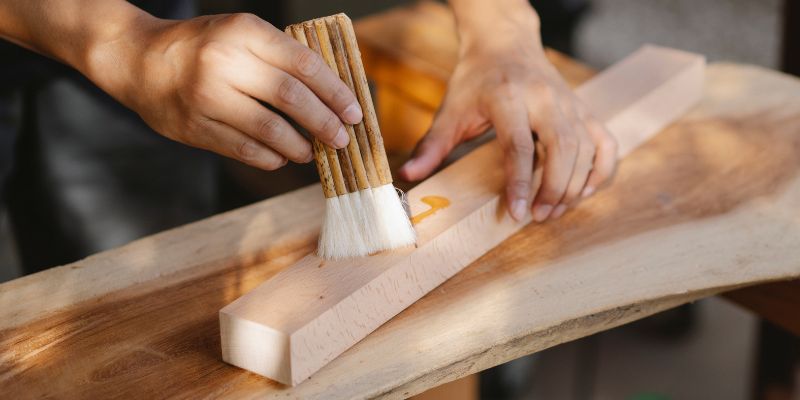
Stepbystep guide to applying the first coat. Tips for applying additional coats effectively. Tools needed for application.
To apply Danish oil, start with the right tools: a clean cloth, brush, or foam applicator. Begin by gently wiping the surface to remove dust. Apply a thin layer of oil, spreading it evenly. Let it soak for about 15-30 minutes, then wipe off excess oil with a clean cloth.
For additional coats, repeat the process after the previous layer has dried, usually after 24 hours. Tips:
- Always work in a well-ventilated area.
- Test on a small area first.
- Use light pressure to avoid streaks.
How Many Coats Are Recommended?**
General guidelines for different types of wood. Specific recommendations for achieving a certain finish. Common mistakes to avoid.
Different woods need different care. Here are some tips to keep in mind:
- Softwoods, like pine, usually require 2-3 coats for a good finish.
- Hardwoods, such as oak, may only need 1-2 coats.
- Apply the oil with a clean cloth, and always wipe off excess.
- Common mistakes include applying too few coats or not letting each coat dry.
Following these guidelines helps achieve a beautiful look while avoiding problems.
Drying and Curing Times
Understanding drying vs. curing. Typical drying times between coats. Factors that can affect drying time.
Drying and curing are two important steps in using Danish oil. Drying means the oil feels dry to the touch, while curing is when it hardens fully. Typical drying times can vary:
- First coat: 6-8 hours
- Second coat: 12-24 hours
Several factors can affect drying time:
- Humidity levels
- Temperature
- Air circulation
Understanding these times and factors helps you achieve the best results with your finish.
Maintenance After Application
How to maintain the finish over time. When to reapply Danish oil. Cleaning and care tips for treated wood.
To keep your wood finish looking great over time, regular maintenance is essential. Here are some tips:
- Reapply Danish oil every 6 months to 1 year, depending on wear and tear.
- Clean treated wood with a damp cloth and mild soap to remove dirt.
- Avoid harsh chemicals that can damage the finish.
- Use a soft brush to reach corners and detailed areas.
This routine will help preserve the beauty of your wood surfaces and keep them looking fresh.
Comparing Danish Oil to Other Finishes**
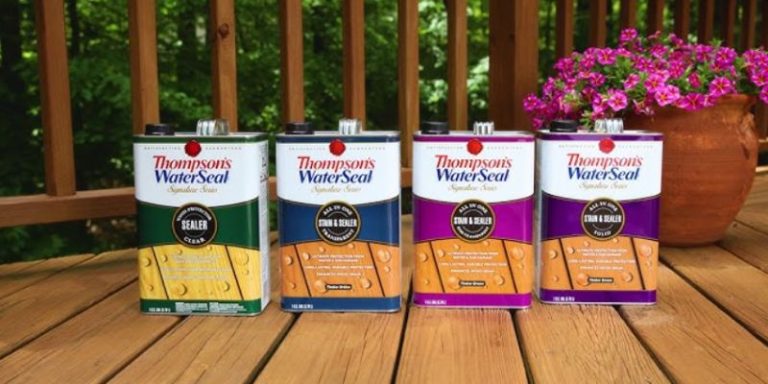
Pros and cons of Danish oil versus polyurethane. Situations where Danish oil may be preferred. Alternative finishes and their applications.
Danish oil and polyurethane both protect wood, but they work differently. Danish oil is natural and easy to apply. It soaks into the wood, enhancing its grain.
Here are some points to consider:
- Pros of Danish oil: Safe, easy to fix, and enhances beauty.
- Cons of Danish oil: Less durable, needs more coats.
- Pros of polyurethane: Strong, water-resistant, and long-lasting.
- Cons of polyurethane: Harder to apply and may look shiny.
Danish oil is great for furniture and decorative items. Choose it when you want a natural look. For high-traffic areas, polyurethane is better.
Other finishes include varnish and lacquer, each suited for specific projects.
Common FAQs About Danish Oil Coats
Addressing common misconceptions. Typical questions regarding the application and results. Expert advice on best practices.
Danish oil is like a superhero for your wood. Many people wonder, “How many coats should I use?” The answer varies, but typically, two to three coats work like magic!
Some think more coats mean better results, but that’s not always true. Applying too many can lead to a sticky situation—literally!
Here are some common questions:
| Question | Answer |
|---|---|
| Can I use Danish oil on all woods? | Most, but always test a small area first! |
| Do I need to sand between coats? | Yes, for a smooth finish. Think of it as the wood’s spa day! |
| How long to wait between coats? | Usually 4-6 hours, but read the label like it’s a treasure map! |
For best results, apply in thin layers and let it breathe.
Your wood will thank you with a beautiful shine! Remember, a little patience goes a long way!
Conclusion
In conclusion, the number of coats of Danish oil you apply ultimately depends on the desired finish and the type of wood used. Typically, 2 to 4 coats are recommended for optimal protection and aesthetic appeal. Always allow adequate drying time between applications for the best results, ensuring a beautiful and durable finish that enhances the natural beauty of your wood projects.
FAQs
Here Are Five Related Questions On The Topic Of How Many Coats Of Danish Oil To Apply:
The number of coats of Danish oil to apply typically depends on the desired finish and the type of wood. Generally, applying 3 to 4 coats is recommended for optimal protection and a rich appearance. Each coat should be allowed to fully absorb and dry before applying the next one. Always lightly sand between coats to ensure better adhesion.
Sure! Please provide the question you’d like me to answer.
How Many Coats Of Danish Oil Are Typically Recommended For Optimal Protection And Finish?
Typically, it is recommended to apply three to four coats of Danish oil for optimal protection and finish. The first coat serves as a primer, while subsequent coats build depth and sheen. Each coat should be allowed to fully penetrate and dry before applying the next. Always follow the manufacturer’s instructions for the best results.
Can The Number Of Danish Oil Coats Vary Depending On The Type Of Wood Being Treated?
Yes, the number of Danish oil coats can vary depending on the type of wood being treated. Softer woods may absorb the oil more quickly and require fewer coats, while harder woods may need more applications for optimal saturation and finish. Additionally, the desired finish and the specific characteristics of the wood, such as grain and porosity, can influence the number of coats needed. It’s always a good idea to test on a small area first to determine the best approach.
What Factors Should Be Considered When Deciding How Many Coats Of Danish Oil To Apply?
When deciding how many coats of Danish oil to apply, consider the type of wood, its porosity, and the desired finish. Softer woods may absorb oil more quickly, requiring additional coats for deeper penetration and protection. The application environment, including temperature and humidity, can also influence drying times and effectiveness. Finally, assess the intended use of the finished piece, as higher traffic or wear areas may benefit from more coats for durability.
Is It Necessary To Sand Between Coats Of Danish Oil, And How Does This Affect The Total Number Of Coats?
Yes, sanding between coats of Danish oil is recommended as it helps to promote adhesion and achieve a smoother finish. Sanding removes any dust or imperfections, ensuring each layer bonds well with the previous one. While it may seem to add to the total number of coats required, it actually enhances the overall quality and durability of the finish. Typically, you can achieve a better result with fewer coats when proper sanding is employed.
How Can I Determine If I Need An Additional Coat Of Danish Oil During The Application Process?
To determine if you need an additional coat of Danish oil, observe the surface for saturation; it should have a uniform, slightly glossy appearance without dry spots. If the wood still appears dull or porous after applying the first coat and it soaks in quickly, a second coat is advisable. You can also perform a water test; if water beads up, the finish is adequately sealed, but if it soaks in, you should apply more oil. Additionally, consider the wood type and intended use; harder woods may require more coats for proper protection.