How Much Are Hardwood Floors Installed Per Square Foot? A Complete Cost Guide
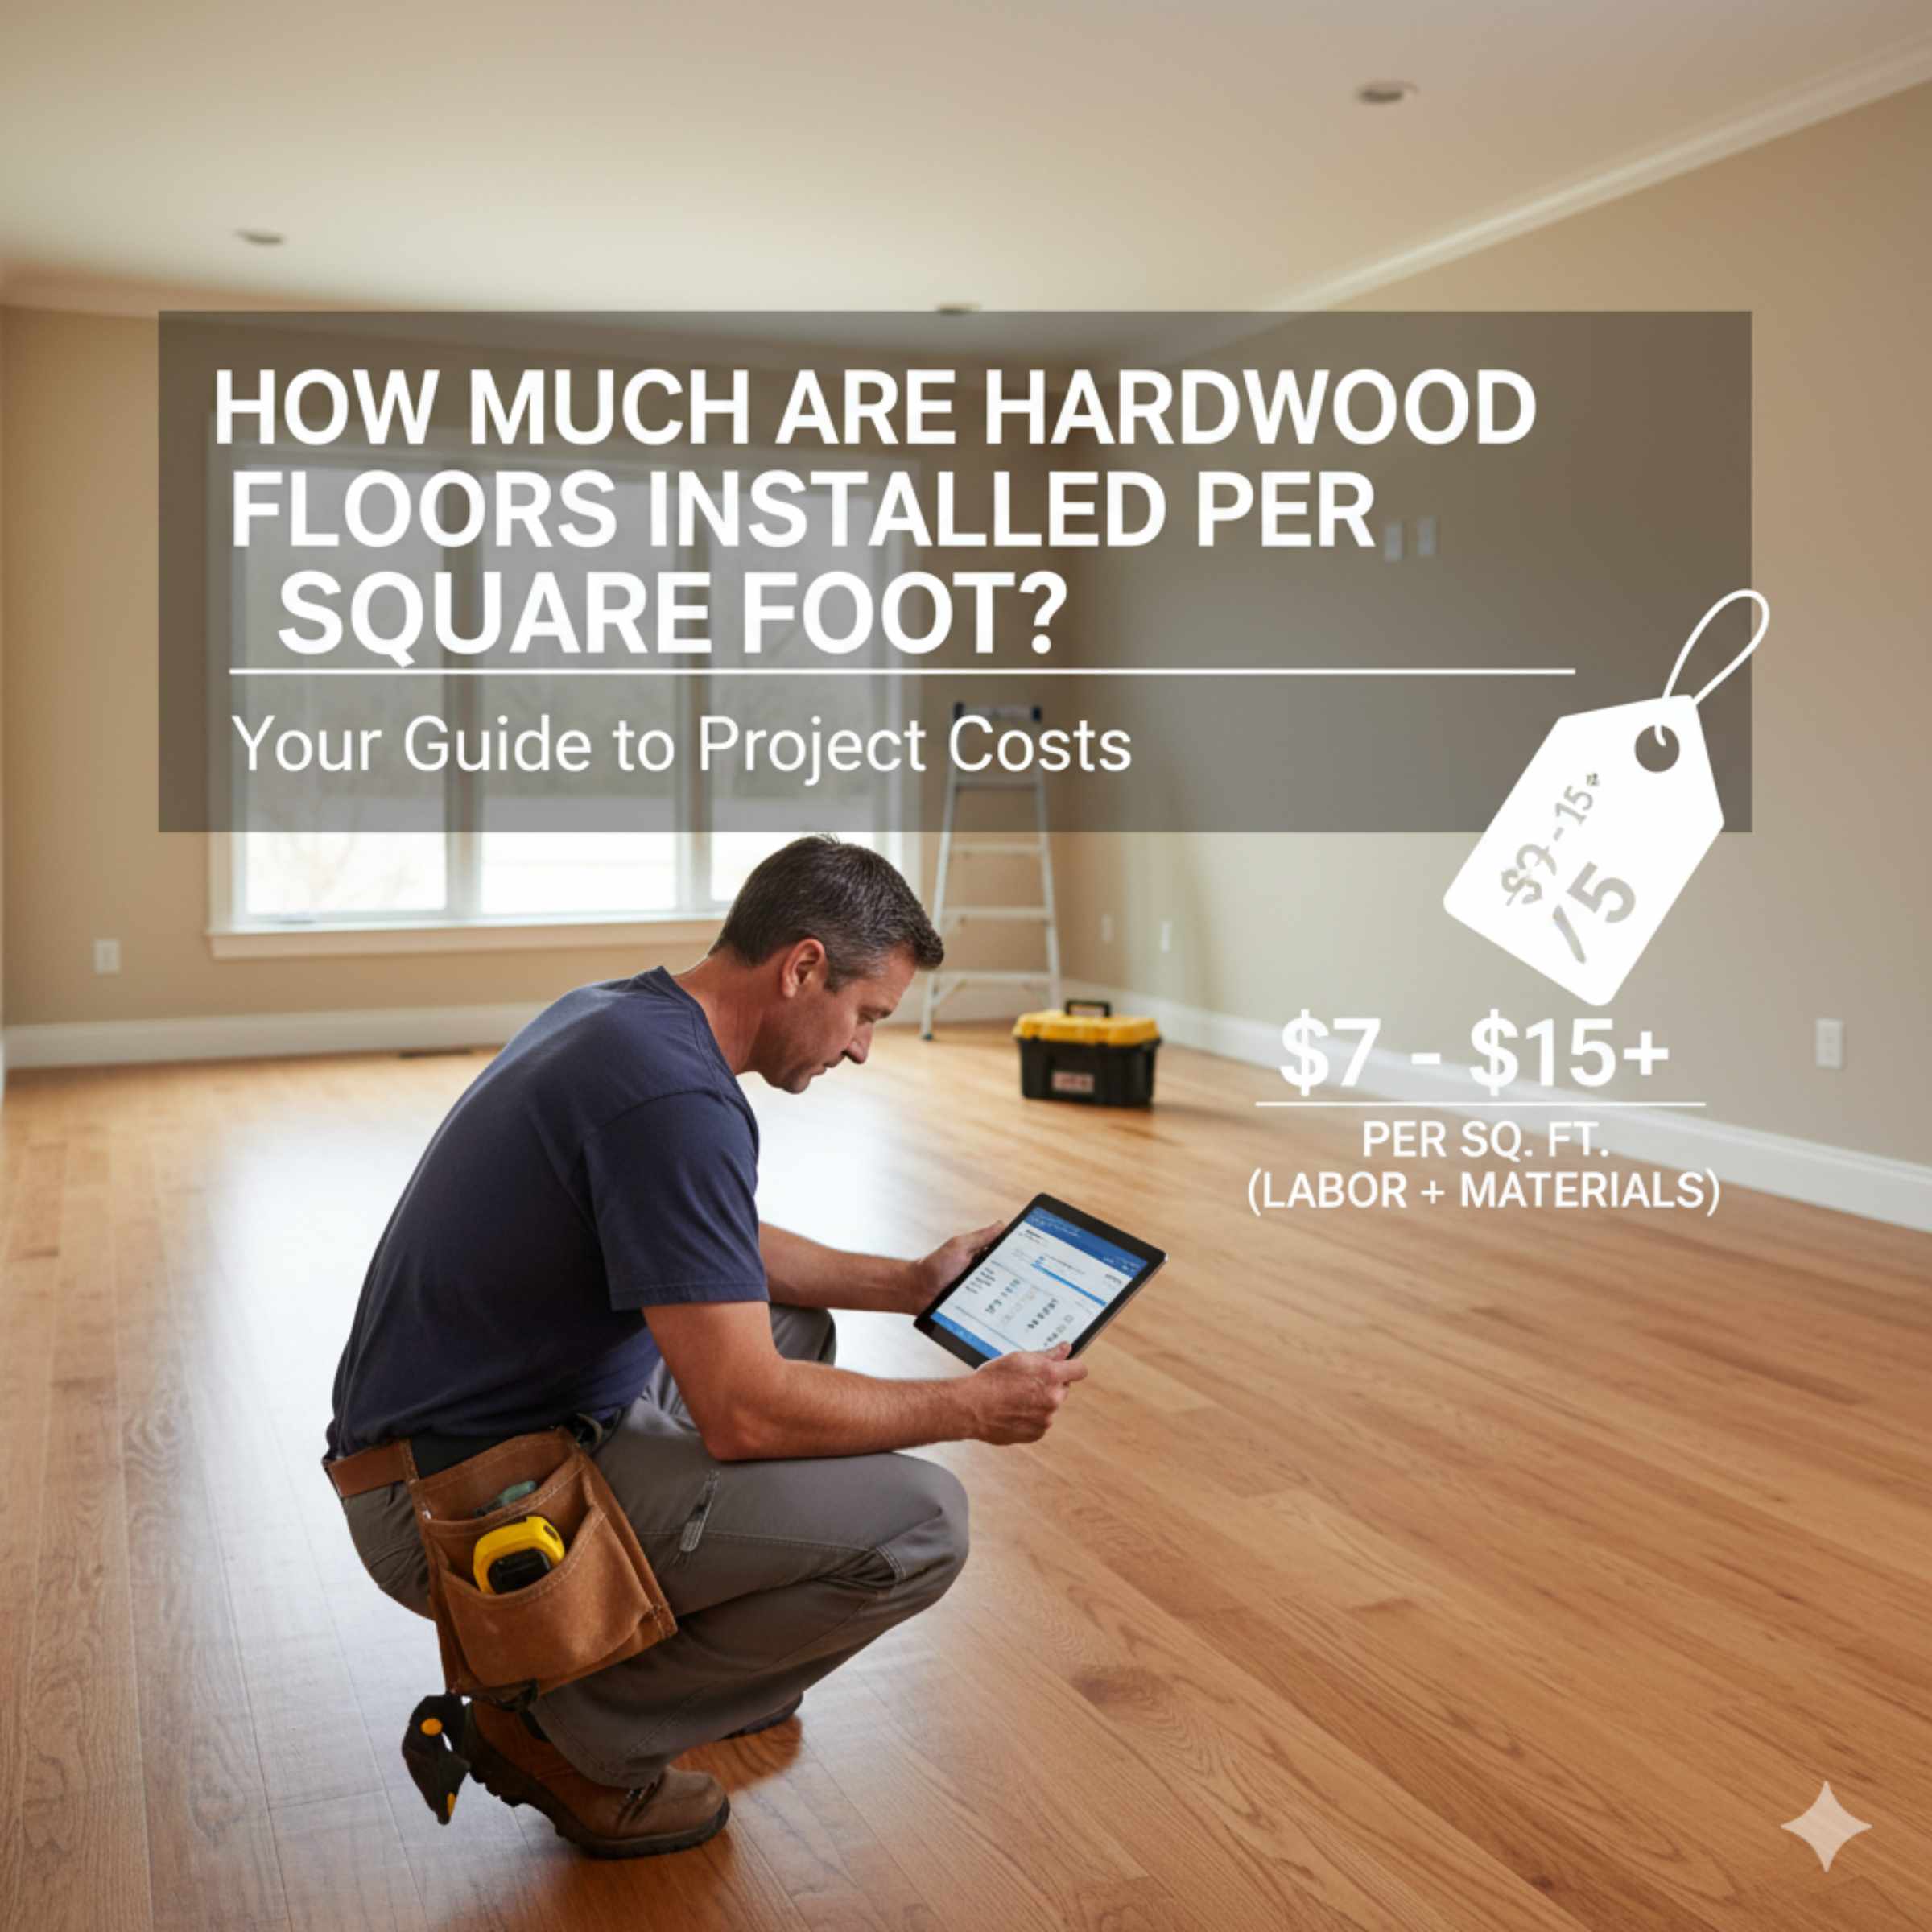
Hardwood floor installation costs typically range from $6 to $16 per square foot, depending on wood type, installation method (nail-down vs. glue-down), complexity, and your location. This guide breaks down all the essential factors so you can budget confidently.
Thinking about beautiful new hardwood floors? It’s an exciting upgrade for any home! But when you start looking at costs, that price tag can seem confusing. How much are hardwood floors installed per square foot, really? It’s a common question that makes many DIYers pause. Don’t worry! Installing wood floors is absolutely achievable, but first, you need a clear budget. This guide cuts through the jargon to give you simple, reliable numbers. We will look at what drives the price up or down, so you can plan your project without stress. Let’s dive into the real cost of getting those stunning floors under your feet!
Understanding the “Per Square Foot” Hardwood Cost Breakdown
When a contractor gives you a quote for installing hardwood floors, they usually combine two main expenses: the cost of the material (the wood itself) and the cost of the labor (the installation). Understanding how these pieces fit together is the first step in smart budgeting.
For beginners, it helps to remember that the final price you pay per square foot is an all-in cost, but the actual labor portion is what fluctuates the most based on the job’s difficulty.
Material Costs: What Does the Wood Itself Cost?
The wood you choose is the biggest variable. Solid hardwood is generally more expensive than engineered hardwood, and exotic species cost more than common domestic ones like Oak.
Here is a quick look at the range you can expect just for the flooring material before installation:
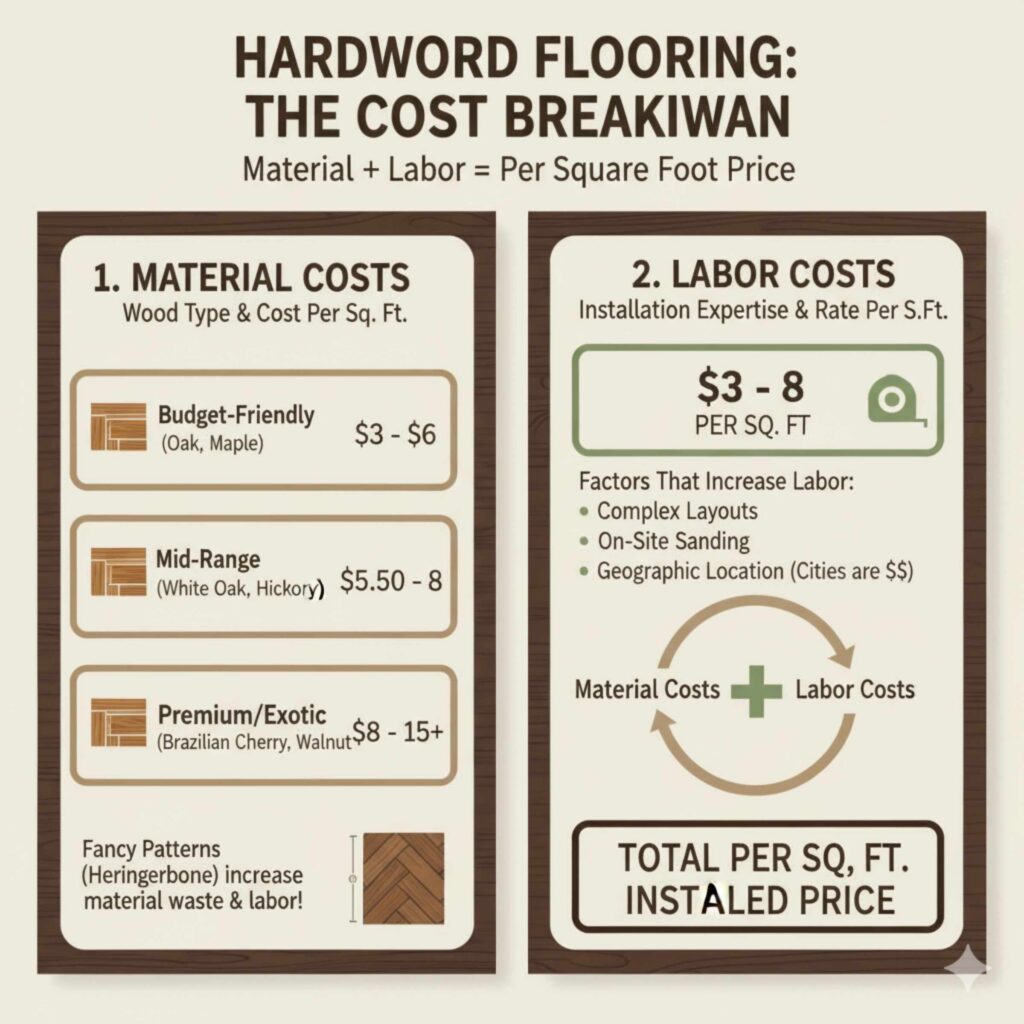
- Budget-Friendly (Red Oak, Maple): $3.00 – $6.00 per square foot.
- Mid-Range (White Oak, Hickory): $5.50 – $8.00 per square foot.
- Premium/Exotic (Brazilian Cherry, Walnut): $8.00 – $15.00+ per square foot.
Remember, these are just for the planks. If you choose a specialty pattern like Herringbone or Parquet, the material waste and complexity can increase the labor cost significantly.
Labor Costs: Paying for the Installation Expertise
Labor is where expertise pays off. A simple, straight installation of pre-finished, solid hardwood planks over a plywood subfloor will cost much less than installing unfinished, wide-plank engineered flooring that requires sanding and finishing on-site. Labor rates are heavily influenced by your geographic location—costs are usually higher in major metropolitan areas compared to rural settings.
Generally, labor for standard installation falls between $3.00 and $8.00 per square foot. This covers prep work, laying the subfloor if necessary, cutting, fastening, and cleanup.
The Complete Cost Range: How Much Are Hardwood Floors Installed Per Square Foot?
To give you a solid, easy-to-reference number, here is the combined, typical installed price range. This range accounts for common domestic wood species and standard installation methods over a prepared subfloor.
| Installation Type | Average Installed Cost Range (Per Sq. Ft.) | Key Factors |
|---|---|---|
| Engineered Wood (Glue Down/Floating) | $6.00 – $10.00 | Faster install time, often suitable for basements. |
| Solid Wood (Nail Down) | $7.50 – $13.00 | Traditional method, requires sturdy wood subfloor. |
| Specialty/Site-Finished Floors | $12.00 – $18.00+ | Requires extensive sanding, staining, and sealing on-site. |
As you can see, a standard installation project might land you right in the middle, around $9 to $11 per square foot total. Always get multiple itemized quotes to understand what is included!
Four Key Factors That Adjust Your Final Price
Why is there such a wide range from $6 to $18? It comes down to the specifics of your job. Knowing these four factors helps you understand why your quote might be higher or lower than your neighbor’s.
1. Installation Method (Nail Down vs. Glue Down vs. Floating)
The way the wood physically attaches to the subfloor matters a lot:
- Nail Down (Solid Hardwood): This is the classic, durable method. It requires specialized pneumatic nail guns and a strong wood subfloor (plywood or OSB). Labor time is moderate.
- Glue Down (Engineered Wood): This uses a strong adhesive. It is often used over concrete slabs. It’s messier and can take longer than nailing, driving up labor costs slightly.
- Floating (Engineered Wood): The planks lock together and rest on an underlayment pad without being attached to the subfloor. This is often the quickest and cheapest labor method.
2. Subfloor Preparation
This is the part DIYers often underestimate! Hardwood needs a flat, dry, and stable surface. If your existing floor is uneven, has old adhesive residue, or needs a moisture barrier installed over concrete, you will pay extra for this prep work. Significant leveling or moisture testing can easily add $1.00 to $3.00 per square foot to the labor bill.
3. Wood Type and Plank Size
Exotic woods, hand-scraped textures, or reclaimed wood require more careful handling and often lead to higher material costs. Wider planks (6 inches or more) are trendier but can sometimes be trickier to keep perfectly flat during installation, potentially increasing labor time.
4. Installation Complexity
Simple square rooms are fast. Rooms with many closets, tight angles, fireplaces, curved walls, or lots of transition pieces (like moving from carpet to wood) slow the installer down. Every cut around a door jamb or vent takes time, and time equals money in labor costs. Think of it like driving: straight highway miles are cheap; city traffic is expensive!
DIY vs Hiring a Pro: The Cost Trade-Off
As a woodworker, you might be thinking, “Can I save money by doing it myself?” The answer is yes, but be honest about your timeline and skill set.
DIY Installation Savings
If you handle the labor yourself, you save the entire labor cost, which is typically $3.00 to $8.00 per square foot. This is a huge saving on a large room.
However, you must account for tool rentals or purchases:
-
- Flooring Nailer Rental/Purchase: Essential for solid hardwood.
- Moisture Meter: Crucial for ensuring your subfloor and wood acclimated correctly (see resources from the Environmental Protection Agency on proper indoor air quality and moisture control during construction).
- Underlayment and Trim Supplies: Transition strips, thresholds, and base shoe molding.
For a beginner, the risk of improperly securing the floor (leading to squeaks, gaps, or cupping later) often outweighs the immediate labor savings. If you are confident in your measuring and cutting skills, floating engineered floors is the easiest DIY starting point.
Step-by-Step Guide: What the Pro Does (and What You Should Budget For)
To demystify the labor portion, here is a simplified look at the standard steps an installer takes when installing solid hardwood over a wood subfloor. This helps you appreciate what you are paying for.
-
-
- Acclimation Check: Ensure the wood has rested in the house for 7–14 days to match the house’s humidity and temperature. (This is essential for avoiding warping later!)
- Subfloor Inspection & Prep: The installer checks the subfloor flatness (often using a long straightedge) and sweeps/cleans the area. Any low spots might need patching or leveling compound.
- Moisture Testing: Especially important if installing over concrete or if the wood is site-finished.
- Laying the First Row: This row must be perfectly straight and spaced correctly from the wall (using expansion gaps). This step sets the stage for the entire room.
- Nailing/Fastening: Using the flooring nailer, the planks are securely fastened to the joists or subfloor at specific intervals.
- Cutting and Fitting: Racking the planks, measuring, and cutting around obstacles like vents and doorways.
- Finishing Touches: Installing the required trim pieces (T-molding, reducers) to connect the new wood floor to existing surfaces like tile or carpet.
-
The professionalism during steps 1, 2, and 4 directly impacts the longevity and quietness of your floor—areas where professional experience really shines.
Cost Comparison: Solid vs. Engineered vs. Laminate/Vinyl
It’s easy to confuse hardwood with its lookalikes. To ensure you are comparing apples to apples when looking at “how much are hardwood floors installed per square foot,” it helps to see where true hardwood sits compared to alternatives.
| Flooring Type | Typical Installed Cost (Per Sq. Ft.) | Durability Note |
|---|---|---|
| Solid Hardwood (Nail Down) | $7.50 – $13.00 | Can be refinished many times. |
| Engineered Hardwood | $6.00 – $10.00 | Can be refinished 1-3 times, depending on veneer thickness. |
| High-Quality Laminate (Click Lock) | $3.50 – $6.50 | Very scratch-resistant, but cannot be refinished. |
| Luxury Vinyl Plank (LVP) | $3.00 – $6.00 | Excellent moisture resistance, usually DIY-friendly floating install. |
While LVP and Laminate are significantly cheaper to install, they do not offer the same long-term value or increase in home resale value that real hardwood does. When budgeting, think of the installation cost as an investment.
Geographic Variations and Professional Quotes
Location plays a massive role in labor pricing. If you live in a high cost-of-living area (like New York City or San Francisco), labor rates can be 25% to 40% higher than in lower cost-of-living regions. This is because overhead costs, insurance, and prevailing wages are higher for contractors.
What to Demand in Your Written Quote
Never accept a verbal estimate for a flooring project. To truly know “how much are hardwood floors installed per square foot,” you need an itemized written quote. A trustworthy contractor should break down the costs like this:
-
-
- Material Cost: Price per square foot for the actual wood.
- Subfloor Prep: Cost per square foot for leveling or moisture mitigation.
- Labor Rate: Cost per square foot for the installation itself (nailing, gluing, cutting).
- Ancillary Costs: Separate line items for old floor removal/disposal, baseboard removal/reinstallation, and transition pieces.
-
If the quote just gives one lump sum per square foot, ask them to separate material and labor. This helps you see where you can potentially save money (e.g., buying the material yourself if you find a better deal, though many pros prefer to supply the wood for warranty purposes).
Tips for Saving Money on Your Hardwood Installation Project
ou don’t have to spend a fortune to get quality floors. Here are a few actionable tips based on years of seeing what saves homeowners money:
-
-
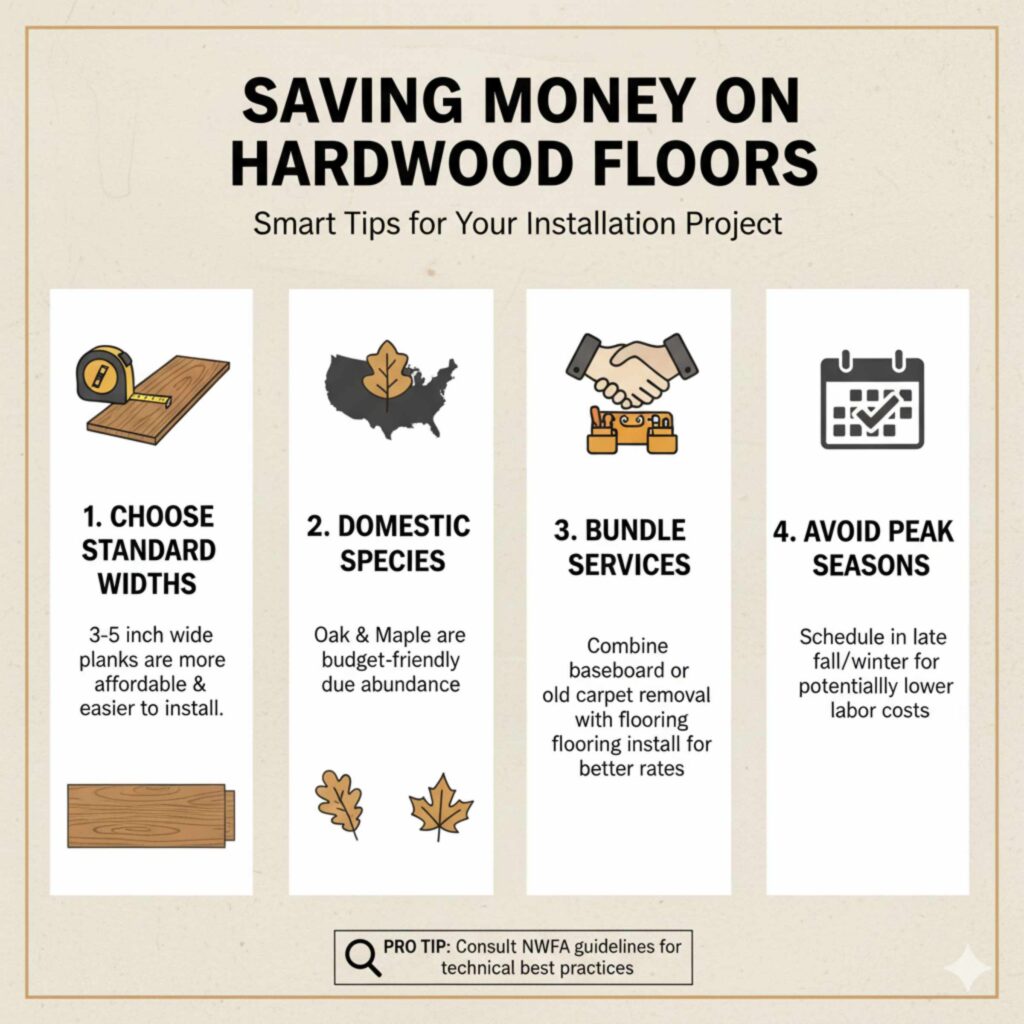
- Choose Standard Widths: Stick to common plank widths (3” to 5”). Very wide planks (8”+) are harder to source and install perfectly flat.
- Select Domestic Species: Oak and Maple are always the most competitively priced woods because they are readily available and abundant in the US supply chain.
- Bundle Services: If you are replacing baseboards or removing carpet, have your flooring contractor do that work too. They often give better combined pricing than hiring three separate subcontractors.
- Avoid Peak Seasons: Contractors are busiest in spring and early summer. If you can schedule your installation during the slower months (like late fall or winter), you might negotiate a better labor rate.
-
For more details on subfloor requirements and moisture mitigation techniques, which are critical for long-lasting floors, checking guidance from construction resources like the National Wood Flooring Association (NWFA) can provide excellent technical context on best practices.
Frequently Asked Questions (FAQ) for Beginner Homeowners
Q1: Does the cost include removing my old carpet or tile?
A: Usually, no. Removing old flooring (demolition) and disposing of the debris is almost always an extra charge, often quoted separately per square foot ($1.00 – $3.00 extra) or as a flat fee per room.
Q2: How much does it cost to install hardwood in a small room (like a bathroom or small bedroom)?
A: Contractors often have a “minimum job size” fee. Even if your room is only 100 sq. ft., you might pay closer to their minimum charge, which could push the effective per-square-foot rate higher than the large-room average.
Q3: Should I buy pre-finished or site-finished hardwood?
A: Pre-finished is cheaper and faster to install because there is no sanding or finishing labor required on-site. Site-finished (unfinished) floors are often cheaper for the raw material but require significant, specialized labor for sanding, staining, and sealing, often driving the total installed price higher.
Q4: What is the most affordable way to get a real wood look installed?
A: The most affordable way is usually installing high-quality engineered hardwood using a floating method, provided your subfloor is reasonably flat. This keeps both material and labor costs down.
Q5: Do I need to buy extra wood “for waste”?
A: Yes! Professionals always order 5% to 10% extra wood (called waste factor). This accounts for bad boards, tricky cuts around obstacles, and future repairs. If you are ordering, make sure the supplier includes this buffer, or your installer will charge you for the extra labor needed to patch a shortage.
Q6: Is refinishing existing hardwood cheaper than installing new?
A: Almost always. Refinishing existing, sound hardwood typically costs $3.00 – $6.00 per square foot, covering sanding, staining, and sealing. This is significantly less than installing new material and labor.
Conclusion: Confidence in Your Hardwood Investment
Understanding how much hardwood floors are installed per square foot comes down to knowing what you’re paying for—and why. While average installed costs typically fall between $6 and $16 per square foot, the final price depends on key factors like wood type, installation method, subfloor condition, room complexity, and your local labor market.
Hardwood flooring is not just a cosmetic upgrade—it’s a long-term investment that adds durability, warmth, and real resale value to your home. Choosing standard plank sizes, domestic wood species, and the right installation method can significantly control costs without sacrificing quality. Whether you plan to DIY or hire a professional, budgeting accurately from the start helps you avoid surprises later.
Most importantly, don’t focus only on the cheapest quote. Proper installation, moisture control, and subfloor preparation are what determine how your floor looks and performs for decades. When done right, hardwood floors reward you with timeless beauty, comfort, and value that far outlasts the initial cost.
With the insights from this guide, you can now compare quotes wisely, plan realistically, and move forward knowing exactly what to expect—step onto your new hardwood floors with confidence!