How Much Does It Cost To Stain Concrete Floors Yourself: Essential Guide
Quick Summary:
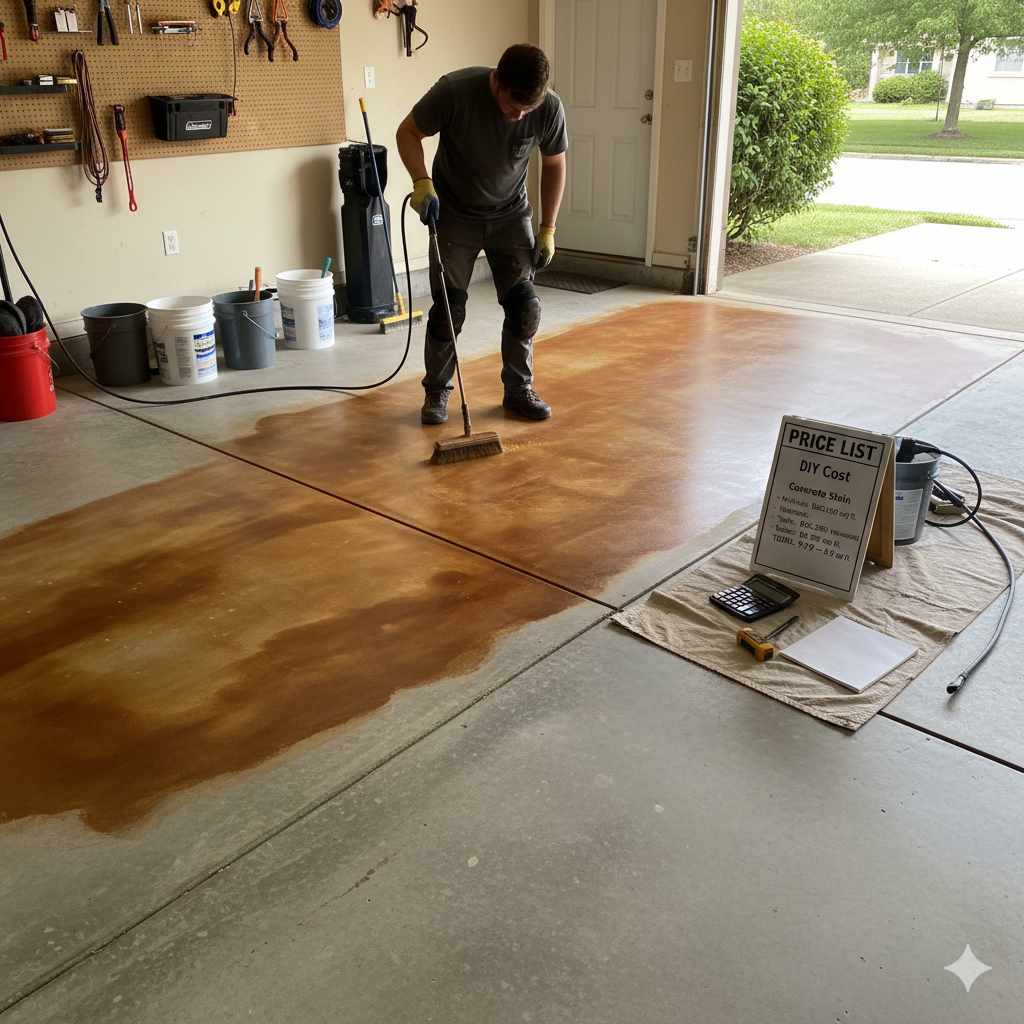
Staining concrete floors yourself typically costs between $100 and $500 for materials, depending on the size of your space and the products you choose. This guide breaks down all the essential costs so you can budget accurately for your DIY project.
Dreaming of beautiful, refreshed concrete floors without the hefty professional price tag? You’ve come to the right place! Many homeowners feel overwhelmed by the thought of tackling concrete staining, wondering if it’s truly a budget-friendly DIY project. The good news is, it absolutely can be! With the right knowledge and a little preparation, you can transform your concrete surfaces into stunning features.
This guide is designed to walk you through every step, demystifying the costs involved in staining concrete floors yourself. We’ll break down the materials, tools, and potential expenses, so you can confidently plan your project and achieve fantastic results without breaking the bank. Let’s get started on creating the floors you’ve always wanted!
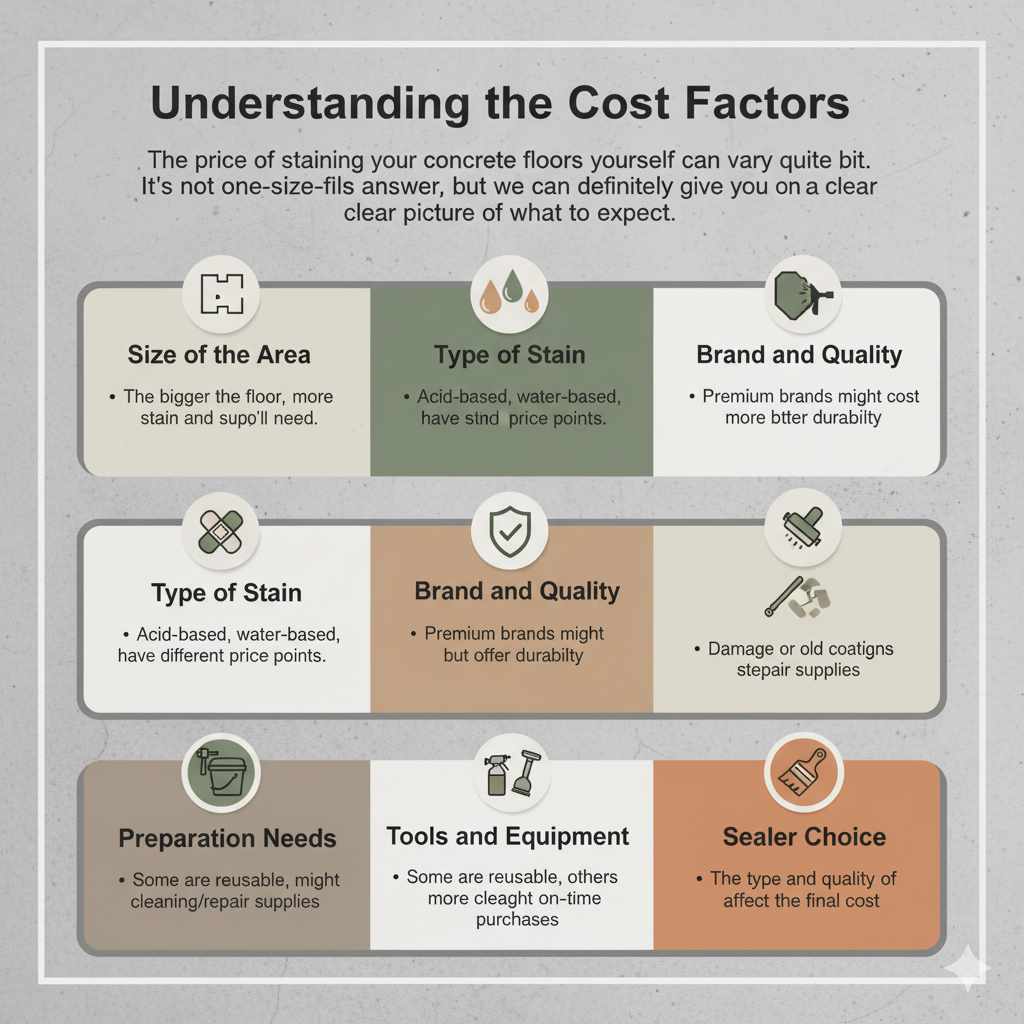
Understanding the Cost Factors
The price of staining your concrete floors yourself can vary quite a bit. It’s not a one-size-fits-all answer, but we can definitely give you a clear picture of what to expect. Several key factors influence the total cost:
- Size of the Area: The bigger the floor, the more stain and supplies you’ll need, naturally increasing the cost.
- Type of Stain: Different types of concrete stains (acid-based, water-based, dyes) have different price points.
- Brand and Quality: Premium brands might cost more upfront but can offer better durability and appearance.
- Preparation Needs: If your concrete is heavily damaged or has old coatings, you might need more cleaning and repair supplies.
- Tools and Equipment: Some tools are reusable for other projects, while others might be one-time purchases.
- Sealer Choice: The type and quality of sealer you use also affect the final cost.
DIY Concrete Stain Cost Breakdown
Let’s dive into the nitty-gritty of where your money will go. Think of this as your shopping list for a successful and affordable DIY concrete staining project.
1. Concrete Stain
This is the star of the show! The cost of the stain itself is a major component. There are a few main types, each with its own price range:
- Acid-Based Stains: These react chemically with the concrete to create a permanent, variegated (mottled) look. They tend to be more expensive per gallon but offer a unique, natural appearance. They also require neutralization and thorough rinsing, which can add to the labor and potential for mess.
- Water-Based Stains: These are more like a colored coating that sits on the surface. They offer a wider range of colors and are generally easier to apply and clean up than acid stains. They are often more affordable per gallon.
- Concrete Dyes: Dyes are translucent and penetrate the concrete, offering vibrant, consistent colors. They are often used for more uniform looks.
Estimated Cost for Stain:
- For a typical 200-300 sq ft garage or patio, you might need 1-2 gallons of stain.
- Water-based stains can range from $30 – $70 per gallon.
- Acid-based stains can range from $50 – $100+ per gallon.
- Concrete dyes can be similar to water-based stains, $30 – $80 per quart or gallon.
2. Concrete Cleaner and Etcher
Proper preparation is crucial for stain adhesion. You’ll need to thoroughly clean and often etch your concrete floor. Etching creates a porous surface for the stain to penetrate.
- Degreasers/Cleaners: Essential for removing oil, dirt, and grime.
- Acid Etchers (Citric Acid or Muriatic Acid based): These prepare the surface. Muriatic acid is very strong and requires significant safety precautions, while citric acid is a safer, eco-friendlier alternative. Many DIY kits include an etcher.
Estimated Cost for Cleaner/Etcher:
- A good quality concrete cleaner can cost $20 – $40 per gallon.
- An acid etching solution typically costs $20 – $50 per gallon.
- DIY concrete etching kits often bundle cleaner and etcher for $40 – $80.
3. Tools for Application and Cleanup
You’ll need specific tools to apply the stain and clean up effectively. Some you might already have, while others you’ll need to purchase.
- Pump Sprayer: For applying water-based stains or etchers evenly. A good quality plastic pump sprayer is essential.
- Rollers and Roller Covers: Use a high-quality, lint-free roller cover (often a 3/8″ nap is recommended) for even application of water-based stains. You’ll need a roller frame and extension pole.
- Brushes: For cutting in edges and reaching tight spots.
- Squeegee: Can be helpful for spreading stain or rinsing.
- Buckets: For mixing solutions and rinsing tools.
- Garden Hose and Water Source: For rinsing after etching and neutralizing acid stains.
- Shop Vacuum: For removing dust and debris after grinding or during cleaning.
- Protective Gear: This is non-negotiable for safety!
Estimated Cost for Application Tools:
- Pump Sprayer: $20 – $50
- Roller Frame, Extension Pole, and Covers: $25 – $50
- Brushes: $10 – $20
- Buckets: $5 – $15
- Squeegee: $15 – $30
4. Protective Gear (PPE)
Safety first! Always protect yourself when working with chemicals and tools.
- Gloves: Chemical-resistant gloves are a must.
- Eye Protection: Safety glasses or goggles.
- Respirator/Mask: Especially important when working with acid etchers or if the stain has strong fumes. Look for one rated for chemical vapors.
- Knee Pads: You’ll be spending a lot of time on your knees!
- Protective Clothing: Old clothes you don’t mind getting stained.
Estimated Cost for PPE:
- Gloves: $5 – $15
- Safety Glasses: $5 – $10
- Respirator Mask: $20 – $40
- Knee Pads: $15 – $30
5. Concrete Sealer
After staining, you MUST seal your concrete floor. The sealer protects the stain from wear, tear, stains, and UV damage, and it also enhances the color and sheen.
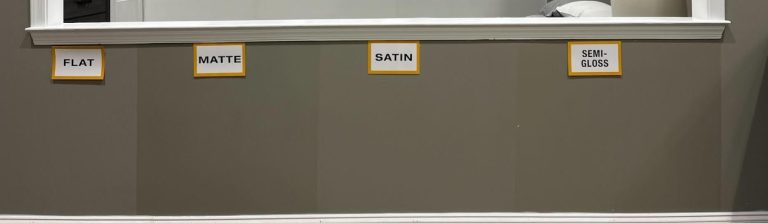
- Acrylic Sealers: These are the most common and affordable for DIYers. They offer good protection and come in various sheens (matte, satin, gloss).
- Polyurethane Sealers: More durable than acrylics, offering better resistance to abrasion and chemicals. They are typically more expensive.
- Epoxy Sealers: The most durable option, often used for garages. However, they can be more complex to apply and are generally more expensive.
Estimated Cost for Sealer:
- Acrylic sealers: $40 – $80 per gallon.
- Polyurethane sealers: $70 – $150+ per gallon.
- You’ll likely need 1-2 gallons for a standard room.
6. Optional but Recommended Supplies
Depending on your concrete’s condition, you might need a few extra items:
- Concrete Patch/Repair Compound: To fill cracks and holes before staining. ($10 – $30)
- Concrete Grinder (Rental): If your concrete is very rough, has old coatings, or needs significant smoothing. Rental costs can range from $75 – $150 per day, plus diamond pads ($50 – $100+). This can significantly increase your project cost but is crucial for a professional finish on challenging surfaces.
- Stiff Bristle Brushes or Floor Scrubbers: For scrubbing during the cleaning process. ($10 – $30)
- Painter’s Tape and Plastic Sheeting: To protect walls and surrounding areas. ($10 – $25)
Sample Cost Estimates for Different Scenarios
Let’s put it all together with some realistic scenarios. These are estimates for a typical 200 sq ft area (like a small living room, kitchen, or single-car garage).
Scenario 1: Basic Water-Based Stain Job (Small Area)
This assumes your concrete is in decent condition, requiring minimal repair.
| Item | Estimated Cost Range |
|---|---|
| Water-Based Stain (1 gallon) | $30 – $70 |
| Concrete Cleaner/Etcher (1 gallon kit) | $30 – $60 |
| Pump Sprayer | $20 – $50 |
| Roller Frame, Pole, Covers | $25 – $50 |
| Brushes, Buckets | $15 – $30 |
| PPE (Gloves, Glasses, Mask, Knee Pads) | $45 – $75 |
| Acrylic Sealer (1 gallon) | $40 – $80 |
| Painter’s Tape/Plastic | $10 – $25 |
| Total Estimated Cost | $215 – $440 |
Scenario 2: Acid-Based Stain Job (Medium Area)
This assumes a slightly larger area (e.g., 300 sq ft) and the use of a more permanent acid stain.
| Item | Estimated Cost Range |
|---|---|
| Acid-Based Stain (1.5 gallons) | $75 – $150 |
| Concrete Cleaner/Neutralizer (1 gallon) | $30 – $50 |
| Pump Sprayer (acid-resistant recommended) | $30 – $60 |
| Roller Frame, Pole, Covers | $25 – $50 |
| Brushes, Buckets, Squeegee | $25 – $45 |
| PPE (Heavy-duty gloves, Respirator, Glasses, Clothing) | $50 – $100 |
| Acrylic Sealer (1.5 gallons) | $60 – $120 |
| Painter’s Tape/Plastic | $10 – $25 |
| Total Estimated Cost | $305 – $600 |
Scenario 3: Advanced Job with Grinding (Larger Area)
This example includes renting a grinder for a 400 sq ft area with some surface imperfections.
| Item | Estimated Cost Range |
|---|---|
| Water-Based Stain (2 gallons) | $60 – $140 |
| Concrete Cleaner/Etcher (2 gallons) | $40 – $100 |
| Concrete Grinder Rental (1 day) | $75 – $150 |
| Diamond Grinding Pads | $50 – $100 |
| Pump Sprayer | $20 – $50 |
| Roller Frame, Pole, Covers | $25 – $50 |
| Brushes, Buckets | $15 – $30 |
| PPE (Heavy-duty, Respirator) | $50 – $100 |
| Acrylic Sealer (2 gallons) | $80 – $160 |
| Painter’s Tape/Plastic | $10 – $25 |
| Total Estimated Cost | $425 – $905 |
As you can see, renting a grinder can significantly increase the upfront cost. However, if your concrete needs it for proper adhesion and a smooth finish, it’s often a worthwhile investment. You can explore concrete grinder rental options from local tool rental companies or large home improvement stores.
How to Save Money on Your DIY Project
Want to keep costs even lower? Here are some smart ways to save:
- Buy in Bulk: If you have a larger area, buying larger containers of stain or sealer can be more cost-effective than multiple small ones.
- Look for Sales and Coupons: Keep an eye on home improvement store flyers and online deals.
- Choose Water-Based Stains: They are generally more budget-friendly and easier to work with for beginners.
- Borrow Tools: If friends or family have some of the basic application tools, see if you can borrow them.
- Prioritize Your Concrete’s Condition: If your concrete is already in great shape, you might be able to skip more expensive preparation steps like grinding.
- DIY the Prep: While professional cleaning services are available, you can do the cleaning and etching yourself with basic supplies.
The DIY Advantage: Beyond Just Cost
While saving money is a huge perk of DIY, there are other benefits:
- Satisfaction: There’s immense pride in completing a project yourself and seeing the beautiful results.
- Customization: You have complete control over the color, pattern, and finish.
- Learning New Skills: You gain valuable experience that can be applied to future home improvement projects.
- Flexibility: You can work on your own schedule, taking breaks as needed.
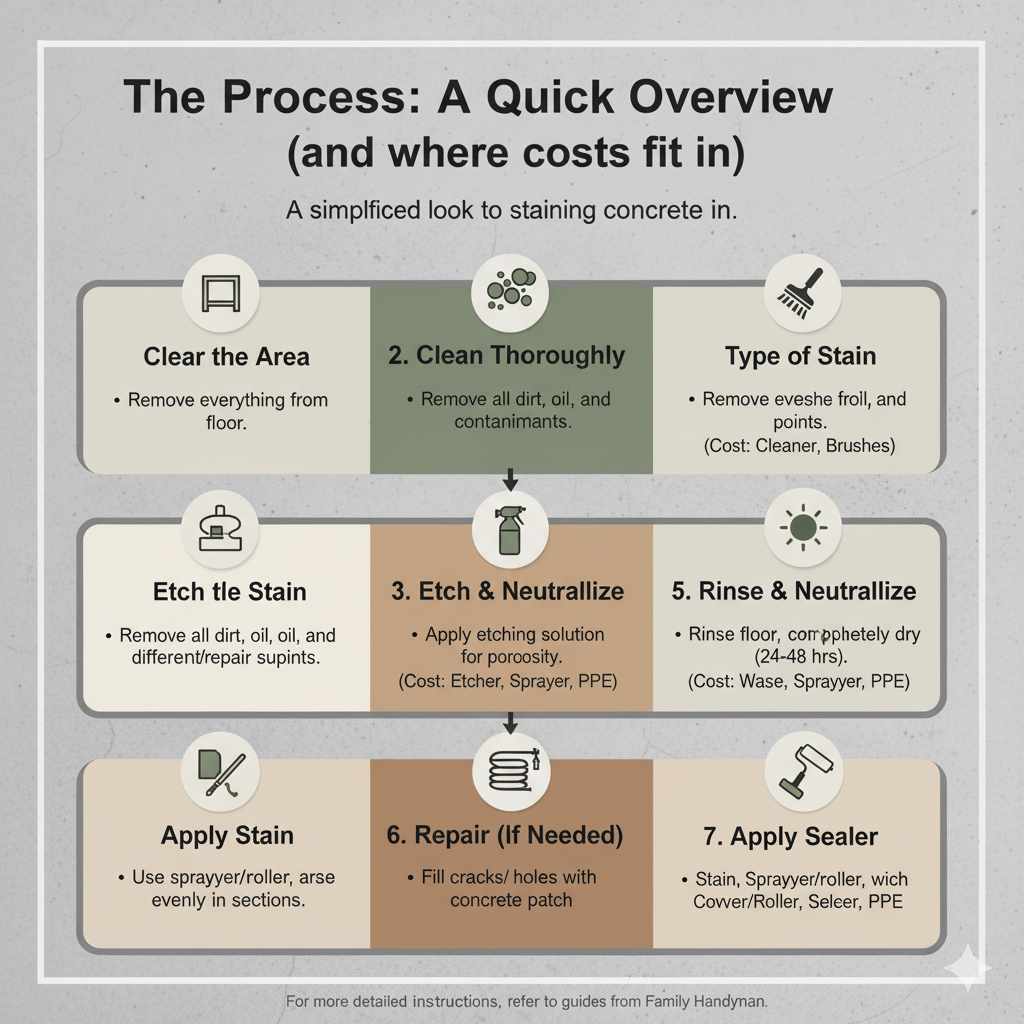
The Process: A Quick Overview (and where costs fit in)
To help you visualize where these costs fit, here’s a simplified look at the steps:
- Clear the Area: Remove everything from the floor.
- Clean Thoroughly: Use degreasers and scrubbers to remove all dirt, oil, and contaminants. (Cost: Cleaner, Brushes)
- Etch the Concrete: Apply an etching solution to create porosity. Follow instructions carefully, especially with acid etchers. (Cost: Etcher, Pump Sprayer, PPE)
- Rinse and Neutralize: Rinse the floor completely. If using an acid etcher, you’ll need to neutralize it. (Cost: Water, Hose, Buckets, PPE)
- Let it Dry: Ensure the concrete is completely dry. This can take 24-48 hours.
- Repair (If Needed): Fill cracks or holes with concrete patch. (Cost: Patch Compound)
- Apply Stain: Use a sprayer or roller to apply the stain evenly. Work in sections. (Cost: Stain, Sprayer/Roller, PPE)
- Wait for Stain to React/Dry: Follow product instructions for drying times.
- Apply Sealer: Apply 2-3 thin coats of your chosen sealer. (Cost: Sealer, Roller, PPE)
- Cure Time: Allow the sealer to cure fully before putting furniture back or walking on it heavily.
For more detailed instructions on each step, you can refer to resources like Family Handyman’s guide on staining concrete floors, which offers excellent visual aids and tips.
Frequently Asked Questions (FAQ)
Q1: What is the cheapest way to stain concrete floors?
The cheapest way is to opt for water-based concrete stains, use basic cleaning supplies you might already own, and purchase essential PPE. Renting tools instead of buying them if you only need them once can also save money. Focus on thorough preparation to avoid costly mistakes.
Q2: Do I need to seal concrete floors after staining?
Yes, absolutely! Sealing is crucial. It protects the stain from wear, fading, stains, and moisture. Without a sealer, your beautiful stained floor will deteriorate quickly.
Q3: How long does it take to stain concrete floors yourself?
For a beginner, staining a 200-300 sq ft area typically takes 2-3 days. This includes prep work (cleaning, etching), drying time, staining, and sealing. Rushing the process, especially the drying and curing times, can lead to poor results.
Q4: Can I use any paint sprayer for concrete stain?
Not all paint sprayers are suitable. For water-based stains, a standard garden pump sprayer is often sufficient. For more professional results or thicker stains, an airless sprayer might be needed, but these are expensive and usually unnecessary for DIYers. Always check the stain manufacturer’s recommendations for application tools.
Q5: What’s the difference between concrete stain and paint?
Stain penetrates the concrete, creating a translucent, natural-looking color that allows the concrete’s texture to show through. Paint sits on top of the concrete like a coating, offering opaque coverage. Stains are generally more durable and less prone to peeling than paint on concrete floors.
Q6: How many coats of stain do I need?
For most water-based stains and dyes, one to two coats are usually sufficient to achieve the desired color depth. Acid stains are a one-time application, as they react chemically. Always follow the product’s specific instructions for application and coverage.
Q7: Is it worth it to stain concrete floors yourself?
For many DIYers, yes, it’s absolutely worth it! The cost savings compared to professional installation are significant, and the satisfaction of a job well done is immense. If you’re willing to put in the effort for proper preparation and application, you can achieve beautiful, durable results.
Conclusion
Tackling your concrete floors yourself is a rewarding project that can dramatically enhance your home’s appearance while saving you a considerable amount of money. By carefully budgeting for the essential materials – stain, cleaners, etchers, sealers, and protective gear – you can anticipate an investment typically ranging from $100 to $500 for a standard-sized project. Remember, thorough preparation is key to a lasting, beautiful finish, so don’t skimp on the cleaning and etching steps.
While the upfront cost of tools might seem daunting, many basic items can be reused for future projects. If you encounter particularly challenging concrete surfaces, consider the potential need for a grinder rental, factoring that into your budget. With this guide, you’re well-equipped to plan, budget, and execute your DIY concrete staining project with confidence. Enjoy the process and the stunning, refreshed floors you’ll create!