How to Connect Recessed Lights in Your Garage
Hey there! If you’re like me, your garage is more than just a place to park your car—it’s your workshop, your tinkering haven, or maybe even your chill spot. Good lighting makes all the difference when you’re working on your vehicle or organizing tools. That’s why I’m excited to share how to connect recessed lights in your garage. I’ve done this myself, and trust me, it’s a game-changer for brightening up your space. Let’s walk through the process step-by-step, so you can get those lights installed safely and make your garage look sharp.
Why Recessed Lights Are Perfect for Your Garage
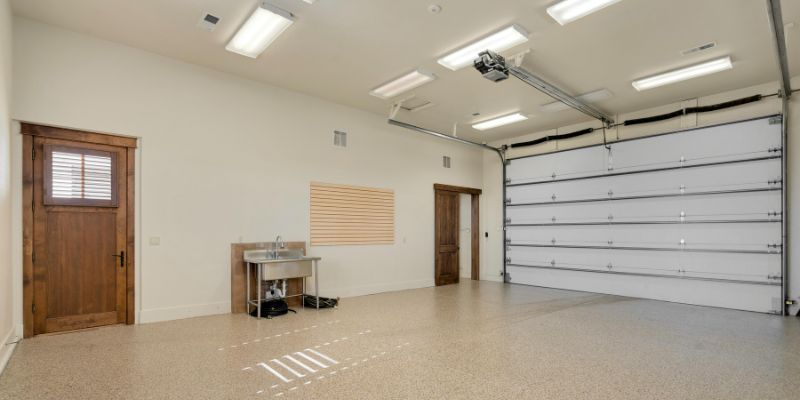
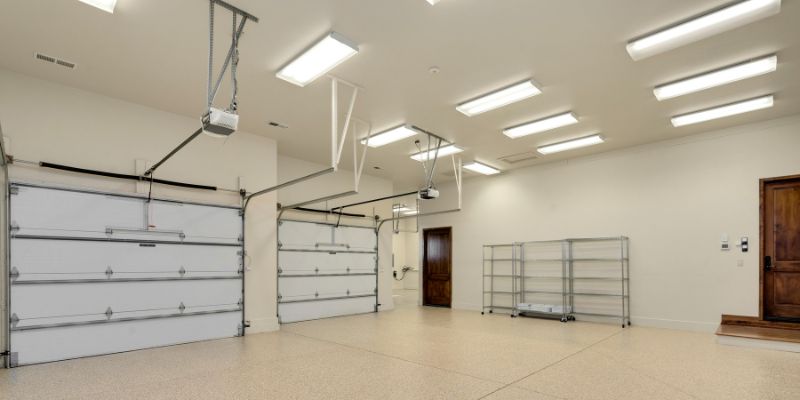
I love recessed lights because they’re sleek, modern, and don’t take up space like bulky fixtures. In a garage, where you’re often maneuvering tools or car parts, having lights flush with the ceiling is a big win. They provide bright, even lighting, which is crucial when you’re under the hood or sanding down a project. Plus, they’re energy-efficient, especially if you go with LED options. When I installed mine, I noticed how much easier it was to see every detail, from oil leaks to tiny bolts. They also add a professional vibe to your garage, making it feel like a proper automotive workspace.
Planning Your Recessed Lighting Layout
Before you start, you need a solid plan. I learned this the hard way when I almost drilled a hole in the wrong spot! First, think about what you use your garage for. Are you mostly working on cars, storing tools, or maybe setting up a workbench? This helps decide how many recessed lights you need and where to place them.
For a standard two-car garage, I recommend 6–8 lights to get even coverage. Measure your ceiling and sketch a layout. Space the lights about 4–6 feet apart for balanced illumination. If your garage has a workbench, place a couple of lights directly above it for focused brightness. I used a pencil and tape measure to mark spots on my ceiling, making sure to avoid joists or electrical lines. Check your local building codes too—some areas have rules about lighting installation in garages.
Here’s a quick table to help you plan:
| Area Size | Number of Lights | Spacing | Wattage (LED) |
|---|---|---|---|
| Single-car garage | 4–6 | 4–5 feet | 8–12W per light |
| Two-car garage | 6–8 | 4–6 feet | 10–15W per light |
| Large workshop | 8–12 | 5–6 feet | 12–18W per light |
Gathering the Right Tools and Materials
You don’t want to be halfway through the project and realize you’re missing something. I’ve been there, scrambling to find a wire stripper! Here’s what I used to install my recessed lights:
- Recessed light fixtures (LED ones are my go-to for energy savings).
- Electrical wire (14/2 or 12/2, depending on your circuit).
- Wire connectors and electrical tape.
- A drywall saw for cutting holes.
- A stud finder to locate ceiling joists.
- A drill and bits for mounting.
- A voltage tester to check for live wires.
- A ladder tall enough for your ceiling height.
- Safety gear like gloves and goggles.
I bought my fixtures at a local hardware store, but online retailers have great deals too. Make sure the lights are rated for garage use—some are better for damp or dusty spaces.
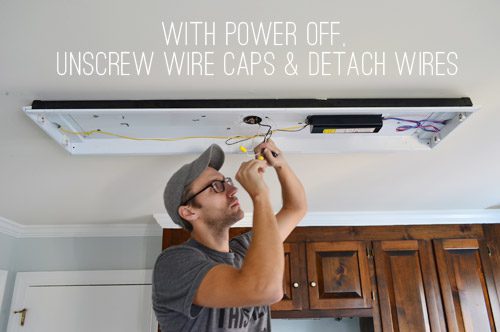
Turning Off the Power for Safety
This is the most important step. I can’t stress it enough: always turn off the power before working on anything electrical. Go to your breaker box and flip the switch for the garage circuit. Use a voltage tester to double-check that the wires you’re working with are dead. When I did my installation, I tested every wire, even though I was sure the power was off. Better safe than sorry!
Cutting Holes for Your Recessed Lights
Now comes the fun part—cutting the holes for your lights. Each recessed light kit comes with a template to trace the hole size. I taped mine to the ceiling and used a drywall saw to cut carefully. Go slow to avoid jagged edges. If your garage has insulation or a finished ceiling, wear gloves and a mask to protect yourself from dust. I made the mistake of rushing my first cut and had to patch it later, so take your time to get clean circles.
Running the Wiring
Wiring can feel intimidating, but it’s straightforward if you follow the steps. I ran 14/2 electrical wire from my power source (a junction box in my garage) to each light location. Start by feeding the wire through the ceiling, leaving enough slack at each hole for connections. Use a fish tape if the ceiling is tight. Connect the wires to the first light, then daisy-chain to the next ones. I used wire connectors to secure everything and wrapped them with electrical tape for extra safety.
Here’s how I wired mine:
- Black (hot) wire to the light’s black wire.
- White (neutral) wire to the light’s white wire.
- Ground wire (usually bare or green) to the light’s ground.
If you’re not sure about your home’s electrical setup, consult an electrician for this part. I had a friend double-check my connections to be safe.
Installing the Recessed Light Fixtures
Once the wiring is done, it’s time to install the fixtures. Most recessed lights have clips or springs that hold them in place. Push the fixture into the ceiling hole until it snaps securely. I found it helpful to have a buddy hold the ladder steady while I worked. Connect the wires to each fixture before securing it, following the manufacturer’s instructions. My LED lights had a simple plug-in connector, which made this step a breeze.
Testing Your New Lights
With everything wired and installed, it’s time to test. Go back to the breaker box and turn the power on. Flip the light switch and admire your work! When I turned mine on, the garage lit up like a showroom. If a light doesn’t work, check the connections or make sure the bulb is secure. I had one loose wire that took a quick fix to get all the lights glowing.
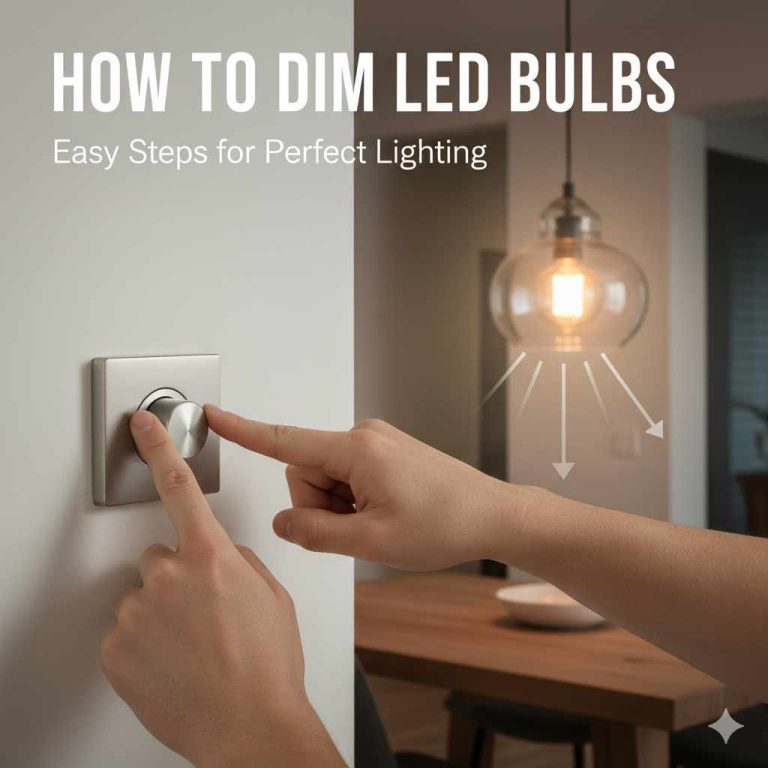
Adding a Dimmer for Extra Control
I decided to add a dimmer switch to my setup, and it was worth it. A dimmer lets you adjust the brightness depending on what you’re doing—bright for working on your car, softer for hanging out. Installing a dimmer is similar to wiring a regular switch, but make sure it’s compatible with your LED recessed lights. I picked a universal dimmer at the hardware store and followed the instructions to connect it. It took about 20 minutes and made my garage feel even more versatile.
Maintaining Your Recessed Lights
Once your lights are up, they’re pretty low-maintenance. I check mine every few months to make sure they’re clean and free of dust, especially since garages can get grimy. If you’re using LEDs, they last for years, but keep an eye on flickering, which could mean a loose connection. I also keep a spare bulb handy just in case one burns out, though that hasn’t happened yet.
Why This Project Is Worth It
Installing recessed lights in my garage transformed the space. It’s brighter, safer, and honestly, it makes me want to spend more time working on my projects. The process wasn’t as hard as I thought, and seeing the final result felt amazing. Whether you’re a car enthusiast or just want a better-lit garage, this is a project you can tackle with some planning and patience.
FAQs
Can I install recessed lights in a garage with a low ceiling?
Yes, you can! I’ve seen recessed lights work in garages with ceilings as low as 7 feet. Choose slim or low-profile fixtures designed for tight spaces. Make sure to space them closer together, about 3–4 feet apart, to get enough light.
Do I need a permit to install recessed lights in my garage?
It depends on where you live. In my area, minor electrical work like this didn’t require a permit, but some places are stricter. Check with your local building department to be sure. I called mine to confirm before starting.
What type of recessed lights are best for a garage?
I recommend LED recessed lights for garages. They’re energy-efficient, bright, and long-lasting. Look for ones with a high CRI (color rendering index) for better visibility when working on cars. I went with 4000K LEDs for a clean, daylight-like glow.
How much does it cost to install recessed lights in a garage?
The cost varies, but I spent about $150–$200 on fixtures, wiring, and tools for my two-car garage. If you hire an electrician, expect to pay $50–$100 per light for labor. Doing it yourself saves a lot, like it did for me!
Can I connect recessed lights to an existing circuit?
In most cases, yes, as long as the circuit can handle the extra load. I tied mine into the garage’s existing circuit, but I checked the breaker rating first. If you’re adding a lot of lights, you might need a new circuit, so consult an electrician if you’re unsure.
How long does it take to install recessed lights?
For my two-car garage, it took me a weekend, about 6–8 hours total. That included planning, cutting holes, wiring, and installing 8 lights. If you’re new to this, give yourself a bit more time to go slow and get it right.
Are recessed lights safe for a dusty garage?
Absolutely, but choose fixtures rated for damp or dusty environments. My garage gets dusty from sanding projects, so I picked sealed recessed lights to keep dirt out. Clean them regularly to maintain brightness.
Conclusion
Connecting recessed lights in your garage is one of those projects that feels daunting but ends up being so rewarding. I remember the first time I flipped the switch and saw my garage light up—it was like giving my workspace a whole new life. With some planning, the right tools, and a bit of patience, you can do this too. Not only will your garage look better, but it’ll also be a safer, more functional space for all your automotive projects. So grab your tools, follow these steps, and get ready to enjoy a brighter garage. You’ve got this!