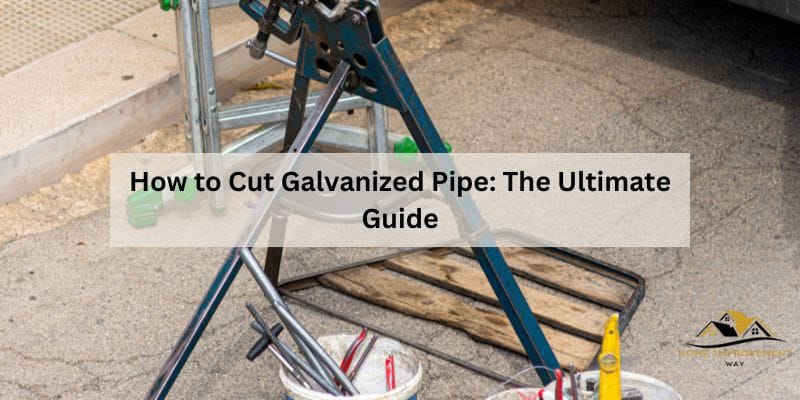
How to Cut Galvanized Pipe: The Ultimate Guide
To cut galvanized pipe, use a reciprocating saw with a carbide blade. Galvanized pipes are commonly used in plumbing and construction projects and may need to be cut to length.
Make sure to wear safety gear, including gloves and eye protection, before cutting the pipe. Galvanized pipes are widely used in various industries, including plumbing and construction, due to their durability and resistance against rust and corrosion. However, there are instances when it becomes necessary to cut galvanized pipes to fit specific measurements or complete a project.
Whether you are a DIY enthusiast or a professional, knowing the proper technique for cutting galvanized pipes can save you time and effort. This article will guide you through the process of cutting galvanized pipes using a reciprocating saw with a carbide blade, ensuring that you achieve accurate and precise cuts. Remember to follow safety precautions and wear protective gear to avoid any accidents during the process.
Step-by-step Guide
Note: This is an SEO-optimized, step-by-step guide on how to cut galvanized pipe. Follow the instructions below to easily and accurately cut your galvanized pipe.
Measuring And Marking The Pipe
Step 1: Begin by measuring and marking the galvanized pipe. Use a tape measure to determine the desired length you want to cut the pipe to. Make sure to double-check your measurements for accuracy.
Step 2: Once you have the correct length, use a permanent marker or chalk to mark the pipe at the measurement point. Make a clear, visible mark on the pipe as a guide for cutting.
Choosing The Right Cutting Tool
Step 3: It’s crucial to choose the right cutting tool for the job. There are several options available, including hacksaws, reciprocating saws, and pipe cutters.
Step 4: If you have a hacksaw, make sure to select a blade appropriate for cutting through galvanized pipe. A fine-tooth or bi-metal hacksaw blade is recommended for clean and precise cuts.
Step 5: Reciprocating saws can also be effective in cutting galvanized pipe. Ensure you use a bi-metal blade with fine teeth for optimal results.
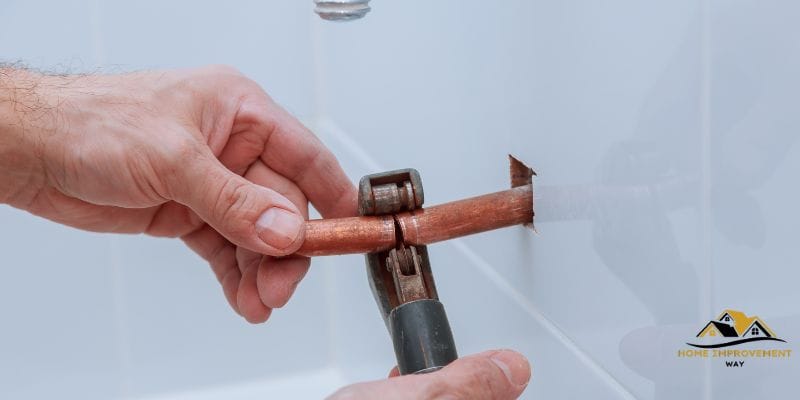
Step 6: Alternatively, pipe cutters are specifically designed for cutting various pipe materials. Disposable wheels on the pipe cutter provide a smooth and controlled cutting action.
Cutting The Galvanized Pipe
Step 7: Before cutting, equip yourself with safety gear to protect your eyes, ears, and hands. Safety goggles, ear protection, and work gloves are essential for this step.
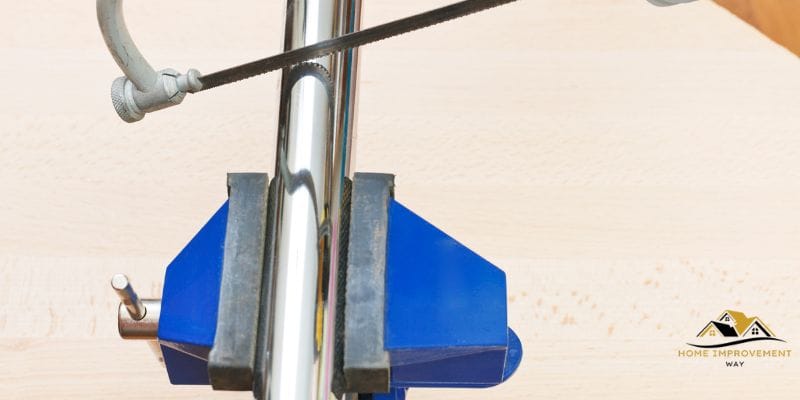
Step 8: If using a hacksaw, secure the pipe firmly in place using a vise or pipe clamps. Begin cutting by positioning the saw on the marked line, applying pressure and using long, even strokes.
Step 9: When using a reciprocating saw, carefully position the blade on the marked line and start cutting with a slow, steady motion. Maintain control of the saw to ensure a straight cut.
Step 10: If you opt for a pipe cutter, align the cutter’s wheel with the marked line on the pipe. Rotate the cutter around the pipe, tightening it slightly with each revolution until the pipe is cut.
Step 11: Once the galvanized pipe is cut, remove any burrs or sharp edges with a file or sandpaper. Smooth down the edges to ensure a safe finish.
Step 12: Finally, make sure to clean the pipe thoroughly to remove any metal shavings or debris.
Following this step-by-step guide will enable you to cut galvanized pipe accurately and safely. Remember to take your time, wear the appropriate safety gear, and choose the right cutting tool for the job. Now, you can confidently tackle any project that involves cutting galvanized pipe!
Finishing Touches
After cutting a galvanized pipe, there are a few finishing touches that are necessary to ensure a clean and smooth result. These steps not only improve the overall appearance but also serve to prevent any potential hazards. In this section, we will discuss three important steps for finishing touches: deburring the cut edge, checking for smoothness, and cleaning and sealing.
Deburring The Cut Edge
Deburring the cut edge is an essential step to remove any sharp or rough edges that may be present after cutting the galvanized pipe. To do this, simply use a deburring tool or a file to smooth out the edges. Start at the cut end and work your way around the circumference, applying gentle pressure to remove any burrs. Ensure that the entire circumference of the cut is deburred evenly to achieve a smooth and safe edge.
Checking For Smoothness
Once the deburring is complete, it is important to check for the smoothness of the cut edge. Run your fingers along the edge to feel for any remaining rough spots or jagged edges. If you detect any, use the deburring tool or file to further smooth out those areas. This step is crucial to avoid any potential injuries when handling or working with the cut galvanized pipe.
Cleaning And Sealing
After deburring and ensuring a smooth edge, the final step is to clean and seal the cut end of the pipe. Cleaning the cut with a suitable cleaning solution or even just soap and water can remove any debris or grease that may have accumulated during the cutting process. Once cleaned, applying a layer of sealant or paint to the cut end helps protect the pipe from corrosion and enhances its aesthetic appeal.
A well-finished cut galvanized pipe not only ensures safety but also adds to the overall quality of your project. By following these three steps – deburring the cut edge, checking for smoothness, and cleaning and sealing – you can achieve a professional and polished result with your galvanized pipe cutting project.
Conclusion
Cutting galvanized pipe can be a challenging task, but with the right techniques and tools, it can be done efficiently. By following the steps outlined in this blog post, you can ensure a clean and precise cut every time. Remember to always prioritize safety and use the necessary protective gear.
With practice and patience, you’ll soon become confident in your ability to cut galvanized pipe for various projects. So, don’t hesitate to grab your tools and start cutting!