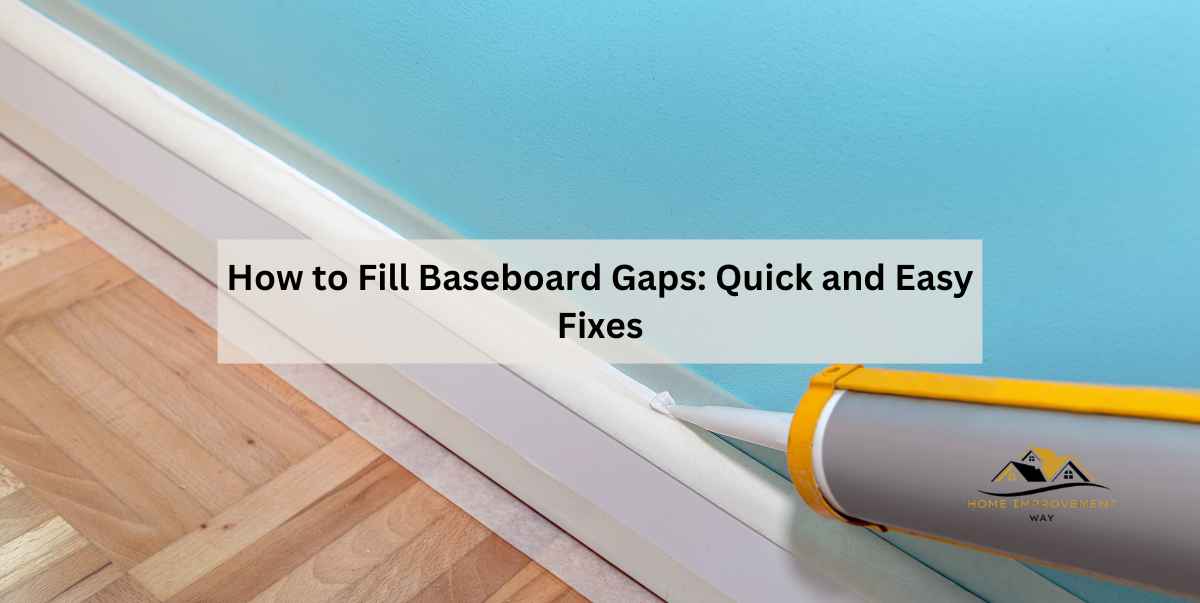
To fill baseboard gaps, use a flexible caulk or adhesive to seal the space between the baseboard and the wall. This prevents dirt, dust, and insects from entering the gaps, giving your room a more finished look.
In addition, sealing the gaps can also help improve the energy efficiency of your home by preventing drafts.
Identifying Baseboard Gaps
Identifying baseboard gaps is an essential step in maintaining the appearance and energy efficiency of your home. Gaps in the baseboards can allow drafts to enter your living space, leading to cold spots and potentially higher energy bills. In this section, we will discuss two common types of baseboard gaps: visible gaps and drafts and cold spots.
Visible Gaps
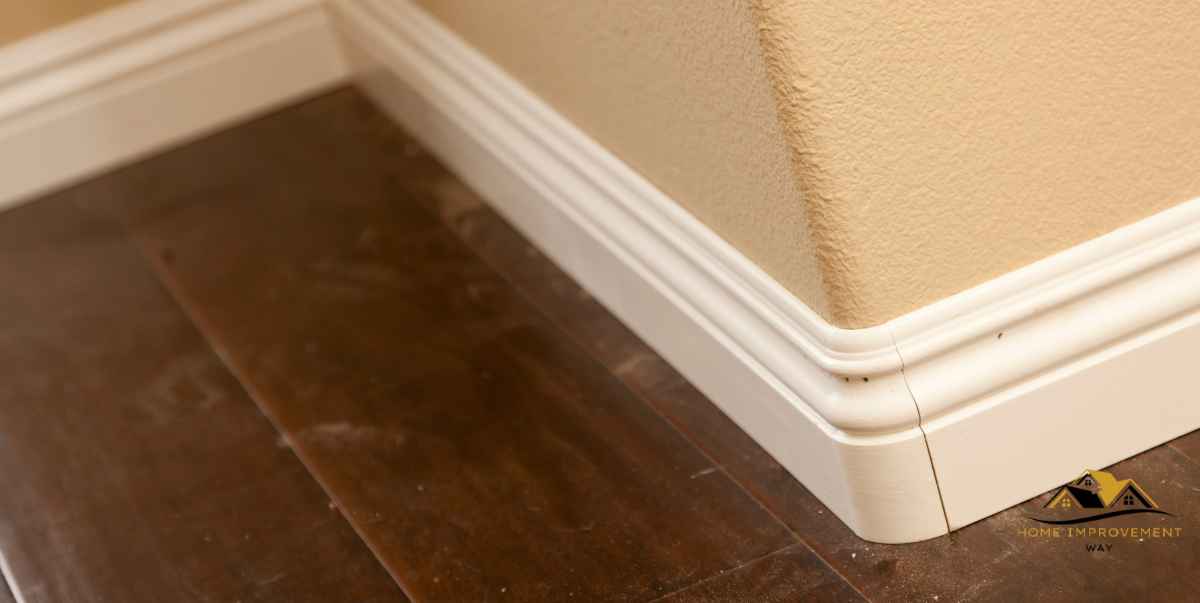
Visible gaps are often the most noticeable type of gap in baseboards. These gaps occur when the baseboards do not properly align with the adjacent wall or floor. They can be caused by improper installation, settling of the house, or natural expansion and contraction of the materials. It’s important to address visible gaps as they can detract from the overall aesthetic appeal of your home.
To identify visible gaps, carefully inspect the areas where the baseboards meet the walls and the floors. Look for any spaces or unevenness that can indicate a gap. Use a flashlight to help you see better, especially in poorly lit areas. Make sure to check all the rooms of your home, as baseboard gaps can occur anywhere. Take note of the size and location of each visible gap to help you determine the best method for filling them.
Drafts And Cold Spots
Drafts and cold spots are common issues associated with baseboard gaps. These gaps can allow air to infiltrate your home, causing rooms to feel drafty and uncomfortable. Additionally, drafts can lead to temperature imbalances, with some areas of the room feeling colder than others. This can result in the need for higher energy usage to maintain a comfortable indoor climate.
To identify drafts and cold spots, walk around your home and pay close attention to the areas near the baseboards, especially if you feel a sudden chill or notice a significant difference in temperature. Use the back of your hand to feel for any air movement along the baseboards. Take note of the locations where you detect drafts or experience cold spots, as these will be the areas you should focus on when filling baseboard gaps.

Materials For Filling Baseboard Gaps
When it comes to filling those unsightly gaps between your baseboards and the wall, there are several materials you can use to achieve a seamless and professional finish. Whether you prefer a quick and easy solution or a more long-lasting option, these three materials are commonly used for filling baseboard gaps: caulk, weatherstripping, and baseboard gap covers.
Caulk
One of the most popular and versatile materials for filling baseboard gaps is caulk. Caulk is a flexible sealant that can be easily applied to gaps of varying sizes. It is available in different types, such as silicone caulk and acrylic latex caulk, each with its own set of advantages. Silicone caulk, for example, is highly durable and resistant to moisture, making it ideal for use in kitchens and bathrooms. Acrylic latex caulk, on the other hand, is easier to work with and can be painted over once dry, allowing for a seamless finish that matches your baseboards.
To fill baseboard gaps using caulk, follow these simple steps:
- Clean the gap with a damp cloth to remove any dust or debris.
- Using a caulk gun, apply a thin bead of caulk along the entire length of the gap. Be sure to fill the entire depth of the gap.
- Smooth the caulk with your finger or a caulking tool, removing any excess caulk for a neat and tidy finish.
- Allow the caulk to dry according to the manufacturer’s instructions before painting or touching it.
Weatherstripping
If you’re dealing with larger baseboard gaps or want a more substantial solution, weatherstripping is a great choice. Weatherstripping is typically made of rubber or foam and is designed to provide a tight seal against drafts and air leaks. It not only fills the gaps but also helps improve energy efficiency and prevent heat loss.
Here’s how you can use weatherstripping to fill baseboard gaps:
- Measure the length of the gap and cut a piece of weatherstripping to fit.
- Remove the adhesive backing from the weatherstripping and press it firmly into the gap, ensuring a snug fit.
- Repeat the process for each gap, ensuring that the weatherstripping is securely in place.
Baseboard Gap Covers
If you prefer a quick and convenient solution, baseboard gap covers are worth considering. These covers are typically made of PVC or foam and come in various sizes and colors to match your baseboards. They are designed to fit snugly over the gaps, providing a seamless and polished look.
Using baseboard gap covers is as simple as selecting the size that matches your gaps and snapping them into place. They require no additional tools or adhesive, making them a hassle-free option for filling baseboard gaps.
Step-by-step Guide To Filling Baseboard Gaps
Are you tired of seeing unsightly gaps between your baseboards and the walls? Don’t worry, filling these gaps is a simple and straightforward process. In this step-by-step guide, we will show you how to fill baseboard gaps effectively. By following these steps, you can ensure a clean and professional-looking finish. Let’s get started!
1. Clean And Prepare The Area
Before you begin filling the baseboard gaps, it is essential to clean and prepare the area for the best results. Start by removing any dirt, dust, or debris from the gaps using a vacuum cleaner or a soft brush.
Next, use a damp cloth or sponge to wipe down the baseboards and the surrounding walls. This will remove any grease or grime that may affect the adhesion of the filling material. Make sure to let the area dry completely before proceeding to the next step.
2. Choose The Appropriate Filling Method
There are several methods you can use to fill baseboard gaps, depending on the size and depth of the gaps. Here are a few options to consider:
- Caulk: Caulk is a popular choice for filling small to medium-sized baseboard gaps. It is easy to apply, dries quickly, and provides a seamless finish. Choose a caulk color that matches your baseboards for a more seamless appearance.
- Weatherstripping: Weatherstripping is an ideal solution for larger or irregularly shaped gaps. This flexible material can be easily trimmed to fit the gaps and offers excellent insulation properties.
- Wood Putty: If you have small gaps in wooden baseboards, wood putty can be an effective solution. It is easy to mold and can be stained or painted to match the color of your baseboards.
- Trim Molding: For more extensive gaps or a decorative touch, consider adding trim molding. This additional layer can fill the gaps and enhance the overall appearance of your baseboards.
3. Apply Caulk Or Weatherstripping
Once you have chosen the appropriate filling method, it’s time to apply the caulk or weatherstripping to fill the baseboard gaps. Follow these steps:
- Cut the caulk or weatherstripping tube nozzle at a 45-degree angle.
- Load the tube into a caulk gun or apply pressure to the weatherstripping adhesive tube.
- Starting at one end of the gap, carefully apply a thin and even line of caulk or weatherstripping along the length of the gap.
- Use a putty knife or your finger to smooth the caulk or weatherstripping, ensuring that it fills the entire gap.
- Remove any excess caulk or weatherstripping using a damp cloth for a clean finish.
4. Smooth And Finish The Area
Once the caulk or weatherstripping is applied, it’s important to give the area a smooth and finished appearance. Here’s what you need to do:
- Use a damp cloth or sponge to remove any smudges or excess filling material around the baseboards.
- Allow the caulk or weatherstripping to dry completely according to the manufacturer’s instructions.
- If necessary, you can paint or stain the filled gaps to match the color of your baseboards for a seamless finish.
- Inspect the filled gaps and make any touch-ups as needed to achieve a flawless look.
With these simple steps, you can easily fill baseboard gaps and achieve a professional-looking result. Remember to choose the appropriate filling method, prepare the area carefully, and give the final touch to ensure a seamless finish. Say goodbye to those unsightly gaps and enjoy a polished and visually appealing space!
Alternative Solutions For Baseboard Gaps
If you have noticed unsightly gaps between your baseboards and the wall, don’t worry! There are several alternative solutions you can try to fill those gaps and achieve a seamless finish. In this post, we will explore two effective methods: installing quarter round molding and using foam backer rod.
1. Installing Quarter Round Molding
If you prefer a more decorative approach, installing quarter round molding can effectively hide those unsightly baseboard gaps. The process is relatively straightforward and can be accomplished in a few simple steps:
- Measure and cut the quarter round molding to the required lengths using a miter saw.
- Apply a thin bead of construction adhesive along the back of the molding.
- Press the quarter round firmly against the baseboard and the wall, ensuring a secure bond.
- After the adhesive has dried, caulk any visible gaps and paint the molding to match your baseboards.
2. Using Foam Backer Rod
If you prefer a more affordable and less time-consuming solution, using foam backer rod can be an effective method to fill baseboard gaps. The following steps outline this process:
- Start by measuring the length of the baseboard gap.
- Choose a foam backer rod of the appropriate diameter to fit the gap.
- Insert the backer rod into the gap, ensuring it sits snugly and flush with the surface.
- Use a putty knife or similar tool to press the backer rod firmly into place.
- Once the backer rod is secure, use caulk or spackle to fill any remaining gaps or cracks.
- Finally, sand the area smooth and paint over it to achieve a seamless finish.
With these alternative solutions for baseboard gaps, you can transform the look of your space without the need for costly renovations. Whether you choose to install quarter round molding or use foam backer rod, both methods offer effective ways to fill those unsightly gaps and achieve a polished appearance.

Preventing Baseboard Gaps
Learn how to fill baseboard gaps effectively with these simple tips. Preventing baseboard gaps is important to maintain a clean and seamless look in your home. Find out how to easily fill those gaps for a finished appearance.
Proper installation and regular maintenance can go a long way in preventing baseboard gaps. By following some simple techniques and keeping an eye on your baseboards, you can ensure that they stay snugly in place, eliminating any unsightly gaps that may develop over time.
Proper Installation Techniques
When it comes to installing baseboards, ensuring a proper fit is paramount. By following these installation techniques, you can help prevent gaps from forming.
- Measure Accurately: Take precise measurements of the walls and cut the baseboards accordingly, ensuring they fit snugly.
- Use Adhesive: Apply adhesive along the back of the baseboard before nailing it in place. This will provide extra stability and prevent gaps from forming.
- Use the Right Nails: Choose nails that are long enough to secure the baseboard firmly to the wall without piercing through the other side.
- Use Corner Blocks: Installing corner blocks can help eliminate gaps at the corners by providing a clean and seamless transition.
Maintenance And Regular Inspection
Maintenance plays a crucial role in preventing gaps in baseboards. By incorporating these regular inspection and maintenance practices, you can ensure that gaps don’t have a chance to develop.
- Inspect for Gaps: Regularly inspect your baseboards for any gaps or signs of movement. This can help you catch any issues early on.
- Recaulk Gaps: If you notice any small gaps, recaulk them promptly to prevent further expansion.
- Repair Loose Baseboards: If you notice any baseboards becoming loose, reinforce them with additional nails or adhesive to keep them securely in place.
- Address Moisture Issues: Moisture can cause baseboards to warp and separate from the wall. Address any moisture issues in the room to prevent gaps from forming.
By following these proper installation techniques and incorporating regular maintenance practices, you can significantly reduce the chances of baseboard gaps. Remember to be proactive and address any issues as soon as they arise to keep your baseboards looking seamless and well-maintained.
Conclusion
Filling baseboard gaps is a straightforward task that can greatly improve the overall appearance of your home. By following the simple steps outlined you can ensure a seamless and professional-looking finish. Remember to choose the right filler material, properly prepare the gaps, and apply the filler accurately.
Whether you’re a seasoned DIYer or a novice homeowner, this is a project that anyone can successfully tackle. So, don’t let those unsightly gaps dampen the beauty of your baseboards any longer – get to work and enjoy the transformative results!


