How To Fill Nail Holes In Trim: Easy Step-By-Step Guide
Filling nail holes in trim is a crucial step in achieving a polished and professional finish in woodworking and home improvement projects. The process involves selecting the appropriate filler material, understanding the properties of wood substrates, and employing techniques that promote adhesion and seamless integration with existing trim. Moreover, factors such as drying time and the compatibility of paint or stain can significantly affect the outcome. Mastering the art of filling nail holes not only enhances aesthetics but also prolongs the life of your trim.
Dive deeper to uncover expert strategies and tips on how to fill nail holes in trim effectively.
How To Fill Nail Holes In Trim: A Step-By-Step Guide
Filling nail holes in trim is a straightforward process that can significantly enhance the appearance of your woodworking projects. Whether you’re preparing for painting or simply aiming for a polished finish, knowing the right techniques and materials is crucial. Various fillers are available, and understanding how to choose and apply them effectively will ensure a seamless look. This summary provides insights into the essential steps and tips for achieving the best results when tackling how to fill nail holes in trim.
Understanding the Importance of Filling Nail Holes
Aesthetic benefits of a smooth finish. Preventing wood damage and decay.
Filling nail holes is essential for many reasons. First, it creates a smooth finish on your trim, making your home look tidy and beautiful. A polished surface can really brighten up a room.
Secondly, filling these holes helps prevent wood damage and decay. When holes are left open, moisture can get in, leading to problems. Here are key benefits:
- Aesthetic Appeal: Enhances the look of your trim.
- Protection: Stops moisture from causing harm.
Materials Needed for Filling Nail Holes
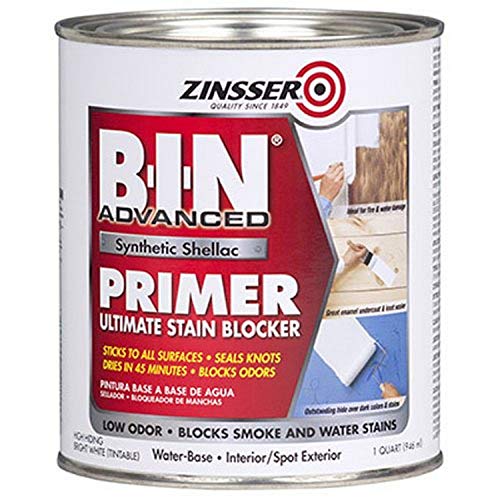
Types of fillers: putty, spackle, and caulk. Tools required: putty knife, sanding block, and primer.
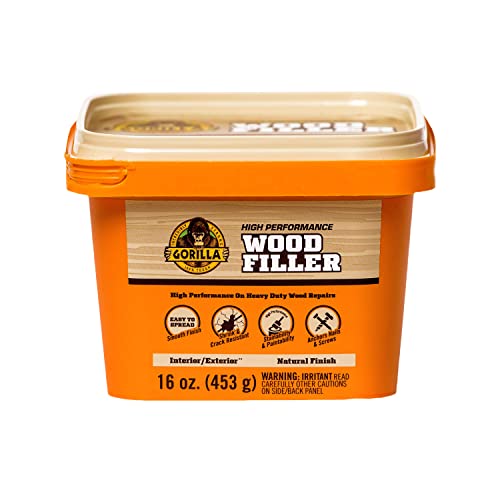
To tackle nail holes, you’ll need a few trusty supplies. First, consider the type of filler: putty is great for small repairs, while spackle can handle larger holes without throwing a fit. Caulk is the ultimate smooth operator for trim edges. You’ll also need some tools—a putty knife for spreading, a sanding block to make it all nice and smooth, and don’t forget a coat of primer to seal the deal.
Handy, right? Here’s a quick table to keep things in line:
| Materials | Purpose |
|---|---|
| Putty | Fills small holes |
| Spackle | Fills larger holes |
| Caulk | Seals edges |
| Putty Knife | Apply filler |
| Sanding Block | Smooths surface |
| Primer | Prepares for paint |
Choosing the Right Filler for Your Trim
Comparison of wood filler vs. spackle vs. caulk. Factors to consider: trim material, hole size, and paint finish.
Choosing the right filler for nail holes is like picking the best snack at a party. You have options! Here’s a quick comparison:
| Filler Type | Best For | Fun Fact |
|---|---|---|
| Wood Filler | Wood trim and larger holes | It’s like a band-aid for wood! |
| Spackle | Smaller holes and indoor use | It dries faster than your favorite snack gets eaten! |
| Caulk | Sealing gaps and for flexible surfaces | Great for talking to your trim, it loves a good seal! |
Consider the material of your trim, the size of the hole, and the paint finish you want. Choosing wisely will keep your trim looking fabulous and keep those holes where they belong—in your past!
Step-by-Step Process to Fill Nail Holes
Preparing the area: cleaning and inspection. Applying the filler: techniques for best results. Smoothing the surface: tools and methods.
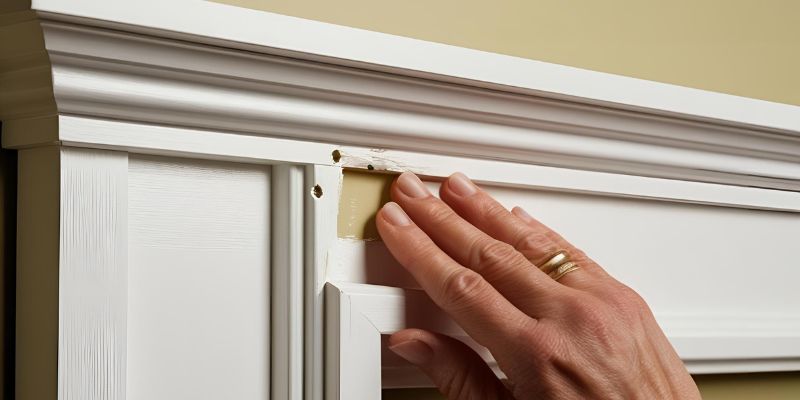
Begin by preparing the area. Clean the trim to remove dust and dirt. Inspect for any loose paint or damage.
Then, apply the filler using a putty knife. Smooth it over the nail holes with careful strokes for the best finish.
After the filler dries, use sandpaper to smooth the surface. Follow these tips for better results:
- Choose a filler that matches the trim color.
- Apply in thin layers for even coverage.
- Wipe away excess filler quickly.
Drying and Curing Times
Importance of allowing filler to dry completely. Average drying times for various types of fillers.
Letting your filler dry properly is like waiting for cookies to bake—hard but oh-so-worth-it! If you rush this step, you might end up with a messier trim than before. Different fillers have their own drying times, but let’s keep it brief and sweet. Check out the table below to see how long to wait for various types:
| Filler Type | Average Drying Time |
|---|---|
| Water-Based | 1-2 hours |
| Oil-Based | 6-8 hours |
| Rapid-Dry | 30 minutes |
Remember, patience is a virtue, even if you’re itching to paint!
🖌️
Sanding and Finishing Touches
Best practices for sanding filled holes. Painting or staining the repaired area.
To achieve a smooth finish after filling nail holes, follow these simple steps:
- Use fine-grit sandpaper to gently sand the filled area. This helps to blend it with the surface.
- Sand in a circular motion for even results.
- Wipe away dust with a damp cloth before painting or staining.
- Choose paint or stain that matches your trim color.
- Apply thin coats, allowing each to dry fully before adding more.
These best practices will give your repairs a clean and professional look!
Common Mistakes to Avoid
Overfilling vs. underfilling. Inadequate preparation or finishing.
Filling nail holes can be tricky. It’s important to find the right amount of filler. Overfilling can create unsightly bumps, while underfilling may leave holes visible. Proper preparation is also key.
Make sure to clean the area before you start. Finish the job with sanding for a smooth look. Here are common mistakes to avoid:
- Using too much or too little filler
- Neglecting to clean the hole first
- Skipping the final sanding step
When to Seek Professional Help
Identifying complex trim issues. Costs vs. value of professional services.
Some trim issues can be tricky. If you see problems like cracks or misaligned pieces, it’s time to think about expert help. They can properly fix complex issues that might trouble you. Consider the cost of hiring someone versus doing it yourself.
A small investment can save you time and ensure a perfect finish.
- Complex trim repairs require skill.
- Professional help can save time and effort.
- Weigh costs against the quality of work.
Conclusion
In conclusion, effectively filling nail holes in trim not only enhances the aesthetics of your space but also prolongs the life of your trim. With the right tools and techniques, this simple DIY task can yield professional-looking results. Take the time to properly prepare, fill, and finish the holes for a seamless appearance that will elevate your home’s decor.
FAQs
What Materials Do I Need To Effectively Fill Nail Holes In Trim?
To effectively fill nail holes in trim, you will need wood putty or spackling compound, a putty knife for application, and sandpaper for smoothing the surface after drying. Optionally, you may also want to use a primer and paint that matches the trim for a seamless finish. A damp cloth can help clean up any excess putty around the hole. Finally, ensure the area is dust-free before starting for the best results.
Should I Use Putty, Caulk, Or Spackle For Filling Nail Holes In Trim?
For filling nail holes in trim, spackle is generally the best choice because it dries quickly and can be sanded and painted easily. Caulk is better for sealing gaps and joints rather than filling holes. Putty can be used for a more durable finish but may take longer to dry. Overall, spackle is the most convenient option for small nail holes.
How Do I Properly Prepare The Surface Before Filling Nail Holes In Trim?
To properly prepare the surface before filling nail holes in trim, first, clean the area around the holes to remove any dust or debris. Next, use a fine-grit sandpaper to lightly sand the surface, ensuring it’s smooth and free of any rough edges. Wipe the area with a damp cloth to eliminate any sanding dust. Finally, make sure the trim is completely dry before applying the filler.
What Is The Best Technique For Applying Filler To Ensure A Smooth Finish?
The best technique for applying filler to ensure a smooth finish involves several key steps. First, start with a clean, dry surface and apply the filler using a putty knife, using even pressure to minimize air bubbles. After the initial application, allow it to dry fully before sanding with fine-grit sandpaper to achieve a smooth surface. Finally, wipe away any dust and consider applying a second layer if necessary for the best results.
How Do I Match The Color Of The Filler To The Existing Trim After Filling The Nail Holes?
To match the color of the filler to the existing trim after filling nail holes, start by identifying the trim’s finish—whether it’s painted or stained. For painted trim, select a paint that closely matches the original color and finish. If the trim is stained, use a wood filler that can be stained to match the wood’s color and grain. Finally, once the filler is dry, apply a topcoat or sealer if necessary to blend it seamlessly with the surrounding area.