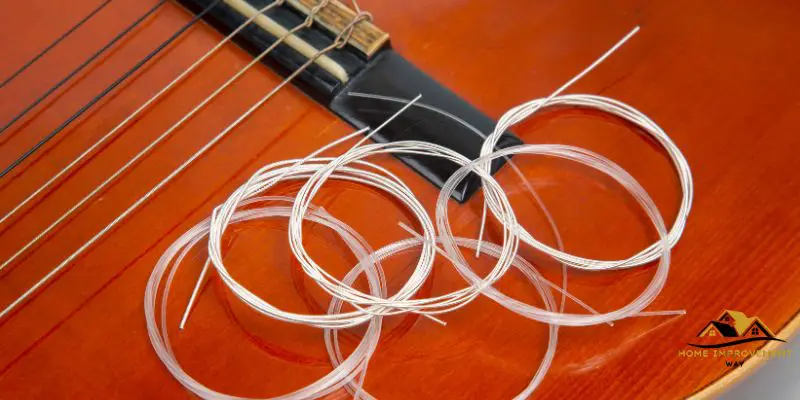
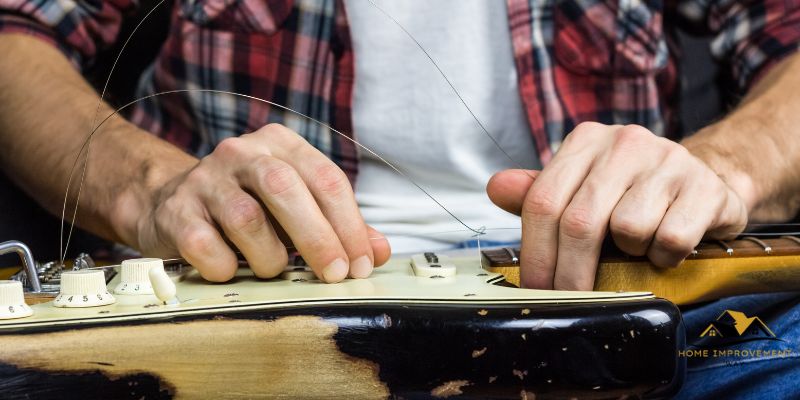
To fix a guitar string, first, loosen the tension on the broken string by turning the tuning peg. Then, remove the broken string by unwinding it from the peg and the bridge.
Finally, attach a new string by threading it through the bridge, winding it around the peg, and tightening it to the desired pitch. Replacing a broken guitar string can be a simple task if you follow the right steps. Whether you’re a seasoned guitarist or just starting out, knowing how to fix a guitar string is essential.
A broken string can disrupt your practice or live performance, but don’t worry, it’s a problem that can be easily solved. We will guide you through the process of fixing a guitar string efficiently and effectively. By following these steps, you’ll be back to playing your favorite tunes in no time. So, grab your guitar and let’s get started on fixing that pesky broken string!

Preparation
Before you begin fixing a guitar string, it’s essential to make sure you have everything you need and prepare your instrument accordingly. In this section, we’ll guide you through gathering the necessary tools and choosing the right replacement strings, ensuring your guitar is ready for the repair.
Gathering The Necessary Tools
Here’s a list of tools you’ll need to gather before proceeding with fixing your guitar string:
| Tools |
|---|
| Wire cutters |
| String winder |
| Tuner |
| Needle-nose pliers |
| Replacement guitar strings |
Make sure you have all these tools available within reach to avoid any interruptions during the string replacement process.
Choosing The Right Replacement Strings
The type of replacement strings you choose for your guitar depends on various factors such as the guitar’s type, your playing style, and personal preference. When selecting replacement strings:
- Consider the gauge: Gauge refers to the thickness of the strings. Lighter gauges are generally easier to play, while heavier gauges offer more volume and sustain. Choose a gauge that suits your playing style and preferences.
- Match the type: Acoustic and electric guitars require different types of strings. Make sure to choose the appropriate strings for your specific guitar type.
- Quality matters: Opt for strings made by reputable brands to ensure durability and sound quality. Cheap strings may break more easily and produce lower quality sound.
Take your time to explore different options and select the replacement strings that best suit your needs.
Preparing The Guitar
Before replacing the broken string, you need to prepare your guitar by following these steps:
- Loosen the tension: Use the string winder to loosen the tension of all the strings. This will make it easier to remove and replace the broken string.
- Remove the broken string: Use the wire cutters to carefully snip the broken string near the point where it connects to the bridge or tailpiece. Remove any remaining pieces of the string.
- Clean the string slot: Use needle-nose pliers or a similar tool to remove any dirt or debris from the string slot on the bridge. This will help the new string slide smoothly into place.
With these preparatory steps complete, your guitar is now ready for the string replacement process.
Step-by-step Guide
Guitars strings can break or wear out over time, but fear not! Fixing a guitar string is a relatively simple process that you can do yourself. In this step-by-step guide, we’ll walk you through the process to get your guitar strung and ready to play in no time. So let’s dive right in and get your guitar back in tune!
Removing The Old String
First things first, we need to remove the old, broken, or worn-out guitar string. Follow these steps:
- Start by loosening the tension of the string by turning the tuning peg counterclockwise.
- Once the string feels loose, use wire cutters to cut it near the bridge of the guitar.
- Gently remove the loose end of the string from the tuning peg, being careful not to scratch the guitar’s finish.
- Dispose of the old string responsibly to avoid any accidents or injuries.

Cleaning The Guitar And Fretboard
With the old string removed, take this opportunity to give your guitar a quick clean to keep it in top condition. Here’s what you should do:
- Use a soft cloth to wipe down the guitar body, removing any dust or smudges.
- For the fretboard, you can use a specialized guitar cleaning solution or a slightly damp cloth to remove any dirt or grime.
- Make sure to thoroughly dry the guitar and fretboard to prevent any moisture damage.
Stringing The New Guitar String
Now it’s time to string your guitar with a fresh, new string. Follow these steps:
- Start by inserting the ball end of the new string into the bridge, usually located at the guitar’s end.
- Guide the string up towards the headstock of the guitar, passing it through the corresponding hole in the tuning peg.
- Leave some slack in the string and then start winding the tuning peg clockwise to tighten the string.
- Continue tightening until the string is securely in place, but be careful not to overtighten to prevent breaking.
- Repeat this process for each remaining string, ensuring they are correctly seated in the bridge and the tuning pegs.
Tuning The Guitar
With all the new strings in place, it’s time to tune your guitar. Follow these steps:
- Start with the E string (the thickest string) and use a guitar tuner or tuning app to adjust the tension until it reaches the correct pitch.
- Continue tuning each string one by one, usually following the sequence E, A, D, G, B, and high E.
- Repeat the tuning process as necessary, making small adjustments until each string is perfectly in tune.
Congratulations! You’ve successfully fixed your guitar string and tuned your instrument. Now you’re ready to strum away and enjoy playing your guitar.
Expert Tips And Troubleshooting
Guitar strings play a crucial role in producing the desired sound, but they can easily break or go out of tune. Whether you are a beginner or an experienced guitarist, knowing how to fix guitar string issues is essential. In this section, we will cover some expert tips and troubleshooting techniques to help you avoid common mistakes, deal with tuning stability issues, and quickly fix broken strings.
Avoiding Common Mistakes While Stringing A Guitar
Stringing a guitar may seem like a simple task, but it is important to do it right to ensure optimal playability and sound quality. Here are some tips to help you avoid common mistakes:
- Use the right string gauge for your guitar and playing style.
- Make sure to properly stretch each string after installation to minimize tuning issues.
- Check the bridge and nut for any sharp edges or loose parts that may cause strings to break or buzz.
- Ensure that each string is properly wound around the tuning peg, avoiding overlapped or loose windings.
- Take care not to overtighten the strings, as it can strain the neck and lead to tuning instability.
Dealing With Tuning Stability Issues
Tuning stability is crucial for a guitar to sound its best. If you are experiencing tuning problems, here are some troubleshooting techniques to consider:
- Check if the strings are properly wound around the tuning pegs. If they are loose or overlapping, restring the guitar following the correct technique.
- Inspect the tuning pegs for any looseness or slipping. Tighten them if necessary or consider replacing them if the issue persists.
- Examine the nut and make sure it is properly lubricated. Apply a small amount of graphite or nut lubricant to reduce friction and allow for smooth string movement.
- Check the stability of the bridge. If you have a tremolo system, ensure it is properly set up and balanced to maintain tuning stability.
- If all else fails, consult a professional guitar technician to diagnose and fix any underlying issues with the guitar.
Quick Fixes For Broken Strings
Broken guitar strings can be frustrating, especially during an important performance or practice session. Fortunately, there are some quick fixes you can try:
| Issue | Quick Fix |
|---|---|
| Single broken string | Replace the broken string with a spare one of the same gauge. Remember to stretch and tune it properly before playing. |
| Several broken strings | If you don’t have spare strings, you can transpose your playing to another key or use a capo to temporarily change the pitch of the remaining strings. |
| Frequent string breakage | Consider using higher-quality strings or adjusting your playing technique to minimize strain on the strings. |
Remember, proper maintenance and care can significantly extend the lifespan of your guitar strings. Regularly clean them, avoid extreme temperature changes, and store your guitar in a protective case to ensure optimal performance.
Conclusion
To conclude, fixing a guitar string is a straightforward process that can be done by following a few simple steps. By understanding the different techniques for restringing a guitar and properly tightening the strings, you can enhance your playing experience and ensure optimal sound quality.
Remember to use the appropriate tools and take your time during the process. With these tips in mind, you’ll be able to quickly and effectively fix a guitar string whenever needed. Happy playing!


