How to Easily Fix Bubbles in Drywall Tape: Expert Tips
To fix bubbles in drywall tape, you can use a putty knife to carefully peel back the bubble and apply joint compound underneath, then smooth it out with the knife before allowing it to dry. Additionally, you can use a utility knife to cut out the bubble and replace it with new tape, sealing the edges with joint compound.
Understanding Bubbles In Drywall Tape
Fixing bubbles in drywall tape is crucial for a smooth and seamless finish. By carefully cutting out the bubbles, applying new tape, and feathering the edges, you can achieve a flawless wall surface. Follow these steps to master the art of bubble repair in drywall tape.
What Causes Bubbles In Drywall Tape?
Drywall tape is a crucial element in achieving a smooth and seamless finish on your walls. However, it is not uncommon for bubbles to appear in the tape during the installation process. Understanding the causes of these bubbles can help you prevent them and achieve a professional-looking result.
- Inadequate adhesion: One of the main causes of bubbles in drywall tape is inadequate adhesion. When the tape is not properly bonded to the wall, air pockets can form, causing bubbles to appear.
- Poor application technique: Applying too much or too little joint compound during tape installation can also lead to the formation of bubbles. It is essential to apply just the right amount of compound to ensure a smooth and bubble-free finish.
- Moisture issues: Excessive moisture or high humidity levels in the room can also contribute to the formation of bubbles in drywall tape. Moisture can affect the adhesion of the tape and cause it to lift from the wall.
- Uneven surface: Uneven surfaces can make it challenging for the tape to adhere properly, resulting in bubbles. It is important to prepare the wall surface adequately before applying the tape to ensure a flat and even base.
- Improperly dried joint compound: If the joint compound is not allowed to dry and cure completely before applying the tape, it can lead to bubbles. It is crucial to follow the manufacturer’s instructions and give the compound enough time to dry.
- Low-quality tape or compound: Using low-quality tape or joint compound that does not have good adhesion properties can also be a contributing factor. Investing in high-quality materials can help minimize the chances of bubbles forming in the tape.
Why Are Bubbles A Problem In Drywall?
While it may be tempting to ignore or overlook bubbles in drywall tape, they can cause various problems and compromise the overall appearance of your walls. Here are a few reasons why bubbles should not be ignored:
- Diminished aesthetic appeal: Bubbles can create an uneven and unprofessional look on your walls, detracting from the overall appearance of your space. A smooth and seamless finish is essential for a polished and well-finished room.
- Weakened tape bond: Bubbles indicate a weakened bond between the tape and the wall surface. This can make the tape more susceptible to cracking or peeling over time, leading to extensive repairs or the need to redo the entire tape installation.
- Potential moisture damage: Bubbles in drywall tape can also serve as entry points for moisture, which can lead to mold or mildew growth. This can not only damage the tape but also affect the structural integrity of your walls.
- Compromised insulation: In areas where drywall tape acts as a barrier between different sections of insulation, bubbles can create gaps that allow air leakage or the transfer of heat. This can result in decreased energy efficiency and increased heating or cooling costs.
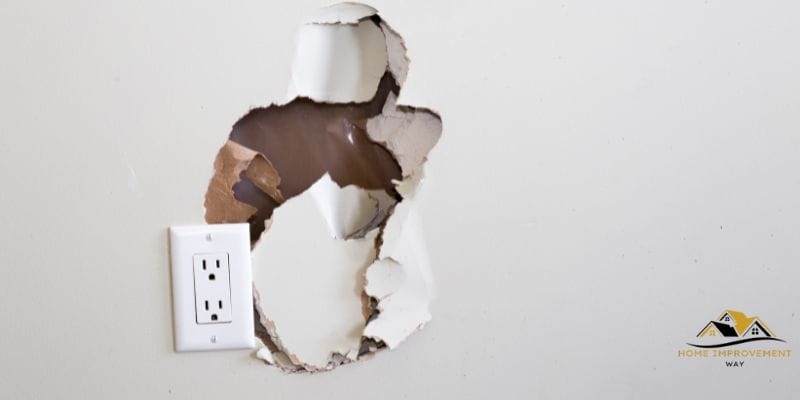
How To Identify Bubbles In Drywall Tape
Identifying bubbles in drywall tape is crucial for addressing the issue promptly and achieving a flawless finish. Here are some simple ways to spot bubbles in the tape:
- Visually inspect the wall: Carefully examine the installed drywall tape for any visible bumps or uneven areas. These can indicate the presence of bubbles.
- Run your hand along the tape: Gently run your hand along the surface of the tape to feel for any raised areas or inconsistencies. Bubbles will often be noticeable to the touch.
- Tap the tape with a small tool or your finger: Lightly tapping the tape with a small tool, such as a putty knife or your finger, can reveal any hollow or empty spaces beneath the tape, indicating the presence of bubbles.
By understanding the causes of bubbles in drywall tape and being able to identify them, you can take the necessary steps to address the issue and ensure a smooth and professional finish for your walls.
Preventing And Fixing Bubbles In Drywall Tape
When it comes to achieving sleek and flawless walls, proper taping is essential. Bubbles in drywall tape can be a frustrating problem that mars the smooth finish of your walls. However, with the right techniques and preparation, you can prevent and fix bubbles in drywall tape like a pro. In this article, we will guide you through each step, from preparing your surface to fixing bubbles, ensuring that your walls are tape bubble-free.
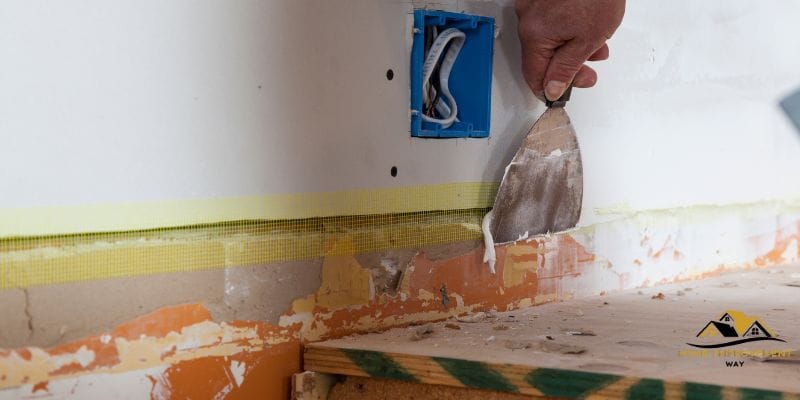
Preparation Before Taping
Before you even start applying drywall tape, adequate preparation is key to ensuring a successful and bubble-free application. Follow these steps to prepare your wall surface:
- Clean the wall surface: Remove any dirt, dust, or flaking paint from the wall surface using a clean cloth or sponge. A clean surface will allow the tape to adhere properly.
- Smooth out imperfections: Fill and sand any dents, gouges, or holes in the wall to achieve a smooth surface. This will prevent bubbles from forming under the tape.
- Apply primer: Use a primer suitable for drywall to create a uniform surface that promotes tape adhesion. Allow the primer to dry completely before applying tape.
Techniques For Applying Drywall Tape
Proper application techniques are crucial in preventing bubbles from forming under the drywall tape. Follow these tips to achieve a seamless and bubble-free finish:
- Use the right tools: Invest in a high-quality taping knife and a corner trowel to ensure smooth and precise applications. These tools will help you control the amount of joint compound and reduce the chances of bubbles.
- Apply thin layers of joint compound: Thin layers are easier to manage and have a lower likelihood of trapping air bubbles. Apply a thin layer of joint compound over the taped seams, ensuring it covers the tape completely.
- Embed the tape properly: Press the tape firmly into the joint compound, using your taping knife or a drywall roller to ensure it adheres well. Smooth out any wrinkles or bubbles as you go along.
Tips For Avoiding Bubbles While Taping
Even with proper technique, bubbles can still form during the taping process. Here are a few additional tips to help you avoid bubbles:
- Avoid overworking the joint compound: Excessive smoothing or reworking of the joint compound can introduce air into the mixture, leading to bubbles. Work efficiently and avoid unnecessary touch-ups.
- Allow proper drying time: Rushing the drying process can cause trapped moisture to create bubbles. Follow the manufacturer’s instructions for drying times and allow adequate ventilation.
- Inspect tape placement: After applying the tape, carefully check for any misalignment or gaps. These imperfections can lead to bubbles forming under the tape. Make any necessary adjustments before the joint compound dries.
Fixing Bubbles In Drywall Tape
If bubbles have already formed in your drywall tape, don’t worry. They can be easily fixed with these simple steps:
- Cut an “X” over the bubble: Use a utility knife to cut an “X” over the bubble, ensuring the cuts extend beyond the edges of the bubble.
- Apply joint compound: Spread a thin layer of joint compound over the cut area, pressing it firmly into the cuts. Smooth the compound with a taping knife or drywall roller.
- Allow drying and sanding: Let the joint compound dry completely according to the manufacturer’s instructions. Once dry, sand the area lightly to achieve a smooth finish.
- Apply additional layers if needed: Depending on the severity of the bubble, you may need to repeat the joint compound application and sanding process to fully eliminate the bubble.
- Finish with primer and paint: Once the repaired area is smooth and free of bubbles, apply primer and paint to match the rest of the wall.
By following these preventive and fixing techniques, you can achieve professional results and enjoy a flawless finish on your walls. With careful preparation, proper application, and attention to detail, those pesky bubbles in drywall tape will be a thing of the past.
Expert Advice For Bubble-free Drywall Taping
Drywall tape bubbles can be an eyesore and a hassle to fix. But fear not, with the right tools, techniques, and advice from professional drywallers, you can easily achieve bubble-free taping. In this section, we will provide you with expert advice on using the right tools and materials, as well as the proper technique for applying drywall compound. So, let’s dive in and get your drywall looking smooth and flawless!
Using The Right Tools And Materials
When it comes to achieving bubble-free drywall taping, using the right tools and materials is paramount. Here are a few essentials:
- High-Quality Drywall Tape: Look for paper or fiberglass mesh tape that is strong and tear-resistant. This will help ensure a smooth finish without any bubbles.
- Putty Knife: A good-quality putty knife with a flexible yet sturdy blade will allow you to apply the drywall compound smoothly and evenly.
- Drywall Compound: Opt for a lightweight joint compound specifically designed for taping and finishing drywall. This will reduce the likelihood of bubbles forming.
- Sandpaper: Keep sandpaper handy to smooth out any imperfections and achieve a seamless finish.
Proper Technique For Applying Drywall Compound
Applying drywall compound correctly is crucial when it comes to preventing bubbles. Follow these steps for bubble-free taping:
- Clean and Prep: Ensure the surface you will be taping is clean and free of dust and debris. This will help the compound adhere properly.
- Apply Thin Coats: To avoid excess moisture and bubbles, apply thin coats of drywall compound. Start with a thin layer and gradually build up as needed, allowing each layer to dry completely before applying the next.
- Smooth Out the Tape: As you apply the tape over the joints, use a putty knife to smooth it out from the center to the edges, removing any air pockets that could cause bubbles.
- Feather the Edges: To create a seamless transition, feather the edges of the tape by applying a thin layer of compound over it and gradually tapering it to blend with the surrounding wall.
- Check for Bubbles: After each coat has dried, inspect the surface for any bubbles or imperfections. If you spot any, gently sand them down before applying the next coat.
Tips From Professional Drywallers
Lastly, here are a few tips from professional drywallers to help you achieve a flawless, bubble-free finish:
- Maintain Consistent Pressure: Apply consistent pressure with your putty knife while smoothing the tape and applying the compound to avoid creating air pockets.
- Work in Well-Lit Areas: Proper lighting will help you spot any imperfections, bubbles, or uneven areas, allowing you to address them promptly.
- Take Your Time: Rushing through the taping process increases the likelihood of mistakes and bubbles. Take your time, be patient, and allow each layer to dry thoroughly before moving on.
- Practice Makes Perfect: If you’re new to drywall taping, don’t be discouraged if you encounter bubbles initially. With more practice, you’ll become more skilled at achieving bubble-free finishes.
Conclusion
Fixing bubbles in drywall tape is a common issue that can be easily resolved with the right techniques. By properly preparing the surface, applying the tape correctly, and addressing any underlying causes, such as moisture or uneven surfaces, you can achieve a smooth and seamless finish.
Remember to take your time and follow the steps outlined in this blog post for the best results. Happy repairing!