How To Fix Deep Scratches: Genius Solution
Bolded Quick Summary (Top of Article)
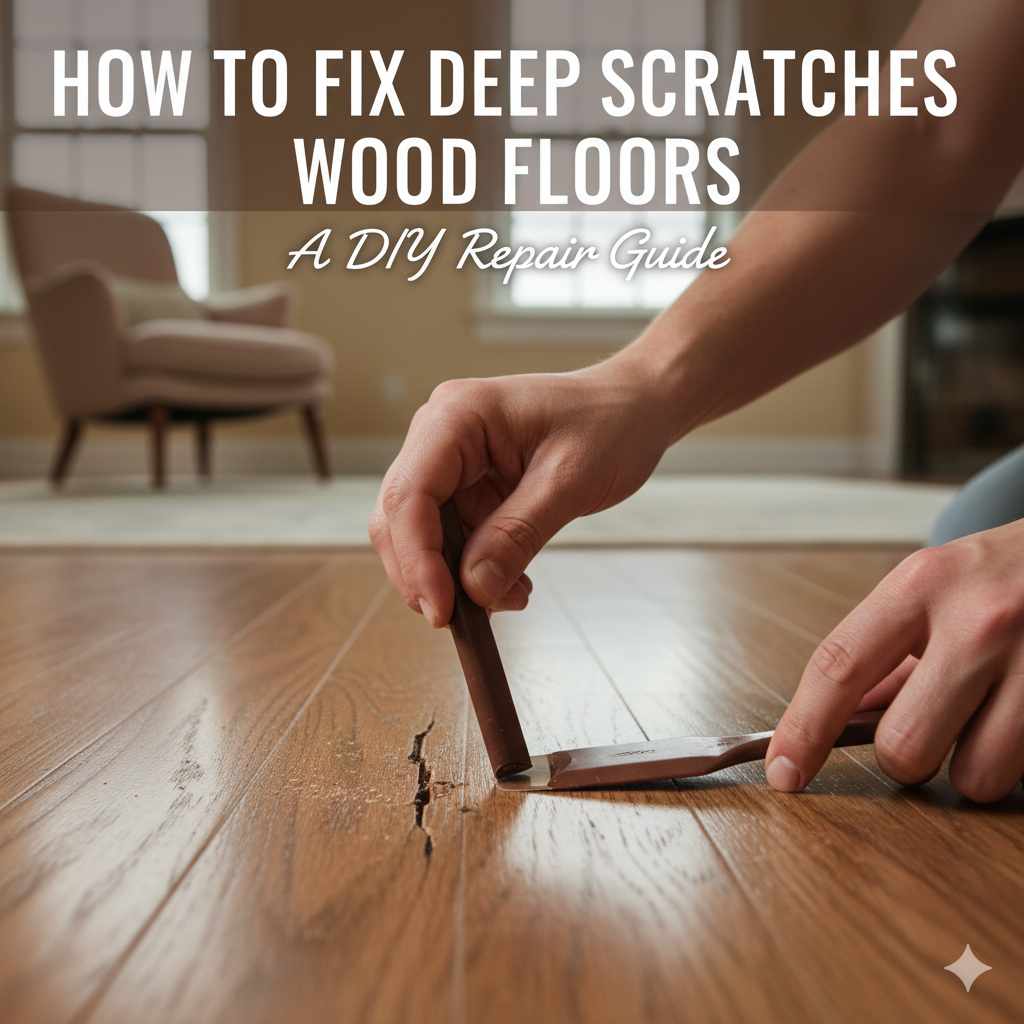
Fixing deep scratches on wood floors without sanding is surprisingly achievable for beginners! This guide reveals a genius method using simple, affordable materials to blend and conceal those unsightly marks, restoring your floor’s beauty with confidence and ease.
Oh, those deep scratches! They seem to appear out of nowhere, don’t they? Whether it’s a dropped toy, a stray pet’s claw, or furniture being moved, a deep scratch on your beautiful wood floor can be a real eyesore. It’s easy to feel frustrated, thinking you’ll need expensive tools or a professional to fix it. But what if I told you there’s a clever, beginner-friendly way to make those deep scratches almost disappear, right in your own home, and without the mess of sanding? You bet there is! We’re going to walk through a simple, effective method that will have your wood floors looking much better. Get ready to feel that DIY confidence soar!
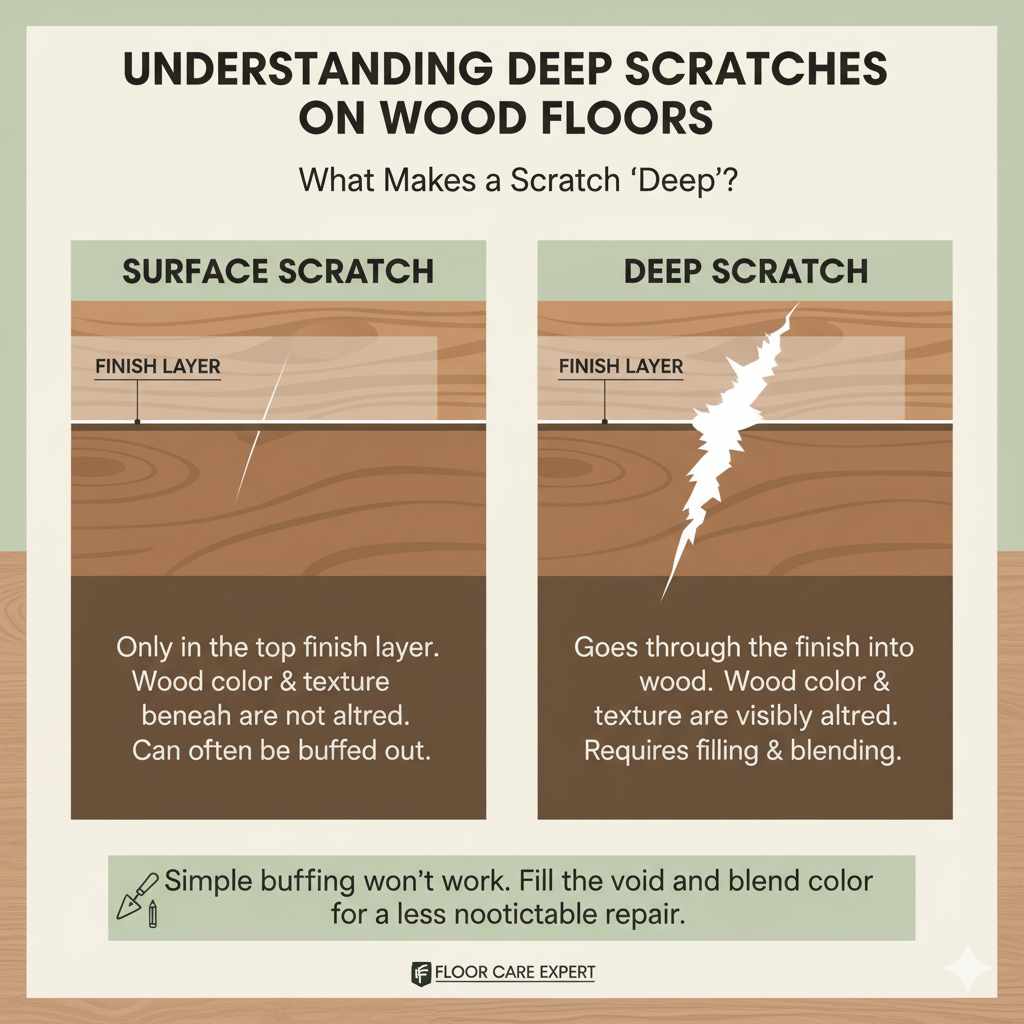
Understanding Deep Scratches on Wood Floors
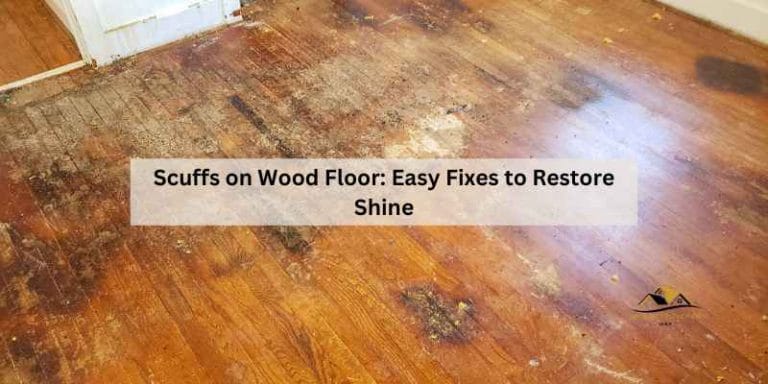
Before we dive into fixing them, let’s quickly chat about what makes a scratch “deep.” A surface scratch might just be in the top finish layer. But a deep scratch goes further, often reaching into the wood itself. This means the color and texture of the wood are visibly altered. Because the wood is actually damaged, a simple buffing won’t do the trick. The good news is, you don’t need to become a master woodworker to tackle these. Our approach focuses on filling the void and blending the color, making the scratch far less noticeable.
Why Avoid Sanding for Deep Scratches?
Sanding is a common solution for many wood floor issues, but for deep scratches, it can be overkill, especially for beginners. Here’s why our “genius solution” skips the sandpaper:
- Mess and Dust: Sanding creates a lot of fine dust, which can get everywhere in your home and requires significant cleanup.
- Skill Requirement: Proper sanding requires practice to avoid creating uneven spots or damaging the surrounding floor.
- Time Consuming: Sanding and then refinishing an entire floor or even a large section can take a lot of time and effort.
- Potential for Damage: If not done carefully, you can accidentally sand too deep or unevenly, making the problem worse.
- Our Goal: We want a quick, effective fix for specific deep scratches, not a full floor renovation.
The Genius Solution: Color-Matching Wax Sticks and Repair Crayons
This method is all about illusion and precision. We’ll use specialized products designed to fill and color scratches, effectively hiding them from view. Think of it like cosmetic touch-up for your floor!
What You’ll Need: Your Essential Toolkit
Gathering the right materials is key to success. Don’t worry; these are readily available at most hardware stores or online and are very affordable.
- Wood Repair Wax Sticks or Repair Crayons: These are the stars of the show! They come in various wood tones. You’ll want to get a few shades close to your floor’s color to achieve the perfect match. Some brands offer multi-packs.
- A Putty Knife or Scraper: A small, flexible plastic or metal putty knife works best for applying and smoothing the wax.
- A Clean, Soft Cloth: For wiping away excess and buffing. Microfiber cloths are excellent for this.
- A Hair Dryer (Optional but Recommended): Some wax sticks benefit from a little heat to become more pliable.
- Fine-Grit Sandpaper (Optional, for smoothing): If your wax application is a bit uneven, a tiny bit of very fine sandpaper (like 220-grit or higher) can help.
- Wood Floor Cleaner: To ensure the area is clean before you start.
Step-by-Step Guide: Bringing Your Floor Back to Life
Follow these simple steps, and you’ll be amazed at the results. Take your time, and don’t rush!
Step 1: Clean the Scratch Area
First things first, the area around the scratch needs to be spotless. Use your wood floor cleaner and a clean cloth to gently wipe down the scratched area and its surroundings. Make sure it’s completely dry before you proceed. Any dirt or debris can interfere with the repair and make it less effective.
Step 2: Choose Your Color
This is the most crucial step for a nearly invisible repair. Look at your wood floor. What is its dominant color? Are there undertones of red, yellow, or brown? Compare the scratch to the surrounding wood.
Pro Tip: It’s often best to mix two or three wax crayon colors to get an exact match. Start with the closest shade and add a little of another to deepen or lighten it. You can test your color mix on a piece of scrap wood or an inconspicuous area of your floor if you have one.
Step 3: Apply the Wax Stick or Crayon
Now, let’s get to the filling.
- If using a wax stick: You might want to warm it slightly. Some people gently rub the stick on a hard surface to create a small amount of pliable wax, or use a hairdryer on a low setting directed at the stick (not the floor) for a few seconds until it softens.
- If using a crayon: You can usually apply it directly.
Gently rub the wax stick or crayon directly into the scratch. You want to fill the scratch completely. Don’t be afraid to apply a little extra; you can always remove it. Use your putty knife to press the wax down into the scratch, ensuring it’s packed in there firmly. Work the wax back and forth along the length of the scratch.
Step 4: Smooth and Level the Surface
Once the scratch is filled, you need to make it level with the surrounding floor.
- Use the edge of your putty knife to carefully scrape away any excess wax. Hold the knife at a slight angle and gently glide it across the surface, removing the wax that sits above the wood.
- The goal is to leave the scratch filled but have the surface of the wax flush with the rest of your floor.
If you find the wax is too hard to work with, use the hairdryer on a very low setting for a few seconds to soften it, then smooth again. Be careful not to overheat the wax or the floor finish.
Step 5: Buff and Blend
Take your clean, soft cloth and gently buff the repaired area. This will help blend the wax into the surrounding finish and remove any smudges. Rub in the direction of the wood grain. You should see the scratch start to disappear as the color blends in.
Step 6: Assess and Repeat (If Necessary)
Step back and look at your work. Does the scratch look significantly better? If it’s still visible, or if the color isn’t quite right, don’t worry! You can repeat steps 3 through 5. Add a little more wax, smooth it out, and buff again. It might take a couple of tries to get that perfect blend. Remember, patience is key!
Step 7: Final Touches (Optional)
If, after buffing, you notice any tiny bits of wax that are slightly raised or uneven, you can very gently use a piece of super-fine grit sandpaper (220-grit or higher) to lightly sand it down. Be extremely careful not to sand the surrounding floor finish. After sanding, buff again with your soft cloth. For an extra layer of protection and shine, some people like to apply a very thin coat of paste wax specifically designed for wood floors over the repaired area and buff it out. Always test any new product in an inconspicuous spot first.
When to Call a Professional
While this wax stick method is fantastic for most deep scratches, there are times when professional help might be a better option:
- Extremely Deep Gouges: If the scratch is so deep that a significant chunk of wood is missing, filling it might not provide a durable or aesthetically pleasing result.
- Widespread Damage: If your floor has numerous deep scratches or widespread damage, a professional refinishing might be more cost-effective in the long run.
- Delicate or Exotic Woods: Some wood types require specialized care, and it’s best to consult an expert.
- You’re Uncomfortable: If at any point you feel unsure or worried about damaging your floor further, it’s always wise to seek professional advice.
Comparing Repair Methods
To help you decide, let’s look at a quick comparison of common methods for dealing with scratches:
| Repair Method | Best For | Pros | Cons | Beginner Friendliness |
|---|---|---|---|---|
| Wax Sticks/Repair Crayons | Deep scratches, gouges, worn edges | Affordable, easy to use, no sanding required, good color matching, quick fix | May not be as durable as other methods, can wear down over time, requires careful color matching | Very High |
| Wood Filler | Very deep gouges, holes | Durable, can be sanded and stained/painted | Requires sanding and finishing, can be tricky to match color perfectly, more involved process | Medium |
| Touch-Up Pens | Surface scratches, scuffs | Very easy to use, quick, good for minor cosmetic issues | Not suitable for deep scratches, can look unnatural if overused | High |
| Sanding and Refinishing | Widespread damage, dull finish, deep scratches across large areas | Restores the entire floor, most durable long-term solution | Expensive, time-consuming, requires skill and equipment, creates a lot of dust | Low (for beginners) |
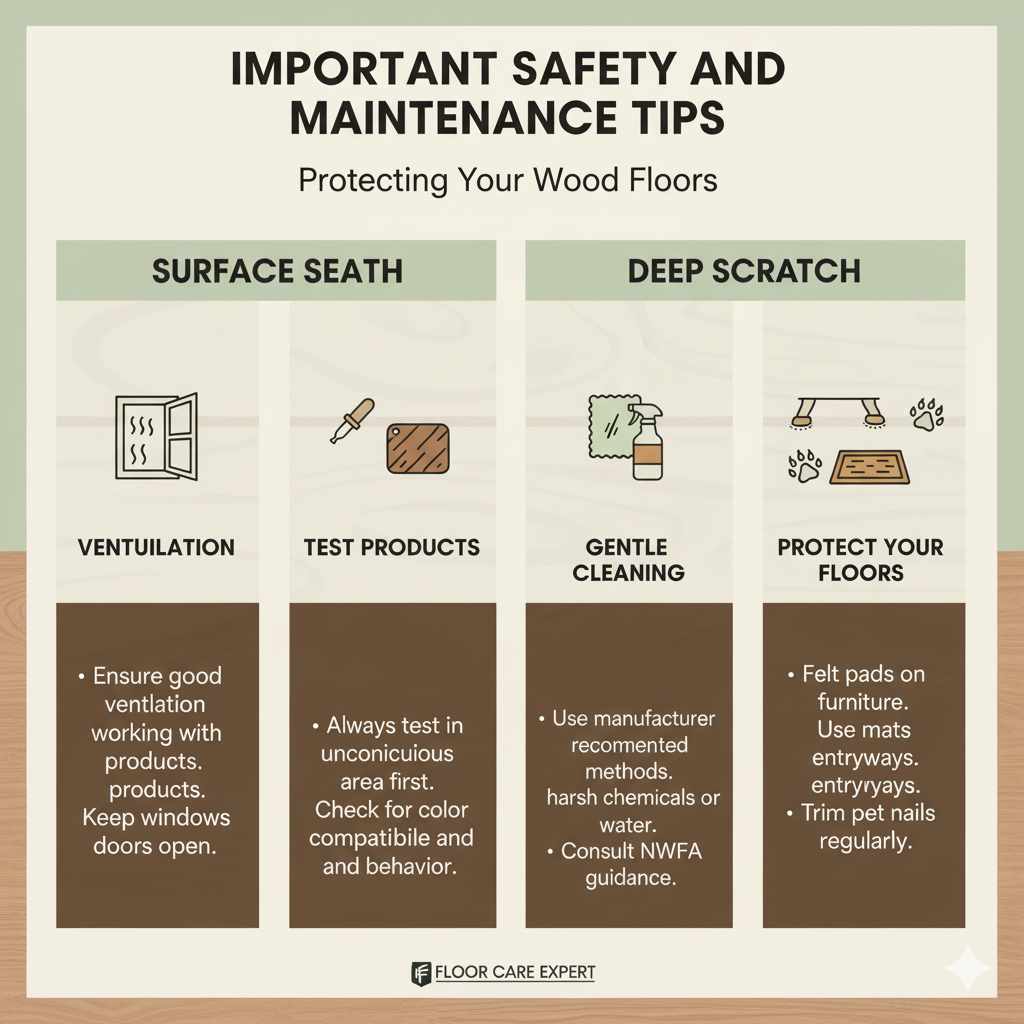
Important Safety and Maintenance Tips
When working on your floors, safety and proper care are paramount.
- Ventilation: While wax sticks are generally low-VOC, it’s always good practice to ensure good ventilation in the room you’re working in.
- Test Products: Always test any repair product on an inconspicuous area first to ensure color compatibility and to see how it behaves.
- Gentle Cleaning: After the repair, continue to clean your wood floors using methods recommended by the manufacturer. Avoid harsh chemicals or excessive water, which can damage the wood and the repair. You can find excellent guidance on wood floor care from organizations like the National Wood Flooring Association (NWFA).
- Protect Your Floors: To prevent future scratches, use felt pads on the bottom of furniture legs, use mats at entryways, and trim pet nails regularly.
Frequently Asked Questions (FAQ)
Q1: Can I really fix deep scratches without sanding my entire floor?
A1: Yes! The wax stick and repair crayon method is specifically designed to fill and color deep scratches without requiring any sanding of the surrounding floor. It’s a targeted, effective solution.
Q2: How do I find the right color for my wood floor?
A2: Carefully examine your floor in good lighting. Note the dominant color and any undertones. Purchase a few shades that look close, and consider mixing them on a scrap piece of wood or even directly in the scratch (before it hardens) to find the perfect match. Many repair kits offer a range of colors.
Q3: Will the repair look obvious?
A3: When done carefully and with a good color match, the repair can be very discreet, making the scratch barely noticeable. The goal is to blend the color and texture so it appears as natural wood. It might not be 100% invisible in all lighting conditions, but it will be a significant improvement.
Q4: How long does this type of repair last?
A4: The durability can vary depending on foot traffic and how well the floor is maintained. Generally, these repairs can last for a good amount of time. If the repair starts to wear down, it’s usually easy to reapply more wax.
Q5: What if the scratch is very wide, not just deep?
A5: For wide scratches, you’ll need to apply the wax or crayon more generously. Use your putty knife to ensure the material is packed firmly into the entire width of the scratch. You may need to build up layers slightly, allowing each to set a bit before applying the next, and then smoothing carefully. For extremely wide or deep damage, professional assessment might be better.
Q6: Can I use this on laminate or vinyl floors?
A6: This specific method using wood wax sticks and crayons is best suited for real wood floors. Laminate and vinyl floors have different surfaces and may require specialized repair kits designed for those materials, such as laminate repair kits or vinyl fillers.
Conclusion: Your Floor’s Second Chance
See? Fixing deep scratches on your wood floors doesn’t have to be a daunting or expensive task. With this simple, genius solution using color-matching wax sticks or repair crayons, you have the power to restore your floor’s beauty yourself. It’s all about patience, a good color match, and a little bit of careful application. You’ve learned how to clean, fill, smooth, and blend, transforming those frustrating marks into nearly invisible repairs. So go ahead, gather your supplies, and tackle those scratches with confidence. Your beautiful wood floors are worth it, and you’ve got this!