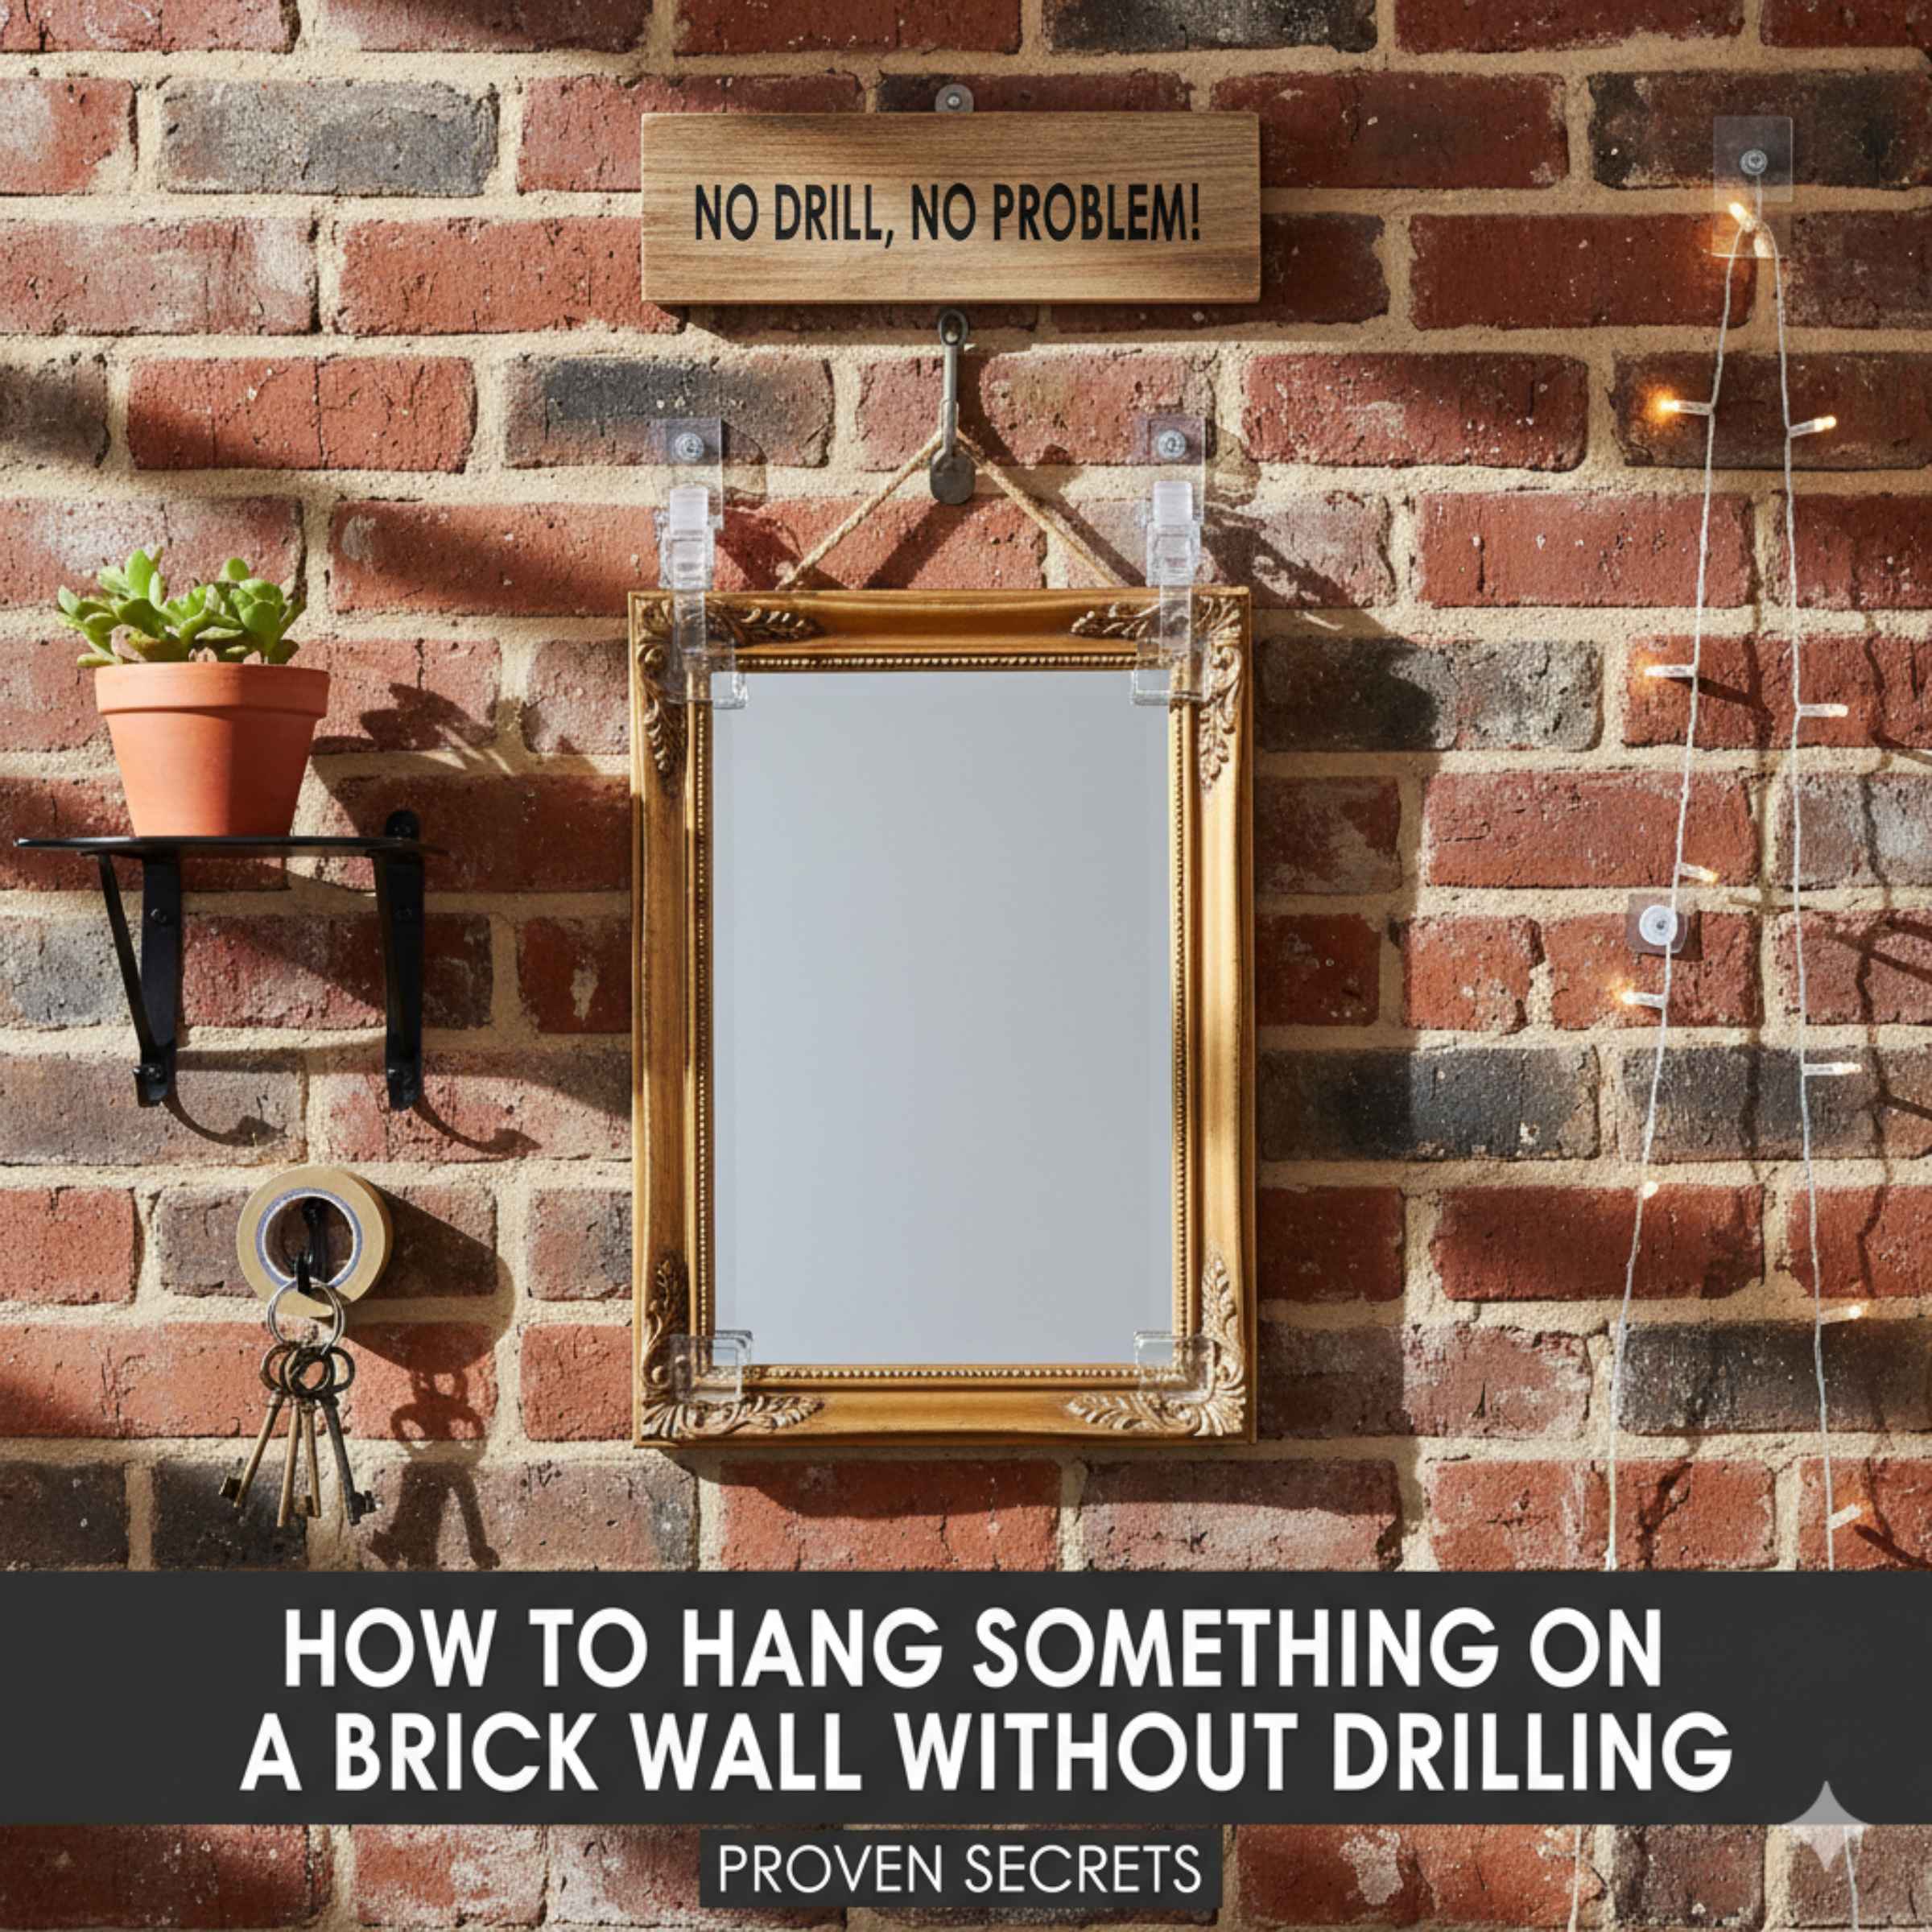
How To Hang Something On A Brick Wall Without Drilling: Proven Secrets
You can easily hang items on brick walls without drilling using strong, specialized adhesives, removable mounting strips designed for masonry, or robust hook systems that grip the mortar joints. These proven secrets protect your brickwork while providing secure, temporary or long-term display solutions for art, shelves, and decor.
How To Hang Something On A Brick Wall Without Drilling: Proven Secrets
Hanging things on a brick wall can feel like a real challenge. Brick is tough, and drilling often means dealing with dust, loud noises, and the fear of cracking the surface or making permanent holes you might regret later. Whether you are renting or just want a flexible decorating setup, you do not always need a hammer drill. Good news! As your home improvement guide, I am here to show you simple, effective ways to display your favorite items without ever touching a drill bit. We will explore clever adhesive solutions and clever hook methods that offer surprisingly strong holds. Get ready to transform that blank brick space safely and easily!
Why Avoiding Drilling On Brick Is Smart
Before we dive into the solutions, let’s quickly look at why avoiding the drill is often the best first step, especially for beginners.
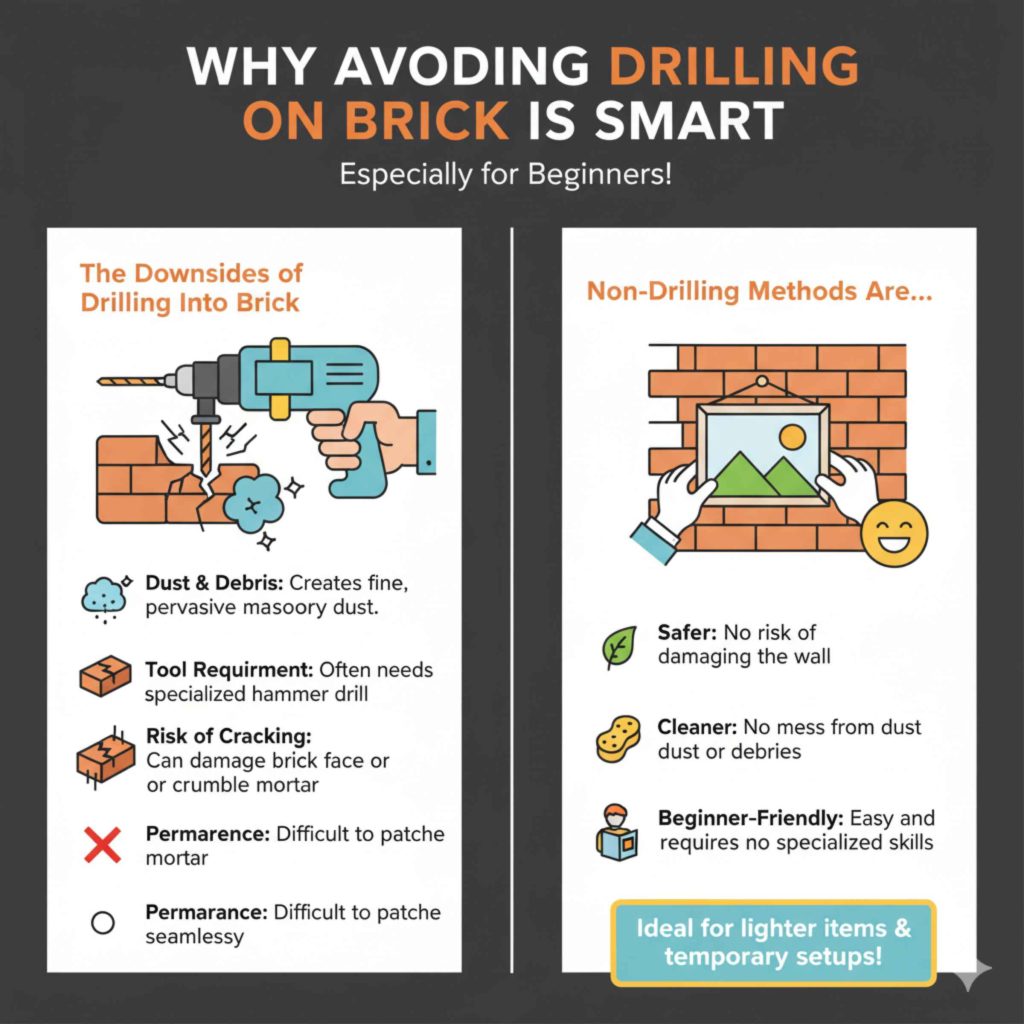
The Downsides of Drilling Into Brick
Drilling into brick or mortar requires specialized tools and technique. It can be messy, loud, and if done incorrectly, you risk damaging the wall permanently.
- Dust and Debris: Drilling masonry creates fine, pervasive dust that gets everywhere.
- Tool Requirement: You often need a powerful hammer drill, which many homeowners do not own.
- Risk of Cracking: Hitting the wrong spot or using too much force can crack the brick face or crumble the mortar joint.
- Permanence: Holes in brick are difficult to patch seamlessly if you decide to move your display later.
For lighter items or temporary setups, non-drilling methods are safer, cleaner, and much more beginner-friendly.
Secret 1: Utilizing High-Strength, Removable Adhesives
The world of modern adhesives has advanced significantly. Today’s sticky solutions are incredibly strong yet designed to peel away cleanly when you are done. This is often the go-to method for hanging lighter to medium-weight items.
Choosing the Right Adhesive Hook or Strip
Not all sticky tape is created equal, especially when dealing with porous, uneven surfaces like brick. You need products specifically rated for outdoor use or masonry.
- Heavy-Duty Mounting Tape: Look for double-sided foam tape specifically labeled for brick, concrete, or exterior use. These often use acrylic foam that bonds strongly but can be removed with heat (like from a hairdryer).
- Command Strips for Masonry: While standard Command strips struggle on rough brick, the brand often releases specialty strips or hooks designed with stronger adhesive bases for rougher textures. Always check the weight limit carefully.
- Construction Adhesive Dots: These are small, super-strong adhesive dots, often used for crafts or very light picture hanging. They are generally permanent or require significant effort to remove, so use them only if you are sure about the placement.
Step-by-Step: Applying Adhesive Hooks Securely
Safety first! Even with adhesives, surface preparation is key to a strong hold.
- Clean the Surface Thoroughly: This is the most critical step. Use a stiff brush (a wire brush works well) to gently scrub the exact spot where the adhesive will go. You must remove all loose dust, dirt, and efflorescence (that white, chalky deposit on brick).
- Wipe Down: Wipe the area with a cloth dampened with rubbing alcohol. Let the area dry completely—this removes oils and fine dust residue that prevents the adhesive from sticking properly.
- Warm the Adhesive (If Applicable): If using thick mounting tape, slightly warming the adhesive side with a hairdryer on a low setting can make it more pliable and improve initial tackiness.
- Apply Firm Pressure: Peel the backing and press the hook or strip onto the brick surface. Apply firm, steady pressure for at least 30 to 60 seconds. Imagine you are trying to push the adhesive right into the tiny pores of the brick.
- Wait for Curing Time: This is where patience pays off. Do not hang your item immediately! Most heavy-duty adhesives require 24 to 72 hours to reach their full bonding strength. Check the product instructions for the exact cure time.
Expert Tip: Brick is rarely perfectly smooth. Adhesives work best when they can grip the raised parts of the brick face. Avoid placing adhesive directly over deep mortar lines if possible, as the surface there is often less stable.
Secret 2: Exploiting the Mortar Joints with Specialty Hooks
If your brickwork has visible mortar joints (the lines between the bricks), you have a fantastic, non-destructive opportunity to hang items using specialized friction hooks. This method is perfect for hanging signs, wreaths, or even lightweight wire shelving units.
The Power of the Mortar Hook
These tools are designed to slide into the gap between the bricks and use the shape of the joint for support. They are incredibly strong because they distribute weight along the entire joint, not just the brick face.
| Hook Type | Best For | Holding Strength | Removal |
|---|---|---|---|
| Brick Hangers (J-Hooks) | Signs, lanterns, lightweight décor | Medium to High | Slides right out |
| Mortar Clip Systems | Shelving, heavy signs, grid displays | High | Requires slight prying at the base |
| Rope/Wire Grips | Wreaths, hanging plants (using friction) | Low to Medium | Easy removal |
How to Use Mortar Joint Hooks
This process is surprisingly simple and relies on gravity and friction.
- Inspect the Mortar: Ensure the mortar joint you plan to use is solid. If the mortar is crumbling or soft, do not use this method, as the hook might pull out loose material. Solid, aged mortar is usually fine.
- Select the Right Size: Mortar hooks are sized based on the width and depth of your mortar joint. Make sure the hook’s flat top piece rests securely on the brick face above the joint, while the hook part hangs down into the groove.
- Slide and Test: Gently slide the hook into the mortar joint, ensuring it sits flush against the brick above it. Give it a gentle tug downward to ensure it is seated firmly.
- Hang Your Item: Attach your item (using wire, a chain, or an S-hook) to the hanging portion of the device. Because the weight is supported by the joint’s structure, it holds surprising amounts of weight securely.
This method is highly favored because it leaves zero residue and causes zero damage to the brick itself. When you remove the hook, the wall looks exactly as it did before.
Secret 3: Magnetic Mounting for Metal Objects
If the object you wish to hang is magnetic, or if you are willing to attach a small metal plate to the back of your item, powerful rare-earth magnets offer an incredibly fast, drill-free solution.
Understanding Neodymium Magnets
Neodymium magnets (often called rare-earth magnets) are far stronger than standard refrigerator magnets. They are essential for this technique.
- Magnet Strength: Always check the magnet’s “pull force,” measured in pounds (lbs). For anything heavier than a small piece of paper, you will need magnets rated for at least 10 lbs of pull per magnet used.
- Surface Consideration: This method works best if the brick wall has a slight ferrous (iron) component, which older bricks sometimes do, but it is not guaranteed. For a reliable magnetic hold, you must attach a metal plate to the brick first.
The Two-Part Magnetic System
To make this work reliably on non-ferrous brick, you need a two-part system: one magnet sticks to the wall, and the other sticks to your item.
- Prepare the Wall Magnet: Take your first strong magnet. Clean the brick surface as described in Secret 1. Attach a small, strong adhesive pad (like a heavy-duty mounting square) to one side of the magnet. Press this firmly onto the desired spot on the brick. Allow it to cure for 24 hours.
- Prepare the Object Magnet: Take the second, equally strong magnet. Attach this magnet to the back of the item you want to hang using a strong epoxy or super glue (this part is permanent to the object).
- Connect: Once both sides are cured and ready, bring the object close to the wall magnet. The magnetic attraction should snap them together securely.
This technique is excellent for lightweight signs, small mirrors, or hanging tools in a garage setting where the brick surface is exposed.
Secret 4: Using Tension Rods for Openings
If you are looking to divide a space or hang fabric, curtains, or lightweight room dividers within an alcove or doorway framed by brick, tension rods are your secret weapon.
When Tension Rods Work Best
Tension rods utilize outward pressure to hold themselves in place between two opposing surfaces.
- In Recesses: Perfect for hanging lightweight curtains or linens inside a window recess or an archway made of brick.
- Between Parallel Walls: If your brick feature wall is part of a larger room structure, a tension rod can span the gap to create a visual separation.
- For Storage: A rod placed horizontally can support lightweight hanging baskets or S-hooks beneath it for organizing small items.
Installation Tip for Brick
The key challenge with tension rods on brick is that the rubber pads might slip on the uneven texture. To combat this:
- Place small, non-slip rubber furniture pads (the kind used under chair legs) on the brick surface where the ends of the tension rod will press against the wall. This increases friction dramatically.
- Adjust the rod until it is slightly longer than the gap, then twist it until it is firmly compressed between the two surfaces. You should hear or feel a solid lock.
Secret 5: Utilizing Wire and Cable Management Systems
For displaying multiple items like photographs, string lights, or small art pieces in a gallery style, you can install a cable or wire management system that relies on tension or gentle pressure rather than drilling into the brick face.
The Picture Rail Alternative
Modern picture hanging systems often use thin, clear monofilament lines or thin metal cables that run from the ceiling down to the floor.
- Ceiling/Floor Anchoring: These systems usually require a secure anchor point in the ceiling (often a small screw into a joist) and a small, low-profile floor guide. If your ceiling is drywall, a small screw is usually sufficient.
- Running the Line: The cable runs vertically down the wall. You then use adjustable hooks that slide along the cable to hang your art.
- The Beauty: The cable itself acts as the primary support, running parallel to the brick. It touches the brick only where the floor guide is secured, minimizing wall impact.
This is a professional-looking solution that allows you to rearrange your entire display in minutes without ever touching the brick surface. For more information on safe mounting techniques in construction, resources like the U.S. General Services Administration (GSA) often provide guidelines on non-destructive installation methods for building interiors.
Weight Considerations: What Can You Really Hang?
The most important factor when choosing a drill-free method is the weight of the object. Exceeding the weight limit of any adhesive or hook is the fastest way to have your item fall and potentially break.
Weight Rating Guide for Non-Drilled Solutions
Use this guide to match your item’s weight to the best non-drilling solution:
| Item Weight | Best Non-Drilling Method | Key Consideration |
|---|---|---|
| Under 1 lb (Photos, Small Signs) | Small Adhesive Hooks (e.g., standard Command) | Ensure the surface is perfectly clean. |
| 1 lb to 5 lbs (Small Mirrors, Light Shelves) | Heavy-Duty Masonry Strips or Magnet System | Allow full adhesive curing time (24-72 hours). |
| 5 lbs to 15 lbs (Medium Art, Small Plants) | Robust Mortar Joint Hooks (J-Hooks) | Mortar joint must be sound and solid. |
| 15 lbs + (Heavy Shelves, Large Mirrors) | Cable/Tension Systems or specialized Brick Clips | Professional-grade hardware is often required. |
Tips for Success: Making Your Non-Drilled Hang Last
When you are relying on friction or glue, a few extra minutes of prep work can mean the difference between a successful display and a disaster.
- Test the Brick Type: Is it hard, dense, modern brick, or older, softer, more porous brick? Older, softer brick is prone to crumbling slightly at the surface. If the brick is soft, stick to methods that grip the mortar joint rather than the brick face itself.
- Manage Temperature: Extreme cold or heat can affect adhesive performance. If you are working in a very cold garage, try to warm the brick surface slightly (without making it hot) before applying any tape or glue.
- Use Multiple Points: If you are hanging a long, narrow item (like a rectangular mirror), use two separate mounting points instead of one central one. This distributes the load and increases stability.
- Consider Humidity: High humidity can sometimes interfere with the initial bond of certain glues. Ensure good ventilation while the adhesive cures.

Frequently Asked Questions (FAQ) About Hanging on Brick Without Drilling
Q1: Can I use regular suction cups on a brick wall?
A: Generally, no. Suction cups require a perfectly smooth, non-porous surface (like glass or polished tile) to create a vacuum seal. The rough, uneven texture of brick prevents a proper seal, so they will almost certainly fall.
Q2: What is the safest way to hang a framed photo on brick?
A: The safest method for a lightweight photo is using high-strength adhesive picture hanging strips (like specialty Command strips) applied to the smoothest part of the brick face, allowing the full cure time before hanging.
Q3: Will using strong glue on brick damage the finish when I remove it?
A: Most heavy-duty mounting tapes and adhesives are designed to fail before the brick surface does. However, if the brick has a very thin paint or veneer, removing the glue might pull off that thin outer layer. Always test a small, hidden area first if you suspect a painted finish.
Q4: Are mortar hooks safe for historic brick buildings?
A: Be extremely cautious. Historic brick often uses softer, lime-based mortar that is more fragile. If you use a mortar hook, ensure it is only supporting light weight, and avoid sliding it in or out forcefully, as you could damage the historic mortar integrity.
Q5: How do I remove heavy-duty adhesive tape from brick safely?
A: Use slow, steady removal. Pull the strip very slowly, keeping the pull angle close to the wall surface (pulling parallel to the brick, not straight out). For very stubborn residue, gently apply heat with a hairdryer to soften the adhesive, then wipe away the residue with mineral spirits or an adhesive remover.
Q6: Can I hang a TV on a brick wall without drilling?
A: It is strongly discouraged. Even the strongest non-drill adhesives are not reliably rated for the weight and leverage of a modern television, especially over time. For safety and security, mounting a TV on brick almost always requires drilling into the actual brick or mortar joints.
Conclusion: Decorating with Confidence on Brick
Tackling a brick wall no longer means reaching immediately for the power tools. By understanding the unique properties of brick and mortar, you can confidently choose non-destructive solutions that meet your needs. Whether you opt for the clean simplicity of specialized masonry adhesives, the structural support of friction-based mortar hooks, or the futuristic appeal of magnetic mounting, you now have several proven secrets in your DIY toolkit. Remember that preparation—cleaning and allowing curing time—is the foundation of success for any drill-free method. Go ahead and hang that artwork, display that wreath, and enjoy transforming your space easily and securely! You have got this.