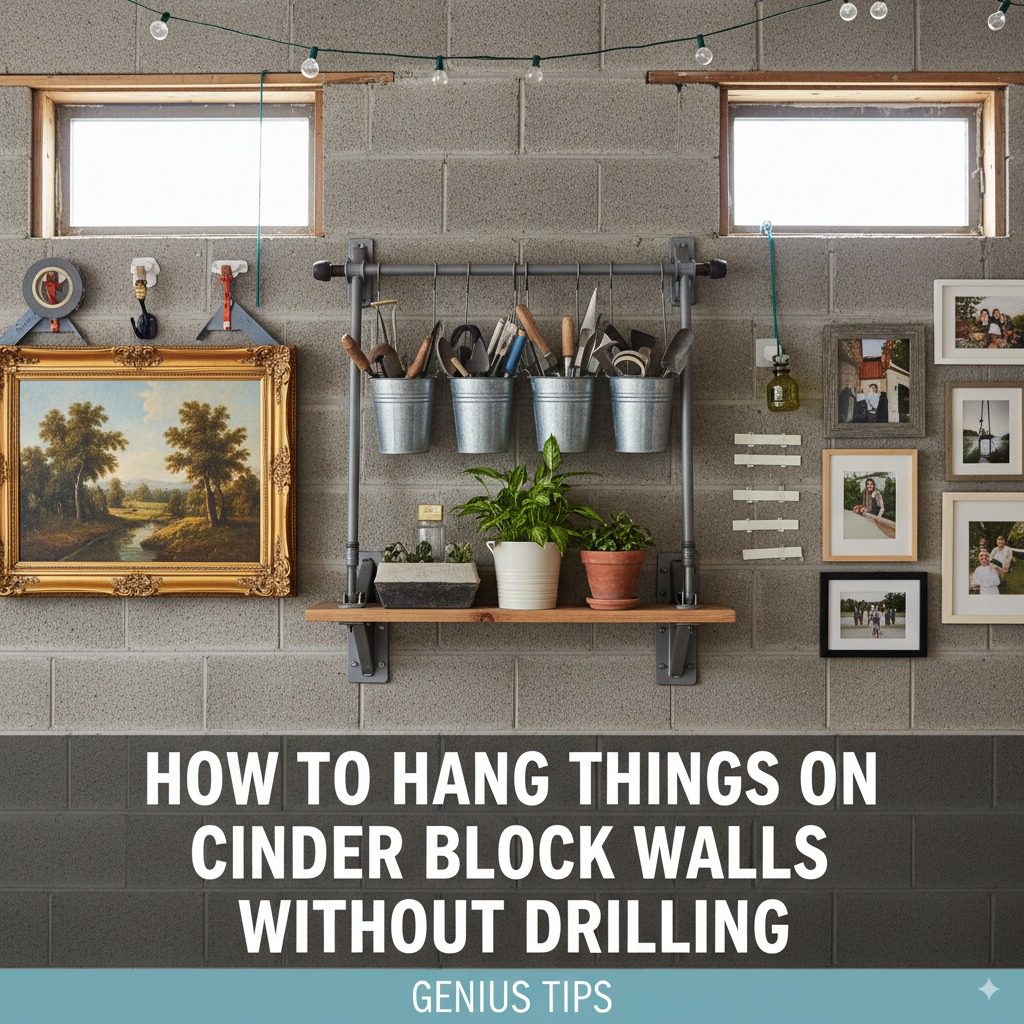
How To Hang Things On Cinder Block Walls Without Drilling: Genius Tips
You can easily hang items on cinder block walls without drilling using adhesive hooks, specialized anchors, or tension rod systems. These methods are simple, effective, and preserve your walls, making decorating your cinder block spaces a breeze.
Cinder block walls are sturdy, but they can be a real puzzle when you want to hang pictures, shelves, or decorations. Drilling into them might seem like the only option, but that can be messy, permanent, and sometimes tricky, especially if you’re not equipped for it. What if you want to redecorate often, or you’re renting and can’t make permanent holes? Don’t worry! There are some truly brilliant ways to get your items securely on cinder block walls without ever touching a drill. We’ll walk through simple, effective methods that anyone can use, transforming your space with ease.
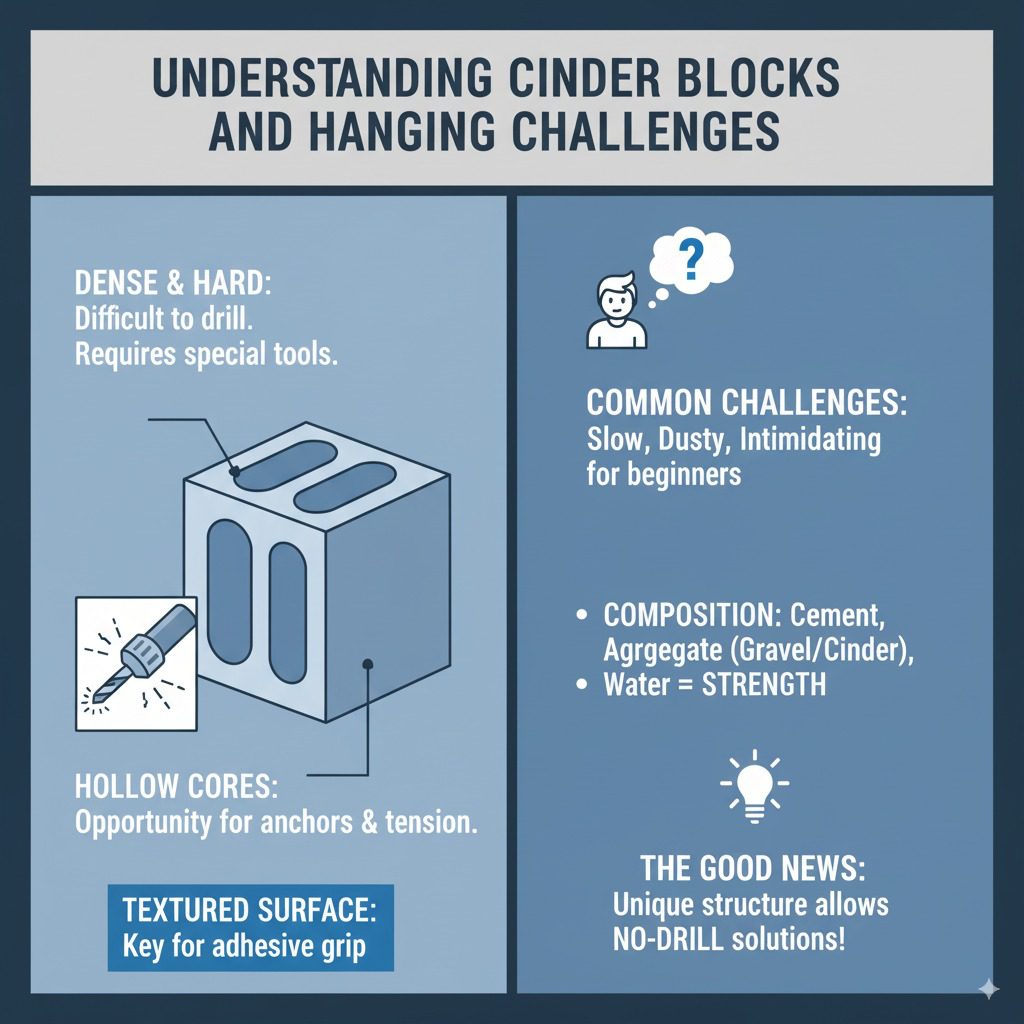
Understanding Cinder Blocks and Hanging Challenges
Cinder blocks, also known as concrete masonry units (CMUs), are popular for their durability and affordability. They are made from a mix of cement, aggregate (like gravel or crushed cinder), and water. This composition makes them incredibly strong, but also dense and hard, which is why traditional methods like drilling and using screws or nails are common. However, this density also means that without the right technique or tool, drilling can be slow, dusty, and may require specialized drill bits designed for masonry. For beginners, this can feel intimidating. The good news is that the hollow cores within many cinder blocks, and the textured surface of the blocks themselves, offer unique opportunities for alternative hanging solutions.
Why Avoid Drilling?
There are several compelling reasons why you might want to hang things on cinder block walls without drilling:
- Rental Agreements: Many landlords prohibit drilling into walls, especially concrete or masonry. Avoiding drilling keeps your security deposit safe.
- Aesthetics: You might want to change your decor frequently. Drilling holes creates permanent marks that can be unsightly if not properly filled and repaired.
- Ease of Use: Not everyone has a drill, or the confidence to use one safely. Non-drilling methods are often much simpler and quicker to implement.
- Wall Damage Prevention: Even if you own your home, you might prefer to keep your walls pristine, especially if you plan future renovations.
- Speed: Sometimes, you just need to hang something up quickly for an event or a temporary display.
Genius Methods to Hang Items Without Drilling
Let’s dive into the most effective and beginner-friendly ways to get your belongings on cinder block walls without a single drill bit. We’ll cover everything from lightweight decorations to slightly heavier items.
1. Heavy-Duty Adhesive Hooks and Strips
This is often the go-to for many DIYers, and for good reason. Modern adhesive products are incredibly strong and designed to hold a surprising amount of weight. For cinder block walls, you’ll want to look for products specifically rated for textured or porous surfaces, or those that mention use on concrete or masonry. Brands like Command™ are well-known for their damage-free hanging solutions.
How to Use Adhesive Hooks/Strips:
- Clean the Surface: This is the most critical step! Use rubbing alcohol or a dedicated cleaner to thoroughly clean the cinder block surface where you intend to hang your item. Ensure it’s completely dry before proceeding. Any dust, dirt, or grease will prevent the adhesive from sticking properly.
- Apply the Adhesive: Carefully follow the manufacturer’s instructions. Typically, you’ll peel off the backing and press the adhesive strip firmly onto the wall for a specified amount of time (often 30 seconds).
- Wait for Curing: Most strong adhesives require a “curing” period before they reach their maximum holding power. This can range from a few hours to 24 hours. Resist the urge to hang your item immediately.
- Hang Your Item: Once cured, attach your item to the hook or strip.
Pros:
- Extremely easy to use.
- No tools required.
- Damage-free removal (when done correctly).
- Widely available in various weight capacities.
Cons:
- May not hold very heavy items.
- Surface preparation is crucial for success.
- Adhesive strength can be affected by humidity and temperature.
- Removal on certain painted surfaces can sometimes pull off paint if not done carefully.
2. Cinder Block Anchors (Non-Drill Options)
This might sound like a contradiction, but there are specialized anchors designed to work with the cavities of cinder blocks without needing to drill a pilot hole. These often work by expanding or gripping within the hollow spaces of the block.
Types of Non-Drill Anchors:
- Friction-Fit Anchors: These are designed to be pushed into the block cavities and expand slightly to grip the inside walls. They are best for lighter to medium-weight items.
- Toggle Bolts with Specialized Installation Tools: While toggle bolts typically require a drilled hole, some newer systems might offer a way to “punch” them into place or use a pre-existing small opening. However, for the true “no-drill” spirit, we’ll focus on simpler methods.
How to Use Friction-Fit Anchors:
- Identify Cavities: Locate the hollow openings in your cinder blocks.
- Insert the Anchor: Push the anchor firmly into one of the hollow cores. It should feel snug.
- Attach Your Item: Most of these anchors have a hook or a screw-like end that you can directly attach your item to or screw into.
Pros:
- Can hold more weight than standard adhesives.
- Utilizes the inherent structure of the block.
- No power tools needed.
Cons:
- Selection can be more limited than adhesive options.
- Requires finding the hollow cores.
- May still require a bit of force to insert.
3. Tension Rods
Tension rods are a fantastic, versatile solution, especially for hanging lighter items like curtains, fabric backdrops, or even very lightweight shelving units. They work by using spring-loaded tension to press against opposing surfaces.
How to Use Tension Rods:
- Choose the Right Rod: Select a tension rod with a diameter and length suitable for the space between your cinder block walls or for creating a frame. Ensure it has rubber or non-slip ends to protect the wall surface and provide grip.
- Position the Rod: Place the rod in the desired location.
- Extend and Lock: Twist the rod to extend it until it’s firmly wedged between the two surfaces. You should feel significant resistance.
- Hang Your Item: Drape curtains, hang lightweight pictures from the rod using clips, or attach other decorative elements.
Pros:
- Completely non-damaging and reversible.
- Easy to install and adjust.
- Great for temporary displays or renters.
- Can be used for various hanging purposes.
Cons:
- Limited to hanging items between two opposing surfaces (walls, window frames, etc.).
- Weight capacity is generally low, suitable for light items only.
- May slip if not tensioned correctly or if surfaces are very smooth.
4. Cinder Block Clamps
These clever devices are specifically designed to grip the edges of cinder blocks. They essentially clamp onto the top or side lip of the block, providing a secure hanging point without any penetration into the block itself.
How to Use Cinder Block Clamps:
- Select the Right Clamp: Ensure the clamp is designed for the thickness and style of your cinder block.
- Position the Clamp: Slide the clamp onto the edge of the cinder block, ensuring it’s firmly seated.
- Hang Your Item: Most clamps have a hook or loop where you can hang your picture, shelf bracket, or other decor.
Pros:
- Very secure for their intended purpose.
- No damage to the block.
- Easy to reposition.
- Can support a decent amount of weight depending on the clamp’s rating.
Cons:
- Availability can be more niche than other options.
- Only works on the edges of blocks, limiting placement.
- Need to ensure the clamp is rated for the weight of the item.
5. Epoxy Putty/Adhesive for Specific Items
For very specific, lightweight items that need a permanent or semi-permanent fixture, a strong epoxy putty or a specialized construction adhesive can be used. These are applied directly to the block and the item.
How to Use Epoxy Putty/Adhesive:
- Prepare Surfaces: Clean both the cinder block and the item to be attached thoroughly with rubbing alcohol.
- Mix and Apply: If using putty, mix the two components according to instructions. Apply a small amount to the back of the item or directly to the wall.
- Press and Hold: Press the item firmly onto the wall and hold for the time recommended by the adhesive manufacturer.
- Cure: Allow the adhesive to cure completely before testing the strength.
Pros:
- Can create a very strong bond.
- Good for irregular surfaces.
- Minimal visual impact if applied neatly.
Cons:
- Generally permanent or very difficult to remove without damage.
- Requires precise application.
- Not ideal for frequent redecorating.
Choosing the Right Method for Your Needs
The best method for you will depend on what you’re hanging, how long you need it to stay up, and the specific conditions of your cinder block wall.
Weight Capacity Comparison
Here’s a general guide to the weight capacities of different methods. Always check the manufacturer’s specifications, as these can vary widely:
| Hanging Method | Lightweight (e.g., small photos, fairy lights) | Medium Weight (e.g., framed pictures, small shelves) | Heavy Weight (e.g., large mirrors, substantial shelves) |
|---|---|---|---|
| Heavy-Duty Adhesive Hooks/Strips | ✓✓✓ | ✓✓ | X (unless specifically rated) |
| Friction-Fit Anchors | ✓✓✓ | ✓✓ | X |
| Tension Rods | ✓✓ | X | X |
| Cinder Block Clamps | ✓✓✓ | ✓✓✓ | ✓ (depending on clamp rating) |
| Epoxy Putty/Adhesive | ✓✓✓ | ✓✓✓ | ✓✓ (depending on application) |
Note: ✓✓✓ indicates high suitability, ✓✓ indicates moderate suitability, ✓ indicates limited suitability, and X indicates not recommended. Always verify product specifications.
Factors to Consider:
- Item Weight: This is the most crucial factor. Overestimate rather than underestimate.
- Wall Surface Condition: Is the cinder block raw, painted, or sealed? This can affect adhesive performance. Raw blocks are often porous, which can help some adhesives, but also absorb liquids.
- Duration: Is this a temporary or permanent fixture?
- Frequency of Change: If you redecorate often, choose reversible methods.
- Environment: High humidity or extreme temperatures can impact adhesive strength.
Tips for Success
To ensure your no-drill hanging projects are successful and safe, keep these tips in mind:
- Always Read Instructions: Manufacturers provide specific guidelines for a reason. Follow them meticulously.
- Test in an Inconspicuous Area: If you’re unsure how an adhesive will perform or how it will look, try it on a small, hidden section of the wall first.
- Clean, Clean, Clean: I can’t stress this enough. A clean surface is paramount for any adhesive to work. Use isopropyl alcohol for best results on most surfaces. You can find more on surface preparation for adhesives at the U.S. Environmental Protection Agency, which offers insights into surface preparation for coatings, a principle that also applies to adhesives.
- Allow Proper Curing Time: Patience is key. Don’t rush the curing process for adhesives, as this is when they reach their full strength.
- Use the Right Product for the Job: Don’t try to hang a heavy mirror with a light-duty adhesive hook meant for keys.
- Consider the Block’s Texture: Raw, unfinished cinder blocks have a rougher texture than painted ones, which can sometimes help adhesives grip, but also means you need to ensure good contact without gaps.
- For Tension Rods, Ensure a Tight Fit: The rod should be difficult to twist into place, indicating it’s securely tensioned.

Frequently Asked Questions (FAQ)
Q1: Can I really hang anything on cinder block walls without drilling?
A1: You can hang a wide variety of items, from lightweight decor to moderately heavy objects, depending on the method you choose and the specific product’s weight rating. For very heavy items, drilling might eventually be the most secure option, but for most common decorating needs, these no-drill methods are highly effective.
Q2: How do I remove adhesive hooks from cinder block walls without damaging the wall?
A2: The key is to remove them slowly and carefully, often by stretching the adhesive strip downwards or sideways, as per the manufacturer’s instructions (e.g., Command™ strips often have a tab to pull). If it feels like it’s sticking too much, a little bit of heat from a hairdryer can sometimes help soften the adhesive, but be cautious not to overheat the wall surface.
Q3: Will adhesive hooks stick to painted cinder block walls?
A3: Yes, adhesive hooks can stick to painted cinder block walls, but proper surface preparation is even more critical. Ensure the paint is well-adhered to the block itself, and clean the surface thoroughly with rubbing alcohol. Avoid textured paints, as they provide less surface area for the adhesive to grip.
Q4: What’s the strongest no-drill method for cinder blocks?
A4: For strong, reliable holding power without drilling, specialized cinder block clamps or robust construction adhesives (like certain epoxy putties or heavy-duty construction glues) are often the strongest options, provided they are used correctly and the weight is within their rating. Always check the product’s maximum weight capacity.
Q5: Can I hang shelves on cinder block walls without drilling?
A5: Yes, you can hang shelves, but you’ll need to choose methods rated for the weight of the shelves themselves plus the items you plan to put on them. Cinder block clamps are a good option for attaching shelf brackets to the edges of blocks. For shelves that span across multiple blocks, you might need to use a combination of methods or consider products designed for this purpose.
Q6: Are cinder block clamps safe for the blocks?
A6: Yes, when used correctly and within their weight limits, cinder block clamps are very safe for the blocks. They grip the edges without penetrating the material, so they don’t cause any structural damage. They are designed specifically for this purpose and are a popular choice in construction and display settings where drilling is not desired.
Q7: How do I prepare a rough cinder block wall for hanging?
A7: For most no-drill methods, thorough cleaning is the main preparation. Use a stiff brush to remove loose dust and debris, then wipe down the area with a damp cloth. For adhesives, always finish with a wipe of rubbing alcohol and allow it to dry completely. If the block is very crumbly or dusty, a light coat of masonry sealer might help, but ensure it’s fully cured before applying any hanging hardware.
Conclusion
Transforming your space with cinder block walls doesn’t have to be a chore, and it certainly doesn’t require a drill! By understanding the different tools and techniques available, you can confidently hang your favorite items, from cherished photos to practical shelving, all while keeping your walls intact. Whether you opt for the simplicity of adhesive hooks, the secure grip of specialized clamps, or the versatility of tension rods, there’s a solution for every decorating challenge. Remember to always prioritize surface preparation and choose methods rated for the weight you need to support. Happy decorating!