How to Install a Carriage Bolt: Beginner Assembly Guide
Drill a hole about the same diameter as the carriage bolt shank in the wood, tap the square neck into a snug square or slightly undersized hole, and use a flat washer and a corrosion-resistant nut for outdoor use. If the hole is too loose, the bolt spins; too tight, and wood splits or the finish fails early. This guide shows how to size the hole, stop spinning, choose the right bolt material, and install it cleanly in wood.
What you’ll need



- Carriage bolt with domed head and square shoulder
- Nut that matches the bolt threads
- Flat washer for the back side
- Drill
- Drill bit matched to the bolt hole
- Hammer
- Safety glasses
- Protective gloves
- Wood substrate, such as a piece of 2×4 or similar assembly member
What is a carriage bolt?
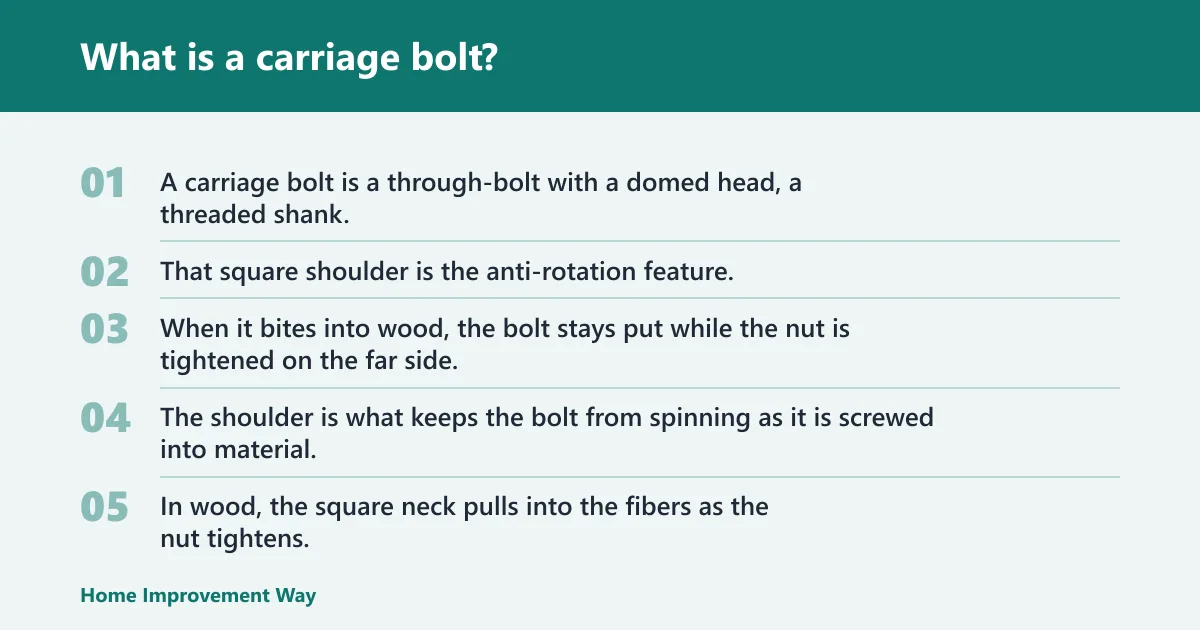
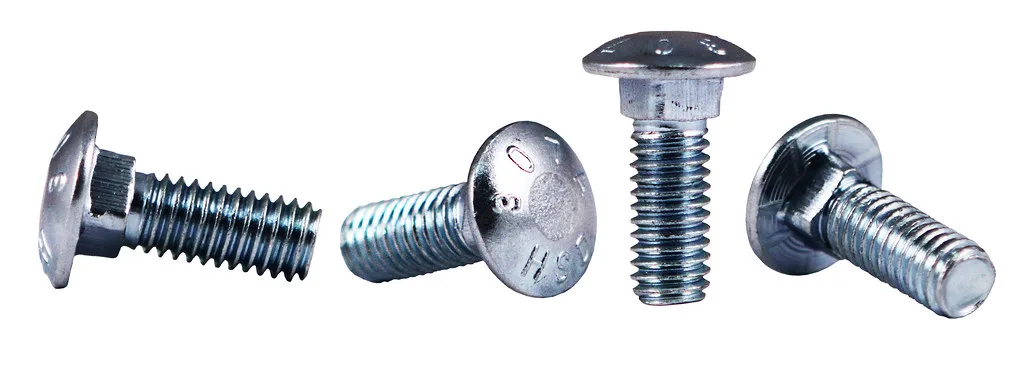
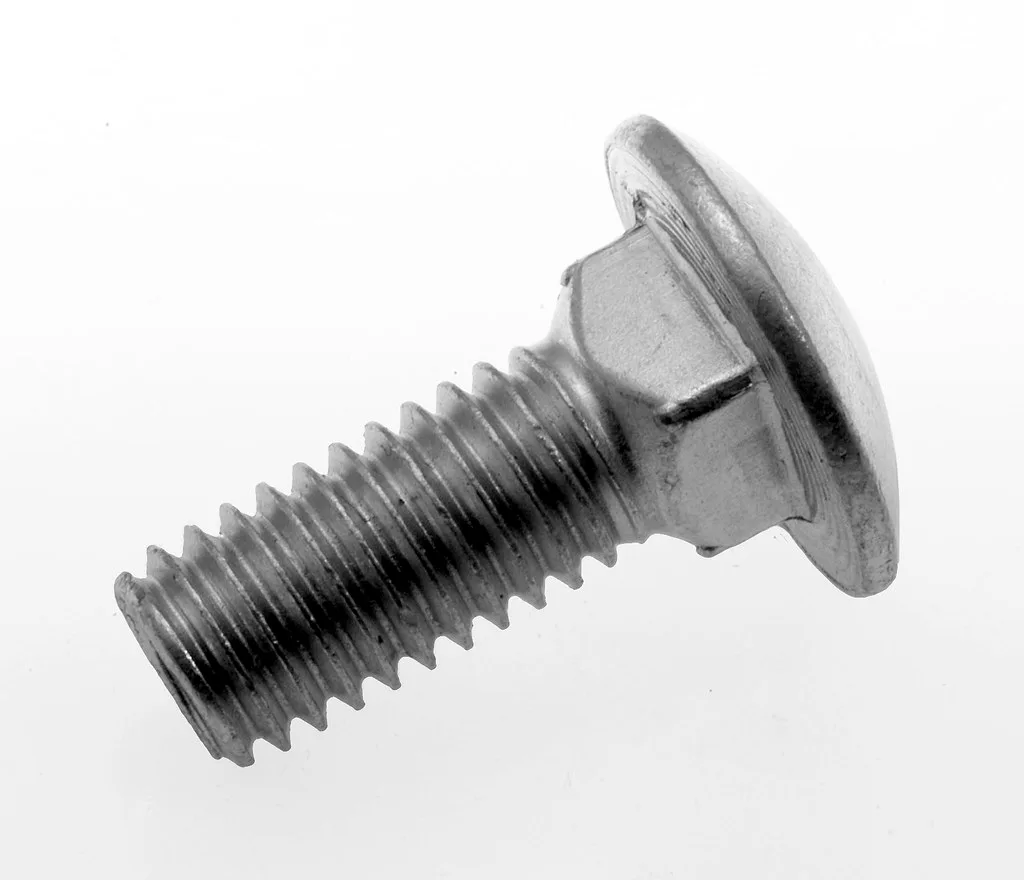
A carriage bolt is a through-bolt with a domed head, a threaded shank, and a small square shoulder under the head. That square shoulder is the anti-rotation feature. When it bites into wood, the bolt stays put while the nut is tightened on the far side.
Why the square shoulder matters
The shoulder is what keeps the bolt from spinning as it is screwed into material. In wood, the square neck pulls into the fibers as the nut tightens, which helps the domed head stay flush at the front face. Without that bite, the bolt can rotate and stall the install.
When a carriage bolt fits wood assemblies well
Carriage bolts are often used in wood construction where a clean front face and clamping from the back side matter. I use them in benches, fences, shed framing, and other wood assemblies that need a through-bolt with a washer and nut. They are not a fix for oversized holes or damaged wood.
How to drill the hole
Use a pre-drilled hole in the wood. The hole should be just big enough for the bolt to go through, while still letting the square shoulder bite. A wrong bit size is the fastest way to end up with spinning or split fibers, so fit matters more than force.
Step-by-step drilling
- Mark the bolt location on the wood substrate.
- Choose a drill bit matched to the bolt hole size.
- Clamp the work if the piece can move.
- Drill straight through the member.
- Test-fit the bolt before driving it home.
In a typical setup on a piece of 2×4, the shank should pass through without slop, and the square shoulder should still need a little persuasion. That balance gives the shoulder something to bite without crushing the entry hole.
What tools do I need to install a carriage bolt?
You need a drill, a drill bit sized for the bolt hole, a hammer, the carriage bolt, a washer, and a nut. Add safety glasses and protective gloves before drilling or tapping. Those basics cover the full install from hole prep to final tightening.
For hard wood, a clamp can help keep the piece from shifting while drilling. A loose board makes it easy to oversize the hole or walk the bit, and both problems show up later as spinning or poor seating.
How do you install a carriage bolt without it spinning?
Start with a snug hole, then tap the square neck into the wood with a hammer. The shoulder must bite cleanly so the bolt cannot rotate while the nut is tightened. If the hole is too loose, the bolt may turn instead of clamping the joint.
Installation steps
- Insert the carriage bolt from the front side.
- Tap the head lightly with a hammer until the square neck seats.
- Hold the head still if needed while starting the nut.
- Thread the nut on by hand first.
- Tighten slowly until the shoulder pulls into the wood.
If the bolt still spins, stop tightening. Remove it and check the hole size before trying again. Forcing the nut only polishes the hole and makes the next attempt worse.
How do you tighten it correctly?
Place the washer behind the wood, thread on the nut, and tighten until the square shoulder is pulled into the wood and the domed head sits flush. Stop as soon as the joint is firm and the wood is not being crushed. Overtightening can deform fibers and weaken the hold.
Where the washer goes
The washer belongs on the back side because it spreads force over a wider area and protects the rear face of the wood. It also gives the nut a cleaner bearing surface, which helps the joint stay tight without chewing into the wood fibers.
Installation decision table
| Hole fit by bolt diameter | Material or finish by environment | Likely failure symptom and fix |
|---|---|---|
| Hole the same diameter as the shank; square neck must bite | Indoor, dry wood: plain steel can work if corrosion exposure is low | Spinning; fix by redrilling the hole to a tighter fit and resetting the shoulder |
| Hole just big enough for insertion, no extra slop | Outdoor exposure: hot-dip galvanized finish | Rust risk; fix by switching to a corrosion-resistant finish before assembly |
| Square shoulder needs a firm seat, not force | Coastal, marine or chloride-rich environments: 316 stainless steel | Stuck removal or early corrosion; fix by using 316 stainless steel at install time |
| Hole too tight for clean entry | Any environment | Split wood; fix by drilling to the correct size and retrying on a new hole |
Common mistakes
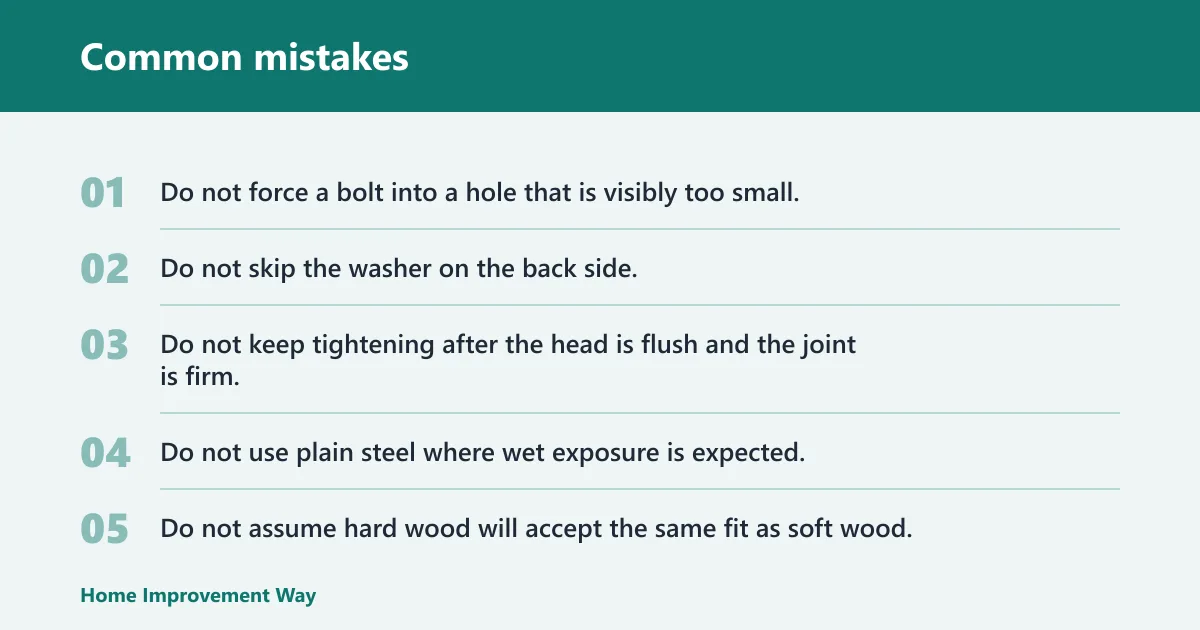
Most bad installs come from fit, finish, or force. Oversize holes let the bolt spin. A wrong finish leaves the joint exposed to rust. Overtightening crushes the wood. A tight hole in hard wood can split the entry face before the shoulder ever seats.
How to avoid the usual failures
- Do not force a bolt into a hole that is visibly too small.
- Do not skip the washer on the back side.
- Do not keep tightening after the head is flush and the joint is firm.
- Do not use plain steel where wet exposure is expected.
- Do not assume hard wood will accept the same fit as soft wood.
How carriage bolts compare in wood work
Use a carriage bolt when you want a clean front face and a clamped joint from the back. Lag bolts bite from one side. Timber bolts and structural screws solve different load paths. For beginner wood assembly, the carriage bolt’s through-bolt format is easier to inspect and tighten correctly.
How do you remove a carriage bolt?
Back off the nut first, then strike the nut with a hammer to drive the bolt out. That reverses the install and frees the square shoulder from the wood. If the bolt is corroded or stuck, use penetrating oil and a fresh wrench before striking harder.
If that didn’t work, try this next
- Loosen the nut several turns with the correct wrench.
- Thread the nut to the end of the bolt to protect the threads.
- Tap the nut with a hammer to move the bolt back through the hole.
- If it binds, apply penetrating oil and wait before trying again.
- For heavy corrosion, replace the fastener instead of reusing damaged threads.
Prevention
Use a corrosion-resistant finish before installation. A dry indoor joint can tolerate less protection than an outdoor fence or dock detail, and the wrong material choice is what makes later removal painful.
What carriage bolt material should I use for outdoor or marine projects?
For dry indoor wood construction, a standard carriage bolt may be enough. For exterior work, hot-dip galvanized is a common finish choice. For coastal, marine or chloride-rich environments, 316 stainless steel is recommended for increased corrosion resistance. That choice matters more than appearance.
Material choice by exposure
- Indoor, dry use: standard steel when corrosion exposure is low
- Outdoor, general use: hot-dip galvanized
- Coastal or marine use: 316 stainless steel
If the assembly will see wetting, spray, or trapped moisture, pick the better finish before drilling the first hole. Once the wood is assembled, changing the bolt means taking the joint apart and cleaning up damaged holes.
Can carriage bolts be used in hard wood?
Yes, but hard wood can cause spinning if the hole is too large and can split if the hole is too tight. The safest approach is a careful pre-drill, a test fit, and a light hammer tap only after the square shoulder has something to bite. Hard wood rewards patience.
How to handle hard wood
- Drill a clean pilot hole or through-hole at the correct size.
- Test the bolt before final assembly.
- Tap only until the square shoulder seats.
- Stop if the entry face starts to crush or crack.
When should I use a carriage bolt in wood construction?
Use a carriage bolt when you need a through-bolt in wood, a smooth domed head on the visible side, and clamping force from a washer and nut on the back. It is a good choice for assemblies where the bolt head should not catch on hands, straps, or moving parts.
Where it is a good fit
It works well in fence assemblies, benches, brackets, and general wood construction that needs a neat front face. It is less forgiving in damaged or split wood, and it is not the right answer when the hole cannot be drilled accurately.
Frequently asked questions
What size hole should I drill for a carriage bolt?
Drill a hole that is the same diameter as the shank and only just large enough for the bolt to pass through. The square neck still needs wood to bite into. If the hole is oversized, the bolt spins and the joint loses clamping control.
Do I need a washer and nut with a carriage bolt?
Yes. The nut pulls the square shoulder into the wood, and the washer spreads force on the back side. Without both parts, the joint can crush fibers, loosen early, or fail to clamp evenly across the wood substrate.
How do you remove a carriage bolt after installation?
Back the nut off first, then strike the nut with a hammer to drive the bolt out through the hole. If corrosion has locked the threads, apply penetrating oil and try again with the correct wrench before adding force. Damaged threads usually mean replacement.
Sponsored / affiliate links. As an Amazon Associate I earn from qualifying purchases. I may earn additional commission from eligible campaigns.