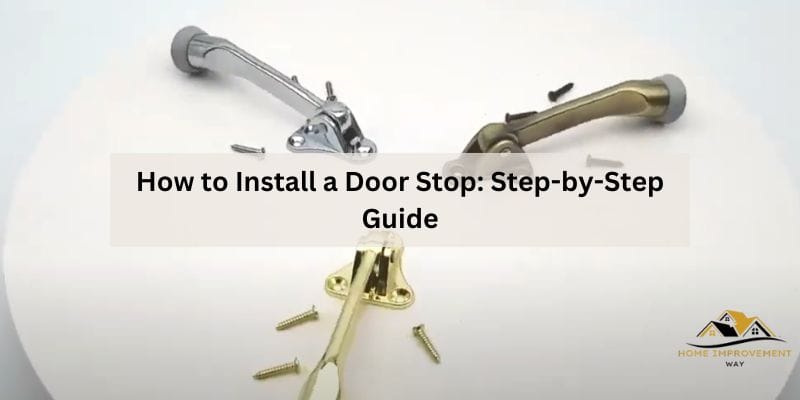
How to Install a Door Stop: Step-by-Step Guide
To install a door stop, start by positioning it against the wall where you want it to be placed. Then, use a drill to create pilot holes and secure the door stop with screws.
Materials And Tools Needed
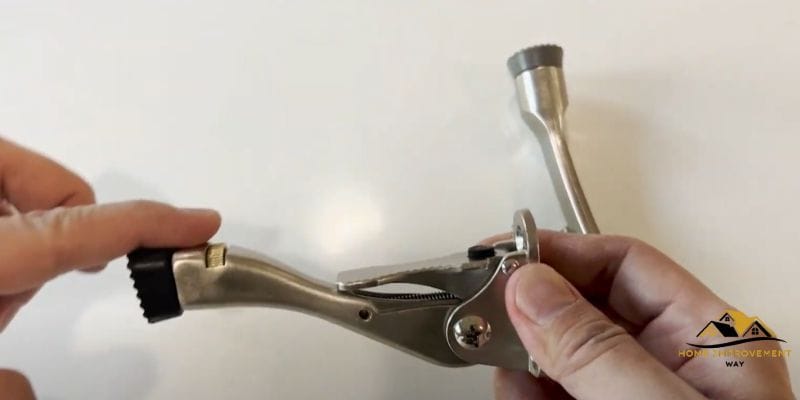
To install a doorstop, you will need a tape measure, a pencil, a power drill, a screwdriver, screws, and the doorstop itself. Measure and mark the desired height, drill pilot holes, attach the door stop with screws and adjust as needed for a secure installation.
Required Materials
Before you begin installing a doorstop, gather the necessary materials to ensure a smooth and hassle-free process. Here’s what you’ll need:
- Nails or screws
- Doorstop
- Screwdriver or drill
- Tape measure
- Pencil or marker
- Level
- Hammer
Essential Tools
In addition to the materials, having the right tools at hand will make the installation process easier. Make sure you have the following essential tools:
- A screwdriver or drill
- A tape measure
- A pencil or marker
- A level
- A hammer
With these materials and tools ready, you can proceed to the next steps of installing a doorstop.
Step-by-step Installation Guide
Installing a doorstop is a straightforward process that requires just a few simple steps. In this step-by-step installation guide, we will walk you through the process of installing a door stop, ensuring that your doors stay protected and secure. By following these easy steps, you can have your door stop in place in no time. Let’s get started!
Step 1: Choose The Location For The Door Stop
When choosing the location for your door stop, consider where the door makes contact with the wall and where you would like the door to stop. It’s important to select a spot that will prevent damage to the door and the wall while ensuring that the door will be secure when stopped. Keep in mind that the door stopper should be positioned at a height that allows the door to fully open without obstruction.
Step 2: Mark The Drilling Points
- Close the door and position the door stopper against the wall at the desired location.
- Using a pencil or marker, make small marks on the wall through the mounting holes of the door stopper. These marks will serve as a guide for drilling.
Step 3: Drill The Holes
Now it’s time to drill the holes for the door stopper.
- Equip your power drill with a suitable drill bit based on the size of the anchor that comes with your door stopper. Refer to the manufacturer’s instructions for the recommended drill bit size.
- Align the drill bit with the marked drilling points and slowly drill into the wall. Apply gentle pressure and avoid rushing to prevent any damage to the wall.
Step 4: Insert The Anchor And Screws
Once the holes are drilled, it’s time to insert the anchor and screws to secure the door stopper in place. This step helps ensure the door stopper stays securely attached to the wall.
- Insert the anchor into each drilled hole. Gently tap the anchors into the wall until they are flush with the surface.
- Position the door stopper over the anchors and align the mounting holes with the anchors.
- Using a screwdriver or a drill with a screwdriver bit, insert the screws provided with the door stopper into the anchors. Tighten the screws until the door stopper is firmly attached to the wall.
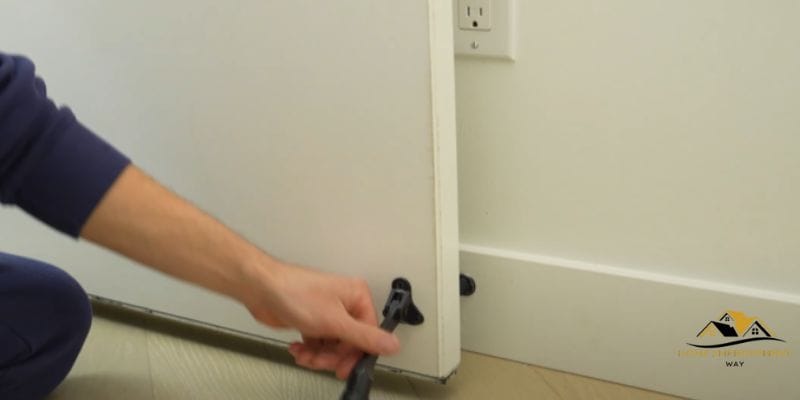
Step 5: Attach The Door Stopper
With the door stopper securely fastened to the wall, it’s now time to attach the door stopper itself.
- Position the door stopper over the mounting plate attached to the wall.
- Slide or screw the door stopper onto the mounting plate, ensuring it is securely in place.
- Test the door stopper by opening the door and allowing it to come in contact with the stopper. Ensure that the door stops at the desired location without any slipping or movement.
By following this step-by-step installation guide, you can successfully install a door stopper and protect your doors and walls from damage. Remember to choose a suitable location, mark the drilling points accurately, drill the holes carefully, insert the anchors and screws securely, and attach the door stopper correctly. Now you can enjoy the benefits of a door stopper that keeps your doors in place and prevents unnecessary damage. Happy installing!
Conclusion
By following these simple steps, you can easily install a doorstop in your home. Not only does a door stop prevent damage to your walls and furniture, but it also adds convenience and safety. Remember to choose the right type of door stop for your needs and carefully measure and mark the correct location.
With patience and a few tools, you’ll have a functional doorstep in no time.