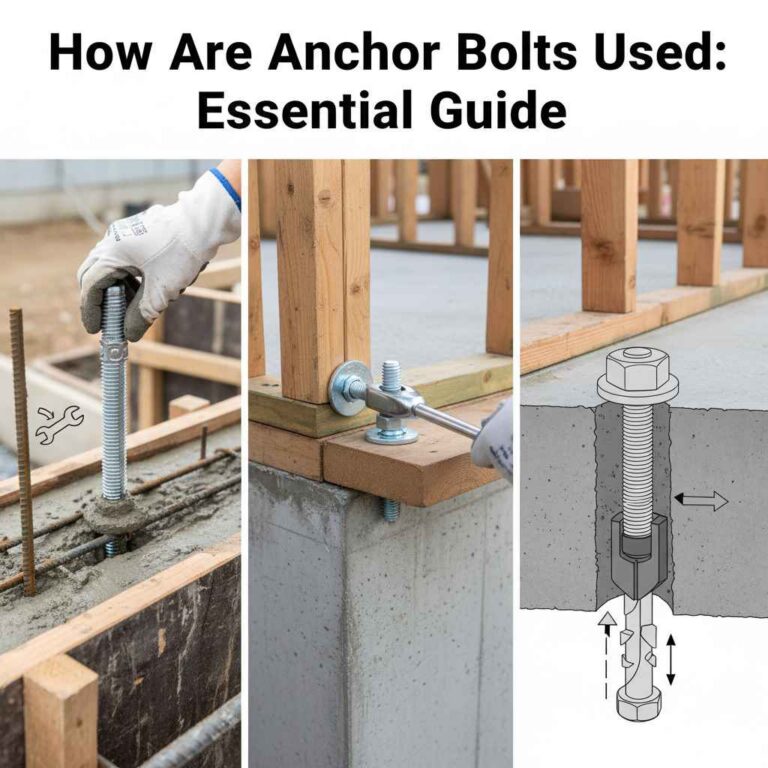
How to Install Floating Shelves Without Brackets
Putting up floating shelves can seem tricky, especially when you don’t want to see any brackets. Many people find this part a little confusing when they first try it. Don’t worry, though!
This guide will make it super simple. We’ll walk you through it step-by-step so you can easily add stylish floating shelves to your home.
Secure Floating Shelves Without Visible Hardware
Learning how to install floating shelves without brackets offers a clean, modern look for any room. This method creates the illusion that the shelf is part of the wall itself. It’s a popular choice for decorators and DIY enthusiasts alike.
While it might sound complicated, the process is quite manageable with the right approach. We’ll cover everything you need to know to achieve a professional finish right at home. This section will detail the essential tools and materials you’ll need for this project.
Choosing the Right Shelves for Bracketless Installation
Not all shelves are designed for a hidden bracket look. True floating shelves come with internal hardware or a specific design that allows for concealed mounting. These shelves typically have a hollow core or a built-in mounting system.
When selecting your shelves, look for descriptions that specifically mention “floating shelf hardware” or “concealed mounting.” The size and weight of the shelf are also important factors. A heavier shelf will require a more secure mounting system and potentially a stronger wall type.
-
Understanding Shelf Construction for Hidden Mounts
Floating shelves made for bracketless installation have special internal structures. They often have a hollow back or a metal sleeve that slides onto a wall-mounted bracket. This sleeve is what gives the shelf its floating appearance.
The wall bracket itself is hidden inside the shelf once it’s installed. It’s crucial to ensure the shelf you buy is specifically made for this type of mounting. Trying to adapt a regular shelf will not work for a true floating effect.
-
Weight Capacity and Load Bearing
Every floating shelf has a weight limit. This is very important for safety and to prevent the shelf from sagging or falling. The weight capacity depends on the shelf’s material, its size, and how it’s mounted.
Always check the manufacturer’s specifications. If you plan to put heavy items on the shelf, you’ll need to ensure the internal mounting system and the wall studs can support that weight. Overloading a shelf is a common mistake that can lead to damage.
-
Material and Aesthetic Choices
Floating shelves come in many materials, including solid wood, MDF, laminate, and even metal. Solid wood offers a natural, premium look and can be very durable. MDF and laminate are often more budget-friendly and come in a wide range of finishes to match your decor.
Metal shelves provide an industrial or modern aesthetic. Consider the style of your room and the items you plan to display when making your choice. The material will also affect the shelf’s weight and how it attaches to the wall.
Essential Tools and Materials for Installation
To successfully learn how to install floating shelves without brackets, you’ll need a few key items. Having the right tools makes the job much easier and ensures a secure installation. Think of this as gathering your building blocks for a sturdy, beautiful shelf.
-
Stud Finder
A stud finder is a must-have tool. It helps you locate the wooden studs inside your walls. Mounting shelves directly into studs provides the strongest support.
Drywall alone is not strong enough to hold most shelves, especially those with items on them. Using a stud finder prevents you from drilling random holes and ensures your shelf is mounted securely. There are electronic and magnetic versions, both effective.
-
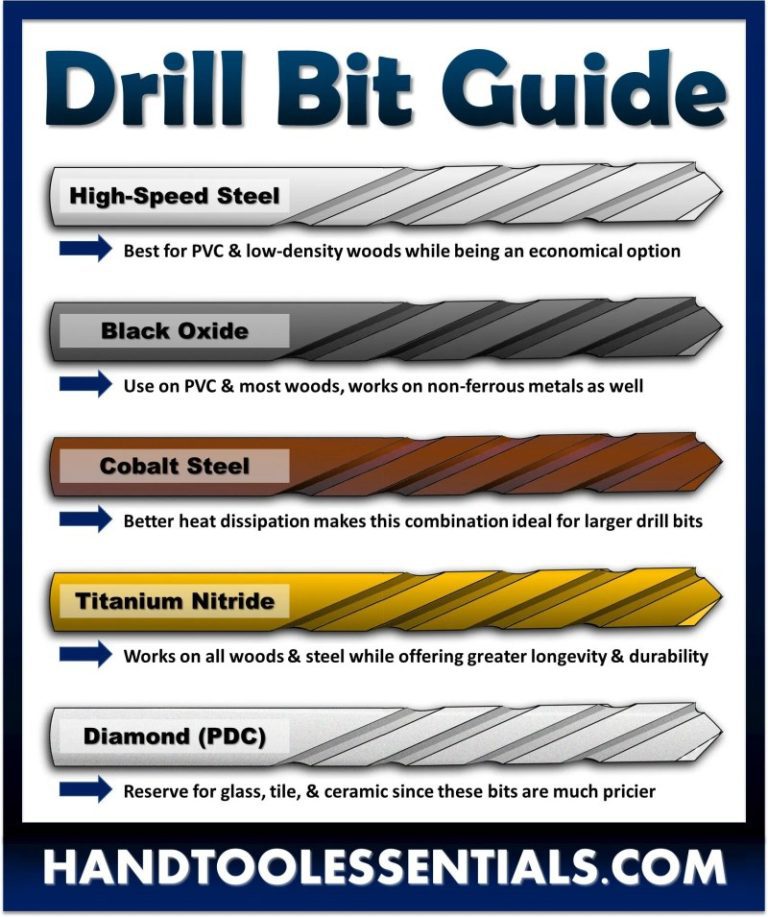
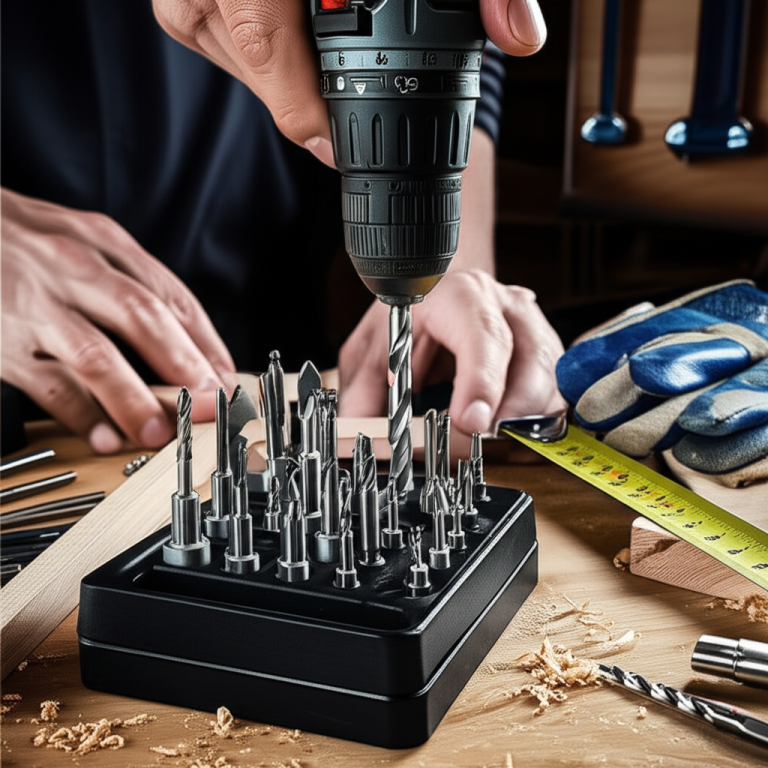
Drill and Drill Bits
You’ll need a power drill to create pilot holes and to drive screws. Make sure you have drill bits that are the correct size for your screws and wall anchors if needed. The drill should be powerful enough to go through your wall material.
-
Level
A level is absolutely essential to ensure your shelf is straight. A crooked shelf looks unprofessional and can cause items to slide off. You can use a spirit level or a laser level.
Always double-check your work with a level before fully securing the shelf.
-
Measuring Tape and Pencil
Accurate measurements are key to proper placement. Use a measuring tape to mark where your shelf will go. A pencil is used to mark drill hole locations.
Mark lightly so you can erase any mistakes easily.
-
Screws and Wall Anchors
Your floating shelves will come with specific mounting hardware. This usually includes a wall bracket and screws. If your shelf did not come with anchors or if you are mounting into drywall only (not recommended for heavy loads), you’ll need appropriate drywall anchors.
Always use hardware that matches the weight capacity of your shelf.
-
Safety Glasses
Protect your eyes when drilling. Small debris can fly off walls. Always wear safety glasses to prevent injuries.
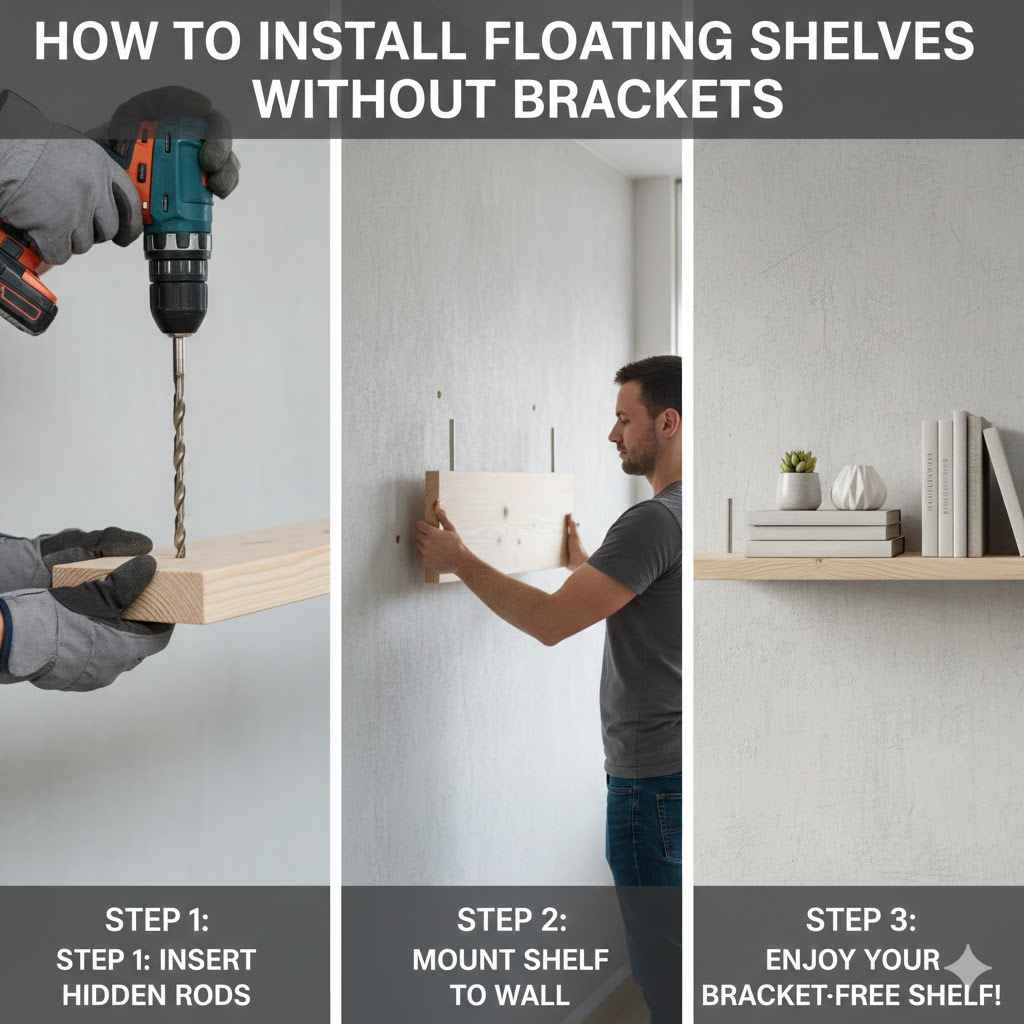
Step-by-Step Guide How to Install Floating Shelves Without Brackets
Now let’s get to the core of it: the actual installation process. Following these steps carefully will help you achieve a professional and sturdy result. This guide breaks down how to install floating shelves without brackets into clear, actionable stages.
Preparation and Wall Marking
Before you start drilling, careful preparation is key. This ensures your shelf ends up exactly where you want it and is perfectly straight. Proper marking prevents mistakes and makes the installation smoother.
-
Determine Shelf Placement
Decide on the exact location for your shelf. Consider the height and alignment with other features in the room, like windows, doors, or other furniture. Hold the shelf up to the wall and use a pencil to lightly mark its top or bottom edge.
This gives you a visual reference point.
-
Locate Wall Studs
Use your stud finder to locate the studs behind the drywall where you plan to mount the shelf. Mark the center of each stud with your pencil. Mounting directly into studs is the strongest method for installing floating shelves.
-
Mark Bracket Mounting Points
Hold the wall bracket for your floating shelf against the wall at your desired height. Ensure it is perfectly level using your level. Once level, mark the screw holes onto the wall with your pencil.
If you are lucky, at least some of these marks will align with the stud locations you found earlier.
Installing the Wall Bracket
The wall bracket is the foundation of your floating shelf. It’s what will support the shelf and give it its invisible appearance. Taking your time here ensures a strong and stable mount.
-
Drill Pilot Holes
At the marked screw hole locations, drill pilot holes. If you are drilling into a stud, use a drill bit slightly smaller than the screw you will be using. If you are drilling into drywall only, use a drill bit recommended for your wall anchors and drill a hole large enough for the anchor to fit snugly.
-
Install Wall Anchors (if necessary)
If you are not screwing directly into a stud, insert your wall anchors into the pilot holes. Tap them gently with a hammer if they are snug. Make sure they are flush with the wall surface.
-
Attach the Wall Bracket
Position the wall bracket over the pilot holes or anchors. Use your drill to drive screws through the bracket’s holes and into the wall studs or anchors. Ensure the bracket is pulled tightly against the wall and is perfectly level.
Double-check with your level.
Mounting the Shelf onto the Bracket
This is the most satisfying part – making the shelf appear to float! The method here will depend on the specific design of your shelf’s internal mounting system.
-
Slide the Shelf Over the Bracket
Most floating shelves have a hollow channel or sleeves on the back. Carefully slide this channel onto the installed wall bracket. You may need to wiggle it slightly to get it to seat properly.
Ensure it slides all the way back so it sits flush against the wall.
-
Secure the Shelf (if applicable)
Some floating shelf systems have small set screws on the underside of the shelf. These screws engage with the wall bracket to keep the shelf from sliding off. If your shelf has these, use a small screwdriver to tighten them.
They are often very small and may require a specific bit.
-
Final Check and Cleaning
Once the shelf is firmly in place, give it a gentle push to ensure it’s stable. Wipe away any pencil marks or dust from the installation process. Step back and admire your work.
You have successfully learned how to install floating shelves without brackets.
Example Scenario A Securing a Book Shelf
Sarah wanted to add a modern bookshelf to her living room without seeing any hardware. She chose a set of 3-foot long solid wood floating shelves.
- She measured and marked the wall, ensuring the shelf would be at eye level when standing.
- Using her stud finder, she located two studs that would align with the shelf’s length.
- She held the shelf’s internal mounting bracket against the wall, making sure it was perfectly level.
- Sarah marked the screw holes that lined up with the studs.
- She drilled pilot holes into the studs and screwed the bracket firmly to the wall.
- Finally, she slid the wooden shelf onto the bracket, and it fit snugly against the wall, creating a clean, floating look for her books.
Troubleshooting Common Installation Issues
Even with careful planning, sometimes things don’t go perfectly. Knowing how to fix common problems can save your project.
-
Shelf Feels Loose
If your shelf feels wobbly, it’s likely an issue with the bracket installation. Check that all screws are fully tightened into the studs or anchors. If you used anchors, ensure they are rated for the weight of your shelf and contents.
You might need to reinforce the mounting with stronger anchors or by finding more stud locations if possible.
-
Shelf Not Level
If your shelf ended up slightly crooked, you may need to remove it, loosen the bracket, adjust its position using a level, and then re-tighten the screws. For minor adjustments, sometimes you can slightly loosen the set screws on the underside of the shelf and gently reposition it before re-tightening.
-
Difficulty Sliding Shelf Onto Bracket
Sometimes the bracket might be slightly bent, or the shelf’s internal channel might have a burr. Gently check the bracket for any obstructions. Ensure the bracket is not too far out from the wall.
If the shelf’s channel is the issue, you might need to carefully file down any rough spots inside.
Maintaining and Decorating Your Floating Shelves
Once your shelves are installed, you’ll want to keep them looking great and use them effectively. Proper care ensures they remain a beautiful part of your decor for years to come.
Cleaning and Care Tips
Keeping your shelves clean is simple and maintains their appearance. The best cleaning method depends on the shelf material.
-
Dusting Regularly
Use a soft, dry cloth or a feather duster to remove dust. This should be done weekly or as needed. Avoid using harsh chemicals or abrasive cleaners that can damage the finish.
-
Wiping Down Surfaces
For tougher marks, slightly dampen a soft cloth with water. Wipe the surface gently. For wood shelves, you can use a wood cleaner suitable for the finish.
Always test any cleaner in an inconspicuous spot first.
-
Checking Mount Stability
Periodically, perhaps every six months, give your shelves a gentle check to ensure they are still firmly attached to the wall. A quick visual inspection and a light push are usually enough.
Creative Display Ideas
Floating shelves are perfect for displaying items. Their minimalist design draws attention to what you put on them.
-
Books and Art
Arrange books by color or size. Mix in small pieces of art, photographs, or decorative objects. Creating visual interest with varied heights and textures makes the display more engaging.
-
Plants and Greenery
Small potted plants or succulents add life and color to floating shelves. They bring a touch of nature indoors and can soften a room’s look. Make sure to place them in containers that won’t leak water onto the shelf.
-
Decorative Accents
Use candles, vases, sculptures, or other decorative items that reflect your personal style. Group items in odd numbers (like three or five) for a more pleasing visual composition.
Frequently Asked Questions
Question: Do floating shelves always require special brackets?
Answer: Yes, to achieve the “floating” effect, shelves need a specialized internal bracket system that is hidden within the shelf itself. They don’t use traditional visible brackets.
Question: Can I hang floating shelves on any wall?
Answer: Ideally, you should mount floating shelves into wall studs for maximum strength. If studs aren’t available in the desired location, you’ll need to use heavy-duty drywall anchors rated for the shelf’s weight capacity.
Question: How much weight can a floating shelf hold?
Answer: The weight capacity varies greatly depending on the shelf’s size, material, and the strength of the mounting hardware and wall structure. Always check the manufacturer’s specifications for the exact weight limit.
Question: How do I find wall studs?
Answer: You can use an electronic stud finder, which scans the wall and alerts you when it detects a stud. Some people also use a strong magnet to find the metal screws used to attach drywall to studs.
Question: What if my shelf doesn’t fit snugly on the bracket?
Answer: Ensure the bracket is installed correctly and is level. If the shelf is loose, check for any obstructions. Some shelves have small set screws on the bottom that help secure them; make sure these are tightened.
Summary
You’ve learned how to install floating shelves without brackets. This method creates a clean, modern look by hiding all hardware. The key is using shelves designed for hidden mounting and a secure internal bracket system.
Following the steps for marking, installing the bracket, and sliding on the shelf ensures a stable and stylish result. With the right tools and care, your new shelves will be a beautiful addition to your home.