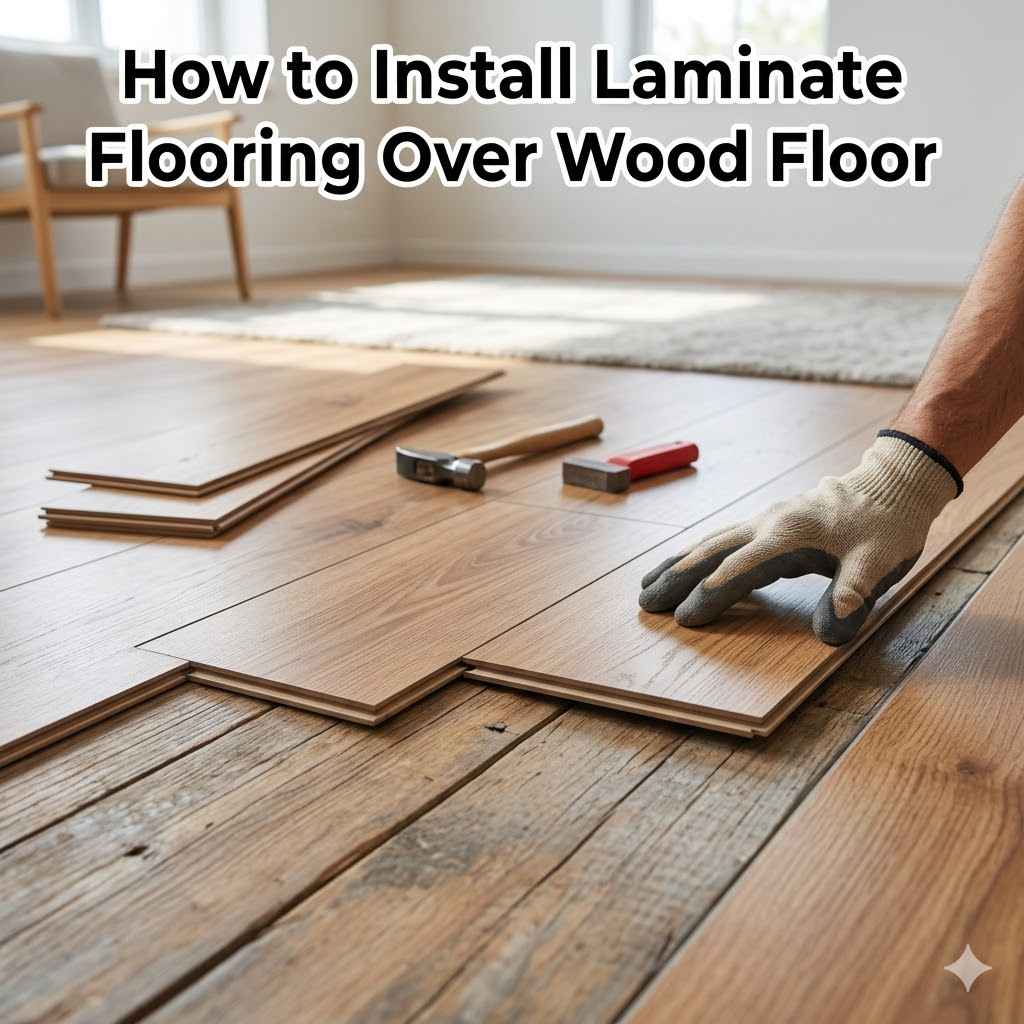
How to Install Laminate Flooring Over Wood Floor
Installing new flooring can feel like a big project, especially if you’re new to DIY. You might be wondering if you can put laminate right over your existing wood floors. It’s a common question, and often, the answer is yes! This can save you time and effort. Sometimes, though, it seems tricky, and you might worry about messing it up. Don’t worry! We’ll break down exactly how to install laminate flooring on wood floor step by step. You’ll see it’s much simpler than you think. Let’s get your new floor ready.
Putting laminate flooring over an existing wood floor is a popular choice for many homeowners. It offers a fresh look without the hassle of completely removing the old floor. This method can save money and time.
However, success hinges on proper preparation and technique. This guide will walk you through every stage, making the process clear and manageable.
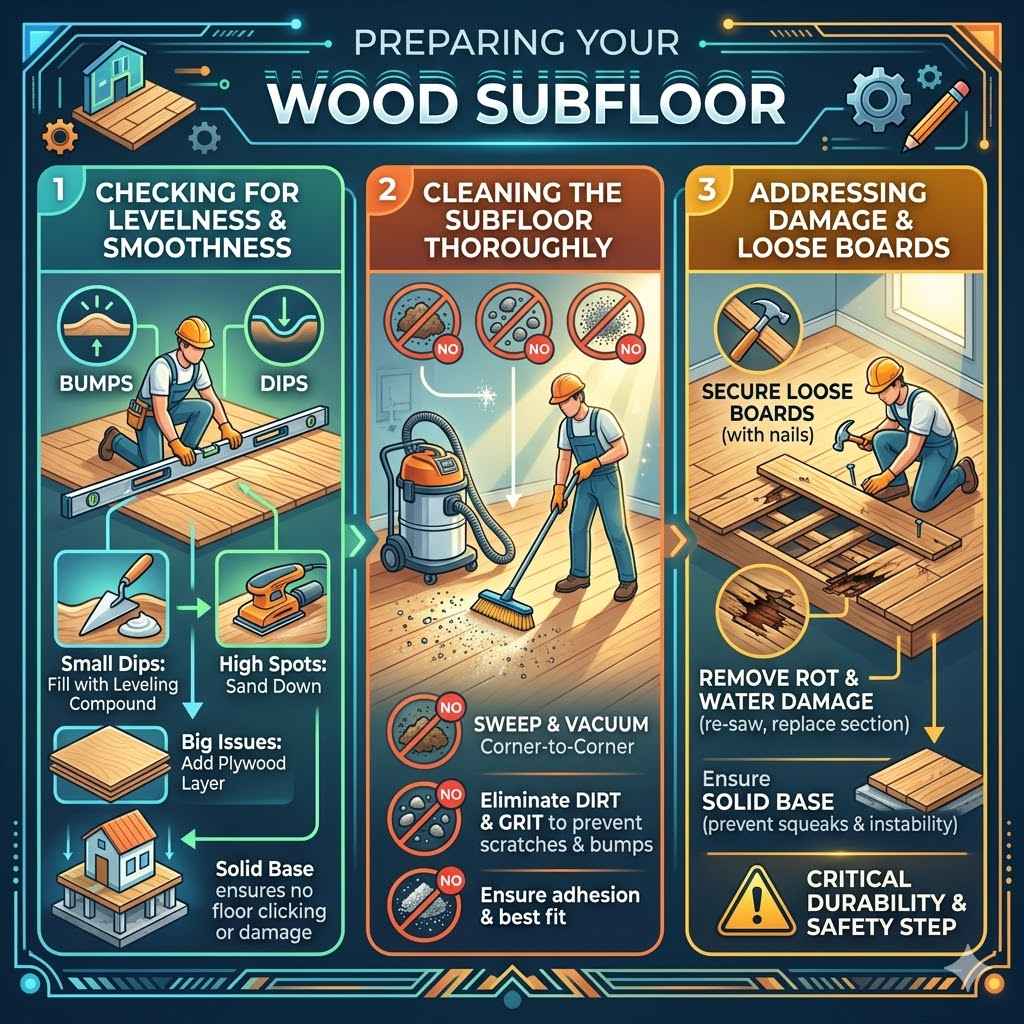
Preparing Your Wood Subfloor
Before you even think about laying down laminate, the most important step is getting your wood subfloor ready. This is where many DIY projects go wrong if not done right. A good subfloor means your new laminate will look great and last a long time.
If it’s not flat or clean, your laminate might click, pop, or even get damaged over time.
Checking for Levelness and Smoothness
Your wood subfloor needs to be nice and flat. Use a long, straight board or a level to check it. If you find any bumps or dips, you’ll need to fix them.
Small dips can often be filled with a leveling compound. For bigger issues, you might need to sand down high spots or add a thin layer of plywood. A smooth surface prevents the laminate from pressing down unevenly.
Think of it like building a house. If the foundation isn’t solid and even, the rest of the house will have problems. The same goes for your floor.
Unevenness can cause the locking mechanisms of the laminate planks to fail, leading to gaps or squeaks.
Cleaning the Subfloor Thoroughly
Dirt, dust, and debris are enemies of new flooring. Sweep and vacuum your wood subfloor really well. Pay close attention to corners and edges.
Any small stones or grit can scratch the underside of the laminate planks or create bumps. You want a perfectly clean surface for the best adhesion and fit.
Addressing Any Damage or Loose Boards
Check your existing wood floor for any loose boards, rot, or water damage. Loose boards can cause squeaking and instability. Nail them down securely.
If you find any rot or water damage, you need to remove that section and replace it. Laminate flooring needs a solid base, and damaged wood won’t provide that. This is a critical safety and durability step.
Choosing the Right Underlayment for Laminate
Underlayment is a thin layer that goes between your subfloor and the laminate planks. It’s super important for several reasons. It adds cushioning, helps block moisture, and reduces noise.
For installing laminate over wood, the right underlayment is key to a successful project.
Understanding Different Underlayment Types
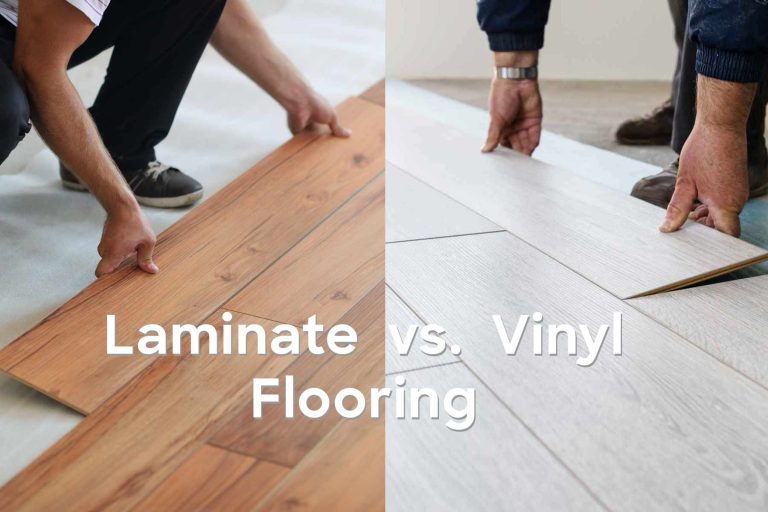
There are various types of underlayment available. Some are made of foam, others are felt, and some are combinations. For laminate floors, a foam underlayment is common.
It offers good cushioning and sound dampening. You can also find specialized underlayments that include a moisture barrier, which is a good idea if your wood subfloor is on a lower level or might be exposed to some dampness.
Always check the laminate flooring manufacturer’s recommendations for underlayment. They usually specify what type and thickness is best. Using the wrong underlayment can void your warranty and affect how the floor performs.
Moisture Barrier Considerations
If your wood subfloor is directly on a concrete slab, especially in a basement, a moisture barrier is almost always necessary. Even wood floors can wick up moisture from concrete. A plastic sheeting underlayment or a product with an integrated moisture barrier will protect your laminate from warping or swelling due to dampness.
This is a crucial step for longevity, particularly in basements or ground-level rooms.
Many people skip the moisture barrier thinking their wood floor is dry enough. However, moisture can travel invisibly through wood. A small amount of moisture over time can cause significant damage to your new laminate.
It’s better to be safe than sorry with this protective layer.
Laying the Laminate Flooring
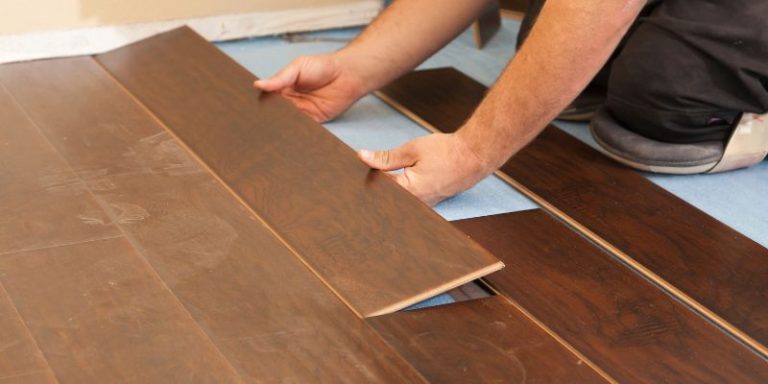
Now comes the part where you actually start putting down the planks. This is where you see your new floor taking shape. The click-lock system used by most laminate flooring makes this process quite manageable, even for beginners.
Starting the First Row
Always start in a corner of the room, usually the one furthest from the door. This way, as you work your way across, any waste from cuts will be less noticeable near the entrance. Leave a small expansion gap (usually 1/4 to 1/2 inch) around the perimeter of the room.
This gap allows the laminate to expand and contract with changes in temperature and humidity. You’ll cover this gap later with baseboards or trim.
The first row is very important because it sets the straightness for all the rows that follow. Make sure these planks are perfectly aligned with the wall, leaving that consistent expansion gap. If your first row is crooked, your whole floor might end up looking a bit off.
Cutting and Fitting Planks
As you get to the end of a row, you’ll likely need to cut a plank to fit. Measure the remaining space carefully, remembering to account for the expansion gap. Use a miter saw or a jigsaw for straight cuts.
For more complex cuts around doorways or obstacles, a jigsaw is usually best.
When cutting laminate, always cut from the printed side down if you are using a jigsaw or circular saw to minimize chipping on the top surface. For miter saws, you cut with the printed side up. Always wear safety glasses when cutting.
A sharp blade will give you cleaner cuts and make the job easier.
Installing Subsequent Rows
The click-lock system works by angling the tongue of one plank into the groove of another and then pushing down to lock them together. For the second row, you’ll often start with the cut-off piece from the end of the first row, provided it’s long enough (usually at least 8 inches). This staggering of joints makes the floor stronger and look more natural, like real wood.
Continue installing rows, ensuring each plank is securely locked into the previous one. You might need a tapping block and a rubber mallet to gently tap the planks together, especially along the long edges, to ensure a tight fit. Be careful not to hit too hard, as this can damage the locking system.
Dealing with Obstacles and Transitions
Rooms aren’t always simple rectangles. You’ll often run into doors, pipes, or changes in flooring. Handling these spots correctly makes your installation look professional.
Cutting Around Doorways and Frames
For doorways, you’ll need to undercut the door casing (the trim around the door frame). Use a hand saw or a jamb saw to cut just the bottom of the casing so that the laminate can slide underneath it. This creates a clean transition, hiding the edge of the laminate under the trim.
This method looks much better than cutting the laminate to fit awkwardly around the frame.
This technique is called “undercutting the jamb.” It involves sliding the laminate plank under the existing trim. You’ll need to measure the thickness of your laminate and the underlayment and then set your saw to cut slightly above that height. This ensures the plank fits snugly without being forced.
Installing Transition Strips
When you need to transition to a different type of flooring, like carpet or tile, or if you have a very large area that requires a break, you’ll use transition strips. These are metal or wood pieces that cover the gap between the two flooring types. They also help to cover the expansion gap needed in larger areas.
There are different types of transition strips. Some click into a track, others are screwed down, and some are glued. The type you choose will depend on the flooring you’re transitioning to and the specific product recommendations.
Always follow the instructions for the transition strip to ensure a secure and neat finish.
Maintenance and Care for Your New Floor
Once your beautiful new laminate floor is installed, you want it to stay looking great for years. Proper care is simple and prevents common problems.
Daily Cleaning Tips
For everyday cleaning, a broom or a vacuum cleaner with a soft brush attachment works best. Avoid using steam mops or excessive water, as this can seep into the seams and damage the laminate. Wipe up spills immediately with a slightly damp cloth.
Laminate flooring is quite durable for daily wear and tear. However, it’s not waterproof. Think of it like good furniture; you wouldn’t soak it in water.
A damp cloth is all you need for most cleaning tasks. For tougher spots, you can use a laminate floor cleaner specifically designed for the material.
Protecting Against Scratches and Wear
To protect your floor from scratches, place felt pads on the legs of all furniture. Use doormats at entrances to catch dirt and grit that can act like sandpaper. Avoid wearing high heels or cleats on the floor.
If you have pets, keep their nails trimmed. Small precautions can make a big difference in keeping your floor looking new.
It’s also wise to use area rugs in high-traffic zones, like hallways or living areas. These rugs absorb some of the wear and tear, protecting the laminate underneath. Make sure the rugs have a non-slip backing or use a rug pad to prevent them from sliding, which could be a tripping hazard.
Common Mistakes to Avoid
Even with clear instructions, some common mistakes can pop up during installation. Knowing about these beforehand can help you sidestep them easily.
Insufficient Expansion Gaps
One of the most frequent errors is not leaving enough space for the laminate to expand. Laminate flooring is made of composite materials that naturally swell and shrink with changes in temperature and humidity. If it’s installed too tightly against walls or fixed objects, it can buckle or warp over time.
Always measure and ensure you have the recommended gap around the entire perimeter.
A common size for this gap is about 1/4 to 1/2 inch. This space will be covered by your baseboards or quarter-round molding, so it won’t be visible. If you’re unsure, err on the side of leaving a slightly larger gap.
It’s much easier to cover a slightly larger gap than to fix a buckling floor.
Improper Subfloor Preparation
As mentioned earlier, a clean, flat, and solid subfloor is non-negotiable. Skipping steps like leveling or failing to remove debris can lead to a host of problems. These include squeaking, creaking, uneven surfaces, and premature wear on the locking mechanisms of the planks.
The time spent preparing the subfloor is an investment in the longevity and appearance of your new floor.
Imagine trying to lay tiles on a bumpy, sandy surface. They wouldn’t sit flat, and they’d be prone to cracking. Laminate is similar.
A smooth, firm surface is crucial for the planks to lay correctly and for the locking system to engage properly. This step is arguably the most critical for a successful installation.
Incorrect Plank Alignment and Staggering
Starting the first row perfectly straight is vital for the entire floor. If it’s off, subsequent rows will follow suit, creating an uneven appearance. Also, the joints between planks should be staggered.
This means the end joints of one row should not line up with the end joints of the row next to it. A good rule of thumb is to have at least a 6-inch stagger. This creates a stronger floor and mimics the look of real hardwood flooring.
If you don’t stagger the joints, the floor can look like a series of parallel lines, which is less appealing. It also creates weak points where the joints all line up. A proper stagger distributes the stress more evenly across the entire floor, making it more durable.
Benefits of Installing Laminate Flooring Over Existing Wood
Choosing to install laminate flooring directly over your current wood floor offers several advantages that make it an attractive option for homeowners. It’s a practical choice that balances cost-effectiveness with aesthetic appeal, providing a fresh new look without the extensive work of a full floor replacement.
Cost Savings and Time Efficiency
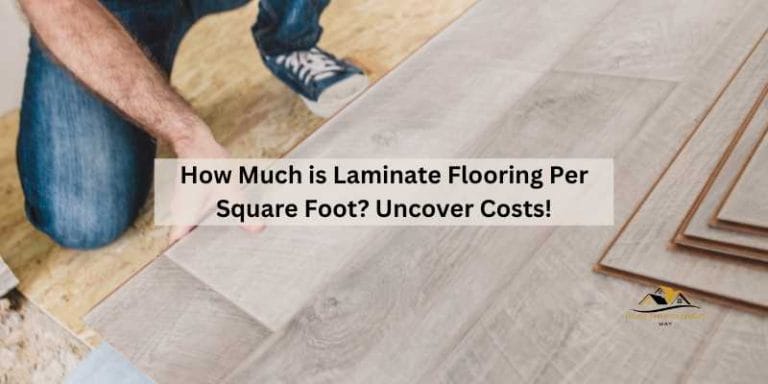
One of the biggest draws of installing laminate over wood is the significant cost saving. You avoid the labor and material costs associated with removing and disposing of the old flooring. Furthermore, the installation process itself is typically faster.
Many types of laminate flooring use a simple click-lock system, which is designed for easy DIY installation, cutting down on professional labor costs if you choose to hire help.
A study by HomeAdvisor found that the average cost to remove existing flooring can range from $0.50 to $2.00 per square foot, depending on the type and how it’s installed. This cost, combined with the potential for faster installation, means you can achieve a brand-new look for a fraction of the price of a full tear-out and new subfloor installation. For a 1,000-square-foot home, this could mean savings of hundreds, if not thousands, of dollars.
Versatility and Design Options
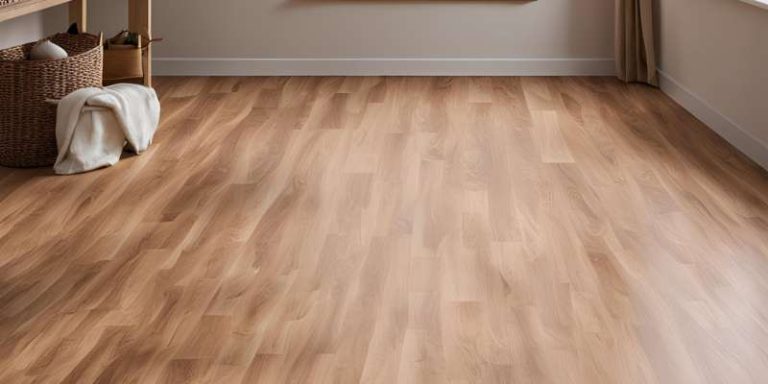
Laminate flooring comes in an astonishing array of styles, colors, and textures. You can find options that mimic the look of natural wood, stone, or tile, offering incredible design flexibility. This allows you to update your home’s aesthetic to match your personal taste or current interior design trends without being limited by your existing wood floor’s appearance.
Modern laminate manufacturing techniques allow for highly realistic visuals. You can get planks that replicate the grain patterns, knots, and even the slight imperfections of expensive hardwoods like oak, maple, or walnut. Some high-end options even feature textured surfaces that feel like real wood underfoot, adding to the illusion.
This variety means you’re almost guaranteed to find a laminate that perfectly suits your desired look.
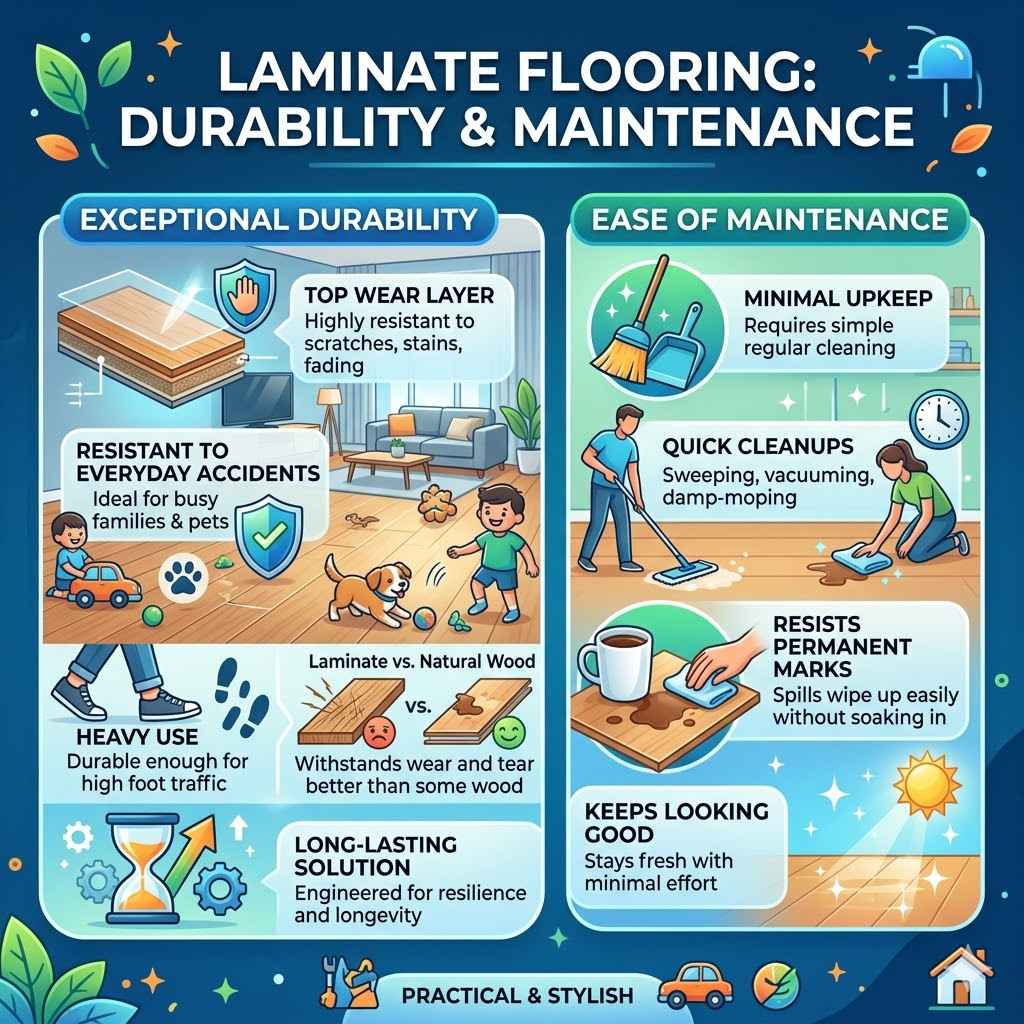
Durability and Maintenance
Laminate flooring is known for its durability. The top wear layer is highly resistant to scratches, stains, and fading, making it a great choice for busy households with children and pets. Compared to some natural wood floors, laminate can withstand more wear and tear without showing obvious signs of damage.
Its ease of maintenance is another major plus, as it requires minimal upkeep to keep it looking good.
For example, a busy family with young children might find that a scraped knee or a dropped toy causes damage to a natural wood floor. However, laminate is engineered to resist such common household accidents. Its protective layer means that everyday spills and foot traffic are less likely to leave permanent marks.
This resilience makes it a practical and long-lasting flooring solution.
Frequently Asked Questions
Question: Can I install laminate flooring over any type of wood floor
Answer: Generally, yes, you can install laminate flooring over most existing, well-maintained wood floors. The key is that the wood floor must be solid, level, and securely fastened down. Any loose or damaged sections of the wood floor should be repaired or replaced first.
Question: Do I need to remove my old wood floor
Answer: In most cases, you do not need to remove your old wood floor. As long as it’s in good condition, it can serve as a suitable subfloor for your new laminate. This saves significant time, effort, and money.
Question: What is the most important step when installing laminate over wood
Answer: The most important step is proper subfloor preparation. This includes ensuring the wood floor is level, smooth, and completely clean. Any imperfections in the subfloor can lead to problems with the new laminate flooring.
Question: How do I deal with moisture if my wood floor is in a basement
Answer: If your wood floor is in a basement or prone to moisture, you must use a moisture barrier underlayment. This protects the laminate from damage caused by moisture seeping up from the concrete slab or ground.
Question: Can I install laminate flooring on stairs
Answer: Installing laminate flooring on stairs is possible, but it requires special stair nosing pieces and careful cutting. It’s often more complex than installing on a flat floor and may be best left to professionals if you’re a beginner.
Conclusion
Installing laminate flooring over your existing wood floor is a very achievable DIY project. By following these steps carefully, you ensure a smooth, level, and clean subfloor. You’ll also choose the right underlayment for protection and comfort.
Proper installation of the planks, including expansion gaps and staggered joints, leads to a durable and attractive floor. Enjoy your refreshed space!