How To Keep Chairs From Sliding On Hardwood Floors Easy
To easily keep chairs from sliding on hardwood floors, use adhesive rubber grippers or silicone leg protectors. Clean the bottom of the chair leg, then peel and stick the gripper or stretch the silicone cap over the leg. These solutions add friction, stopping movement instantly and protecting your floors from scratches.
Hello there! I’m Md Meraj, and I love helping folks like you tackle home projects with confidence. Have you ever gone to sit down, only to have your dining chair skate halfway across the room? Or maybe you cringe at the sound of chair legs screeching across your beautiful hardwood floors. It’s a common problem, but don’t worry, it’s also one of the easiest to fix.
That constant sliding isn’t just annoying—it can leave ugly scratches on your flooring and even be a safety risk. But you don’t need to call a professional or buy expensive new furniture. In this guide, I’ll walk you through several simple, affordable ways to stop your chairs from sliding for good. Let’s get those chairs to stay put!
Why Do My Chairs Slide (And Why Is It A Problem?)
It all comes down to a simple science word: friction. Hardwood floors are smooth and have a low-friction surface. The small, often hard plastic feet on the bottom of most chair legs are also smooth. When you put two smooth surfaces together, they glide against each other easily. Think of an ice skate on ice—it’s the same idea!
While a sliding chair might seem like a small issue, it can cause a few real headaches:
- Floor Damage: This is the biggest concern. Constant sliding, especially when dirt or grit gets trapped under a chair leg, can cause deep scratches, scuffs, and scrapes on your hardwood finish. Over time, this can ruin the look of your floors.
- Noise: The scraping, screeching sound of a chair sliding on a wood floor is enough to make anyone wince. It’s disruptive and just plain unpleasant.
- Safety Issues: A chair that moves unexpectedly can be a hazard, especially for children or older adults. It can slide out from under someone as they are sitting down, leading to a fall. The U.S. Consumer Product Safety Commission highlights the importance of stable furniture to prevent falls at home.
The good news is that solving this problem is as simple as adding a little bit of friction back into the equation. Let’s look at the best ways to do that.
Choosing the Right Solution for Your Chairs
Before you run to the hardware store, it’s helpful to know what your options are. Not every solution is perfect for every chair or every home. Some are better for stopping movement completely, while others are designed to protect your floors while still allowing for a little slide. Here’s a quick overview to help you decide.
| Solution Type | Primary Goal | Ease of Installation | Best For |
|---|---|---|---|
| Felt Pads | Floor Protection | Very Easy | Dining chairs that need to move easily |
| Rubber Grippers | Stopping Sliding | Very Easy | Chairs that should stay completely still |
| Silicone Protectors | Protection & Sliding Prevention | Easy | Chairs with round or square legs |
| Area Rug | Style & Stopping Sliding | Easy | Defining a space like a dining area |
| Furniture Cups | Heavy Furniture | Very Easy | Heavy armchairs or stationary furniture |
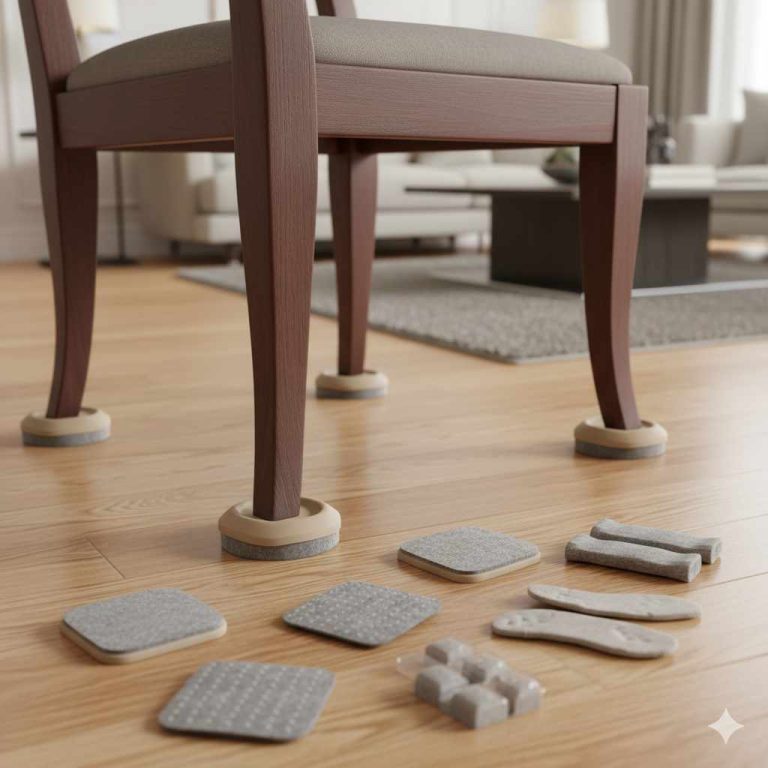
Method 1: Felt Pads – The Classic Choice for Floor Protection
Felt pads are probably the first thing that comes to mind. They are small, soft pads, usually with a sticky back, that you attach to the bottom of chair legs. While they are fantastic for preventing scratches, it’s important to know that their main job isn’t to stop sliding. They reduce friction, making chairs slide more quietly and smoothly. They are a great choice if your main goal is to protect your floors from scratches while still being able to move your chairs easily.
Pros & Cons of Felt Pads
- Pros: Very cheap, easy to find, excellent at preventing scratches, and they make chairs quiet.
- Cons: They don’t stop sliding (can make it easier), wear out over time, and can collect dust and debris.
How to Install Felt Pads Correctly
- Clean the Chair Leg: This is the most important step! Turn the chair upside down. Use a cloth with a little rubbing alcohol to wipe the bottom of each leg. This removes any dirt, grease, or old adhesive. Let it dry completely. A clean surface helps the pad stick much better.
- Choose the Right Size: Use a felt pad that is slightly smaller than the bottom of the chair leg. If it’s too big, the edges will peel up and collect dust. You can buy pre-cut circles and squares or a large sheet you can cut to size.
- Peel and Stick: Carefully peel the paper backing off the felt pad. Try not to touch the sticky side with your fingers, as oils from your skin can weaken the adhesive.
- Apply Firm Pressure: Center the pad on the chair leg and press down firmly for about 30 seconds. This ensures a strong bond. Let the adhesive cure for a few hours before using the chair, if possible.
My Pro Tip: Check your felt pads every month or two. They can wear down or fall off, especially on chairs that are used a lot. Keeping them clean and replacing them when needed will keep your floors safe.
Method 2: Rubber Grippers – The Best for Stopping Movement
If your main goal is to anchor your chairs and stop them from sliding completely, rubber grippers are your best friend. These are similar to felt pads but are made of a high-friction, non-slip rubber material. When you place these on the bottom of your chair legs, they create a strong grip on the hardwood floor, keeping the chair firmly in place.
Pros & Cons of Rubber Grippers
- Pros: Excellent at preventing sliding, inexpensive, easy to install, and provide good floor protection from dents.
- Cons: Can sometimes leave faint scuff marks on certain floor finishes (test first!), and they make chairs very difficult to slide on purpose.
Step-by-Step Guide to Applying Rubber Grippers
- Prep the Surface: Just like with felt pads, cleaning is key. Flip the chair over and scrub the bottom of each leg with rubbing alcohol to remove all grime. A clean, dry surface is essential for a good stick.
- Select the Gripper: Choose a rubber gripper that matches the size and shape of your chair leg bottom. Most come in pre-cut circles or squares.
- Peel and Apply: Peel off the backing and carefully place the gripper onto the leg. Press down hard for at least 30 seconds to activate the adhesive.
- Let it Set: For the strongest hold, let the chair sit for a few hours before putting it back into regular use. This gives the adhesive time to fully bond.
These are perfect for chairs that you don’t want to move at all, like chairs in a living room or bar stools that need to stay put for safety.
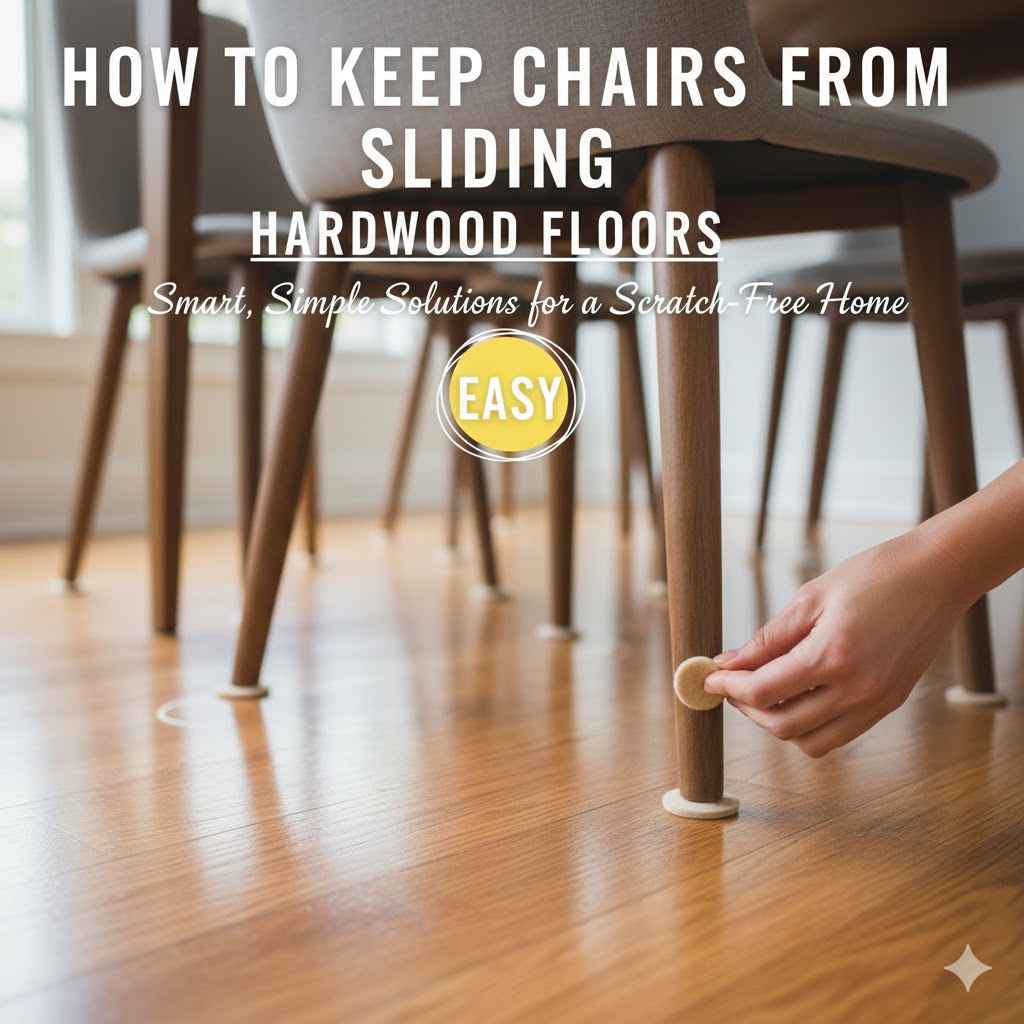
Method 3: Silicone Chair Leg Protectors – The All-in-One Solution
Silicone chair leg protectors are a fantastic modern solution. Think of them as little “booties” or “socks” for your chair legs. They are usually made of clear, flexible silicone with a felt pad fused to the bottom. They stretch to fit snugly over the end of the leg, providing a secure fit that won’t fall off.
This design combines the best of both worlds: the silicone cup grips the chair leg securely, while the felt bottom protects the floor and allows for a quiet, smooth (but controlled) glide. They are a great middle-ground if you want both protection and some slide resistance.
Pros & Cons of Silicone Protectors
- Pros: Very durable, won’t fall off like adhesive pads, protect floors from scratches, reduce noise, and many have felt bottoms to prevent sliding.
- Cons: Can be more visible than adhesive pads, and you must get the exact right size for them to fit properly.
How to Use Silicone Leg Protectors
- Measure Your Chair Legs: This is the most critical step! Use a ruler or measuring tape to find the diameter (for round legs) or length and width (for square legs) of your chair leg. Protectors come in many sizes, so you need an accurate measurement.
- Choose the Right Protector: Buy the protectors that match your measurements and leg shape. Most product descriptions will list the size range they fit.
- Stretch and Slide On: The silicone is very flexible. Simply stretch the opening of the protector and slide it up onto the chair leg until it fits snugly against the bottom. No glue or tools are needed!
Because they grip the leg itself, you never have to worry about them peeling off. They also create a nice barrier that prevents scuff marks along the base of the leg, not just the bottom.
Method 4: Furniture Cups or Coasters – For Heavy or Stationary Chairs
Furniture cups, also known as casters or floor protectors, are small, shallow cups that you place under each chair leg. They are typically made of a non-slip rubber or plastic material. You don’t attach them to the chair; instead, the leg simply rests inside the cup.
These are ideal for heavier chairs, like armchairs or recliners, that you don’t intend to move often. The weight of the chair keeps the legs securely inside the cups, and the non-slip bottom of the cup holds the entire piece of furniture in place.
Pros & Cons of Furniture Cups
- Pros: Extremely effective at preventing movement, requires no installation, distributes weight to prevent dents, and works well for heavy furniture.
- Cons: Can be bulky and noticeable, not suitable for chairs that need to be moved frequently (like dining chairs), and dust can collect in the cup.
Using Furniture Cups Effectively
Using them couldn’t be simpler. Just lift one corner of the chair and slide a cup underneath the leg. Repeat for all four legs. Make sure the leg is centered in the cup. That’s it! Your chair is now anchored.
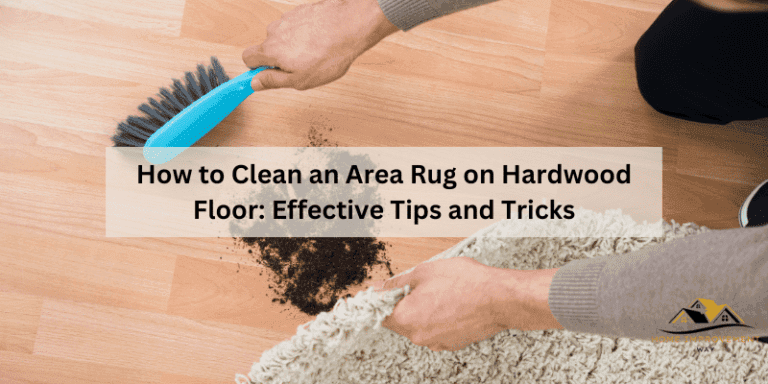
Method 5: An Area Rug – The Stylish and Simple Fix
Sometimes the easiest solution is also the most decorative. Placing an area rug under your dining table or in your living room instantly solves the sliding chair problem. The rug’s texture provides all the friction you need, holding the chairs in place. It also adds warmth, color, and style to your space and helps define a specific area, like a dining nook.
Pros & Cons of an Area Rug
- Pros: Completely stops sliding, protects a large area of your floor, reduces noise significantly, and enhances your room’s decor.
- Cons: Can be more expensive than other options, requires regular cleaning (especially under a dining table), and may not fit every style.
My Pro Tip: If you choose an area rug, make sure to place a high-quality, non-slip rug pad underneath it. This will prevent the rug itself from slipping on the hardwood, which is a common safety hazard. According to research from institutions like the University of Otago, preventing slips is a key part of home safety.
Comparing Your Options: A Quick-Look Table
Still not sure which option is best for you? Here’s a detailed table to help you compare the solutions at a glance.
| Solution | Best For | Cost | Installation | Sliding Prevention | Floor Protection |
|---|---|---|---|---|---|
| Felt Pads | Scratch prevention on chairs you want to move. | Low | Very Easy | Poor (can increase sliding) | Excellent |
| Rubber Grippers | Stopping any and all movement. | Low | Very Easy | Excellent | Very Good |
| Silicone Protectors | A durable, all-around solution that won’t fall off. | Low-Medium | Easy | Good (with felt bottoms) | Excellent |
| Furniture Cups | Heavy, stationary chairs and furniture. | Low-Medium | Very Easy | Excellent | Excellent |
| Area Rug | A stylish fix for a whole dining or seating area. | High | Easy | Excellent | Excellent |
Maintaining Your Solution for Long-Lasting Results
Once you’ve applied your chosen solution, a little bit of maintenance will make sure it lasts. No matter what you use, dirt and grit are the enemy. They can wear down your protectors and scratch your floors.
- For Adhesive Pads/Grippers: Check them every month or so to make sure they are still securely attached and not worn out. Wipe them clean with a damp cloth if they get dusty.
- For Silicone Protectors: You can pop them off every few months to clean out any dust that has collected inside. Wash them with soap and water, let them dry, and slide them back on.
- For Area Rugs: Vacuum regularly, especially under tables. And don’t forget to clean your non-slip rug pad occasionally to keep its grip strong.
Frequently Asked Questions (FAQ)
Will felt pads stop my chairs from sliding?
No, felt pads are designed to make sliding easier and quieter while protecting floors from scratches. If you want to stop sliding, choose rubber grippers or silicone protectors with non-slip bottoms.
Can rubber feet damage my hardwood floors?
Generally, no. High-quality rubber feet are safe for hardwood. However, very cheap, hard plastic or vinyl grippers can sometimes leave scuff marks on certain finishes. It’s always a good idea to test one on an inconspicuous area first.
How do I measure my chair legs for protectors?
For round legs, use a ruler to measure the diameter (the distance straight across the bottom). For square legs, measure the length of one of the flat sides. Buy silicone protectors that are designed to fit your specific measurement for a snug fit.
What’s the cheapest way to stop chairs from sliding?
Adhesive rubber grippers are typically the most affordable option. A pack that can cover several chairs often costs just a few dollars at any hardware or home goods store.
How often should I replace felt pads on my chairs?
It depends on how much the chair is used. For a kitchen chair that’s used daily, you might need to replace the pads every 6 to 12 months. For a chair that’s rarely used, they can last for years. Check them every few months for wear and tear.
Are silicone chair leg protectors better than felt pads?
They solve different problems, but for durability and staying power, silicone protectors are often better. They grip the leg so they don’t fall off, and many models include a felt bottom, giving you both scratch protection and a secure fit. They are a great modern alternative to traditional stick-on pads.
Conclusion: Enjoy Your Quiet, Stable Chairs
There you have it! No more chasing your chair around the kitchen or cringing at that awful scraping sound. As you can see, learning how to keep chairs from sliding on hardwood floors is a quick, easy, and satisfying DIY project that anyone can do. Whether you choose simple rubber grippers, stylish silicone booties, or a beautiful new area rug, you’re not just stopping a minor annoyance—you’re protecting your valuable hardwood floors and making your home safer and more peaceful.
Taking care of these little things is what turns a house into a comfortable, well-loved home. So pick the solution that’s right for you, spend a few minutes putting it in place, and enjoy the peace and quiet of chairs that finally stay put. Happy home improving!