How to Read a Tape Measure Accurately
Reading a tape measure accurately means knowing what each mark represents, from the whole inch numbers down to the small 1/16-inch lines between them, and understanding why the metal hook at the end is intentionally loose rather than defective. This guide breaks down the standard markings, the stud-spacing marks contractors rely on, and how to take accurate inside measurements.
Understanding the Markings
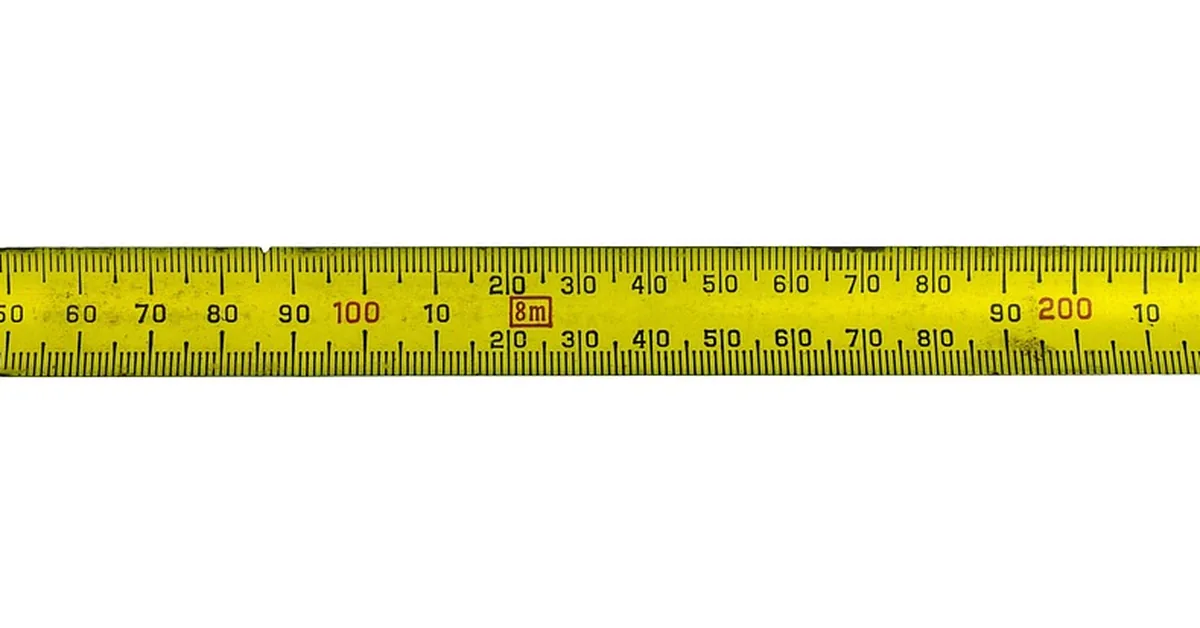
Between each inch number, a standard tape breaks the space into sixteenths, marked by lines of progressively shorter length: the halfway line (1/2 inch) is the longest, then the quarter marks (1/4, 3/4), then eighths, then the shortest lines mark sixteenths. Many contractor-grade tapes also print a magnified 1/32-inch scale on the first foot for finer work. Bold or red numbers appear at 16 inches, 24 inches, and often small black diamond marks at 19.2-inch intervals; these correspond to standard stud spacing, joist spacing, and the five-equal-spacing layout used for engineered floor trusses, letting a framer mark layout without doing math on the spot.
Why the End Hook Wiggles (and Why That’s Correct)
The metal hook at the tape’s end is riveted on with intentional play, often called “rivet slop,” that lets it slide back and forth by exactly the thickness of the hook itself. When you hook the tape over the outside edge of something and pull, the hook slides out to compensate for its own thickness; when you push the tape against an inside surface, the hook slides in by the same amount. Both situations produce an accurate reading precisely because the hook isn’t rigid. Trying to hold the hook still or bending a warped one actually introduces measuring error rather than fixing it.
Reading Fractions Quickly
Rather than counting every individual sixteenth line from the last whole inch, train your eye to recognize the pattern: find the nearest quarter-inch mark first, then count remaining sixteenth lines from there. With practice this becomes nearly instant and far less error-prone than counting from zero every time, especially on tapes where the printed fraction numbers are small or worn.
Taking Accurate Inside Measurements
For an inside measurement, such as the width inside a window frame or cabinet opening, butt the tape’s case against one surface and read where the blade meets the other, then add the width of the tape’s case itself, which is printed directly on the case, commonly 3 inches on standard 25-foot tapes. Skipping this addition is one of the most common measuring mistakes and throws inside measurements off by exactly that case width every time.
Frequently Asked Questions
Why is my tape measure’s hook loose?
It’s designed that way on purpose. The slight give in the rivet lets the hook slide to compensate for its own thickness whether you’re measuring by hooking an outside edge or pushing against an inside surface.
What do the red numbers on a tape measure mean?
Red or bold numbers typically mark standard framing intervals, usually every 16 inches, matching common stud and joist spacing so builders can quickly mark layout without calculating each position.
How accurate are cheap tape measures compared to name brands?
Budget tapes can have less precise printing and a hook that wears loose faster or bends more easily, both of which introduce small errors over repeated use. For general household use the difference is minor, but for finish carpentry or cabinetry, a quality name-brand tape holds its accuracy far longer.
Sponsored / affiliate links. As an Amazon Associate I earn from qualifying purchases. I may earn additional commission from eligible campaigns.