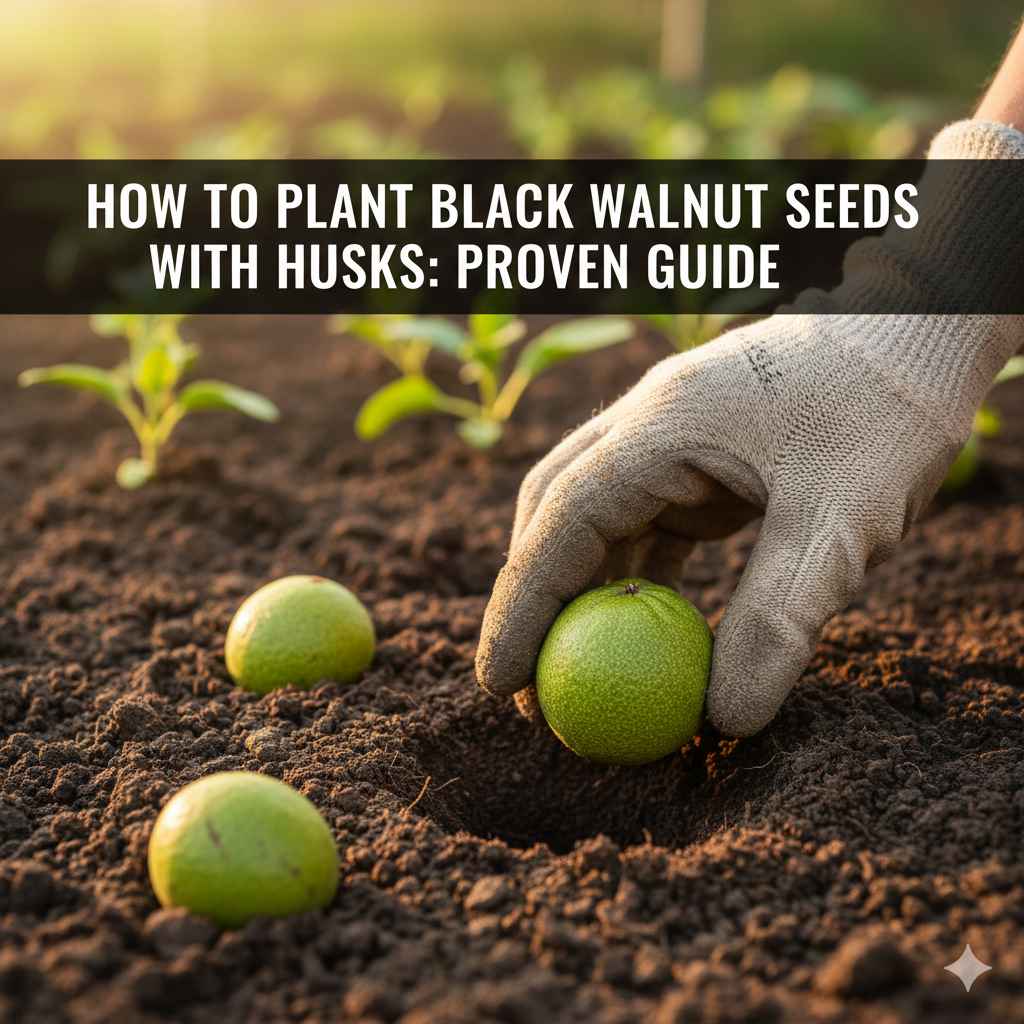
How To Plant Black Walnut Seeds With Husks: Proven Guide
To successfully plant black walnut seeds with husks, the key is stratification: you must simulate winter by refrigerating the moist, hulled seeds for 60 to 120 days before planting them outdoors in well-draining soil in the spring. This mimics nature and ensures germination.
Getting a mighty black walnut tree started from scratch feels like real magic. These giant trees produce incredible timber and delicious nuts, but getting those hard seeds to sprout can be tricky! Many folks try planting them straight from the ground, and nothing happens. Don’t worry; it’s not you—it’s nature’s way of making sure these tough seeds wait for the right time. We are going to walk through the simple steps to trick those seeds into waking up. By following this proven, easy guide, you will be on your way to growing your own handsome, long-lived black walnut tree, no matter where you live. Let’s get those seeds ready to grow!
The Secret to Starting Black Walnut Trees: Why Husks Matter
Black Walnut (Juglans nigra) is a treasure in the yard and in the workshop. Homeowners love them for the valuable wood and tasty nuts, but starting them is where most beginners get stuck. The seed—the actual nut inside that hard shell—needs a cold period to break dormancy. This process is called stratification.
When you find walnuts in the fall, they are wrapped in a thick, green-to-black husk. This husk serves two purposes: it protects the nut and it holds the seed in a cozy environment while it waits out the winter. Planting them immediately, husk and all, often leads to the seed rotting before it ever gets the chance to sprout. We need to manage that husk and provide the right cold shock.

Essential Supplies for Planting Black Walnut Seeds
Before we start prepping our seeds, gather a few simple items. You probably have most of this lying around your garage or home right now. Having the right tools makes the job clean and efficient.
Tools and Materials Checklist
- Freshly gathered Black Walnut seeds (still in their husks).
- Sturdy gloves (the husk juice stains!).
- A bucket or tub for soaking.
- A sharp utility knife or strong clippers (for husk removal).
- A sealable plastic bag (freezer or zip-top style).
- Moist medium: Peat moss, shredded sphagnum moss, or damp paper towels.
- A refrigerator (you will need space for 2–4 months).
- Optional: A good fungicide or hydrogen peroxide solution (for added protection).
Step 1: Harvesting and Cleaning the Seeds
The first step is gathering your raw materials. Timing is important here. Wait until the walnuts naturally fall from the tree, usually from September through October.
Identifying Good Seeds
Not every dropped nut will grow. Here is how to choose the best candidates:
- Color: Look for husks that are starting to turn dark green or black. If the husk is completely dry and brown, the seed inside might already be damaged or too old.
- Smell Test: Good, fresh nuts will have a strong, earthy smell. Avoid any that smell moldy or rotten.
- The Float Test: This is a great way to check for viability early on. Place all your collected walnuts in a bucket of water. Seeds that sink are generally heavy and full of meat—keep these! Seeds that float often have air pockets, or the interior meat has spoiled, so discard them.
Removing the Husks (The Messy Part!)
This is the step that requires gloves and maybe a trip outside! The husk contains juglone, a chemical compound that can irritate skin and stain everything it touches black or dark brown. Safety first!
- Wear Gloves: Put on your heavy-duty work gloves or dishwashing gloves.
- Initial Soak: Submerge the walnuts (husks on) in a bucket of water for 2–3 days, changing the water daily. This softens the husk tissue significantly, making removal easier.
- Scrape or Rub: After soaking, put on your gloves and scrub the husks off. You can use an old scouring pad, rub them against concrete (outside!), or use a stiff brush. For really stubborn ones, a sharp utility knife can carefully score the husk to peel it away from the hard shell underneath.
- Rinse Thoroughly: Once the husks are gone, rinse the hard shells until the water runs clear. You must remove all the mushy husk material, as it will mold quickly during storage.
Important Note: While the title suggests planting with husks, experienced growers highly recommend removing the husk first. The decaying husk material introduces mold and fungus that will kill the seed during the required cold period. For successful germination and a high success rate, husk removal is a crucial, non-negotiable step before stratification.
Step 2: Preparing Seeds for Stratification (The Cold Nap)
Now that you have clean, hard shells, we need to put them through artificial winter. This cold, moist period breaks the seed’s natural dormancy.
Choosing Your Moist Medium
You need a material to keep the shell slightly damp but not soaking wet. Soggy conditions lead to rot; dry conditions stop the necessary cold process.
| Medium | Pros | Cons |
|---|---|---|
| Peat Moss or Sphagnum Moss | Excellent moisture retention; resistant to mold. | Can be slightly acidic; may need sterilization. |
| Vermiculite/Sand Mix | Great drainage; easy to see seed condition. | Dries out faster, requiring more monitoring. |
| Damp Paper Towels | Easiest and cheapest option for small batches. | Requires very frequent checks to ensure dampness. |
The Stratification Process (Simulating Winter)
This technique is formally known as cold, moist stratification.
- Prepare the Bag: Take your clean, sealable plastic bag. Fill it about halfway with your chosen moist medium (peat moss or vermiculite). It should feel like a damp sponge—wet, but no water drips out when squeezed hard.
- Place the Seeds: Place your cleaned walnut seeds into the bag, spacing them out slightly. Do not pack them too tightly. Add a little more medium on top until the seeds are mostly covered.
- Label Clearly: Use a permanent marker to write the date you started stratification and the type of seed (“Black Walnut – Cold Strat”). This helps you track the timeline.
- Refrigeration: Place the sealed bag in the vegetable crisper drawer of your refrigerator. The ideal temperature for stratification is between 34°F and 40°F (1°C to 4°C). Avoid the freezer compartment entirely!
-
Monitor Weekly: Check the bag once a week. You are looking for two things:
- Is the medium still slightly damp? If it looks dry, mist it lightly with distilled water and reseal.
- Is there mold or fungus growing? If you see fuzzy white or gray spots, remove the affected seeds immediately, wipe down the remaining seeds with a very dilute hydrogen peroxide solution (1 part 3% peroxide to 10 parts water), and refresh the moist medium.
The required time for black walnuts is typically 90 to 120 days (three to four months). This long cold period tells the seed that winter has successfully passed and spring is here.
Step 3: Planting Your Stratified Seeds Outdoors
Once the required cold period is over (usually mid-to-late spring, after the last frost danger has passed), it is time to move your seeds to their final home or temporary nursery pots. For the best chance of success, especially as a beginner, temporary potting is often easier to manage than direct seeding in a permanent spot.
When to Plant
Planting should occur when the soil temperature is consistently above 60°F (15°C). This ensures the seed doesn’t sit in cold, wet soil, which encourages rot instead of growth. Wait until late April or May, depending on your climate zone.
Potting vs. Direct Sowing
Black walnuts develop long taproots very quickly. If you plant them directly into their final location too early, you risk disturbing this root during weeding or other yard work. A temporary pot allows you to control the environment while the taproot establishes.
Method A: Using Nursery Pots (Recommended for Beginners)
- Choose the Pot: Use deep containers, at least 18 inches deep if possible, to accommodate the long taproot. Drainage holes are mandatory.
- Soil Mix: Use a light, well-draining potting mix. You can buy a mix designed for trees or blend standard potting soil with sand or perlite (about 3 parts soil to 1 part sand/perlite).
- Planting Depth: Walnuts germinate best when planted horizontally, about 1 to 2 inches below the soil surface. The pointed end should ideally face slightly down.
- Watering: Water thoroughly after planting. Keep the soil consistently moist but never soggy while waiting for germination.
Method B: Direct Sowing in the Garden
If you choose to plant directly where you want the tree to grow, remember that walnuts are susceptible to wildlife interference (squirrels love them!).
- Site Selection: Choose a spot with full sun and excellent drainage. Remember, a mature black walnut tree can reach 75 to 100 feet tall and wide, so plan far away from septic systems, foundations, and property lines.
- Digging the Hole: Dig a hole about three times as wide as the seed, but only about 2 inches deep. Black walnuts hate compacted soil. Consider amending the top 6 inches of soil with compost if your native soil is heavy clay.
- Placement: Place the seed on its side, about 2 inches deep. Cover loosely with the native soil.
- Protection: This is vital for direct sowing. Squirrels will easily dig these up. Cover the newly planted area with a cage made of chicken wire or hardware cloth, securing the edges into the ground. This keeps critters out while still allowing water and air in. You can remove this barrier once the sprout is 6 inches tall.
For more detailed soil preparation guidelines regarding deep-rooted trees, resources like the Penn State Extension on Tree Planting offer excellent, detailed guidance on drainage, which is crucial for walnuts.
Step 4: Care After Planting and Monitoring for Sprouting
Patience is your greatest virtue during this final stage. Black walnut seeds are slow to germinate after stratification, sometimes taking several weeks, even under perfect conditions.
Watering Needs
Consistency is key. While the seed is trying to sprout, the soil should remain moist like a wrung-out sponge. Avoid overhead watering if possible, as splashing soil onto the emerging seedling can encourage damping-off disease. Water gently at the base.
Watching for Sprouts
Germination usually occurs 3 to 6 weeks after planting them outside in the warm soil. The first sign you’ll see is a shoot emerging from the soil. Initially, it might look tender and thin. Protect it!
Dealing with Seedling Vulnerabilities
Young black walnut seedlings are vulnerable. Keep them protected from heavy winds, rabbits, and voles that might chew the tender bark.
- Weeding: Be extremely careful when weeding around the base. Because the taproot grows straight down quickly, disturbing the soil nearby can damage the main root. Pull weeds by hand carefully, not with a hoe.
- Fertilizer: Avoid heavy fertilizers in the first year. A young tree needs to develop its root structure first. Focus on good water management instead.
Understanding Walnut Tree Growth Stages
It helps to know what you are aiming for over the next few years. Black walnuts are not fast growers in their very first year, but they catch up quickly.
| Year | Expected Growth & Concern | Maintenance Focus |
|---|---|---|
| Year 1 (Seedling) | Slow growth (6–18 inches). Developing a strong taproot. Very tender. | Watering, protection from pests, weed control around the base. |
| Year 2–3 | Growth accelerates significantly (1–3 feet per year). Stronger bark develops. | Ensure adequate spacing. Mulch lightly to retain moisture, keeping mulch away from the trunk. |
| Year 5+ | Rapid, substantial growth. Tree begins developing its characteristic upright shape. | Pruning for structural balance, if needed. Monitor for pests like walnut caterpillars. |
Troubleshooting Common Planting Mistakes
Even when you follow the steps, sometimes seeds just won’t sprout. Here are the most common reasons and how to fix them for next season.
Issue 1: Seeds Rotted During Stratification
Cause: Too much moisture in the bag, or leftover husk material introduced mold.
Fix: Next time, ensure your medium is only damp, not wet. Sterilize your bag and medium with a light bleach or peroxide wash before use. Always remove all husk residue.
Issue 2: Seeds Died During Refrigeration
Cause: The temperature fluctuated too much, or the seeds dried out completely.
Fix: Keep the bag away from the cooling elements in your fridge. Check moisture levels religiously. Do not let the medium become dry to the touch.
Issue 3: Nothing Happened After Planting Outside
Cause: Planting occurred before the soil warmed up sufficiently, or the seeds were not stratified long enough.
Fix: Be patient! If it’s only been three weeks, keep watering lightly and wait. If you think stratification was too short (under 90 days), the seed is still waiting for winter to end. Next year, aim for 120 days of cold exposure.
If you are serious about large-scale growing or want to learn more about forest tree production, research programs through state universities, such as those focused on timber science, can offer further technical insights into seed handling specific to your region. For example, resources from USDA Forest Service publications often cover best practices for native hardwood germination.
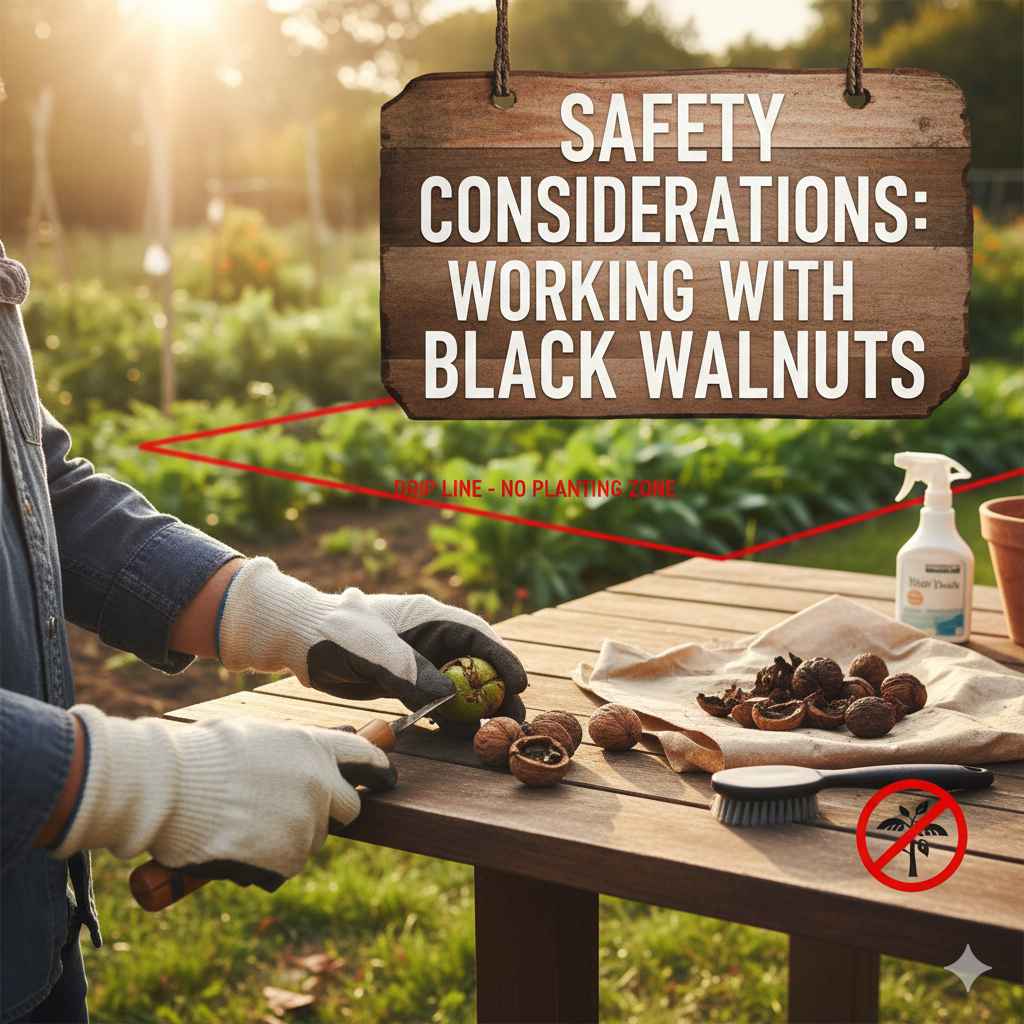
Safety Considerations: Working with Black Walnuts
As I mentioned during husk removal, black walnuts contain juglone. This chemical is natural, but it is toxic to many other plants, especially tomatoes, potatoes, and members of the apple family. This phenomenon is called allelopathy.
While this doesn’t affect your ability to sprout the seed itself, it’s vital for garden planning. When you plant your seedling, make sure you select a location where its future root system won’t conflict with sensitive ornamental or vegetable plantings nearby. For a mature tree, avoid planting vegetable gardens within the drip line (the area under the outer branches) of the tree.
Tips for Handling Juglone Safely
- Always wear gloves when cleaning the nuts; stains are difficult to remove from skin and clothing.
- Dispose of the husk material in yard waste or compost piles far away from sensitive ornamentals.
- Rinse tools (knives, buckets) thoroughly with water after use.
Conclusion: Your Journey to a Mighty Tree Starts Now
Starting a black walnut tree from seed might seem like a multi-step project, but remember: you are just copying what Mother Nature does every fall. The core steps—husk removal, moist storage, and a long, cold nap in the fridge—are all designed to give your seed the perfect head start. Don’t be discouraged if your first batch doesn’t sprout perfectly; gardening is a learning process, and walnuts teach patience! By following these reliable steps for cold stratification and careful outdoor planting, you have built the foundation for a beautiful, strong black walnut tree that will provide shade, beauty, and perhaps even nuts for generations to come. Happy planting!
Frequently Asked Questions (FAQ) about Planting Black Walnut Seeds
Q1: Can I plant black walnut seeds without removing the husk?
A: While technically possible, it is strongly discouraged for beginners. The decaying husk creates mold and fungus during the required cold stratification period, which usually kills the seed before it can sprout. Removing the husk yields a much higher success rate.
Q2: How long do black walnut seeds need to be refrigerated (stratified)?
A: Black walnut seeds require cold, moist stratification for a minimum of 90 days, but often 120 days provides the best results. The temperature must stay consistently between 34°F and 40°F.
Q3: Why are my seeds floating during the initial water test?
A: Floating seeds usually indicate that the seed inside is not viable (it may be hollow or rotten). Only plant the seeds that sink to the bottom, as they are denser and likely healthy.
Q4: What is the best soil to use when planting the sprouted seed outside?
A: The best soil is loose, rich in organic matter, and drains water very well. Walnuts develop long taproots and hate sitting in soggy ground, which causes root rot. Avoid heavy clay soil unless you significantly amend it with sand or compost.
Q5: How deep should I plant the seed after stratification?
A: Plant the clean, stratified seed about 1 to 2 inches deep in the soil. Planting them on their side is often recommended, as this naturally positions the emerging taproot downward.
Q6: How long does it take for a planted black walnut seed to sprout?
A: After successful stratification and planting in warm soil (above 60°F), germination usually takes 3 to 6 weeks. Be patient, as the tree is focusing heavily on root establishment in its first year.