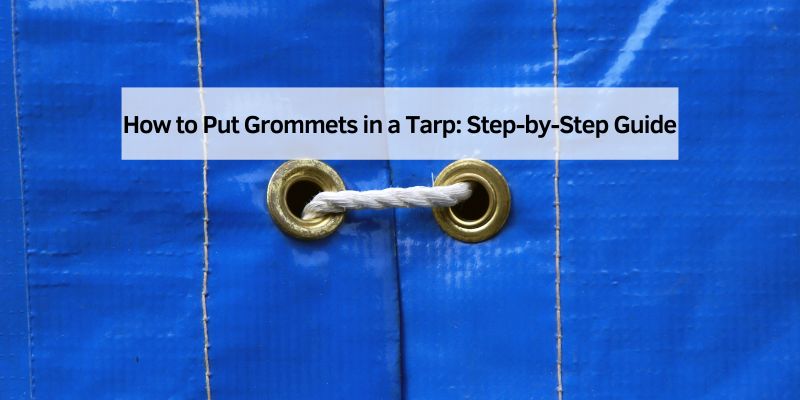
How to Put Grommets in a Tarp: Step-by-Step Guide
Putting grommets in a tarp is a simple task. It helps secure the tarp effectively.
In this guide, you will learn how to do it step-by-step. Grommets are small rings. They reinforce holes in materials. Using them on tarps makes them durable and easy to tie down. Whether you’re creating a shelter, covering equipment, or protecting a surface, grommets ensure your tarp stays in place.
You don’t need fancy tools or expert skills. Just a few basic items and a bit of patience. This process can save you money and extend the life of your tarp. Let’s explore how you can do this at home, with ease and confidence. Get ready to transform your tarp into a more useful tool.
Introduction To Grommets
Grommets are small rings used to strengthen holes in fabric. They are usually made from metal or plastic. These rings prevent the fabric from tearing. Grommets are important for keeping tarps secure.
Grommets serve many purposes. They help attach ropes or strings to tarps. This is useful for covering items or protecting against weather. Grommets also make tarps easy to hang. They help keep tarps in place.
- Covering boats and cars
- Protecting outdoor furniture
- Creating temporary shelters
- Securing cargo on trucks
- Providing shade in gardens
Grommets are essential for tarp use. They make tarps versatile and strong.
Materials And Tools Needed
You need a few important things. First, get a tarp. Choose one that is strong. Next, you need grommets. These are the small, round rings. They make holes stronger. Then, use a hammer. This tool helps put the grommets in. A grommet kit is also useful. It comes with a punch and anvil. These help make the holes. You will also need a marker. This helps you mark where the holes go. Finally, get a measuring tape. This helps you space the grommets evenly.
Some tools make the job easier. Scissors can be handy. They help cut the tarp neatly. Gloves protect your hands. A mallet can also be used. It’s softer than a hammer. Clamps can hold the tarp in place. They stop it from moving. Eyelet pliers are another option. They work well with smaller grommets.
Choosing The Right Grommet
Grommet size matters a lot. Small grommets fit thin tarps. Large grommets suit thick tarps. Measure tarp thickness first. Use a ruler. Pick a grommet that matches. Larger holes need larger grommets. Smaller holes need smaller grommets. Size affects strength. Wrong size weakens tarp hold.
Material choice impacts durability. Metal grommets resist wear. They last longer. Plastic grommets are lighter. They cost less. Brass grommets look shiny. Rust-resistant too. Consider weather conditions. Metal withstands rain better. Plastic might crack in cold. Choose wisely based on need.

Credit: m.youtube.com
Preparing The Tarp
Start by laying the tarp flat. Ensure it is clean and dry. Use a measuring tape to find where grommets will go. Mark spots with a marker or chalk. Keep marks evenly spaced. Check all marks twice to be sure.
Cut small pieces of fabric or plastic. Place them under each mark. Reinforcement makes the tarp stronger. Stops tearing at grommet holes. Use strong glue or tape to attach. Let it dry before adding grommets.
Cutting The Hole
Start by placing the tarp on a flat surface. Make sure it’s smooth. Take the punch tool and position it where you need a hole. Hold the tool steady and tap it with a hammer. This will make a clean cut in the tarp. Remember to tap gently. You don’t want to tear the tarp. After punching, remove any loose bits. Now, the hole is ready for a grommet. It’s really that simple!
Always wear protective gloves when using tools. They keep your hands safe. Use a hard surface to avoid damaging your table. Keep fingers away from the punch tool. It’s sharp and can hurt. Make sure the hammer is in good condition. A loose head can be dangerous. Ask an adult for help if you’re unsure. Stay safe while working!
Inserting The Grommet
Begin by placing the grommet pieces on the tarp. Make sure the hole in the tarp is ready. The pieces should align perfectly. This will help in securing the grommet tightly. Adjust the tarp if needed. Check that both pieces fit snugly together. This ensures a strong hold.
Take the grommet tool in your hand. Place it over the grommet pieces. Press down firmly with the tool. The grommet will lock into the tarp. Ensure the tool is aligned with the grommet. Use steady hands for best results. Repeat the process for other grommets.
Securing The Grommet
Use a hammer to secure the grommet on the tarp. Place the grommet over the hole. Make sure it fits well. Hold the grommet steady. Tap it gently with the hammer. Use short, quick taps. This helps avoid damage. Check the position after each tap. Ensure it stays in place. Keep tapping until it feels tight. Don’t hit too hard. This could break the grommet.
Check if the grommet is stable. Pull on it gently. It should not move. If it does, tap it more. Look closely for any gaps. Gaps mean it’s not tight. Fix it with more hammering. Repeat if needed. Stability is important. It makes the tarp strong. A stable grommet lasts longer. It keeps the tarp from tearing.

Credit: www.youtube.com
Testing And Adjustments
Test the grommet by pushing a rope through it. It should fit snugly. Loose grommets can lead to problems. Tight grommets are also not good. Make sure it sits just right. Try a few times if needed.
Some adjustments may be needed. Check the edges for sharp parts. Use a file to smooth them. Ensure all grommets are aligned well. If not, gently adjust their position. Repeat this until everything looks good.
Care And Maintenance
Ensure your tarp lasts by adding grommets correctly. First, mark the spots where the grommets will go. Use a hammer and grommet kit to secure them. Regular care and maintenance can extend the tarp’s lifespan significantly.
Regular Inspection
Check your tarp for any signs of wear. Look for tears or holes. Grommets can become loose over time. Make sure they are tight. Loose grommets can cause damage. Regular checks help keep your tarp strong. Clean the tarp to remove dirt. Dirt can hide damage. Use a soft cloth and mild soap. Rinse with water. Let it dry before storing.
Repairing Damaged Grommets
Grommets can break or fall out. Replace them quickly. You need a grommet kit. The kit has all you need. First, remove the broken grommet. Use a tool to do this. Next, place the new grommet in the hole. Secure it with the tool. Make sure it’s tight. Check the tarp again. Look for more damage. Fix any problems you find.
Frequently Asked Questions
How To Put Grommets On A Tarp?
To put grommets on a tarp, first mark the desired locations. Punch holes using a grommet kit tool. Insert the grommet through the hole, ensuring the washer is placed on the opposite side. Use the grommet tool to secure tightly.
Repeat for other grommets, ensuring even spacing.
How Do You Put Grommets In Without A Grommet Tool?
Use a hammer and a hard surface to install grommets. Place the fabric, then push the grommet through. Cover with washer, then hammer gently until secure. Ensure alignment to avoid damage. This method is simple, effective, and tool-free for small projects.
How Do I Attach Grommets?
To attach grommets, first mark the spot on the fabric. Use a hole cutter to make a hole. Insert the grommet through the hole. Use a grommet tool to secure it in place by hammering the washer onto the grommet.
Ensure it’s tightly fastened for durability.
Do You Need A Tool To Install Grommets?
Yes, you need a grommet tool for installation. It ensures precise placement and secures the grommet effectively. Choose a handheld or tabletop tool based on your project size. Proper tools prevent damage and ensure durability. Always follow instructions for best results.
Conclusion
Putting grommets in a tarp is simple and useful. It helps secure your tarp easily. Start by gathering the right tools. Follow the steps with care. Make sure to measure and mark correctly. Use a grommet kit for best results.
Press the grommets firmly. Check their strength before use. Now, your tarp is ready for any task. Protect your belongings with confidence. Enjoy the benefits of a secure, reliable tarp. Keep practicing for even better results. Happy tarp crafting!