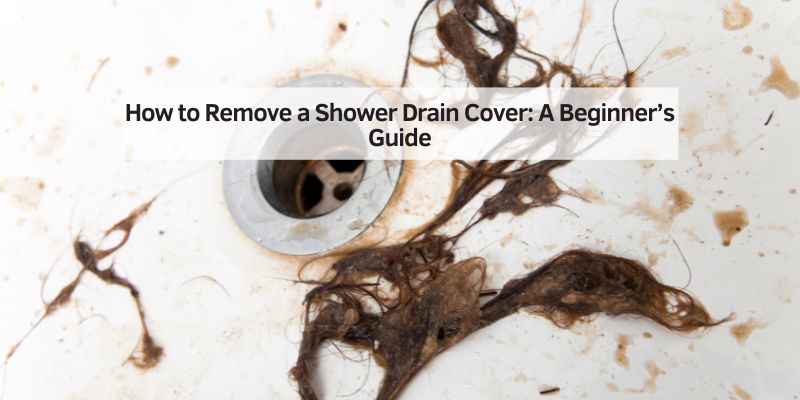
How to Remove a Shower Drain Cover: A Beginner’s Guide
I’ll never forget the first time I tackled a clogged shower drain. I was standing in ankle-deep water, wondering why my shower felt like a kiddie pool! That’s when I learned how to remove a shower drain cover, and trust me, it’s easier than it looks. In this guide, I’ll walk you through the steps to pop off that cover, clean out the gunk, and keep your shower flowing smoothly. Whether you’re a DIY newbie or a seasoned fixer, I’ve got simple tips, tools, and tricks to make this job a breeze. Let’s dive in!
What Is a Shower Drain Cover?
A shower drain cover is the metal or plastic piece over your shower’s drain. It stops big stuff like hair or soap from clogging the pipe. Knowing how to remove a shower drain cover helps you clean out blockages or replace old covers. It’s a simple fix that saves you from calling a plumber!
Why You Might Need to Remove It
Clogged drains are the worst. Hair, soap, and gunk build up over time, slowing your shower’s drainage. Removing the cover lets you clear the mess. Sometimes, you might want to swap an old cover for a shiny new one to spruce up your bathroom. Either way, it’s a quick job anyone can do.
Types of Shower Drain Covers
Not all drain covers are the same. Here are the main types you’ll find:
- Screw-in: Looks like a strainer with screws. Unscrew to remove.
- Snap-on: Pops in and out with a tug. No screws needed.
- Pop-up: Moves up and down with a lever. Usually pulls off.
- Push-pull/Toe-touch: Opens with a push. Unscrew or pull to remove.
- Lift-and-turn: Has a knob you turn and lift to open.
Check your drain to spot screws, levers, or a flat cover. This tells you what type you have.
Tools You’ll Need
You don’t need a fancy toolbox. Here’s what I use:
- Flathead screwdriver: For prying or unscrewing.
- Phillips screwdriver: For screw-in covers.
- Needle-nose pliers: To grip snap-on covers.
- Lubricant (like WD-40): Loosens stuck covers.
- Rubber gloves: Keeps hands clean from gunk.
- Utility knife: Cuts away caulk or debris.
- Masking tape: Protects your shower floor.
Keep a small container handy for screws so they don’t roll down the drain!
Step-by-Step Guide to Remove a Shower Drain Cover
Here’s how to remove a shower drain cover, broken down by type. Follow these steps, and you’ll have it off in no time.
For Screw-in Covers
- Find the screws: Look for one or two screws on the cover.
- Unscrew them: Use a Phillips or flathead screwdriver. Turn left (lefty-loosey!).
- Lift the cover: Once screws are out, lift gently. Use a utility knife to cut any caulk.
- Clean it: Remove hair or gunk stuck to the cover.
Tip: If screws are stuck, spray WD-40 and wait a minute before trying again.
For Snap-on Covers
- Check for screws: If none, it’s likely snap-on.
- Pry gently: Slide a flathead screwdriver under the edge. Lift slowly.
- Use pliers: If it’s stubborn, grab the center with needle-nose pliers and pull up.
- Wiggle if needed: A little back-and-forth can help it pop off.
Tip: Place masking tape around the drain to avoid scratching the shower floor.
For Pop-up or Push-pull Covers
- Open the cover: Push or lift to set it in the open position.
- Twist it: Turn counterclockwise to unscrew. Some need a screwdriver slot.
- Pull it out: Gently lift with pliers if it’s stuck.
- Check for gunk: Clear any hair wrapped around the stopper.
Tip: If it won’t budge, warm the area with a hairdryer to loosen rust.
For Lift-and-turn Covers
- Turn the knob: Lift and turn counterclockwise to open.
- Unscrew the cover: Hold the base and twist the top off.
- Lift it out: Use pliers for extra grip if needed.
- Clean thoroughly: Remove any debris stuck underneath.
Tip: Don’t force it. A little lubricant goes a long way!
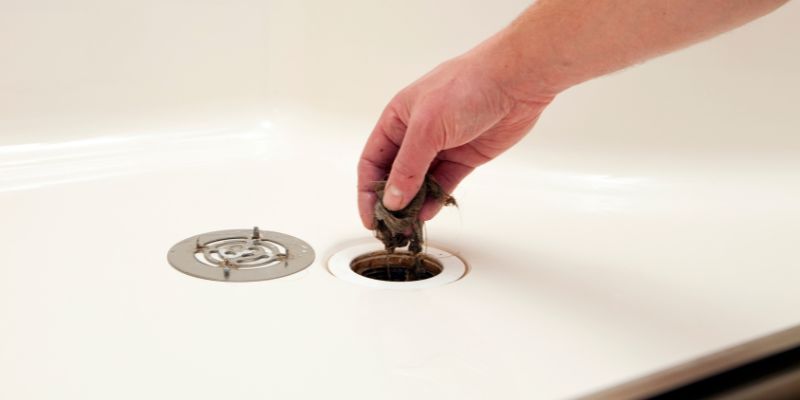
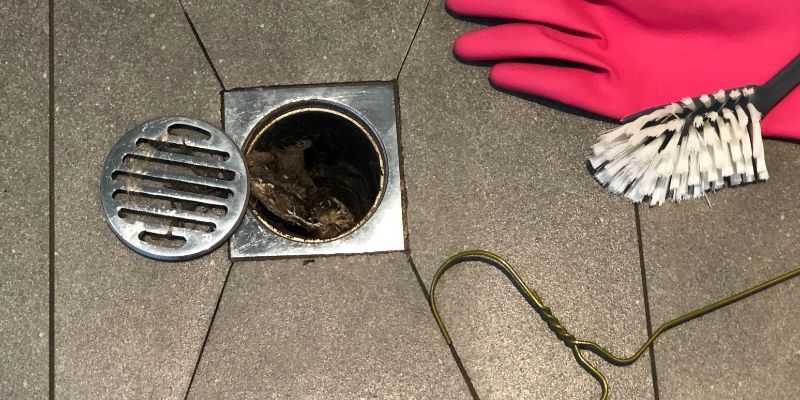
Cleaning the Drain After Removal
Once the cover’s off, the real fun begins—cleaning! Here’s how I do it:
- Wear gloves: Trust me, it’s gross without them.
- Pull out hair: Use your fingers or pliers to grab gunk.
- Use a snake: For deeper clogs, a wire hanger with a hook works great.
- Rinse it: Pour hot water down to flush leftover scum.
Avoid chemical cleaners—they can hurt your pipes. Baking soda and vinegar are safer bets.
Common Mistakes to Avoid
I’ve messed this up before, so learn from my flops:
- Forcing it: Yanking too hard can break the cover or pipes.
- Losing screws: Keep them in a cup, not on the shower floor!
- Skipping tape: Masking tape saves your shower from scratches.
- Ignoring rust: Stuck covers need lubricant, not muscle.
Tools Comparison Table
Here’s a quick look at tools for different covers:
| Tool | Screw-in | Snap-on | Pop-up | Lift-and-turn |
|---|---|---|---|---|
| Flathead Screwdriver | Yes | Yes | Sometimes | Sometimes |
| Phillips Screwdriver | Yes | No | No | No |
| Needle-nose Pliers | No | Yes | Yes | Yes |
| Lubricant (WD-40) | Sometimes | Sometimes | Yes | Yes |
Caption: This table shows which tools work best for each drain cover type. Always have pliers and a screwdriver handy!
Cost-Saving Tips
Removing a shower drain cover doesn’t have to cost much. Here’s how to save:
- Use household items: A wire hanger can replace a plumber’s snake.
- Avoid chemicals: Baking soda and vinegar are cheap and safe.
- DIY first: Try these steps before calling a plumber to save $100 or more.
Pros and Cons of DIY Removal
Benefits
- Saves money: No need for a plumber’s pricey visit.
- Quick fix: You can do it in 10 minutes.
- Empowering: Feels great to solve your own problem!
Drawbacks
- Risk of damage: Forcing it can crack the cover or pipes.
- Messy job: Hair and gunk aren’t pretty.
- Tricky covers: Some need special tools or skills.
My Personal Tips
After years of unclogging drains, here’s what I’ve learned:
- Check first: Look for screws or levers before prying.
- Go slow: Rushing leads to broken covers or scratched floors.
- Keep it clean: Regular cleaning prevents big clogs.
- Upgrade covers: A new stainless steel cover looks great and lasts longer.
For a cool upgrade, check out Designer Drains for stylish options. They’ve got covers that make your shower pop!
Visual Ideas for Clarity
I wish I could show you diagrams, but here’s what would help:
- Diagram 1: A labeled picture of drain cover types (screw-in, snap-on, etc.).
- Diagram 2: A step-by-step sketch showing how to pry a snap-on cover.
- Diagram 3: A close-up of using pliers on a pop-up drain.
These would make the steps crystal clear!
When to Call a Plumber
If the cover won’t budge or you spot cracks in the pipes, it’s time for a pro. Persistent clogs deeper in the line need special tools. I once had a clog so bad I called Mr. Rooter Plumbing for help—they were lifesavers!
Frequently Asked Questions
How Do I Know What Type of Shower Drain Cover I Have?
Look for screws or levers. Screw-in covers have visible screws. Snap-on covers are flat and pop off. Pop-up or push-pull covers move up and down. Lift-and-turn covers have a knob you twist. Check closely to match the type.
What If My Shower Drain Cover Is Stuck?
Use lubricant like WD-40. Spray it around the edges and wait a few minutes. Gently pry with a screwdriver or pliers. If it’s still stuck, warm it with a hairdryer to loosen rust or gunk.
Can I Remove a Shower Drain Cover Without Tools?
Sometimes, yes. Snap-on or pop-up covers can pop off with your hands. For screw-in covers, you’ll need a screwdriver. Always check for screws or caulk before pulling to avoid damage.
How Do I Clean the Drain After Removing the Cover?
Wear gloves and pull out hair. Use a wire hanger for deeper clogs. Pour hot water or a mix of baking soda and vinegar to clear scum. Avoid chemical cleaners to protect your pipes.
What If I Break the Shower Drain Cover?
Don’t panic. Buy a replacement at The Home Depot. Match the size and type. If you’re unsure, take the broken cover to the store for help finding a fit.
How Often Should I Remove the Drain Cover?
Clean every 3-6 months. Regular cleaning主
Can I Use Boiling Water to Clear the Drain?
Yes, but be careful. Boiling water can help flush out small clogs, but don’t use it on PVC pipes—it can damage them. Pour slowly and test the drain after to ensure it’s clear.
Conclusion
Removing a shower drain cover is a simple way to fix clogs and keep your shower running smoothly. With a few tools and these easy steps, you can tackle it like a pro. Whether it’s a screw-in, snap-on, or pop-up cover, you’ve got this! Try it out, clean that gunk, and enjoy a free-flowing drain. Got a cool tip or a funny drain story? Share it in the comments—I’d love to hear it!