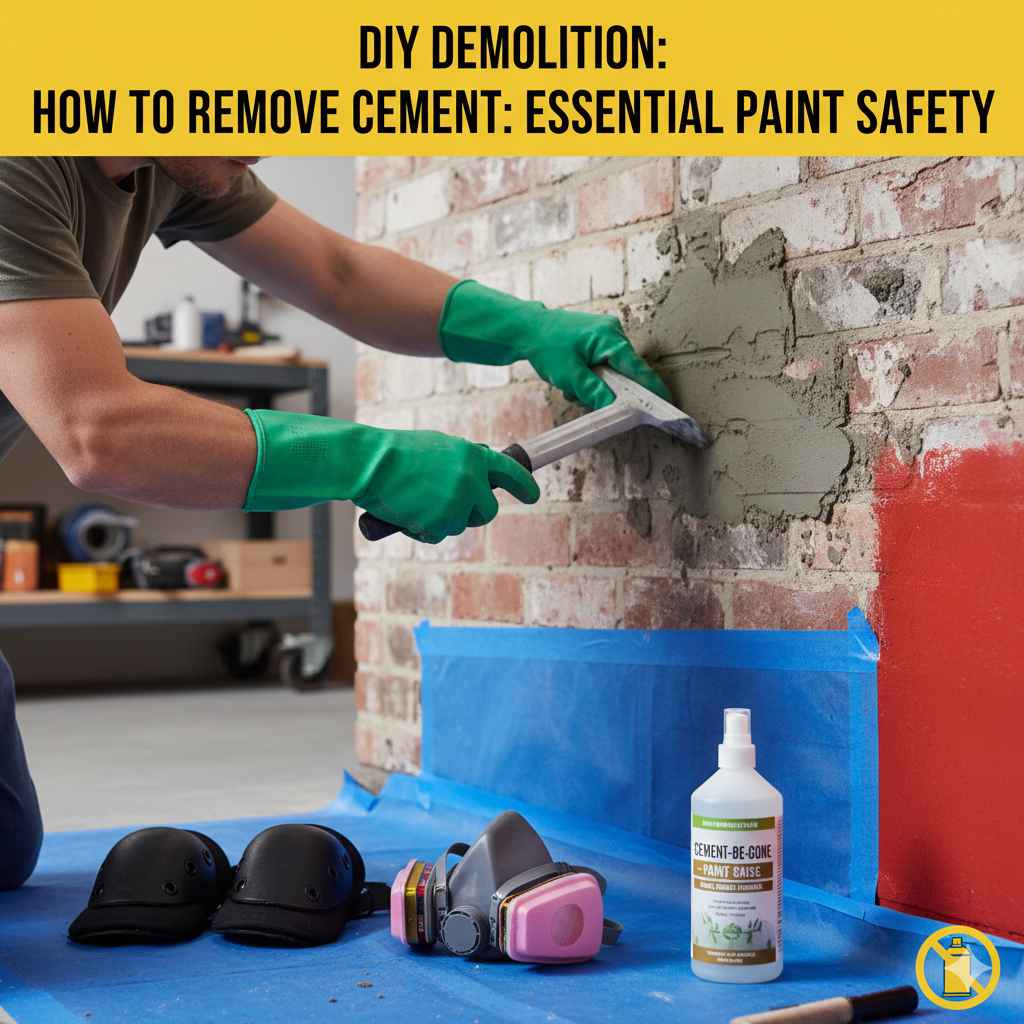
How To Remove Cement: Essential Paint Safety
Safely removing cement involves gentle scraping or mild acid neutralization (like vinegar) after softening the dried spot. Always protect your car’s paint finish with waxes, clay bars, or specialized cleaners first, using soft tools like plastic scrapers or microfiber cloths to avoid scratches and damage.
Hey there, DIY friends! I’m Md Meraj, and I know how frustrating it is when a little drop of cement—maybe from that new patio step you poured or a job site nearby—lands right on your beautiful car or a painted surface. Seeing that hard, white splotch can make your stomach drop. You worry that any attempt to remove it will just scratch the paint underneath. Don’t worry! Removing dried cement doesn’t have to mean a trip to the body shop. We can tackle this safely right in your driveway. With the right gentle touch and the proper safety steps, we’ll have that surface looking smooth again. Let’s dive into the safest methods, focusing heavily on protecting that delicate paint finish underneath.
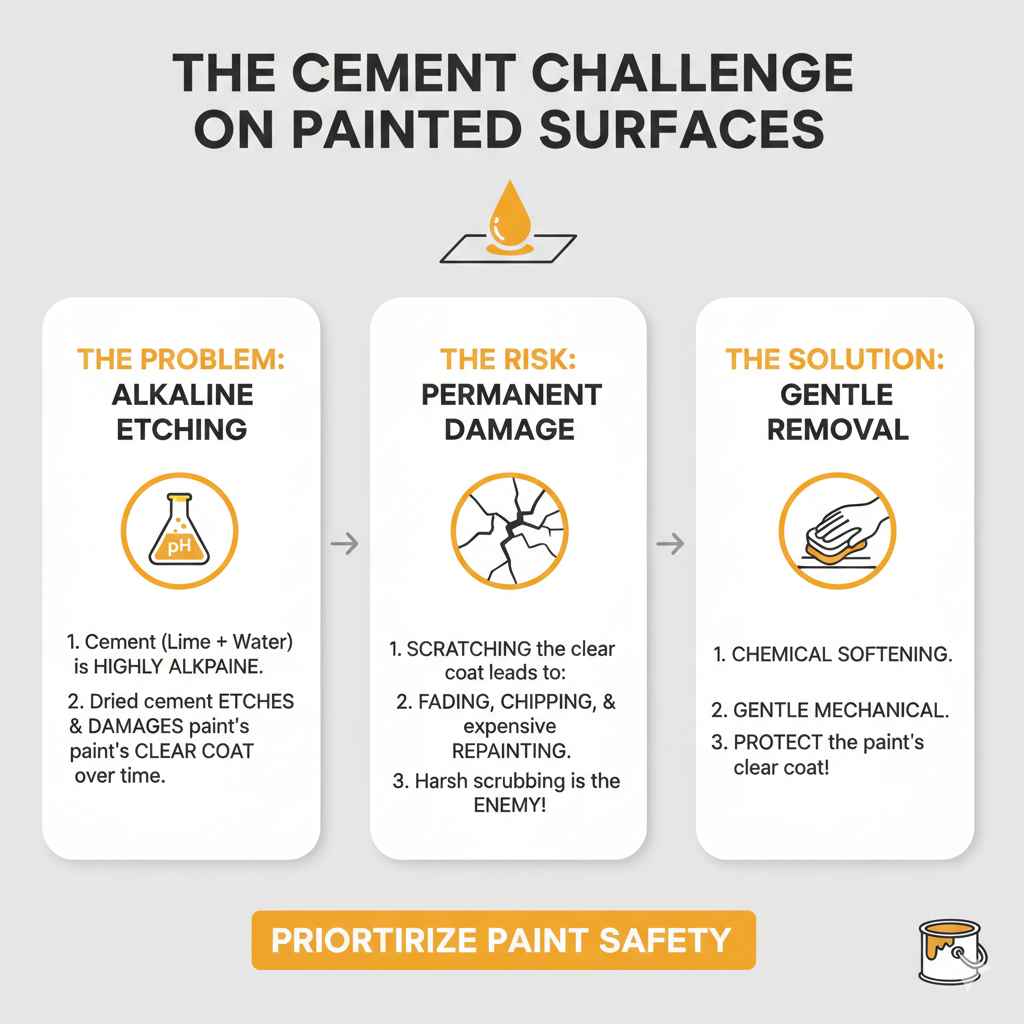
Understanding the Cement Challenge on Painted Surfaces
Cement is fundamentally made of lime (calcium hydroxide) mixed with water and aggregates. When it dries, it creates a very hard, alkaline material. If this alkaline material sits on paint (which is often slightly acidic or neutral), it can start etching the clear coat or paint over time. This is why immediate, safe removal is so important.
Why Paint Safety is Your Number One Priority
When we talk about removing something hard like cement, the natural instinct is to scrub hard or use a chisel. Stop right there! Car paint, siding paint, or even painted garage floors have a protective clear coat. If you scratch that coat, moisture, UV rays, and contaminants get in, leading to fading, chipping, and expensive repainting. Our goal is chemical softening or gentle mechanical removal—never harsh abrasion.
Essential Safety Gear for Cement Removal (Paint Protection Focus)
Before we even look at the cement spot, we need to suit up. This isn’t just for safety from chemicals; it’s about ensuring you don’t accidentally drop tools or grit onto the surface you are trying to clean.
Safety isn’t just about protecting you; it’s about protecting the surface!
| Item | Why It Matters for Paint |
|---|---|
| Safety Goggles/Glasses | Protect eyes from dust or splashing cleaning solutions (like vinegar). |
| Nitrile Gloves | Keeps hands safe from acids (vinegar) and protects the paint from oils/dirt on your skin. |
| Soft Microfiber Towels | Used for gentle wiping; these trap debris without scratching. |
| Plastic Scraper/Old Credit Card | Provides leverage without the sharp edges of metal tools that etch paint. |
Step 1: Assessing the Damage and Surface Type
The best removal method depends entirely on what surface the cement is stuck to. Removing it from glass is different from removing it from automotive clear coat.
A. Cement on Vehicle Paint (The Most Delicate Surface)
Car paint needs the most cautious approach. If the cement is fresh (still damp), wipe it off immediately with a damp cloth—no scrubbing. If it’s hard, proceed to softening methods below.
B. Cement on Unpainted Concrete or Brick
These surfaces are tough. You can usually use more aggressive mechanical methods or stronger acids once the cement is completely dry. (This article focuses primarily on painted surfaces, but keep this in mind for surrounding areas.)
C. Cement on Painted Wood or Metal Siding
These are medium-delicate. They require patience but can handle slightly more pressure than clear coat, though we still recommend softening first.
Step 2: The Crucial Pre-Treatment and Softening Stage
Never attack dried cement with force. We must soften the bond between the cement and the surface first. This step is your insurance policy against scratches.
Soaking and Warming Up the Spot
Heat and moisture help break down the chemical structure slightly, making the cement brittle or easier to penetrate.
- Soak: Soak a thick, clean microfiber cloth or an old cotton towel thoroughly in hot (but not boiling) water.
- Apply Heat Pack: Lay the hot, wet towel directly over the dried cement spot. Let it sit for 15 to 30 minutes. This draws moisture into the concrete layer.
- Check Softness: After soaking, gently test the edge of the cement with your fingernail or the edge of a plastic scraper. If it moves even slightly, you are ready for removal. If it feels rock-hard, repeat the hot water soak.
Step 3: Mechanical Removal – Going Gentle
Once the cement is somewhat softened, we can try to lift it off mechanically. Remember, tools matter more than effort here!
Tools to Use vs. Tools to Avoid
It’s vital to understand which scrapers are safe for painted surfaces:
- Safe Tools: Plastic razor blades, old credit/gift cards, wooden craft sticks (popsicle sticks), or dedicated automotive clay bars.
- Unsafe Tools: Metal putty knives, steel wool, utility knife blades, or wire brushes. These will etch the paint.
The Gentle Scraping Technique
This technique should be used after soaking the area well:
- Hold your plastic scraper (or card edge) at a very shallow angle—about 10 to 15 degrees relative to the painted surface.
- Apply light, steady pressure, trying to slide the edge under the softened edge of the cement clump.
- Work slowly. If you feel resistance, stop immediately. Re-soak the area longer. Do not force it!
- If using a clay bar (great for automotive paint), use clay lubricant and gently rub the bar over the cement spot, allowing the clay to lift the remaining residue off the surface.
Step 4: Chemical Neutralization (Using Mild Acid)
If soaking and gentle scraping don’t get it all, we move to a mild chemical solution. Since dried cement is alkaline (high pH), we need a very mild acid to neutralize and dissolve it without harming standard automotive or house paint finishes. White vinegar (acetic acid) is perfect for this.
Safety Check: Always test vinegar in an inconspicuous spot first, especially if the paint is old or custom, although vinegar is generally safe on modern clear coats.
How to Apply Vinegar Safely
1. Dilution: While pure white vinegar (5% acidity) usually works, for very delicate surfaces, start by diluting it 50/50 with water.
2. Application: Dampen a clean cloth or cotton ball with the vinegar solution.
3. Dwell Time: Lay this cloth directly over the remaining cement spot. Allow it to sit for 5 to 10 minutes. You might see a slight fizzing or bubbling—that’s the acid reacting with the calcium.
4. Wipe and Rinse: Remove the cloth. The cement should now be significantly softer. Use your plastic scraper or a damp cloth to wipe away the loosened material.
5. Crucial Rinse: Immediately wash the area thoroughly with clean water and a mild car wash soap or detergent. You must neutralize the acid residue, even mild vinegar, to prevent long-term damage to the paint finish.
For those dealing with automotive paint, remember that professional detailers often rely on specialized, pH-neutral concrete removers, which are sometimes safer than vinegar but costlier. Check out resources like the Specialty Equipment Market Association (SEMA) for the latest in automotive surface care products.
Step 5: Dealing with Stubborn Spots and Deep Etching
Sometimes, even after soaking and using vinegar, a faint haze or small crust remains.
If Haze Remains: Polishing
If the surface looks clean but feels rougher than the surrounding area, the cement might have slightly etched the clear coat. This requires gentle polishing, not sanding!
1. Use a Non-Abrasive Polish: Apply a small amount of high-quality automotive finishing polish (often labeled as swirl remover or ultra-fine finishing polish) to a clean foam applicator pad.
2. Work the Area: Using light, overlapping circular motions, gently work the polish into the hazy area. This microscopic abrasion smooths the clear coat surface, removing the slight roughness left by the cement bond.
3. Buff Clean: Wipe the residue away with a clean microfiber towel.
What If the Paint is Damaged?
If you see white or dull spots where the cement actually flaked off paint, or if deep scratches are visible after removal, chemical removal will not fix it. The area needs paint correction (wet sanding, compounding, and polishing) or a touch-up paint job. At this point, it might be time to consult a professional auto body technician.
Specific Tool Comparison for Safer Removal
Choosing the right tool is half the battle when protecting your paint. Here is a quick guide to comparing common implements.
| Tool | Best Use Case | Risk Level to Paint |
|---|---|---|
| Plastic Razor Blade | Hardened cement spots after long soaking. | Low to Medium (if held at a steep angle). |
| Clay Bar | Very fine dust or haze remaining after main removal. | Very Low (When used with lubricant). |
| Old Credit Card | Freshly dried, softer cement clumps. | Low. |
| Metal Scraper (No-Go Zone) | N/A – Never use on clear coat. | Extreme. |
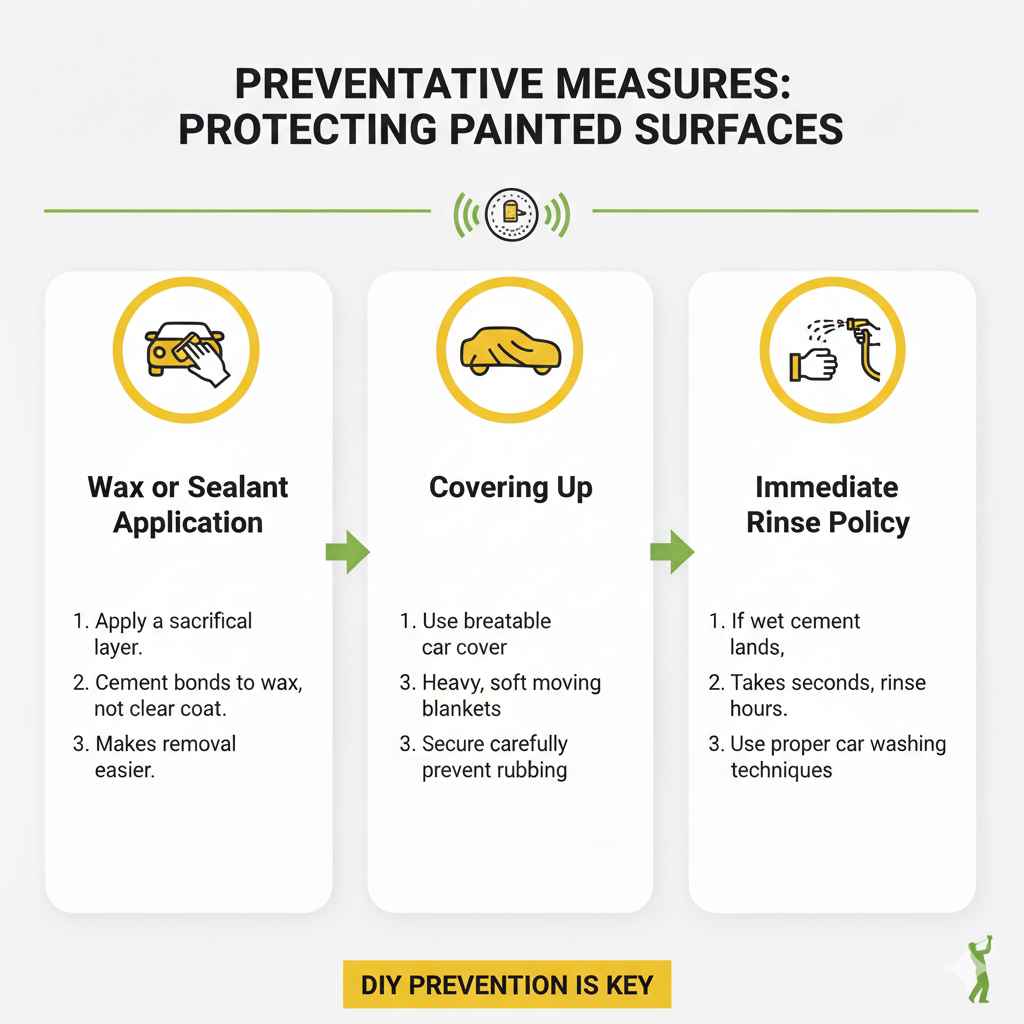
Preventative Measures: Protecting Painted Surfaces Going Forward
As a DIY enthusiast, prevention is always cheaper and faster than repair! When you know cement or construction dust is nearby, take these simple preventative steps.
Wax or Sealant Application
If you know you’ll be working near a painted vehicle, apply a quick coat of carnauba wax or a synthetic paint sealant. This sacrificial layer acts as a barrier. If cement lands on the wax, it bonds to the wax rather than the clear coat, making removal much easier.
Covering Up
If a construction project is going to last days or weeks, invest in a breathable, soft car cover. If you don’t have one, use heavy, soft moving blankets draped over the vehicle, secured carefully so they don’t rub against the paint in the wind.
Immediate Rinse Policy
If you see a droplet of wet cement land on your paint, stop what you are doing, grab a hose, and gently wash that specific spot off immediately. It takes 10 seconds and saves hours of potential work later. For reference on proper car washing techniques that minimize scratches, organizations like the AutoGeek community often provide excellent, detailed guides.
FAQ: Beginner Questions About Cement Removal and Paint Safety
Here are some common worries homeowners have when tackling dried concrete on painted items.
Q1: Can I use heavy-duty chemical cleaners like muriatic acid?
Absolutely not! Muriatic acid is extremely strong and will instantly burn through automotive paint and even damage many modern industrial coatings. Stick strictly to white vinegar (acetic acid) for chemical softening, followed by a thorough rinse.
Q2: How long do I have to wait before trying to remove dried cement?
You must wait until the cement is fully cured and hard, usually 24 to 48 hours minimum. Trying to remove wet or semi-hard cement just smears it and pushes it harder into the paint pores, making the problem worse.
Q3: Is soaking the area with hot water enough to remove everything?
Often, yes, if the cement is relatively thin. Soaking softens the alkaline bond. However, for thick layers, soaking might only soften the bottom layer, requiring gentle scraping of the loosened material, followed by a vinegar treatment for any remaining haze.
Q4: What should I do after removing the cement to restore shine?
After washing off all cleaning solutions, you should always re-wax or seal the area you treated. This replaces any protective layer (wax or sealant) that the water or vinegar might have compromised, ensuring your clear coat remains protected.
Q5: If the spot is on my painted metal garage door, can I use a wire brush?
No, never use a wire brush on paint. For metal siding or garage doors, you can use a stiff nylon brush (not wire) after soaking with vinegar, but proceed with caution. The goal is still to dissolve, not aggressively scratch.
Q6: My cement spot is huge! Should I just take it to a professional?
If the spot is larger than a quarter, or if the cement is deeply embedded into older, single-stage paint (paint without a clear coat), seeking professional advice is wise. Large areas require specialized equipment like orbital polishers to ensure an even finish.
Conclusion: Confidence in Your Approach
See? You don’t need specialized industrial equipment to handle an annoying cement spot on your painted surfaces. The key takeaway, which I hope you’ve picked up, is that time and gentleness beat force every single time when dealing with paint protection. By soaking the area thoroughly, using only non-abrasive tools like plastic scrapers or clay bars, and carefully neutralizing any residue with mild white vinegar, you can restore that smooth, shiny finish safely. Always remember that final rinse and re-waxing step. You’ve got this! Go ahead and tackle that spot with confidence, knowing you protected your investment every step of the way. Happy DIY-ing!