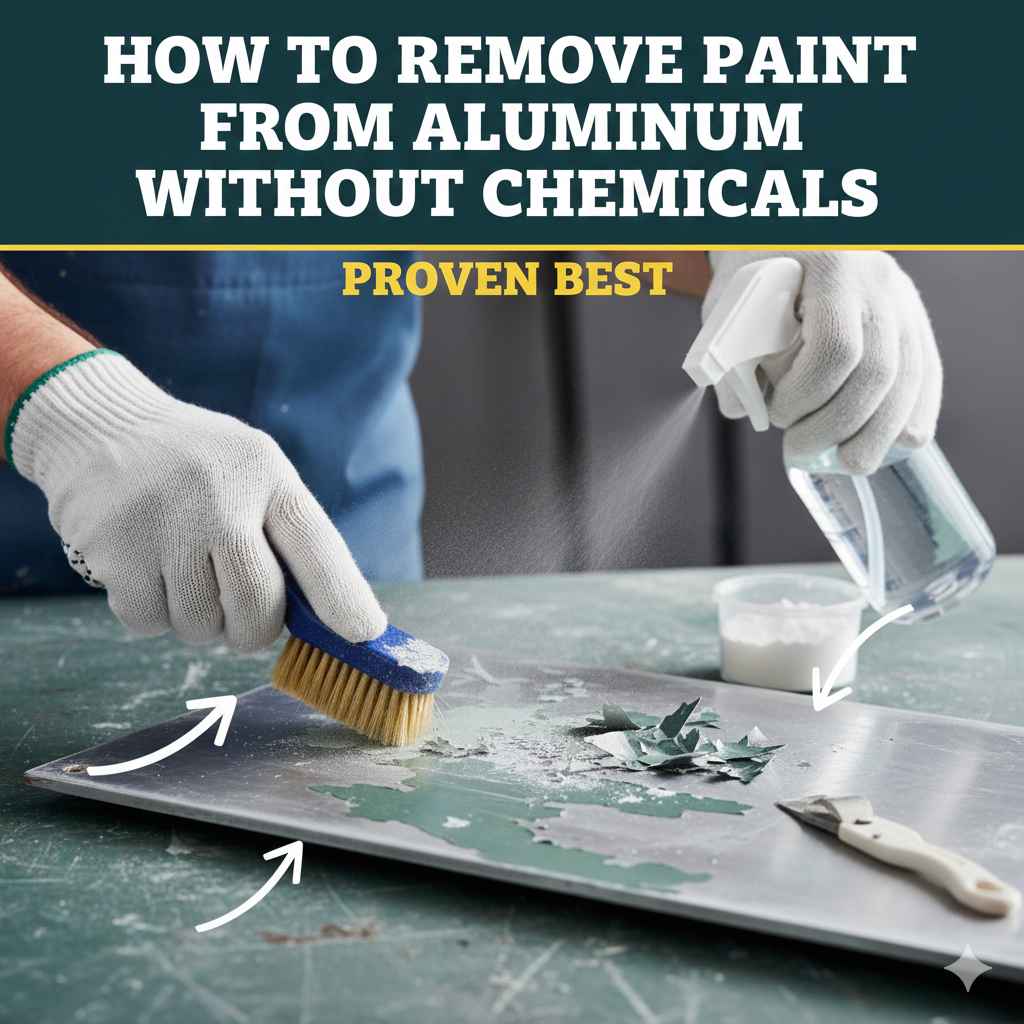
How To Remove Paint From Aluminum Without Chemicals: Proven Best
The best chemical-free methods for removing paint from aluminum involve heat application using a heat gun or simple abrasion with fine sandpaper or non-scratch pads. Always start with the gentlest method, like slow heating, to preserve the metal’s smooth finish and avoid harsh stripping agents.
Facing stubborn old paint on an aluminum surface, like window frames, patio furniture, or decorative trim, can feel frustrating. Many of the strongest paint removers available are harsh chemicals that can damage the delicate aluminum oxide layer, stain the metal, or harm the environment. That is completely understandable! As your guide, I want to show you that you can achieve excellent, clean results using simple tools you might already own.
We are going to focus purely on heat and gentle physical removal techniques. These methods are safer for you, gentler on your aluminum, and surprisingly effective once you know the trick. Get ready to uncover the best ways to strip that old coat and prep your metal for a beautiful new finish. Let’s get started on restoring that aluminum!
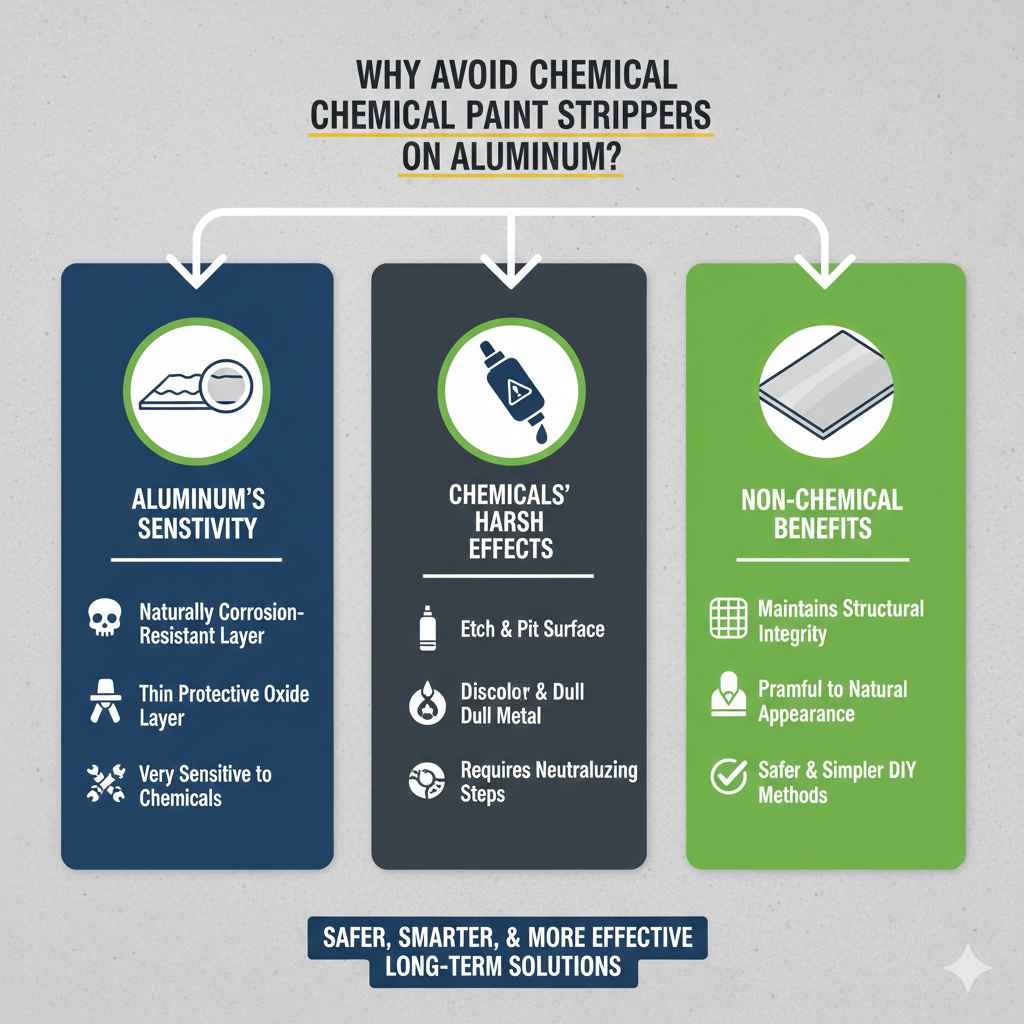
Why Avoid Chemical Paint Strippers on Aluminum?
Aluminum is a fantastic material—it’s light, strong, and naturally corrosion-resistant. However, that corrosion resistance comes from a thin layer of aluminum oxide that forms on the surface. This protective layer is very sensitive.
Many conventional chemical paint strippers contain powerful solvents like methylene chloride or caustic chemicals. When these chemicals sit on aluminum:
- They can etch or pit the surface, causing permanent damage.
- They can discolor the metal, leaving behind dull or dark spots.
- They often require strong neutralizing steps, which adds complexity.
Sticking to heat or physical removal keeps the structural integrity and the natural appearance of the aluminum intact. It’s the safer and smarter path for DIYers working with this metal.
Preparation: What You Need Before You Start
No matter which non-chemical method you choose, proper setup ensures safety and efficiency. Preparation is half the battle in any successful home project. Think of this as gathering your ingredients before you start cooking!
Essential Safety Gear
Even though we aren’t using harsh chemicals, heat and abrasion require basic protection:
- Safety Glasses or Goggles: Protect your eyes from paint chips and dust.
- Heavy-Duty Work Gloves: Protect your hands from heat (for the heat gun method) or sharp edges.
- Dust Mask or Respirator (N95): Essential when sanding or scraping to prevent inhaling old paint particles.
- Hearing Protection: If you plan on using power sanders.
Tool Checklist for Chemical-Free Stripping
Depending on the paint thickness, you will choose one of these main approaches:
| Method Category | Primary Tools Needed | Best For |
|---|---|---|
| Heat Removal | Heat Gun, Plastic/Nylon Scraper, Heat-Resistant Gloves | Thick, multi-layered paint that is slightly flexible. |
| Gentle Abrasion | Fine-grit Sandpaper (220+), Sanding Block, Non-Scratch Pad (e.g., Scotch-Brite white pad) | Thin coats or preparing the surface after heating. |
Method 1: The Heat Gun Technique (Best for Thick Paint)
The heat gun is your most powerful tool for chemical-free removal. It works by softening the paint binder, making it pliable enough to lift away cleanly without digging into the aluminum underneath. It’s a favorite method among pros when avoiding caustic strippers.
Understanding Your Heat Gun
A heat gun is not a hairdryer. It gets much hotter (often reaching 500°F to 1,000°F). Always check the settings; some modern heat guns have variable temperature controls, which is perfect for aluminum, as we want to soften the paint, not melt or burn the metal.
Step-by-Step Heat Stripping Process
- Test a Small Area: Before treating the whole piece, pick an inconspicuous spot. Hold the heat gun nozzle about 2–3 inches away from the surface. Keep the gun moving constantly to avoid overheating one spot.
- Wait for the Change: You are looking for the paint to start bubbling slightly or soften significantly—it should look glossy or wet, but not smoke or char. This usually takes 30 seconds to a minute, depending on paint thickness.
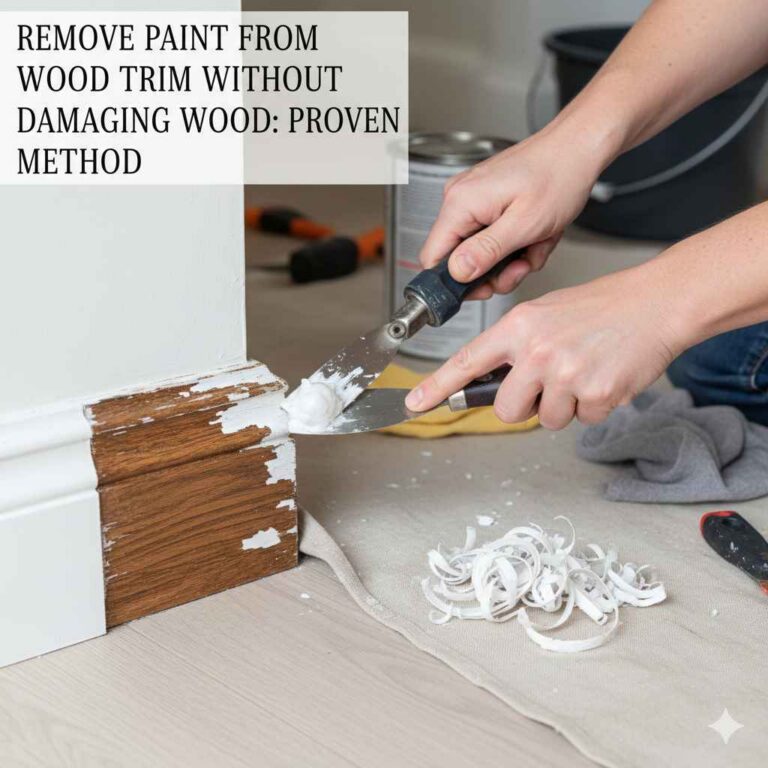
- Scrape Immediately: As soon as the paint softens, take your nylon or plastic scraper and gently push under the edge of the paint. Use long, smooth strokes. A plastic scraper is crucial here; metal scrapers will scratch your aluminum base.
- Reapply Heat: If the paint hardens before you can scrape it off, briefly reheat that section. Work in small sections (about 6 inches square) to keep the paint pliable.
- Dealing with Residue: Very old, stubborn layers might leave a thin film behind. Do not try to scrape this off with excessive force. Move on to the gentle abrasion step for this residue.
Tips for Success with Heat
- Keep Moving: Never stop the heat gun in one place. This can scorch the aluminum surface, leading to dark marks that are very hard to buff out.
- Work in the Right Environment: Do this outdoors or in a very well-ventilated area, as heated paint gives off fumes.
- Be Patient: Speed is the enemy here. Slow, steady heat application yields the cleanest lift.
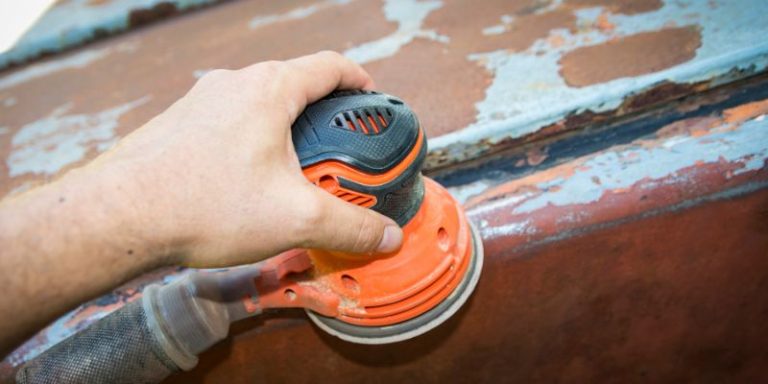
Method 2: Gentle Abrasion (Best for Thin Paint or Residue)
When the paint is thin, or you have just a slight film left over after heating, gentle abrasion is the way to go. The key word here is gentle. Aluminum is softer than steel, so we must use materials that will scratch the paint easily but leave the metal unharmed.
For this process, we rely on progressive abrasion, much like finishing wood. We start slightly rougher (but still gentle) and finish with something very fine.
Choosing Your Abrasives Wisely
Avoid harsh, gritty sandpaper like 60 or 80 grit. They will leave deep scratches in your aluminum.
Recommended Non-Chemical Abrasives:
- 220-Grit Sandpaper (Wet/Dry): This is a good starting point for tackling thin paint films. Always use it wet (with soapy water) to help carry away the debris.
- 320-Grit Sandpaper: Ideal for removing the final faint haze of old paint or preparing the surface after heat stripping.
- Scotch-Brite Pads (White or Gray): These non-woven abrasive pads are excellent. The white or gray ones are finer than the green scrubbing pads and often work perfectly on aluminum without leaving visible scratches.
The Step-by-Step Sanding Approach
- Wet the Surface: Lightly spray the painted area with a solution of warm water and a few drops of dish soap. This acts as a lubricant.
- Start with 220-Grit: Wrap your chosen sandpaper around a flat sanding block. This ensures even pressure and prevents you from creating dips in the surface.
- Sand with the Grain: Look closely at your aluminum piece; often, there’s a slight natural “grain” or finish direction. Sand parallel to this grain, using light, even pressure. If you see deep scratches forming, stop immediately and switch to a finer grit or a Scotch-Brite pad.
- Progress to Finer Grits: Once the majority of the paint is gone, switch to 320-grit paper or the white Scotch-Brite pad. This polishes out any minor scratches left by the initial sanding.
- Final Clean-Up: Wipe the entire surface down with a clean, damp cloth to remove all sanding dust and residue. You should now have clean, bare metal ready for a new finish.
For homeowners interested in the science behind surface prep, understanding abrasives can be incredibly useful. Resources from organizations like the American Society for Testing and Materials (ASTM) often detail material compatibility, though for simple DIY projects, following the “gentle progression” rule works perfectly.
Method 3: The Ice Bucket or Dry Ice Approach (Niche Technique)
This method might sound a little dramatic, but for specific types of very hard, brittle paint (like baked enamel on older outdoor fixtures), rapid temperature change can cause the paint to crack and separate from the smooth aluminum underneath. This is a specialized technique often used when heat might warp thin metal.
How Cold Shrinks Paint Away
When you rapidly lower the temperature of the painted surface, the paint contracts much faster than the aluminum substrate. This difference in expansion/contraction creates stress, causing the paint layer to detach or become brittle enough to flake off.
Applying Extreme Cold
- Safety First with Dry Ice: If using dry ice (solid carbon dioxide), always use thick, insulated gloves. Never touch it with bare skin. It is extremely cold (-109.3°F or -78.5°C).
- Insulate the Area: For small objects, you can carefully place dry ice into a sealed plastic bag and place that bag directly onto the painted area.
- If Using an Ice Bucket: If the object is removable (like hardware), submerging it briefly in a bucket of ice water can sometimes work for thin layers, though it’s less dramatic than dry ice.
- Tap and Chip: After about 30 seconds to a minute of intense cold, the paint should become very brittle. Use a nylon scraper or even the blunt side of a plastic spoon to gently tap or lift the now-brittle paint chips.
- Follow Up: This method often leaves fine cracks rather than a smooth lift. Be prepared to use fine abrasion (220-grit wet/dry sandpaper) to smooth the final surface.
Caution: This method is not suitable for very large items like whole siding panels or surfaces that are extremely heat-sensitive. It’s best for small components like brackets, screws, or decorative trim.
Troubleshooting Common Chemical-Free Challenges
Sometimes, paint doesn’t come off perfectly on the first try. Don’t worry! That’s just part of the learning process. Here are quick fixes for hiccups you might encounter.
Problem 1: Sticky, Gooey Residue After Heating
This happens when the paint binder has softened but hasn’t fully cured away from the metal. Trying to scrape it just smears it around.
The Fix: Don’t force it. Let that section cool completely. Then, apply mild heat again, but this time, instead of scraping, gently rub the area with a clean, dry cloth soaked in mineral spirits. Mineral spirits is a mild solvent, but it is usually safe on aluminum and helps lift the sticky binder without attacking the metal like a harsh stripper would. Wipe clean immediately.
Problem 2: Visible Scratches After Sanding
You went too hard or used sandpaper that was too coarse.
The Fix: You need to ‘feather’ the scratches out. If you used 150-grit, step up to 220, then 320, and finally a fine gray Scotch-Brite pad. Always sand in the direction of the existing grain (if visible) or use circular motions with very light pressure when finishing. Patience here is key to blending the repair.
Problem 3: Heat Gun Left a Dark Spot
This means the aluminum oxide layer was damaged by overheating.
The Fix: Aluminum oxide is naturally dull gray. If you have a dark, scorched spot, it needs polishing. You can try using a metal polishing compound (often sold for chrome or aluminum auto parts) with a clean cotton rag. Rub vigorously in small circles. For tougher spots, a very fine emery cloth might be necessary, followed by polishing.
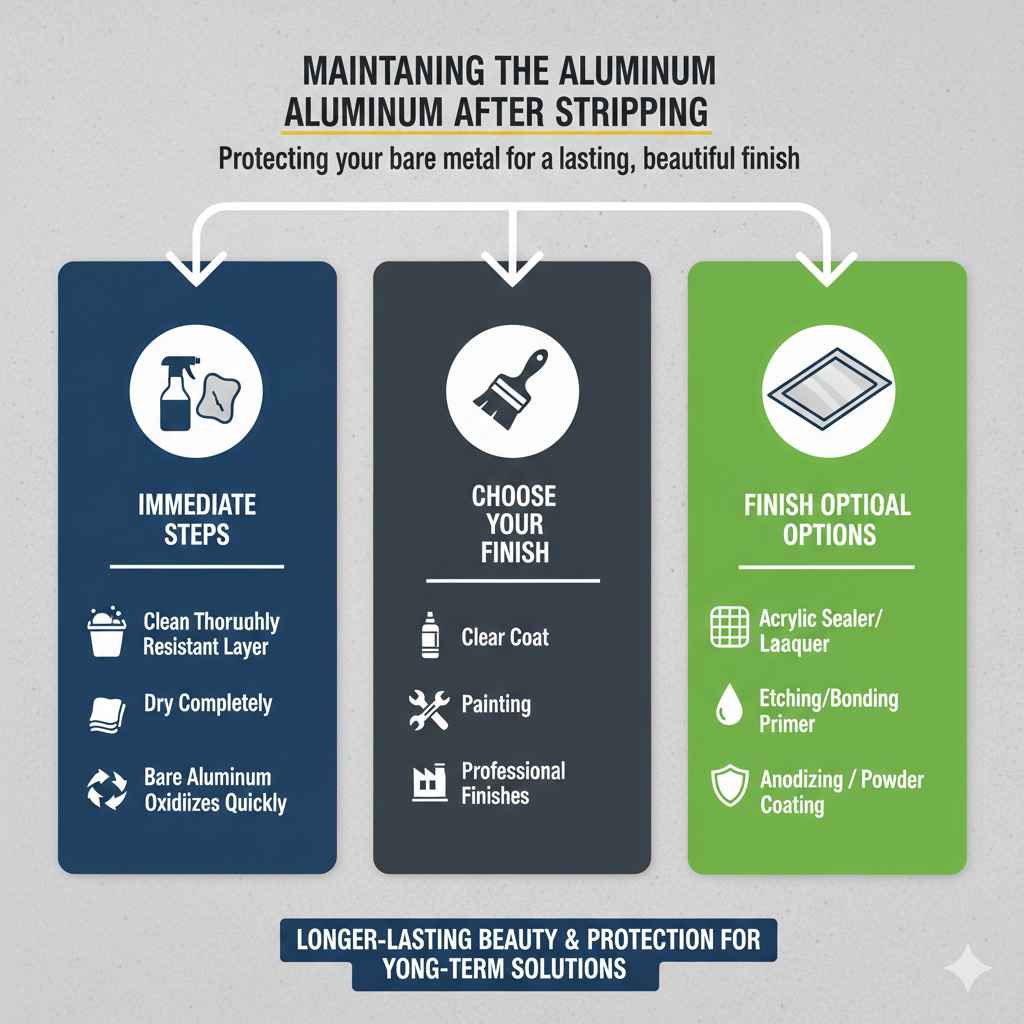
Maintaining the Aluminum After Stripping
Once you have achieved that beautiful, clean, bare aluminum surface—whether it has a matte finish from sanding or a smooth finish from careful heating—you must protect it quickly. Bare, clean aluminum will begin to oxidize again almost immediately when exposed to humidity.
Immediate Steps for Protection:
- Clean Thoroughly: Wash the entire piece with warm water and a mild detergent (like dish soap) to remove all dust, oil, and residue from the stripping process. Rinse well.
- Dry Completely: Dry immediately with soft, lint-free towels.
-
Choose Your Finish: Depending on the project, you have a few options to maintain that fresh look:
- Clear Coat: For decorative items, applying a clear acrylic sealer or lacquer specifically formulated for metal will protect it and maintain the raw look.
- Painting: If you plan to paint, you must use a primer designed for bare, non-ferrous metals (like etching primers or bonding primers) to ensure the new paint sticks securely.
- Anodizing/Powder Coating: For the most durable, long-lasting finish (often for outdoor furniture), professional anodizing or powder coating is the best choice, but this requires sending the item out.
Frequently Asked Questions (FAQ) About Chemical-Free Paint Removal
Q1: Can I use a regular household hairdryer instead of a heat gun?
A: Usually, no. A hairdryer gets warm, but it doesn’t reach the high temperatures needed to effectively soften old, set paint. A heat gun is necessary for this method to work efficiently and minimize scraping time.
Q2: Is boiling water effective for removing paint from aluminum?
A: Boiling water works well for items that can be submerged, like small hardware or very thin-coated pieces. However, the sustained, high heat of a heat gun is generally more direct and faster for larger, fixed objects.
Q3: Will scrubbing the paint off with steel wool hurt my aluminum?
A: Yes, absolutely. Steel wool is much harder than aluminum and will leave deep, noticeable scratches. Always stick to non-woven abrasive pads (like white or gray Scotch-Brite pads) or sandpaper with a high grit number (220 or higher).
Q4: How do I know if I’ve heated the aluminum too much?
A: If the paint starts smoking heavily or turning black, you’ve gone too far. More subtly, if you notice the bare metal underneath changing color to a dull, uneven dark gray instead of a light silver, you have likely damaged the surface oxide layer.
Q5: Is scraping with a putty knife safe if I’m careful?
A: A standard metal putty knife risks gouging the aluminum, even if you are careful. It is highly recommended that you use a rigid plastic scraper, a nylon scraper, or even an old credit card instead. The plastic yields slightly, protecting the softer metal underneath.
Q6: What is the absolute gentlest way to clean paint off polished aluminum?
A: For polished items, the safest bet is to skip the heat and use ultra-fine abrasion only. Start with 400-grit wet/dry sandpaper wrapped around a foam block, followed by a fine finishing polish compound with a soft cloth. Work very slowly, following the existing finish.
Conclusion: Confidence in Your Chemical-Free Finish
There you have it! Removing paint from aluminum without resorting to harsh chemicals is absolutely achievable, and often results in a much cleaner, more durable end product. By relying on the precise softening power of a heat gun or the patient, gentle touch of fine abrasives, you are respecting the delicate nature of aluminum while tackling tough jobs.
Remember, the secret to success in chemical-free stripping lies in working slowly and using the least aggressive tool necessary for the job. Start with heat, follow up with fine sanding if needed, and always prioritize the safety of your material over speed. With these proven techniques in your toolbox, you can confidently strip away old finishes, readying your aluminum for paint, powder coat, or a beautiful, natural polish. Happy DIYing—you’ve got this!