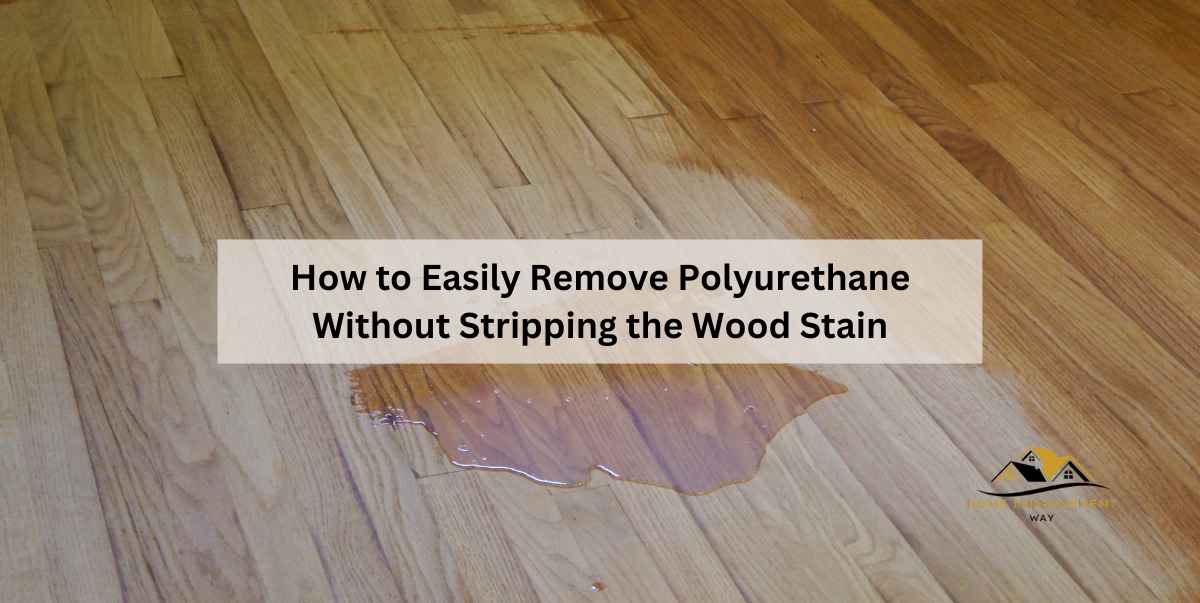
How to Easily Remove Polyurethane Without Stripping the Wood Stain
To remove polyurethane from wood without removing the stain, use sandpaper or a chemical stripper specifically made for polyurethane removal.
Why Remove Polyurethane
Looking to remove polyurethane from wood without affecting the stain? Follow these easy steps for effective polyurethane removal, preserving the wood’s natural color and finish.
Preserving Natural Wood Look
Polyurethane is a commonly used finish that adds a layer of protection to wood surfaces, preventing it from scratches and moisture damage. However, over time, polyurethane can become worn, yellowed, or damaged, causing the wood to lose its natural beauty. If you are a DIY enthusiast or a homeowner who values the natural wood look, removing the polyurethane without disturbing the stain is essential – and it’s easier than you might think!
Preparation For Refinishing
Before diving into the process of removing polyurethane from wood, proper preparation is vital to ensure successful refinishing. To begin, gather the necessary tools and materials:
Table: Tools and Materials
| 1. | Soft-bristle brush |
| 2. | Chemical stripper suitable for wood |
| 3. | Plastic scraper |
| 4. | Mineral spirits |
| 5. | Clean rags or towels |
| 6. | Protective gloves and goggles |
Once you have gathered the necessary tools and materials, follow these simple steps:
Step 1: Test A Small Area
- Choose a discreet area on the wood surface and apply a small amount of the chemical stripper, following the manufacturer’s instructions.
- Let the stripper sit for the specified time and then gently scrape off the polyurethane using a plastic scraper.
- If the stripper removes the polyurethane effectively without affecting the stain, you are ready to proceed. If not, you may need to try a different stripping product or consult a professional for assistance.
Step 2: Apply The Chemical Stripper
- Using a soft-bristle brush, apply an even coat of the chemical stripper to the wood surface, working in small sections.
- Allow the stripper to sit on the wood for the recommended time, ensuring it does not dry out.
- While the stripper is still wet, gently scrape off the softened polyurethane using a plastic scraper. Be careful not to damage the wood surface underneath.
- Repeat this process until all polyurethane has been removed.
Step 3: Clean And Prep The Wood
- After removing the polyurethane, use mineral spirits and a clean rag or towel to wipe away any residue and clean the wood surface.
- Inspect the wood for any remaining traces of polyurethane, and if necessary, reapply the chemical stripper and repeat the scraping process.
- Let the wood surface dry completely before proceeding to the next step.
Step 4: Apply A New Finish
- Once the wood surface is clean and dry, you can apply a new finish of your choice to protect and enhance the natural beauty of the wood.
- Consider using a clear polyurethane or a natural oil finish to preserve the wood’s natural appearance.
- Apply the new finish according to the manufacturer’s instructions, ensuring even coverage and smooth application.
- Allow the finish to dry completely before using or placing any objects on the wood surface.
By following these steps, you can successfully remove the old polyurethane without disturbing the stain, allowing you to restore the natural wood look and achieve a refreshed, beautiful finish. Remember to work in a well-ventilated area and take necessary precautions to protect yourself and the surrounding environment.
Tools And Materials Needed
To successfully remove polyurethane from wood without removing the stain, you’ll need a few essential tools and materials. These include gloves, a scraper or putty knife, denatured alcohol, a clean cloth, and fine-grit sandpaper. By following the proper technique, you can restore the natural beauty of your wood surface without compromising its original stain.
Safety Gear
Wearing the appropriate safety gear is crucial when working with chemicals and solvents. Ensure you have the following items before starting the polyurethane removal process:
- Safety goggles to protect your eyes from splashes and fumes.
- A respirator or mask to shield your nose and mouth from harmful vapors.
- Chemical-resistant gloves to safeguard your hands from potential skin irritation.
- A long-sleeved shirt and long pants to cover your skin.
Stripping Materials
To remove polyurethane from wood without disturbing the stain, you’ll need the following materials:
- A commercial paint stripper specifically designed for removing polyurethane coatings. Look for one that is safe for use on stained wood surfaces.
- A plastic scraper or putty knife to gently scrape away the softened polyurethane.
- Steel wool or sandpaper with a medium grit to smooth the wood surface after stripping.
- A clean cloth or sponge for wiping away residue and cleaning the stripped area.
- A bucket of soapy water for further cleaning.
Applicators
Proper applicators ensure an even and efficient application of the stripping solution. Consider using the following tools:
- A paintbrush or foam brush to apply the paint stripper onto the wood surface. Make sure the brush bristles or foam are not too stiff to prevent damaging the stain.
- A clean, lint-free cloth for covering the painted stripper, enabling it to penetrate the polyurethane effectively.
Step-by-step Process
Removing polyurethane from wood can be a tricky process, especially if you want to preserve the underlying stain. However, by following these simple steps, you can effectively remove the polyurethane without removing the stain, restoring the beauty of your wooden surfaces.
1. Testing In A Small Area:
To ensure that the staining remains intact throughout the removal process, it is crucial to test the stripping agent on a small, inconspicuous area of the wood first. This will allow you to assess how the wood and the stain react to the chemical, helping you avoid any potential damage.
2. Applying The Stripping Agent:
Once you have determined the stripping agent is safe to use on your wood, it’s time to apply it. Begin by wearing protective gloves and goggles to safeguard yourself from any potential contact with the chemical. Using a brush or cloth, apply a generous amount of the stripping agent onto the polyurethane-coated surface, ensuring an even and thick layer. Let it sit for the recommended time indicated on the product label.
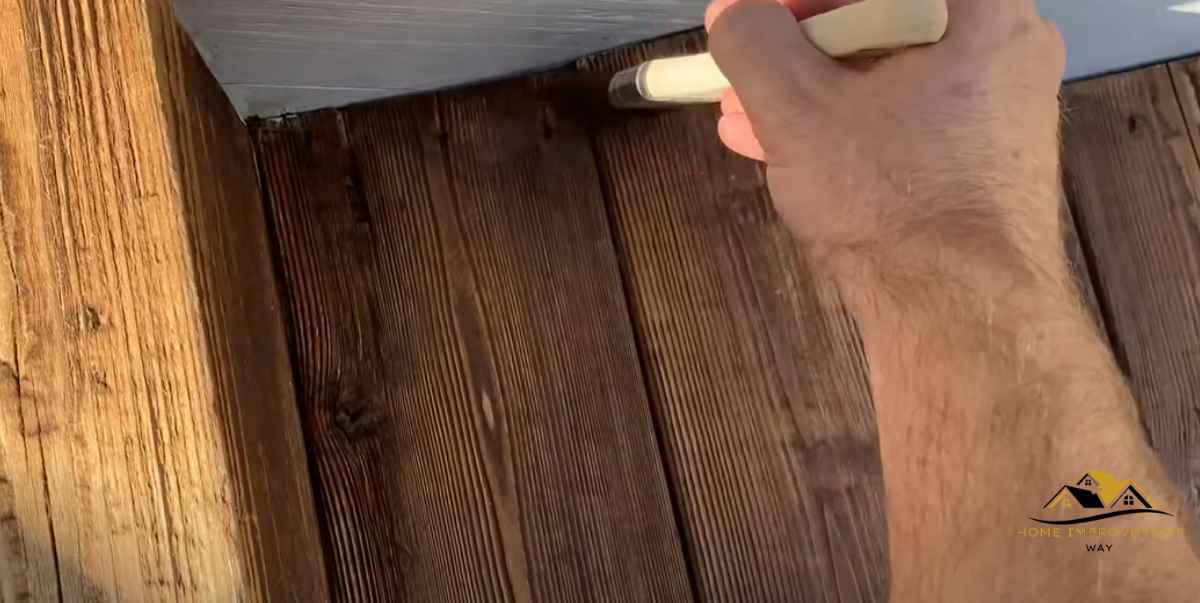
3. Removing The Polyurethane:
After allowing the stripping agent to penetrate the polyurethane, you can then start removing it. Utilize a scraper or putty knife to gently scrape away the loosened polyurethane in the direction of the wood grain. Take care not to apply too much pressure, as this may damage the underlying stain. Continue scraping until all the polyurethane is removed, periodically wiping the scraper clean to avoid spreading the residue.
4. Cleaning The Wood Surface:
With the polyurethane successfully removed, it is essential to thoroughly clean the wood surface to eliminate any remaining residue. Using a clean cloth and a mild solution of warm water and dish soap, gently scrub the wood to remove any traces of the stripping agent. Rinse off the soap residue with a damp cloth and allow the wood to dry completely.
Tips And Tricks
Discover effective tips and tricks to safely remove polyurethane from wood without compromising the original stain. Achieve a flawless finish with these expert techniques.
Removing polyurethane from wood without stripping away the stain can be a challenging task. However, with the right tips and tricks, you can successfully restore your wood surface to its former glory. In this article, we will explore some effective techniques to remove polyurethane without harming the underlying stain. So let’s dive in and discover how you can achieve a beautiful finish without compromising the integrity of the wood.
Working In Well-ventilated Area
When working with any type of chemical or solvent, it’s crucial to ensure proper ventilation. The fumes emitted by these substances can be hazardous if inhaled. Therefore, before beginning the polyurethane removal process, find a well-ventilated area that allows for fresh airflow. Open windows or doors and consider using a fan to improve air circulation. This simple step will help protect your health and make the entire process more comfortable.
Using Protective Coatings
To prevent the polyurethane remover from affecting the existing stain on your wood, apply a protective coating before starting. A layer of masking tape or a clear liquid wax can act as a barrier between the polyurethane and stain. This protective coating will help preserve the integrity of the wood’s color and prevent any accidental removal of the stain during the cleaning process.
Sanding Techniques
When removing polyurethane from wood, sanding is an essential technique that must be performed carefully. Begin by using a coarse-grit sandpaper to remove the majority of the polyurethane layer. Be sure to go with the grain of the wood and apply even pressure to avoid uneven sanding. As you progress, switch to finer-grit sandpaper to smoothen out the surface and minimize damage to the stain. Sanding in a controlled manner will allow you to remove the polyurethane without disturbing the underlying stain.
Remember, patience and attention to detail are key when removing polyurethane from wood without removing the stain. By working in a well-ventilated area, using protective coatings, and employing proper sanding techniques, you can achieve a successful outcome. With these tips and tricks, you can revitalize your wood surface and bring back its natural beauty without compromising the rich color and character provided by the stain.
Final Refinishing Steps
After successfully removing polyurethane from wood without disturbing the stain, you are now ready for the final refinishing steps to bring your wood back to its former glory. These steps involve staining the wood and applying a new finish to protect and enhance its natural beauty. Follow the guide below to achieve professional-quality results.
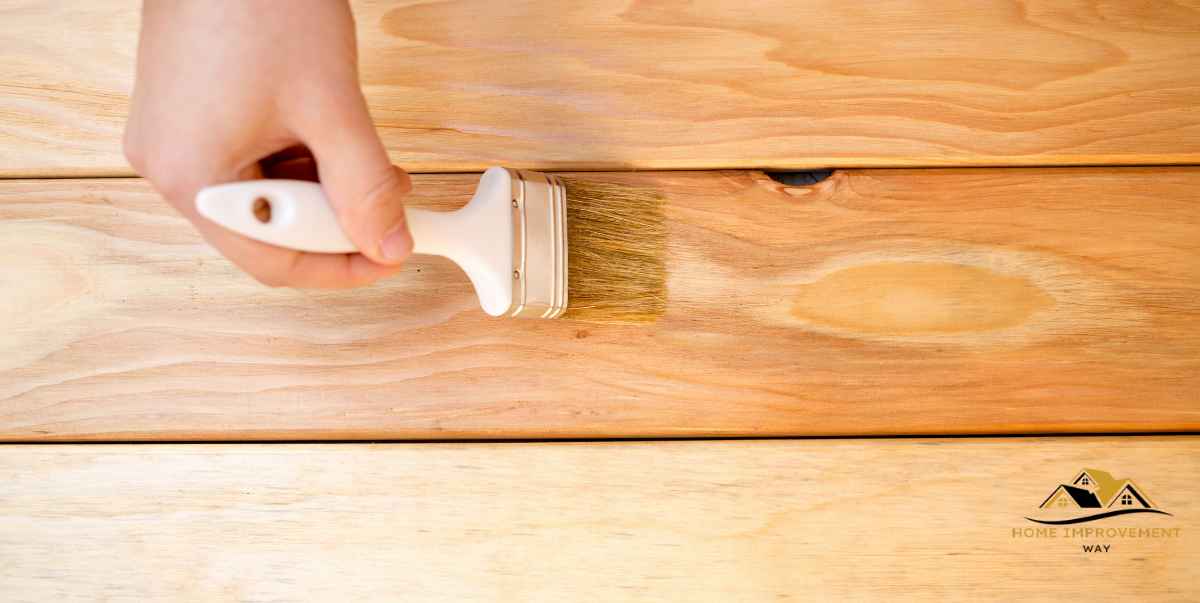
Staining The Wood
The staining process is crucial in restoring the color and enhancing the grain of your wood. To stain the wood effectively:
- Prepare the surface by sanding it with a fine-grit sandpaper to remove any roughness or imperfections. This will provide a smooth base for the stain to adhere.
- Choose a high-quality wood stain that matches your desired color. Apply a small amount of stain on a hidden area to test the color and ensure it complements your wood.
- Using a brush or cloth, apply the stain evenly, following the wood grain. Allow the stain to penetrate the wood for a few minutes, and then wipe off any excess with a clean cloth.
By following these steps, you can achieve an even and beautiful stain on your wood, enhancing its natural beauty and richness.
Applying A New Finish
Applying a new finish is the final step in refinishing your wood, providing protection and enhancing its longevity. Here’s how to apply a new finish:
- Choose an appropriate finish for your project, such as polyurethane, varnish, or lacquer. Consider the level of durability and the desired sheen.
- Before applying the finish, ensure the stained wood is completely dry. Sand the surface lightly with a fine-grit sandpaper to create a smooth surface for the finish.
- Using a brush or a clean cloth, apply a thin and even coat of finish, following the wood grain. Avoid over-application, as it can lead to a streaky or uneven finish.
- Allow the first coat to dry according to the manufacturer’s instructions. Then, lightly sand the surface with a fine-grit sandpaper to remove any imperfections or bubbles.
- Apply subsequent coats as needed, ensuring each coat is dry before applying the next. Sand lightly between coats for optimal adhesion.
By following these steps, you can successfully apply a new finish to your wood, leaving it with a protective layer that enhances its appearance and durability.
Conclusion
Removing polyurethane from wood without damaging the stain is a delicate process that requires time and patience. By following the steps outlined in this guide, you can successfully strip away the polyurethane while preserving the beautiful wood finish. Remember to work in a well-ventilated area, use proper safety precautions, and test any products on a small, inconspicuous area before proceeding with the entire project.
With careful attention to detail, your wood furniture or flooring will be rejuvenated and ready for a fresh coat of stain or sealant.