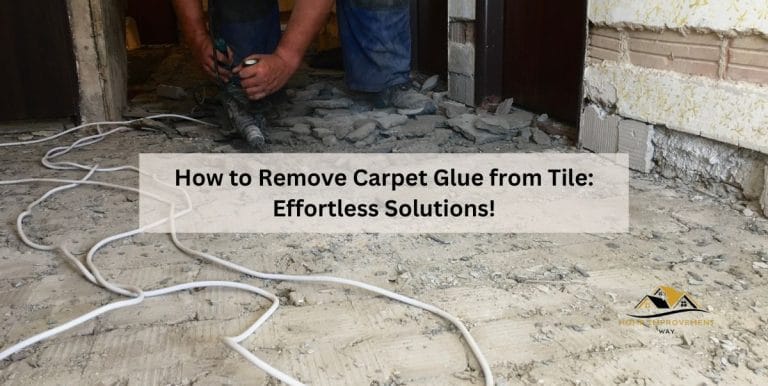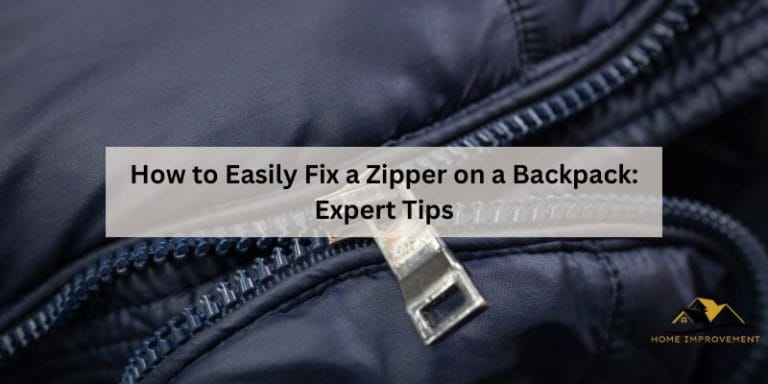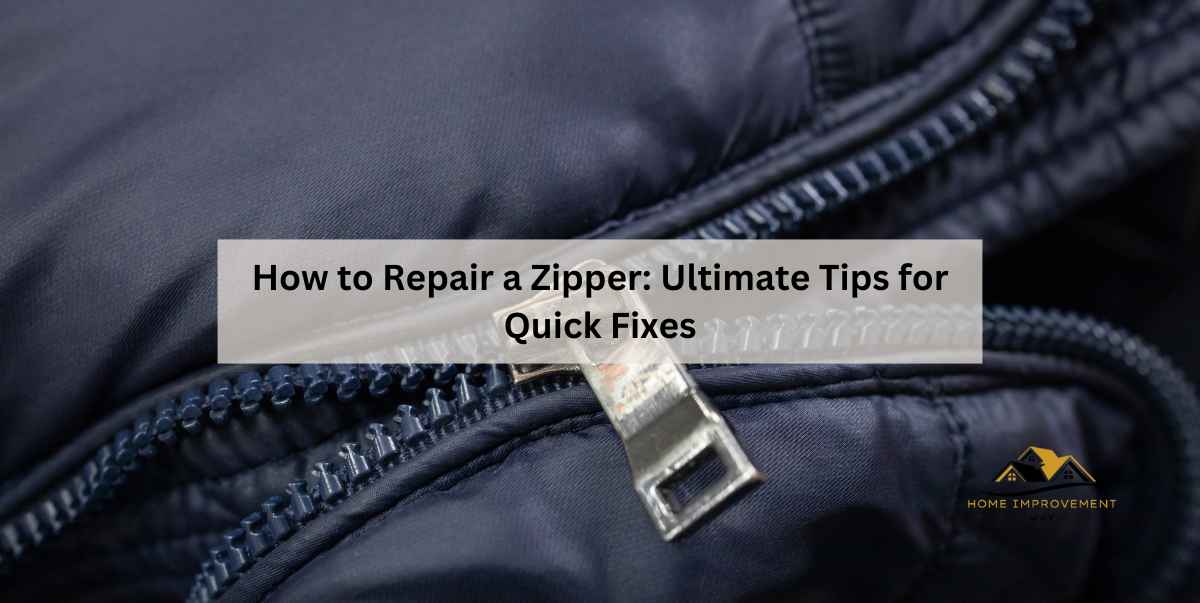
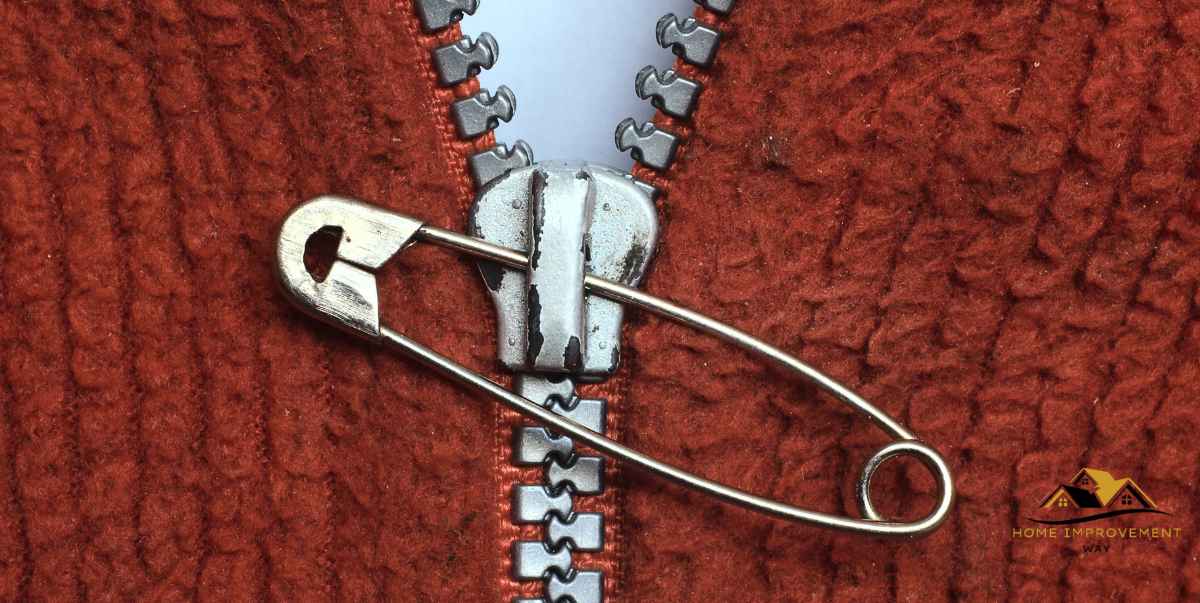
How to Repair a Zipper: Ultimate Tips for Quick Fixes
To repair a zipper, start by examining it for any fabric or debris stuck in the teeth. If you notice any, gently remove them using tweezers or a toothbrush.
Common Zipper Problems
Zipper problems are a common annoyance, but with the right know-how, you can easily repair them. Learn how to fix a zipper to avoid frustration and extend the life of your favorite garments.
Having a broken zipper can be a frustrating experience, making it difficult to use your favorite jacket, bag, or pair of pants. Zipper issues come in various forms, from zippers getting stuck to broken or missing teeth. Fortunately, many of these common problems can be resolved with a bit of patience and ingenuity. In this blog post, we will guide you through the steps to address some of the most prevalent zipper problems you may encounter.
Stuck Zippers
Zippers can get stuck for numerous reasons, such as fabric caught in the zipper teeth or a misaligned slider. If you find yourself facing a stuck zipper, follow these simple steps to resolve the issue:
- Gently tug the fabric around the zipper to see if it loosens the obstruction.
- If that doesn’t work, apply a lubricant like soap, petroleum jelly, or a graphite pencil to the zipper teeth.
- Try zipping and unzipping the slider while gently pulling the fabric in the opposite direction of the stuck zipper.
- If it remains stuck, use a pair of tweezers or pliers to carefully pull out the fabric causing the obstruction.
Remember, always handle the zipper with care to avoid worsening the situation.
Broken Or Missing Teeth
One of the most common zipper problems is broken or missing teeth. This typically occurs when the teeth become worn out or damaged. Instead of throwing away your favorite item, try these steps to repair a zipper with broken or missing teeth:
- If only a few teeth are damaged, use pliers to gently remove the broken teeth.
- Once the damaged teeth are removed, align the zipper tape and sew the gap closed, ensuring the stitching doesn’t interfere with the zipper’s movement.
- For severe damage or missing teeth, replacing the entire zipper may be your best option. Measure the length of the existing zipper and purchase a replacement of the same size.
- Unpick the old zipper and carefully sew the new one in place, ensuring the zipper tape is securely attached to the fabric.
By following these steps, you can fix a zipper with broken or missing teeth and extend the lifespan of your beloved garment or accessory.
Zipper Sliders
Zipper sliders can also pose problems, especially when they become loose or detached. If your zipper slider is causing issues, try these techniques to tackle the problem:
- If the slider is loose and not properly closing the zipper, use pliers to gently squeeze the bottom end of the slider together for a tighter fit.
- If the slider is completely detached, carefully align the zipper tape with the slider and slide it back into place, ensuring the top and bottom edges of the slider line up with the zipper teeth.
- If the slider is beyond repair, considering replacing it with a new one. Remove the old slider by using pliers or a seam ripper. Feed the zipper tape through the replacement slider, ensuring it aligns properly, and close the slider tightly.
Remember, regular maintenance and occasional lubrication can prevent slider issues from occurring in the first place.
With these practical solutions for common zipper problems, you can save money and extend the life of your favorite clothing items or accessories. By mastering these repair techniques, you’ll be prepared to fix any zipper issue that comes your way.
Tools And Materials Needed
When it comes to repairing a zipper, having the right tools and materials is key. Having everything you need on hand will make the process much easier and help you get your zipper fixed in no time.
Needle And Thread
A needle and thread are essential for repairing a zipper. You’ll want to choose a needle that is small and sharp, and thread that matches or closely matches the color of the zipper. This will ensure that the repair is not noticeable. Ensure the thread is strong and durable.
Pliers Or Tweezers
Pliers or tweezers are handy tools for repairing a zipper. These tools will help you remove any broken or stuck zipper teeth efficiently. With the pliers or tweezers, gently grip the broken or stuck teeth and gently pull them back into place. Smooth the teeth down with your fingers to ensure they align correctly.
Zipper Replacement
If the zipper is beyond repair or you want a more permanent solution, you may need to replace the entire zipper. To replace a zipper, you’ll need:
| Materials | Tools |
|---|---|
| Replacement zipper | Scissors |
| Seam ripper | Measuring tape |
| Thread | Sewing machine |
| Needle | Iron |
Using a seam ripper, carefully remove the old zipper from your garment or item. Measure the length of the opening where the zipper will be placed. Cut the replacement zipper to match the measured length, adding an inch or two for overlap.
Using a sewing machine or needle and thread, sew the replacement zipper into place. Make sure to sew along the existing stitching lines or use a guide to ensure a straight stitch. Iron the fabric to make the stitches lay flat and prevent any puckering.
Fixing Stuck Zippers
Learn how to easily repair a stuck zipper with these simple steps. Fixing stuck zippers is a quick and hassle-free process that anyone can do at home.
Using A Pencil Or Graphite
If you find yourself struggling with a stuck zipper, one simple solution is to use a pencil or graphite to lubricate it. Here’s how to do it:
- Start by taking a sharpened pencil or a stick of graphite.
- Rub the pencil or graphite back and forth along the zipper teeth on both sides. Make sure to cover all the teeth.
- Then, try moving the zipper up and down to see if it loosens up.
Lubricating With Soap Or Wax
Another effective method to fix a stuck zipper is by using soap or wax as a lubricant. Follow these steps:
- Take a bar of soap or a candle and rub it gently along the teeth of the zipper on both sides.
- Make sure to cover the entire length of the zipper with the soap or wax.
- Once you’ve applied the lubricant, try moving the zipper up and down to see if it slides more smoothly.
Repairing Broken Or Missing Teeth
When your zipper has broken or missing teeth, it can be quite frustrating. However, there’s no need to panic as repairing these issues is actually simpler than it may seem. In this section, we will cover two methods: replacing individual teeth and replacing the entire zipper. Read on to discover the step-by-step process for each method.
Replacing Individual Teeth
If only a few teeth are broken or missing, you can easily replace them without having to change the entire zipper. Follow these simple steps to get your zipper back in working condition:
- Identify the broken or missing teeth – closely examine the zipper to determine which teeth need replacement.
- Obtain replacement teeth – purchase replacement teeth compatible with your zipper size and style. They are readily available in craft or sewing stores.
- Remove the broken or missing teeth – using a pair of pliers, gently remove the damaged teeth by gripping them and pulling straight up.
- Insert the replacement teeth – carefully align the new teeth with the surrounding ones, making sure they fit snugly into the zipper tape.
- Secure the replacement teeth – using pliers again, press the replacement teeth firmly into place, ensuring they are properly attached to the zipper tape.
- Test the zipper – zip and unzip the repaired zipper a few times to verify that it is fully functional.
By following these steps, you can easily replace individual teeth and extend the life of your zipper.
Replacing The Entire Zipper
In some cases, the damage to the teeth is extensive, making it necessary to replace the entire zipper. This method may seem more daunting, but with the right tools and patience, it can be accomplished. Here’s how:
- Choose a suitable replacement zipper – measure the length and style of the existing zipper and purchase a new one that matches these specifications.
- Prepare the garment or item – if the zipper is attached to a garment or item, carefully remove any stitches or seams holding it in place.
- Remove the old zipper – using a seam ripper or small scissors, carefully cut away any threads securing the old zipper to the fabric.
- Attach the new zipper – position the new zipper on the fabric, aligning it with the previous stitching or seam lines, and pin it in place.
- Stitch the new zipper – using a sewing machine or needle and thread, sew the new zipper onto the fabric, ensuring it is securely attached.
- Test the new zipper – gently zip and unzip the newly installed zipper multiple times to ensure it operates smoothly.
With these steps, you can successfully replace the entire zipper, giving your item a fresh and functional closure.
Replacing Zipper Sliders
When repairing a zipper, one common issue is a broken or worn-out zipper slider. Learn how to replace zipper sliders with this quick and easy tutorial. Get your zipper working like new in no time!
Choosing The Right Slider
Before replacing a zipper slider, it’s important to choose the right one that matches the zipper type and size. Here are some key factors to consider while selecting a replacement slider:
- Type of Zipper: Determine whether your zipper is a coil zipper or a tooth zipper. Coil zippers have interlocking coils made of nylon or plastic, while tooth zippers have metal or plastic teeth that interlock. Ensure that the replacement slider corresponds to the correct zipper type.
- Zipper Size: Measure the width of the zipper tape in millimeters to determine its size. Different zipper sizes require sliders with specific dimensions to function properly. It’s crucial to choose a replacement slider that matches your zipper size accurately.
- Material and Durability: Consider the material of the replacement slider. Metal sliders are more durable than plastic ones but may add weight to the garment. Plastic sliders are lightweight and suitable for everyday clothing items. Determine the best option based on your needs.
- Aesthetics: If the zipper is visible on the outside of the garment, choose a replacement slider that matches or complements the color and style of the existing zipper. This ensures a seamless and aesthetically pleasing repair.
Replacing The Slider
Now that you have chosen the right replacement slider, it’s time to proceed with the actual replacement process. Follow these steps to replace the slider on your zipper:
- Identify the Slider Position: Examine the zipper to locate the spot where the old slider needs to be removed. This is usually at the bottom end of the zipper or the non-working end. Make sure the zipper is fully unzipped during this process.
- Remove the Old Slider: Gently pry open the metal or plastic stop at the bottom end of the zipper using a pair of pliers. This will free the old slider from the zipper tape. Slide the old slider off the zipper tape towards the top end.
- Attach the New Slider: With the zipper still unzipped, take the new replacement slider and align it with the zipper tape. Ensure that the correct side of the slider faces up. Slide the new slider onto the zipper tape from the top end, guiding it along smoothly.
- Secure the Zipper: Once the new slider is in place, close the zipper partially to test its functionality. If it runs smoothly without any snags or resistance, fully close the zipper and secure it in place by replacing the metal or plastic stop at the bottom end.
Congratulations! You have successfully replaced the slider on your zipper. With a little patience and the right replacement slider, you can revive your favorite garments and ensure they serve you for years to come.
Conclusion
Repairing a zipper doesn’t have to be a daunting task. By following these simple steps, you can quickly and easily fix a broken zipper yourself. Remember to be patient and cautious as you navigate through the process. With a little effort and attention to detail, you can save money and extend the life of your favorite garments.
So, next time you encounter a stuck or broken zipper, don’t panic – you’ve got this!