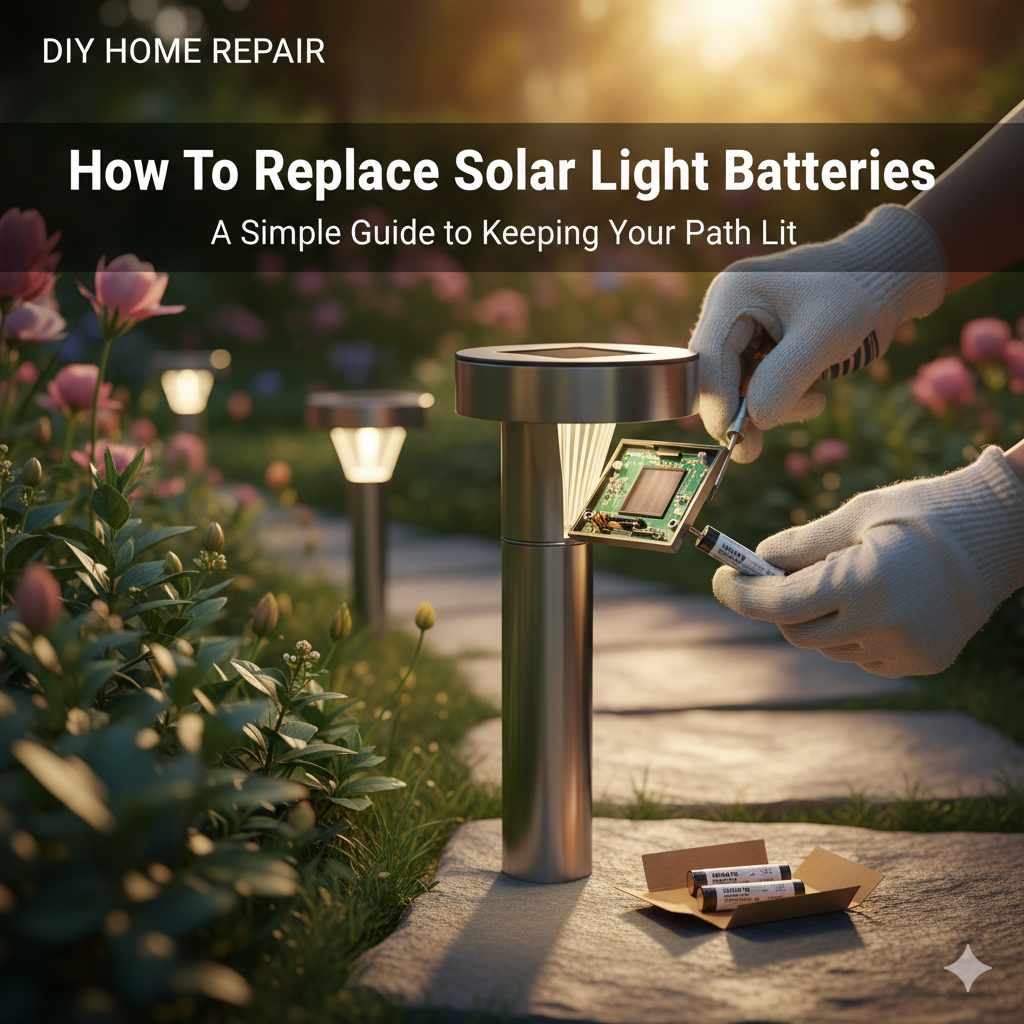
How To Replace Solar Light Batteries: Essential Guide
Quick Summary:
Replacing solar light batteries is a simple DIY task. Most solar lights use standard rechargeable AA or AAA batteries. By following a few easy steps, you can quickly swap out old batteries for new ones, restoring your lights’ brightness and extending their lifespan.
Hello there, fellow DIY enthusiasts and home improvers! It’s Md Meraj here, ready to tackle another project that’ll make your home look its best. You know those charming solar lights you’ve dotted around your garden, pathway, or patio? They’re fantastic for adding ambiance and safety without adding to your electricity bill. But sometimes, they start to dim or stop working altogether, and it can be a bit frustrating. Don’t worry, though! Often, the culprit is simply a set of tired batteries. Replacing them is usually a straightforward process, and I’m here to guide you through it, step-by-step. We’ll get those lights shining bright again in no time, so you can enjoy your outdoor spaces even after the sun goes down.
Why Your Solar Lights Need New Batteries
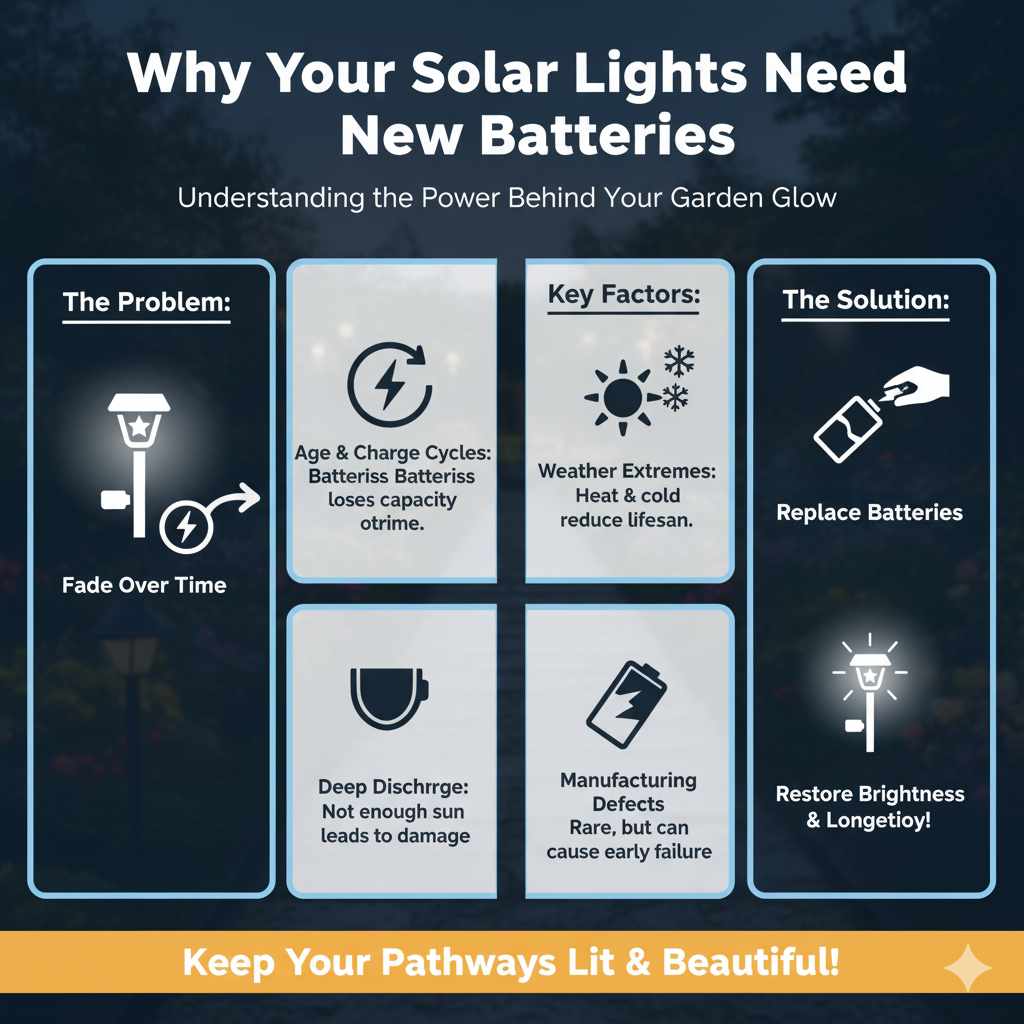
Solar lights are powered by the sun, but their magic happens at night thanks to rechargeable batteries. These batteries store the energy captured during the day. Over time, like any battery, they lose their ability to hold a charge efficiently. This can happen due to several factors:
- Age: Rechargeable batteries have a finite lifespan. After a certain number of charge cycles, they simply wear out.
- Weather Extremes: Frequent exposure to very hot or very cold temperatures can shorten battery life.
- Deep Discharge: If a solar light is consistently not getting enough sunlight to fully recharge, the battery might be repeatedly discharged too deeply, which can damage it.
- Manufacturing Defects: While less common, sometimes batteries aren’t made to the highest standard and may fail prematurely.
When these batteries start to fade, you’ll notice your solar lights don’t stay lit for as long, or they might flicker and appear dim. Replacing them is the most effective way to revive your solar lighting system.
Identifying the Right Batteries for Your Solar Lights
Before you start, it’s crucial to know what kind of batteries your solar lights need. Most common outdoor solar lights use standard rechargeable AA or AAA batteries. These are widely available and easy to find. However, some specialized or older models might use different types, like button cells or even integrated battery packs.
Here’s how to figure out what you need:
- Check the Manual: If you still have the instruction manual for your solar lights, it will specify the battery type and size.
- Inspect the Light: Carefully remove the battery compartment cover (we’ll cover how to do this next). The battery itself or the compartment might have markings indicating the required type (e.g., “AA,” “NiMH,” “300mAh”).
- Manufacturer’s Website: If you know the brand and model of your solar lights, you can often find this information on the manufacturer’s website.
Important Note on Battery Chemistry: For most solar lights, you’ll want to use Nickel-Metal Hydride (NiMH) rechargeable batteries. These are designed to handle the charging cycles from solar panels better than other types like Nickel-Cadmium (NiCd) or even standard alkaline batteries (which should never be used in solar lights as they are not rechargeable and can leak). Look for batteries with a decent milliamp-hour (mAh) rating – higher mAh generally means longer run time.
Tools You’ll Need
The good news is that replacing solar light batteries is typically a very simple job that doesn’t require a lot of specialized tools. You can usually get by with just a few common household items:
- New Rechargeable Batteries: Make sure they are the correct size (AA, AAA, etc.) and chemistry (usually NiMH).
- Small Phillips Head Screwdriver: Many solar lights have a small screw holding the battery compartment cover in place.
- Flathead Screwdriver or Putty Knife: Sometimes, the battery compartment cover might be clipped on and require a little gentle prying.
- Clean Cloth or Paper Towel: To wipe away any dust or corrosion from the battery contacts.
- Tweezers (Optional): Useful for removing batteries that are tightly fitted or if you have trouble gripping them.
- Safety Glasses: Always a good idea when working with small parts or prying anything open.
Having these on hand will make the process smooth and efficient. Remember, safety first! Even for simple tasks, it’s wise to protect your eyes.
Step-by-Step Guide: How to Replace Solar Light Batteries
Let’s get those solar lights back to their full glory! Follow these simple steps:
Step 1: Turn Off the Solar Light
Before you do anything else, locate the power switch on your solar light and turn it OFF. This prevents any accidental short circuits while you’re working with the batteries.
Step 2: Access the Battery Compartment
This is often the trickiest part, as designs vary. Look for a small cover, usually on the underside or back of the solar light head, or sometimes at the base of the unit.
- Screws: Most commonly, there will be one or two small Phillips head screws securing the cover. Use your screwdriver to carefully remove these. Keep them in a safe place, like a small bowl or magnetic tray, so you don’t lose them.
- Clips: Some lights have a snap-on cover. You might need to gently use a flathead screwdriver or a putty knife to carefully pry it open. Be gentle to avoid breaking any plastic clips.
- Twist-Off Covers: A few designs might have a cover that twists off. Look for markings that indicate a direction to turn.
Once the cover is loose or removed, you should be able to see the battery compartment.
Step 3: Remove the Old Batteries
Inside the compartment, you’ll see the rechargeable batteries. They are usually held in place by clips or a small battery holder.
- Grip and Pull: If they’re easily accessible, try to grip the batteries with your fingers and pull them straight out.
- Use Tweezers: If they’re stuck or you have trouble getting a grip, use a pair of tweezers to carefully pull them out. Avoid using metal tools that could touch both battery terminals at once, which could cause a short circuit.
- Check Polarity: As you remove the old batteries, pay close attention to how they are oriented. Note which way the positive (+) and negative (-) ends are facing. This is crucial for installing the new ones correctly.
Step 4: Clean the Battery Contacts
Over time, dust, dirt, or even a bit of corrosion can build up on the metal contacts inside the battery compartment. This can prevent a good connection and hinder charging.
- Take your clean cloth or paper towel.
- If there’s any visible corrosion (a greenish or whitish powdery substance), you can lightly dampen the cloth with a bit of isopropyl alcohol (rubbing alcohol) or a mild cleaner suitable for electronics.
- Gently wipe the metal contacts to remove any buildup.
- Ensure the contacts are completely dry before proceeding.
A clean connection is key to reliable performance!
Step 5: Insert the New Batteries
Now it’s time for the new batteries! Make sure you’ve got the right ones and that they are fully charged if they weren’t pre-charged.
- Match Polarity: This is the most important part! Insert the new batteries, ensuring that the positive (+) end of the battery matches the positive (+) marking in the compartment, and the negative (-) end matches the negative (-) marking. Usually, the positive end has a small bump.
- Secure the Batteries: Gently push the batteries into place. They should fit snugly. If there are clips, make sure they snap into place correctly.
If you’re unsure about polarity, check the markings in the compartment or on the old batteries again. Incorrect polarity can prevent the light from working and, in some cases, damage the device.
Step 6: Reassemble the Solar Light
Carefully put everything back together.
- Replace the Cover: Position the battery compartment cover back onto the light.
- Secure with Screws: If your light had screws, reinsert them and tighten them gently. Don’t overtighten, as this can strip the plastic threads.
- Snap or Twist: If it was a snap-on or twist-off cover, ensure it’s properly seated and secured.
Step 7: Test the Solar Light
The moment of truth! Take your solar light outside (or cover the solar panel completely with your hand or a dark cloth) to simulate nighttime. The light should turn on.
- Initial Test: If it doesn’t turn on immediately, don’t panic. Sometimes, solar lights have a delay or need a moment to register.
- Check Connections: If it still doesn’t work, double-check that the batteries are inserted correctly with the right polarity and that the battery contacts are clean.
- Sunlight for Charging: After testing, ensure the solar panel is placed in direct sunlight for a full day to allow the new batteries to charge properly.
Congratulations! You’ve successfully replaced your solar light batteries.
Troubleshooting Common Issues
Even with careful steps, you might run into a snag. Here are a few common problems and how to fix them:
-
Light Still Doesn’t Work:
- Check Polarity: Did you install the batteries the right way around? This is the most common mistake.
- Battery Charge: Are the new batteries actually charged? If they are new but haven’t been charged, they might need a day in the sun.
- Dirty Solar Panel: The solar panel itself might be dirty or covered by debris. Clean it gently with a damp cloth.
- Faulty Light: Unfortunately, sometimes the internal electronics of the solar light might have failed, or the solar panel itself could be damaged.
-
Light is Dim or Flickers:
- Battery Quality: Ensure you’re using good quality rechargeable NiMH batteries. Low-quality batteries might not hold a charge well.
- Insufficient Charging: Is the light getting enough direct sunlight each day? Shady spots or cloudy weather can prevent a full charge.
- Corroded Contacts: Re-clean the battery contacts.
-
Battery Compartment is Stuck:
- Gentle Force: Be patient and use gentle, steady pressure. Avoid forcing it, which can break plastic.
- Check for Hidden Screws: Sometimes screws are cleverly hidden under labels or decorative elements.
If you’ve tried these troubleshooting steps and your solar light still isn’t performing as it should, it might be time to consider replacing the entire unit. But most of the time, a simple battery swap does the trick!
When to Consider Replacing the Entire Solar Light
While replacing batteries is often the solution, there comes a time when the solar light unit itself might be beyond repair. Here are some signs that it might be time for a new one:
- Cracked or Damaged Casing: If the outer housing is significantly damaged, it can allow water ingress, leading to corrosion and failure.
- Faded or Damaged Solar Panel: If the plastic lens over the solar panel is severely scratched, cloudy, or cracked, it won’t be able to absorb sunlight effectively.
- Persistent Performance Issues: If you’ve replaced batteries multiple times, cleaned contacts, ensured good sunlight, and the light still performs poorly, the internal components might have failed.
- Internal Corrosion: If you open the battery compartment and see significant rust or corrosion that you can’t clean away, it indicates water damage.
- Outdated Technology: Newer solar lights often have improved LED brightness, better battery efficiency, and more durable designs.
Replacing the entire light might seem like more work, but it often brings a significant upgrade in brightness and reliability. Plus, there are many affordable and energy-efficient options available today.
Tips for Maximizing Solar Light Battery Life
Once you’ve replaced the batteries, you’ll want to keep them working their best for as long as possible. Here are some tips:
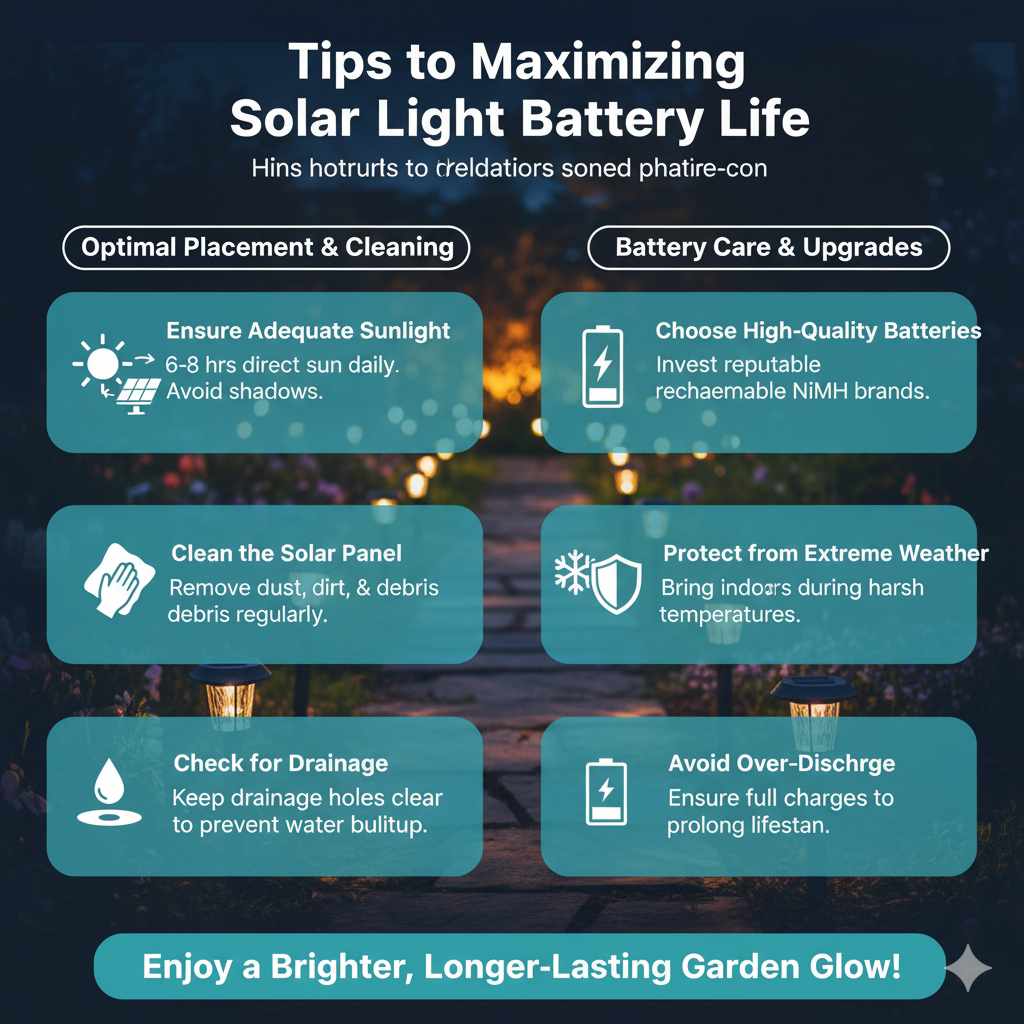
- Ensure Adequate Sunlight: Place your solar lights in locations that receive at least 6-8 hours of direct sunlight per day. Avoid placing them under trees or near structures that cast long shadows. Learn more about optimal solar placement from resources like Energy.gov’s solar energy section.
- Clean the Solar Panel Regularly: Dust, pollen, bird droppings, and leaves can accumulate on the solar panel, reducing its efficiency. Wipe it down with a damp cloth periodically.
- Choose High-Quality Batteries: Invest in reputable brands of rechargeable NiMH batteries. They tend to have better performance and longevity.
- Protect from Extreme Weather: While solar lights are designed for outdoor use, prolonged exposure to extreme heat or freezing temperatures can impact battery life. Consider bringing them indoors during harsh winter months if possible.
- Check for Drainage Holes: Some solar lights have small drainage holes to prevent water buildup. Ensure these are clear.
- Avoid Over-Discharge: If a light consistently fails to get enough sun to fully charge, its battery may be repeatedly over-discharged, shortening its lifespan. Consider relocating the light or supplementing with a different lighting solution for that area.
By following these simple maintenance tips, you can help your new solar light batteries last longer and keep your garden beautifully illuminated.
Frequently Asked Questions (FAQ)
Q1: How often do solar light batteries need to be replaced?
A1: Typically, rechargeable batteries in solar lights need replacement every 1 to 3 years. This can vary depending on the quality of the batteries, the amount of sunlight they receive, and the local climate.
Q2: Can I use regular alkaline batteries in my solar lights?
A2: No, you should not use regular alkaline batteries. Solar lights require rechargeable batteries (usually NiMH) because they are designed to be recharged by the solar panel. Alkaline batteries are not rechargeable and can corrode or leak inside the light.
Q3: My solar light still isn’t working after replacing the batteries. What else could be wrong?
A3: Double-check that the new batteries are inserted with the correct polarity (+/-). Ensure the battery contacts are clean and free of corrosion. Also, make sure the solar panel is clean and receiving direct sunlight. If these steps don’t help, the solar panel or internal electronics might be damaged.
Q4: What does “mAh” mean on a battery?
A4: mAh stands for milliampere-hour. It’s a measure of battery capacity. A higher mAh rating means the battery can store more energy and will typically power the device for a longer time on a single charge.
Q5: Do I need to charge new batteries before installing them?
A5: It’s a good practice to charge new rechargeable batteries fully before their first use, especially if they are not advertised as “pre-charged.” However, many modern NiMH batteries come pre-charged and ready to use, and will then be topped up by the solar panel.
Q6: Can I mix old and new batteries in my solar light?
A6: It’s best to replace all batteries in a solar light at the same time. Mixing old and new batteries can lead to uneven charging and discharging, reducing the performance and lifespan of both the old and new batteries.
Conclusion
There you have it – a complete guide to replacing solar light batteries! As you can see, it’s a very accessible DIY project that can bring your garden and outdoor spaces back to life. By understanding what batteries to use, having the right (minimal) tools, and following these straightforward steps, you can confidently tackle this task yourself. Remember to pay attention to battery polarity, keep those contacts clean, and ensure your solar panels are getting plenty of sunshine. Taking these small steps will not only get your lights shining brightly again but will also help extend the life of your solar fixtures. So go ahead, give it a try, and enjoy the beautiful glow of your revitalized solar lights!