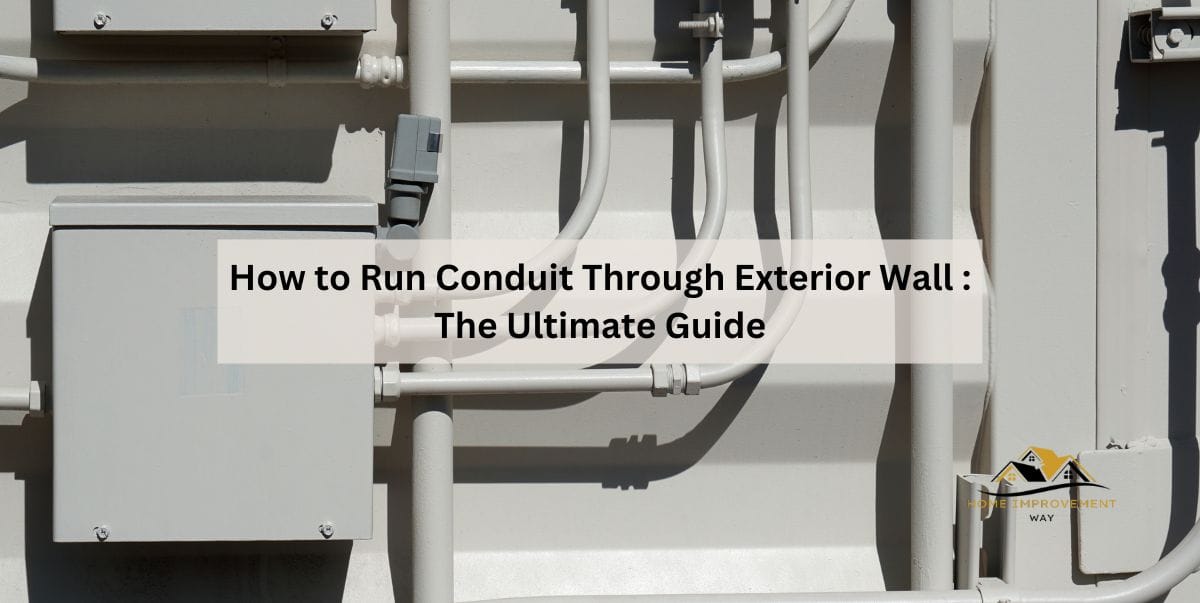
How to Run Conduit Through an Exterior Wall (NEC Code)
Running conduit through an exterior wall means drilling a hole sized to the conduit, feeding it through with fish tape, then sealing the penetration with a listed rain-tight fitting – caulk alone doesn’t meet NEC code for exterior raceways. Skip the rain-tight fitting and water works into the wall cavity over time, even if the caulk looks intact. This guide covers choosing the right conduit type, drilling and feeding it through the wall, and the sealing method that actually holds up to code.
Assessing The Exterior Wall
Before running conduit through an exterior wall, assess the wall’s structure and pick the best path – considering the wall’s composition and any obstacles up front avoids a wasted hole.
Choosing The Conduit Type
Conduits come in PVC, rigid metal, or flexible metal – each suited to different conditions.
- PVC conduit is lightweight, affordable, and corrosion-resistant, suitable for both outdoor and indoor use – though it can become brittle in extreme temperature swings.
- Rigid metal conduit offers strong impact and fire protection, well-suited to demanding environments, but is heavier and more difficult to install.
- Flexible metal conduit (“Greenfield”) is easiest to route around tight corners and bends, but offers less impact protection than rigid metal.
Match the conduit type to the wall’s exposure and the specific run – a straight, exposed exterior run favors PVC or rigid metal, while a run with several bends favors flexible metal.
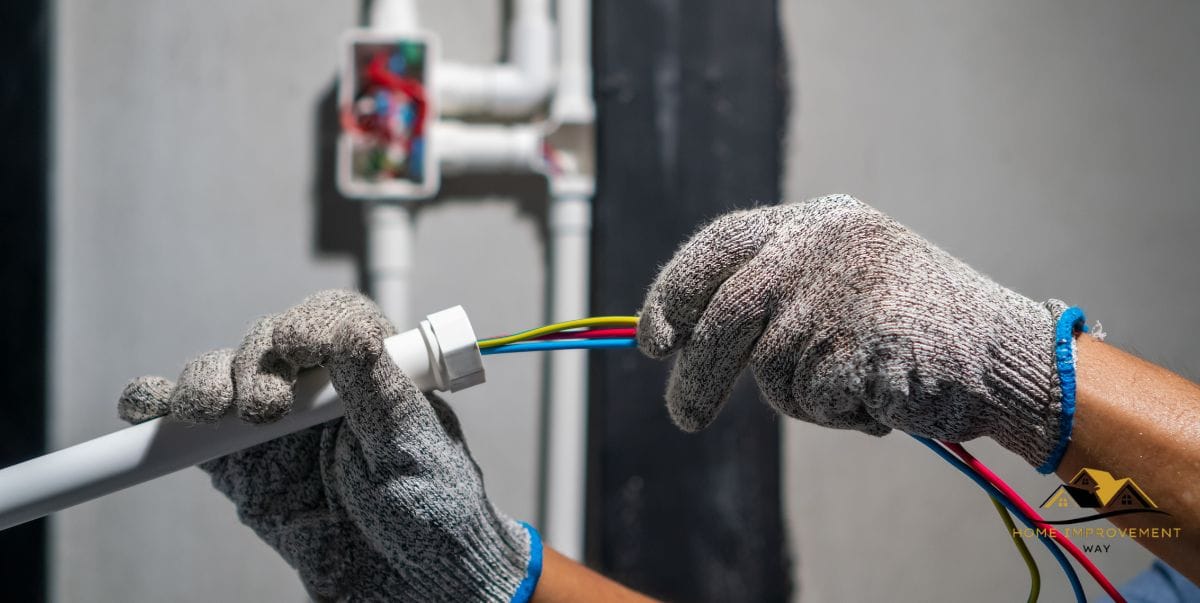
Locating Obstacles In The Wall
Identify potential obstacles inside the wall before drilling, so the installation strategy can adjust for them rather than hitting them mid-drill.
Common obstacles to check for:
| Obstacle | Considerations |
|---|---|
| Electrical wiring | Ensure the conduit does not interfere with existing wiring or create a safety hazard. |
| Plumbing pipes | Avoid running the conduit near plumbing pipes to prevent damage or leakage. |
| Gas lines | Take extra caution around gas lines to avoid any risk of a leak. |
| Structural elements | Watch for beams, studs, or other structural components that could affect the conduit’s path. |
Inspecting the wall thoroughly for these obstacles first lets the conduit route around them, minimizing disruption or damage.
Gathering The Necessary Tools And Materials
Gathering every tool and material before starting keeps the job moving without mid-project trips to the store.
Tools Required
- Power drill: makes the entry and exit holes in the wall.
- Drill bits: different sizes for the various hole diameters needed.
- Fish tape: pulls the conduit through the wall cavity.
- Pliers: for gripping and maneuvering the conduit.
- Hammer: for parts of the installation that need it.
- Tape measure: for accurate hole and pathway measurements.
- Pencil: for marking hole locations.
- Screwdriver: to secure brackets or clamps.
- Protective goggles and gloves: required for the drilling steps.
Materials Needed
- Conduit: the correct type and size for the wiring being protected.
- Conduit connectors: for joining sections of conduit together.
- Conduit straps or hangers: secure the conduit to the exterior wall.
- Mounting brackets: for a sturdier attachment to the wall.
- Conduit elbows: allow smooth bends and turns in the conduit’s path.
- Conduit couplings: connect two sections of conduit in a straight line.
- Conduit adapters: connect conduit to junction boxes or electrical panels.
- Rain-tight fitting: the NEC-compliant way to seal the wall penetration – see the Data Callout below.
- Weatherproof sealant: supplements the rain-tight fitting, not a replacement for it.
Best Rain-Tight Fitting
Halex 3/4″ EMT Rain Tight Connector (5pk) – $16.45
The exact fitting type this guide’s Data Callout says is required by NEC 225.22 and 314.15 – caulk alone doesn’t meet code for an exterior wall penetration.
- Best for: code-compliant sealing at the conduit’s exterior wall penetration
- Why we picked it: listed for rain-tight use, not just a generic compression fitting
- Main drawback: sized for 3/4″ EMT only – confirm your conduit size before buying
Compare more conduit-run essentials
 Option 1 Klein Tools 50-Foot Fish Tape – $25.98
|
 Option 2 Halex EMT Conduit Strap (100pk) – $22.99
|
As an Amazon Associate we earn from qualifying purchases.
Preparing The Wall For Conduit Installation
Measuring And Marking The Entry And Exit Points
Accurately measure and mark the entry and exit points where the conduit will run through, accounting for windows, doors, or utilities to find the most efficient pathway. Mark clearly with a pencil or washable marker.
Drilling The Holes
Drill through the exterior wall at each marked point using an appropriately sized bit, keeping the drill perpendicular to the wall for a straight hole. Apply light, steady pressure – excessive force risks damaging the wall.
Match the hole diameter to the manufacturer’s recommendation for the conduit size being installed – this ensures a snug fit and keeps the conduit from moving or working loose later.
Wear safety goggles during drilling to keep debris out of your eyes, and a mask to avoid inhaling dust or particles released in the process.
Once drilled, inspect each hole and clear away loose material with a brush or vacuum to create a clean pathway for the conduit.
Running the Conduit Through the Wall
Properly installed conduit protects the wires or pipes it carries from weather and pests – this section covers feeding the conduit through the wall and securing it once it’s through.
Feeding The Conduit Through The Holes
Bore through the wall at the entry and exit points with a drill and hole-saw attachment, measuring and marking accurately first to avoid mistakes.
Once the holes are in place, feed the conduit through:
- Insert the conduit into the entry hole, aiming it toward the exit hole.
- Attach a fish tape or sturdy wire to the conduit and push it through the hole to guide it.
- Pull the tape or wire from the exit hole while slowly pushing the conduit behind it, guiding it smoothly through the wall.
- Continue until the entire length of conduit is through the wall.
Working slowly here avoids unnecessary damage to the conduit or the wall.
Securing The Conduit To The Wall
Once the conduit is fed through, secure it in place to prevent future movement or damage:
- Position the conduit against the wall, straight and aligned with the entry and exit holes.
- Secure it at regular intervals with conduit straps or clamps rated for outdoor use, fastened tightly around the conduit.
- Choose straps or clamps that are durable and corrosion-resistant, given ongoing weather exposure.
- Check stability by gently trying to move the conduit – if it feels loose, add more clips or straps.
A properly secured conduit provides long-lasting protection for the electrical or plumbing system running through it.
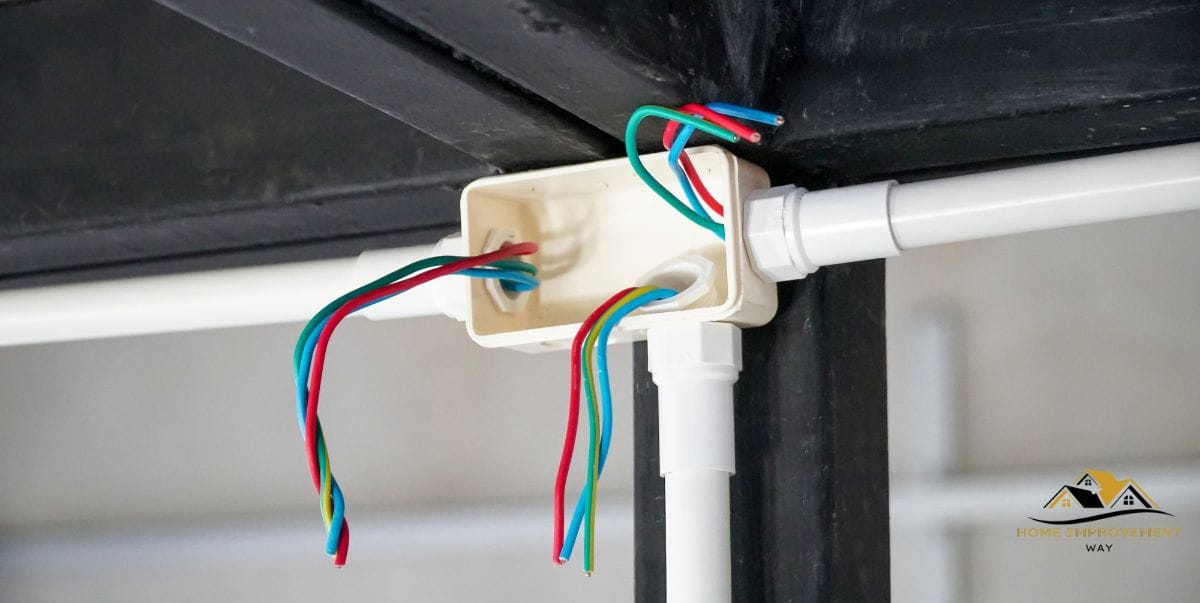
“Raintight: Constructed or protected so that exposure to a beating rain will not result in the entrance of water under specified test conditions.”
Connecting And Sealing The Conduit
With the conduit run through the wall, the last steps are connecting any additional sections and sealing the wall penetration for a secure, watertight installation.
Connecting Multiple Sections Of Conduit
To extend the conduit for a longer run, connect additional sections:
- Measure and cut the conduit: use a hacksaw or pipe cutter for a clean, precise cut at the required length.
- Prepare the conduit ends: deburr the cut ends with a file so the connection seats smoothly.
- Add a coupling: slide a correctly-sized PVC coupling halfway onto one conduit section.
- Apply adhesive: apply PVC adhesive to the inside of the coupling and outside of the conduit end, per the manufacturer’s instructions.
- Connect the conduit: push the adhesive-coated end into the coupling and hold a few seconds to bond.
- Repeat as needed: repeat for any additional sections to connect.
Sealing The Entry And Exit Points
A listed rain-tight fitting at each wall penetration is what actually meets code – silicone sealant supplements the fitting, it doesn’t replace it. To finish the seal properly:
- Install a rain-tight fitting: thread a listed rain-tight or weatherproof fitting onto the conduit at the wall penetration before final assembly.
- Add silicone sealant: apply a bead of silicone sealant around the fitting’s perimeter where it meets the wall, for extra water resistance.
- Smooth the sealant: use a putty knife or finger to create an even, consistent bead and remove excess.
- Check for gaps: confirm no gaps remain around the fitting and the sealant fully covers the perimeter.
- Allow the sealant to cure: follow the manufacturer’s recommended cure time for a durable, long-lasting seal.
This combination – a rain-tight fitting plus sealant – is what actually keeps the installation weatherproof and code-compliant.
Frequently Asked Questions
What type of conduit should I use for an exterior wall?
PVC or rigid metal conduit are the standard picks for exterior exposure – PVC is lighter and corrosion-resistant, rigid metal handles impact and extreme temperatures better. Flexible metal conduit works best where the run needs to navigate tight bends.
Is silicone caulk enough to seal a conduit through an exterior wall?
No. NEC 225.22 requires exterior raceways to be rain-tight, and NEC 314.15 requires fittings in wet locations to be listed for that use – a listed rain-tight fitting at the penetration is the code-compliant method, with silicone sealant as a supplement, not a substitute.
Do I need a permit to run conduit through an exterior wall?
In most jurisdictions, yes – exterior electrical work typically requires a permit and inspection, since it involves penetrating the building envelope and connecting to the electrical system. Check with the local building department before starting.
Can I run conduit through a brick or concrete exterior wall?
Yes, but it requires a hammer drill with a masonry bit rather than a standard wood/metal bit, and typically takes longer per hole. The rain-tight fitting and sealing requirements are the same as for wood-frame walls.
What size hole do I need for the conduit?
Match the hole to the conduit’s outer diameter per the manufacturer’s spec – too loose and the rain-tight fitting can’t seal properly, too tight and the conduit won’t feed through cleanly. Standard residential runs commonly use 1/2-inch to 1-inch conduit.
Conclusion
Running conduit through an exterior wall comes down to choosing the right conduit type, drilling and feeding it through cleanly, and finishing the penetration with a rain-tight fitting rather than sealant alone. Get those three right and the installation protects the wiring for years without a hidden water-intrusion problem.
Sponsored / affiliate links. As an Amazon Associate I earn from qualifying purchases. I may earn additional commission from eligible campaigns.