How to Spray Paint Walls and Ceilings Like a Pro
Many folks find painting walls and ceilings tricky, especially with a spray paint can. You might worry about getting an even coat or making a mess. But don’t let that stop you!
This guide will show you exactly How to Spray Paint Walls and Ceilings Like a Pro. We’ll break it down into simple steps so anyone can get a smooth, professional finish. Let’s get ready to transform your space with ease.
Getting Ready To Spray Paint Walls And Ceilings
Before you even pick up a spray can, proper preparation is key. This step prevents frustration and ensures your paint job looks great. It’s like getting your tools ready before building something.
Taking your time here means less cleanup and a better final look. We will cover everything from choosing the right paint to protecting your belongings.
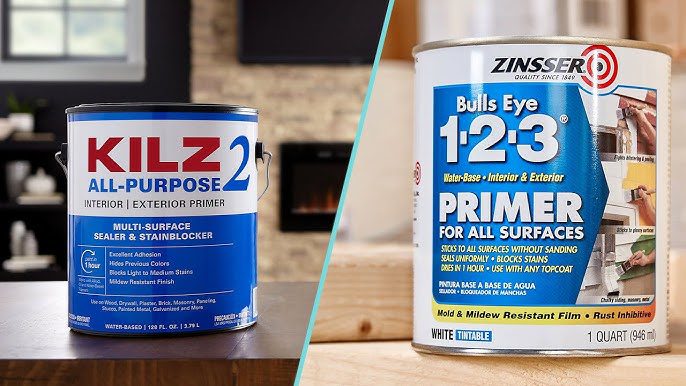
Choosing The Right Spray Paint For Walls And Ceilings
Not all spray paints are the same. For walls and ceilings, you need paint that goes on smoothly and covers well. Look for paints specifically designed for interior surfaces.
Many brands offer “coverage” or “coverage plus” formulas that help you get a solid color in fewer coats.
Latex or acrylic-based spray paints are often the best choice for walls. They dry fast and are easy to clean up with water. Oil-based paints can be more durable but are harder to work with and require special solvents for cleanup.
Always check the can to see what kind of surface it’s best for.
Consider the finish you want. A matte finish hides imperfections well, which is great for older walls or ceilings. A satin or semi-gloss finish can be more durable and easier to clean, making it a good choice for high-traffic areas or kitchens.
However, these finishes can also show more imperfections.
The amount of paint you need depends on the size of the area. A standard 12-ounce can of spray paint typically covers about 15 to 20 square feet. For large walls or ceilings, you will need many cans.
It’s always better to buy a little extra than to run out halfway through your project.
Gathering Your Spray Painting Tools
Having the right tools makes the job much easier. You’ll need more than just the spray cans. Think of it like a chef gathering ingredients and utensils before cooking.
Having everything in one place saves you time and stress.
Here’s a list of essential items:
- Spray paint cans (chosen for your project)
- Drop cloths or plastic sheeting to protect floors and furniture
- Painter’s tape to mask off trim, windows, and edges
- A mask or respirator to protect your lungs from paint fumes
- Safety glasses to protect your eyes
- Gloves to keep your hands clean
- A ladder or step stool for reaching high areas
- A utility knife for trimming tape and sheeting
- Cleaning rags and a bucket of soapy water for spills
A good mask is very important when spray painting. The fine mist can get into your lungs if you’re not careful. Look for a mask that filters out organic vapors and paint particles.
Safety glasses are also a must. The paint can spray in unexpected directions, and you don’t want it in your eyes.
Drop cloths are non-negotiable. Spray paint has a way of drifting. Even with good control, overspray can settle on surfaces you want to keep clean.
Make sure the drop cloths are large enough to cover the entire area around where you are spraying, extending at least 6 feet out from the wall.
Preparing The Walls And Ceilings
This is a critical step for a smooth finish. Walls and ceilings need to be clean and smooth before you spray them. Any dirt, dust, or grease will show up under the new paint.
Cracks and holes need to be filled and sanded smooth. This is where you make the surface perfect for the paint.
Start by wiping down the walls and ceiling with a damp cloth. You can use a mild soap and water solution for greasy spots. Let the surfaces dry completely.
If you are painting over a glossy surface, you might need to lightly sand it first. This helps the new paint stick better. A scuff sand with fine-grit sandpaper will do the trick.
Fill any holes or cracks with spackle or joint compound. Use a putty knife to apply it smoothly. Let it dry completely, then sand it down until it’s flush with the wall.
Wipe away the sanding dust with a tack cloth or a damp cloth.
Remove any outlet covers or switch plates. If you can’t remove them, use painter’s tape to cover them completely. Tape off any trim, door frames, or window frames that you don’t want to paint.
Press the tape down firmly to create a good seal and prevent paint from seeping underneath.
Consider ventilation. Good airflow helps the paint dry faster and clears out fumes. Open windows and doors if the weather permits.
You can also set up fans to help move the air.
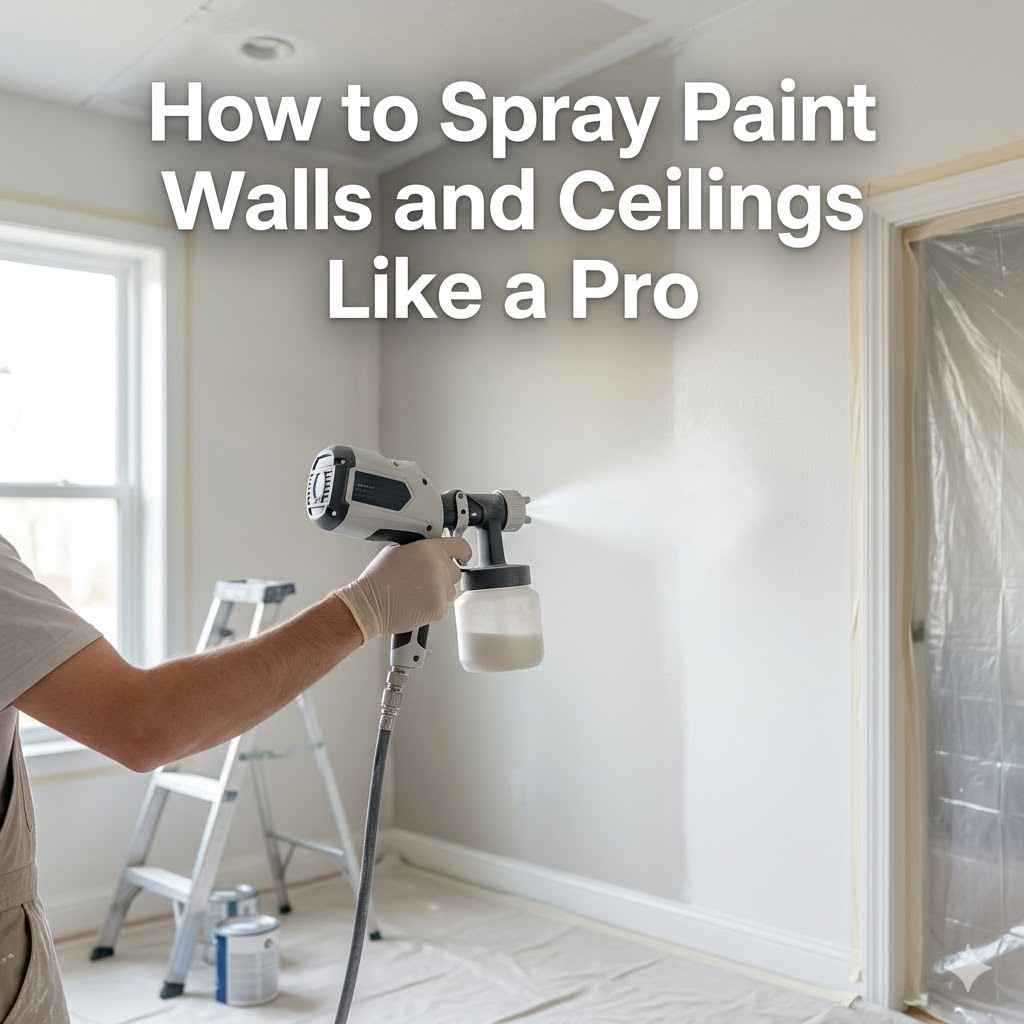
How To Spray Paint Walls And Ceilings Like A Pro
Now that everything is prepped, it’s time to spray. This part is all about technique. Learning how to hold the can, how to move your arm, and how to apply the paint evenly makes all the difference.
We will guide you through the actual spraying process, focusing on achieving that perfect look.
Mastering The Spray Can Technique
Holding the can correctly is the first step. Always shake the can vigorously for at least one to two minutes before you start. This mixes the paint and propellant evenly.
Hold the can upright, about 10 to 12 inches away from the surface. If you hold it too close, you’ll get drips. If you hold it too far away, the paint will be uneven and dusty.
When you spray, use a smooth, consistent motion. Start spraying before you reach the edge of the area you want to paint, and continue spraying past the edge after you finish. This helps you avoid starting or stopping the spray in the middle of the wall, which can leave uneven marks.
Think of it like drawing a line with a marker; you start before the paper and end after it.
Move your arm, not just your wrist. Keep your wrist straight. This creates a more controlled and even spray pattern.
Overlap each pass by about 50 percent. This means that each stripe of paint you lay down should cover half of the previous stripe. This ensures full coverage and prevents gaps.
Apply paint in thin, even coats. It’s better to apply two or three thin coats than one thick coat. Thick coats can lead to drips and an uneven finish.
Let each coat dry for the time recommended on the can before applying the next coat. This might be 15-30 minutes or more, depending on the paint and humidity.
When painting ceilings, the technique is very similar, but you’ll need to be extra careful about drips falling down. Hold the can at a consistent distance and use steady, overlapping strokes. Work in sections, moving backward as you paint.
Always look up to check your coverage and watch for any potential drips.
Applying Paint To Walls
When painting walls, start at one end and work your way across. If you are painting a large wall, divide it mentally into sections. This makes it easier to manage the spraying process.
Always spray in a consistent direction, either horizontally or vertically. Most people find vertical strokes easier for walls.
Begin your stroke off the edge of the wall. Press the spray button and move your arm in a smooth, even motion across the wall. Release the spray button before you reach the other edge.
Then, move to the next section, overlapping the previous stroke by about half.
Pay attention to corners and edges. You can use the edge of your spray pattern to get paint right up to the painter’s tape without getting too much paint on the tape. Be careful not to oversaturate these areas, as they are prone to drips.
Practice on a piece of cardboard first. This helps you get a feel for the can’s spray pattern and how far away you need to be. You can also test your overlapping technique.
This practice run can save you a lot of headaches on the actual wall.
Painting The Ceiling
Ceilings can be the trickiest part. It’s all about staying safe and ensuring even coverage. You are working overhead, so gravity is your biggest enemy when it comes to drips.
Use a ladder or step stool that is stable and at the right height. Make sure it’s placed on a firm, level surface. Never overreach.
Move the ladder as needed to maintain a comfortable and safe working position. Your comfort and safety are paramount.
Hold the can upright and about 10-12 inches from the ceiling. Use smooth, sweeping motions. Many people find spraying in rows, overlapping each row by about 50%, works best.
Spray from one edge of the ceiling to the other. Let the paint build up slowly with thin coats.
Keep an eye on the paint as you spray. If you see an area that looks thin, go back over it. But be careful not to apply too much paint, which can cause drips.
If a drip starts to form, you might be able to catch it with the edge of your spray can as you continue your stroke, or wipe it gently with a rag.
After you finish a section or a full coat, step back and look at the ceiling from different angles. This helps you spot any missed spots or uneven areas. Allow adequate drying time between coats, just as you would for walls.
Troubleshooting Common Spray Painting Issues
Even with the best preparation, you might run into some problems. Don’t worry, most issues are fixable. Knowing how to handle them will help you achieve that perfect finish.
Drips are a common problem. If you see a drip forming, try to catch it with the edge of your spray can or a clean rag before it dries. If a drip dries, you can carefully sand it down with fine-grit sandpaper and then touch it up with a small brush or re-spray the area after it’s smooth.
Uneven coverage or “holidays” (missed spots) can happen. These are usually due to not overlapping your strokes enough or not holding the can at the correct distance. Simply apply another thin coat, making sure to overlap your strokes and maintain the proper distance.
Dusty or gritty finish. This often happens when the paint is applied too far from the surface or in humid conditions. If the surface is still wet, you might be able to smooth it out.
If it’s dry, lightly sand it and apply another thin coat.
Clogged nozzle. This can happen if the paint is not mixed properly or if the can is left upside down too long after spraying. If the nozzle clogs, try cleaning it with a small wire or pin.
Sometimes, the nozzle can be
To avoid nozzle clogs, always turn the can upside down after you finish spraying and spray for a second or two. This clears the paint from the nozzle. Then, wipe the nozzle clean with a cloth.
Post-Spray Painting Cleanup And Maintenance
Once the painting is done, the job isn’t quite finished. Cleaning up properly is just as important as the painting itself. This ensures your tools last and your workspace is safe.
Cleaning Your Spray Painting Tools
If you used latex or acrylic spray paint, cleaning is straightforward. Use warm water and soap. For spray cans, the nozzle is the most important part to clean.
Turn the can upside down and spray for a few seconds to clear the paint from the nozzle.
If the nozzle is clogged and cleaning doesn’t work, you can try removing it carefully and soaking it in water or a recommended solvent. However, many times, it’s easier to just get a new can if the nozzle is truly ruined. Disposable gloves should be discarded, and your mask should be cleaned according to its instructions.
For stubborn paint residue on tools or surfaces, you might need a paint thinner or solvent. Always test these in an inconspicuous area first to make sure they don’t damage the material.
Removing Painter’s Tape And Protecting Your Workspace
Wait until the paint is dry to the touch before removing painter’s tape. If you remove it while the paint is too wet, you risk peeling the paint off with the tape. If the paint is slightly tacky, it’s usually okay to remove.
Pull the tape off slowly and at an angle, away from the painted surface. This helps to create a clean line. If you notice any paint bleed under the tape, you can carefully go over the edge with a small brush and the original wall color or a touch-up paint.
Carefully fold up your drop cloths, trapping any overspray inside. Dispose of them properly. Clean any spills on hard floors immediately with soap and water.
If you get paint on carpets, you may need a carpet cleaner or solvent.
Ensure good ventilation continues for a while after painting to help the paint cure completely and dissipate any remaining fumes. This makes your space safe and comfortable again.
When To Reapply Or Touch Up
Spray paint jobs, when done well, are quite durable. However, like any painted surface, they can get scuffed or marked over time. For minor touch-ups, you can often use a small brush and some leftover paint from your cans, if any remains.
If not, try to get a sample of the exact color and finish.
If you need to re-spray a larger area or the entire wall or ceiling, follow the same preparation steps. Clean the surface, sand any rough spots, and re-apply your paint in thin, even coats. The key to a seamless touch-up is to blend the new paint with the old by feathering the edges.
The durability of spray paint can vary depending on the type of paint used and the quality of application. For high-traffic areas or surfaces prone to wear and tear, consider using a clear protective topcoat after the paint has fully cured. This adds an extra layer of protection and makes cleaning easier.
Benefits Of Spray Painting Walls And Ceilings
Using spray paint for walls and ceilings offers several advantages over traditional methods. It can be faster and can result in a smoother finish. Let’s explore why this method is gaining popularity for DIYers and professionals alike.
Speed And Efficiency
One of the biggest benefits of spray painting is speed. A spray can can cover a large area much faster than a roller or brush. This means you can complete your painting project in less time.
For large rooms or open spaces, the time savings can be significant.
For example, a professional painter using a spray gun can paint a room in a fraction of the time it would take using rollers. While spray cans are smaller, they still offer a significant speed advantage over manual application for smaller projects or touch-ups. This efficiency is a major draw for many homeowners looking to update their spaces quickly.
This speed is especially noticeable on textured surfaces. Rollers can leave uneven marks on textured walls, requiring multiple passes. Spray paint, however, can reach into all the nooks and crannies, providing a uniform coat in one go.
This makes it ideal for popcorn ceilings or heavily textured walls.
Smooth, Even Finish
Spray paint is known for producing a smooth, factory-like finish. Unlike rollers that can leave subtle lines or brush marks, spray paint atomizes the paint into a fine mist that settles evenly on the surface. This creates a consistent texture and appearance across the entire area.
This smooth finish is particularly desirable for ceilings, where roller marks can be very noticeable under certain lighting conditions. Spraying ensures a uniform sheen and color from edge to edge. It can also help hide minor imperfections on the wall or ceiling surface because the paint covers everything evenly.
The fine mist of spray paint can also create a softer look compared to the heavier texture left by rollers. This is often the desired effect for modern and minimalist interior designs. The even application means you don’t have to worry as much about the paint’s reflectivity highlighting unevenness.
Reaching Difficult Areas
Spray paint is excellent for getting into hard-to-reach places. Corners, the area where the wall meets the ceiling, and around trim are often challenging to paint neatly with a roller or brush. Spray paint can easily coat these areas without requiring as much careful maneuvering.
For example, painting the edge of a ceiling can be difficult. You need a steady hand with a brush or a special edger tool with a roller. With spray paint, you can hold the can at the correct angle and distance and spray along the edge.
This ensures complete coverage without the risk of drips on the wall below.
This is also beneficial for intricate architectural details or areas with a lot of fixtures. The fine mist can coat surfaces evenly without pooling or creating thick blobs of paint, which can happen with brushes or rollers in tight spots. This makes it a great option for detailed renovations or updates.
Frequently Asked Questions
Question: What is the best type of spray paint for walls and ceilings
Answer: Latex or acrylic-based spray paints are usually best for interior walls and ceilings because they dry fast and clean up easily with water. Look for formulas designed for good coverage.
Question: How far away should I hold the spray can from the wall
Answer: Hold the spray can about 10 to 12 inches away from the surface. This distance helps ensure an even coat and prevents drips or uneven coverage.
Question: How do I prevent spray paint drips
Answer: Apply paint in thin, even coats and maintain a consistent distance from the wall. Overlap your strokes by about 50 percent. If a drip starts, try to catch it with the edge of your spray can.
Question: How many coats of spray paint do I need
Answer: It usually takes two to three thin coats for full, even coverage. Allow each coat to dry according to the manufacturer’s instructions before applying the next.
Question: Can I spray paint over textured ceilings
Answer: Yes, spray paint works very well on textured ceilings like popcorn ceilings because the fine mist can reach into all the crevices and create a uniform look.
Summary
Learning how to spray paint walls and ceilings like a pro is achievable with the right preparation and technique. By following these simple steps, you can achieve a smooth, professional finish. This method is faster and can give you a cleaner look than traditional painting tools.
Remember to prepare your space, use steady strokes, and clean up properly for lasting results.