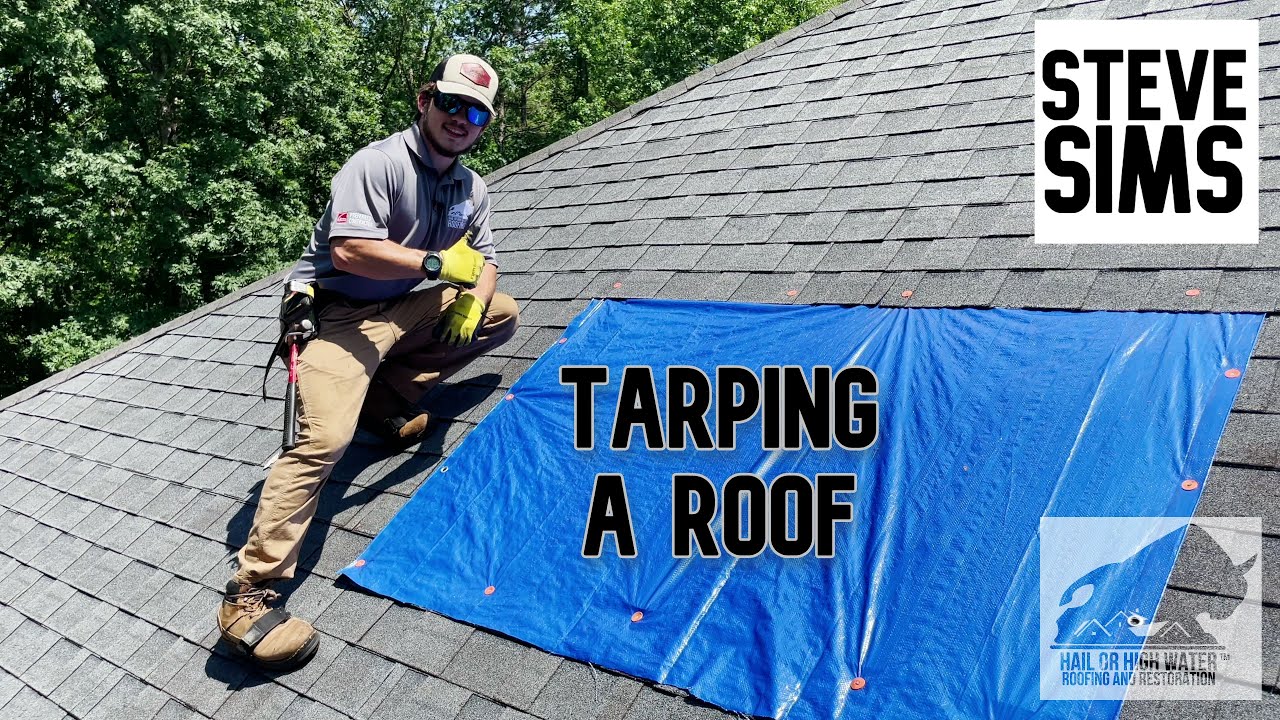
How to Tarp a Roof: Step-by-Step Guide
When a storm leaves your roof battered and leaking, you need a quick solution. Tarping your roof is a simple yet effective way to protect your home from further damage.
Imagine rain pouring in, ruining your furniture and precious belongings. The anxiety of seeing your safe haven exposed is something you wouldn’t wish upon anyone. But with the right knowledge, you can take control and shield your home. You’ll discover step-by-step guidance on how to tarp a roof like a pro.
It’s not just about laying down a sheet; it’s about safeguarding your peace of mind. Whether you’re dealing with minor leaks or major damage, knowing how to properly tarp a roof can save you money and stress. Ready to learn how to turn a crisis into a manageable task? Dive in, and empower yourself with the skills to protect what matters most.
Preparation For Tarping
Start by checking the roof for damaged or missing shingles. Also, look for any holes or leaks. A close inspection helps to understand the work needed. This makes sure the tarp covers all problem areas.
Collect the right tools and materials before starting. You will need a heavy-duty tarp, some nails or screws, and a ladder. A hammer or drill is also important. Don’t forget work gloves for safety. Having everything ready makes the job easier.
Safety is very important. Wear non-slip shoes to avoid slipping. Use a sturdy ladder to reach the roof. A safety harness is a good idea too. Always have a helper for extra safety. Being careful keeps everyone safe.
Choosing The Right Tarp
Picking the correct tarp size is very important. Measure the roof area first. A tarp should cover the entire space. Add extra feet for secure fixing. This prevents water from getting under. Choose a tarp type that suits your needs. Polyethylene tarps are popular. They are strong and waterproof. Canvas tarps are heavy but durable. They work well in windy areas. Mesh tarps are for light coverage. They let air pass through but reduce sun exposure.
A durable tarp lasts longer. It handles tough weather well. Look for a tarp with reinforced corners. These corners are stronger and prevent tearing. UV resistance is crucial. It keeps tarps from breaking in the sun. Waterproof tarps stop rain from leaking in. Windproof tarps stay in place during storms. Always pick a tarp with these features. Your roof stays safe and dry.
Securing The Tarp
Place the tarp over the damaged area. Ensure it covers all exposed parts. Straighten edges to avoid gaps. Secure tightly. This prevents water from seeping through. Use a ladder for high spots. Ask a friend for help if needed.
Choose nails or screws for firm attachment. Drive them through grommets. Space them evenly for stability. Avoid over-tightening. This can tear the tarp. Check that it’s secure. Loose parts can flap in the wind.
Ropes or bungee cords add extra security. Tie ropes around sturdy objects. Secure corners to prevent movement. Avoid stretching cords too much. They may snap. Test the tension. Adjust if necessary. Ensure all sides are anchored.
Maintaining The Tarp
Inspect the tarp often. Look for holes and tears. Pay attention to edges and corners. They can wear out fast. Use a ladder to check the top. Be careful and stay safe.
Fix small holes and tears quickly. Use tarp tape or patch kits. Clean the area first. Make sure the tape sticks well. A quick repair can stop bigger problems.
Old tarps need replacing. Check for fading and brittleness. A new tarp is stronger. It keeps the roof safe. Don’t wait too long. Replace early to avoid more damage.
Safety Tips
Always use a harness when working on sloped roofs. It keeps you safe. Check your footwear. Shoes should have good grip. Slippery shoes can cause falls. Keep tools close to avoid reaching out. Reaching far can make you lose balance. Never work alone. Have a buddy nearby for help.
Keep tools organized. A messy site can cause accidents. Use a tool belt. It helps keep tools within reach. Check tools for damage before use. Broken tools can be dangerous. Wear gloves to protect your hands. Gloves shield against cuts and scratches.
Avoid working in bad weather. Rain or strong winds are risky. Wet surfaces can be slippery. Check the forecast before starting work. A sunny day is best for safety. Be aware of changing weather conditions. Sudden changes can create hazards.
Frequently Asked Questions
What Is The Easiest Way To Tarp A Roof?
To easily tarp a roof, clear debris, then roll out the tarp over the damaged area. Secure it with roofing nails or screws at the edges. Use wooden strips for extra stability. Ensure it’s tight to prevent wind damage. Always prioritize safety and use a ladder cautiously.
Can I Put A Tarp On My Roof To Stop Leaks?
Yes, you can use a tarp to temporarily stop roof leaks. Secure it properly to prevent further damage. Ensure the tarp covers the entire affected area, using heavy-duty tarps and nails. Contact a roofing professional for permanent solutions, as tarps are only a temporary fix.
How Long Will A Tarped Roof Last?
A tarped roof typically lasts 90 days. Weather conditions can shorten this lifespan. Regular inspection is essential to maintain effectiveness. Consider a permanent repair for long-term protection.
How To Secure A Tarp On A Roof Without Nails?
Use heavy-duty bungee cords or rope to secure the tarp’s grommets to sturdy anchor points. Weigh down edges with sandbags or bricks. Ensure the tarp is taut to prevent water pooling. Consider using adhesive roof tarps or clips designed for temporary roof repair.
Regularly check for secure placement.
Conclusion
Tarping a roof protects your home from leaks and damage. It’s important to use strong materials. Secure the tarp properly. Check it after storms to ensure safety. This process can save time and money. Regular checks help prevent further damage.
With these simple steps, you can keep your home safe. Remember, safety is a priority when working on a roof. Always take precautions. A well-tarped roof can make a big difference. Keep your tools handy. Be prepared for weather changes.
A little effort goes a long way in protecting your home.