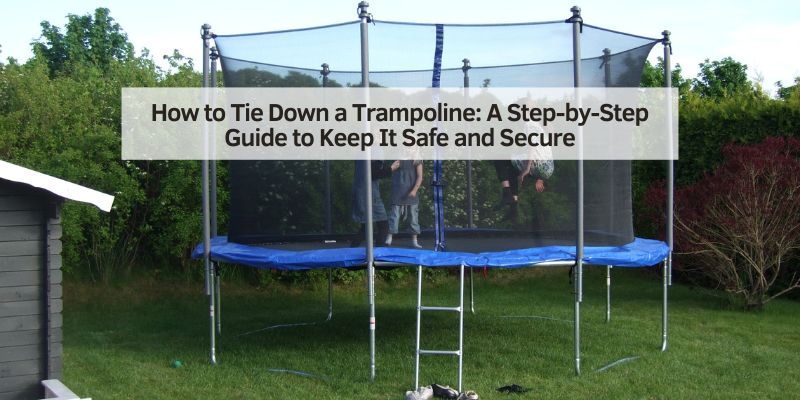
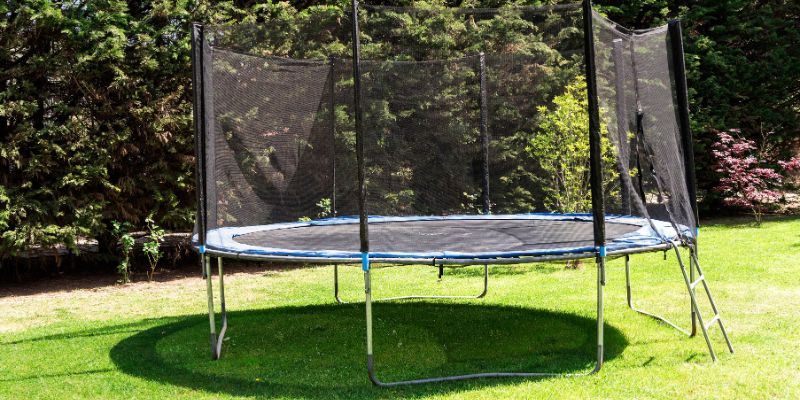
How to Tie Down a Trampoline: A Step-by-Step Guide to Keep It Safe and Secure
Hey there! If you’re reading this, chances are you’ve got a trampoline in your backyard, and you’re wondering how to keep it from turning into a kite during the next big storm. I’ve been there. When I first got my trampoline, I was thrilled—my kids were bouncing like crazy, and it was the centerpiece of our backyard fun. But then, a windy night flipped it halfway across the yard, and I realized I needed to figure out how to tie it down properly. After a lot of trial and error (and some research),
I’ve learned the ins and outs of securing a trampoline so it stays put, no matter what Mother Nature throws at it. In this guide, I’m sharing everything I’ve learned about how to tie down a trampoline safely and effectively. Whether you’re a new trampoline owner or just looking to upgrade your setup, I’ve got you covered with practical tips, tools, and techniques. Let’s dive in!
Why Tying Down a Trampoline Matters
Picture this: it’s a sunny afternoon, the kids are laughing and bouncing, and life feels perfect. Then, a storm rolls in overnight, and you wake up to find your trampoline in your neighbor’s yard—or worse, tangled in a tree. Trust me, it’s not a fun way to start the day. Securing your trampoline isn’t just about protecting your investment (though those things aren’t cheap!).
It’s about keeping your family, neighbors, and property safe. A loose trampoline can cause serious damage or even injuries if it gets picked up by strong winds. Plus, many areas in the USA, especially places like Florida or Texas, get hit with unpredictable weather—hurricanes, tornadoes, or just plain gusty days. Tying it down properly gives you peace of mind, so you can focus on the fun instead of worrying about the what-ifs.
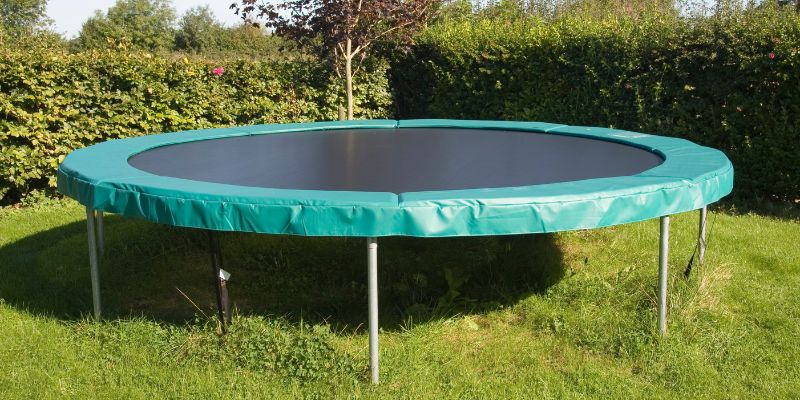
Choosing the Right Tie-Down Method for Your Trampoline
When I first started looking into tying down my trampoline, I was overwhelmed by the options. There are several ways to secure a trampoline, and the best method depends on your yard, your trampoline, and the weather in your area. Let me break down the most common methods I’ve tried or researched, so you can pick what works for you.
Anchor Kits: The Go-To Solution
Anchor kits are my favorite way to tie down a trampoline because they’re straightforward and reliable. These kits usually come with metal stakes (like giant corkscrews) and heavy-duty straps or ropes. You screw the anchors into the ground, attach the straps to the trampoline frame, and tighten everything up. I’ve found that good-quality anchor kits are designed to handle strong winds and keep the trampoline stable.
Here’s a quick table to compare some popular anchor kit options I’ve come across:
| Anchor Kit | Material | Number of Stakes | Best For | Price Range |
|---|---|---|---|---|
| Standard Spiral Anchors | Galvanized Steel | 4 | Small to medium trampolines | $20–$40 |
| Heavy-Duty Corkscrew | Stainless Steel | 4–6 | Large trampolines, windy areas | $40–$70 |
| Auger-Style with Ratchets | Steel with Nylon Straps | 4–8 | Extreme weather, all sizes | $50–$100 |
When I used a spiral anchor kit for my 14-foot trampoline, it held up through a stormy summer in Ohio. The key is to make sure the anchors are screwed deep into the ground—aim for at least 12–15 inches for a solid hold.
Sandbags: A Flexible Alternative
If your yard has rocky soil or you’re not keen on drilling into the ground, sandbags are a great option. I tried this method when I moved to a rental house where I couldn’t make permanent changes to the yard. You place heavy-duty sandbags over the trampoline’s legs or frame to weigh it down. Each bag should weigh at least 50 pounds to be effective, and you’ll need one for each leg (usually 4–6 bags total).
The downside? Sandbags can shift during heavy rain or wind, so you’ll need to check them regularly. I also found that filling them with dry sand and sealing them tightly prevents leaks, which can make a mess. If you live in a milder climate, like parts of California, sandbags might be all you need for occasional gusts.
Concrete Blocks: For Extreme Conditions
For those of you in hurricane-prone areas, like Florida or Louisiana, concrete blocks can be a lifesaver. I haven’t used this method myself, but a friend in Miami swears by it. You secure heavy concrete blocks (think 50–100 pounds each) to the trampoline frame using strong chains or straps. This method is super sturdy but less portable, so it’s best if you plan to keep your trampoline in one spot.
The catch is that concrete blocks can be pricey and tough to move. You’ll also need to make sure the blocks are securely fastened to avoid them slipping. If you’re dealing with extreme weather, though, this might be your best bet.
Tools and Materials You’ll Need
Before you start tying down your trampoline, gather your supplies. Here’s what I keep on hand based on my experience:
- Anchor kit or sandbags: Choose based on your yard and weather.
- Hammer or mallet: For driving stakes into the ground.
- Measuring tape: To ensure even spacing of anchors.
- Heavy-duty straps or ropes: Look for UV-resistant, weatherproof materials.
- Screwdriver or drill (optional): For tougher soils, a drill can help start the anchor holes.
- Gloves: Trust me, your hands will thank you when you’re twisting those anchors in.
I learned the hard way to double-check that all materials are weather-resistant. Cheap ropes can fray or snap after a season, so spend a little extra on quality.
Step-by-Step Guide to Tying Down a Trampoline
Now, let’s get to the nitty-gritty. Here’s how I tie down my trampoline using an anchor kit, which I think is the easiest method for most people. If you’re using sandbags or concrete blocks, you can adapt these steps.
Step 1: Choose the Right Spot
I can’t stress this enough—where you place your trampoline matters. Pick a flat, level spot in your yard, away from trees, fences, or power lines. I made the mistake of setting mine up too close to a tree once, and a branch fell on the net during a storm. Not fun. Also, check your local weather patterns. If you’re in a windy area, avoid open spaces where gusts can hit full force.
Step 2: Clear and Prepare the Ground
Before you set up, clear the area of rocks, sticks, or debris. If you’re using anchors, make sure the soil isn’t too rocky or sandy. I once tried anchoring in loose, sandy soil, and the stakes pulled out after a week. If your soil is tricky, consider sandbags or consult a local hardware store for ground-hardening tips.
Step 3: Install the Anchors
If you’re using an anchor kit, screw the stakes into the ground at equal distances around the trampoline. I usually place one anchor near each leg, about 6–12 inches away from the frame. Use a mallet to tap the stakes in, then twist them until they’re deep and secure. I aim for at least 12 inches deep, but go deeper if your kit allows.
Step 4: Attach the Straps or Ropes
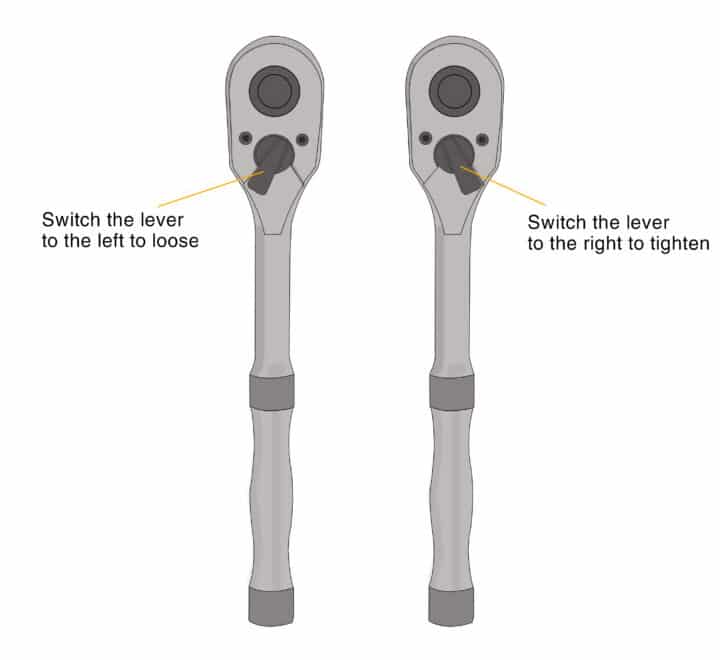
Loop the straps or ropes through the anchors and attach them to the trampoline frame. Most trampolines have metal loops or bars on the legs for this. Pull the straps tight, but not so tight that they strain the frame. I use a ratchet system for extra security—it’s like buckling a seatbelt for your trampoline.
Step 5: Test and Adjust
Give the trampoline a gentle shake to test its stability. If it wobbles, tighten the straps or check the anchors. I also walk around and push on each leg to make sure everything feels solid. After a big storm, I always double-check for loose straps or stakes.
Tips for Maintaining Your Tie-Down System
Once your trampoline is secured, you’re not done yet. I’ve learned that regular maintenance keeps your setup safe and effective. Here are my go-to tips:
- Check after storms: Wind and rain can loosen anchors or straps. I inspect mine after every big weather event.
- Replace worn parts: If straps start to fray or anchors rust, swap them out. I keep spare straps in my garage for quick fixes.
- Clean the trampoline: Dirt and debris can weaken the frame or straps over time. I hose mine down every few months.
- Store in extreme weather: If a hurricane or tornado is coming, consider disassembling the trampoline and storing it indoors. I did this during a big storm last year, and it saved me a lot of hassle.
Common Mistakes to Avoid
I’ve made plenty of mistakes securing my trampoline, so let me save you some trouble. Don’t skip the anchor kit instructions—each brand is a little different. Don’t use cheap ropes or bungee cords; they won’t hold up. And don’t assume your trampoline is fine because it’s heavy. Mine weighed over 200 pounds, and it still flipped in a 50-mph gust. Finally, don’t ignore your local weather. If you’re in a high-wind area, invest in the best tie-down system you can afford.
When to Take Extra Precautions
If you live in a place with extreme weather, like hurricanes, tornadoes, or heavy snow, you need to be extra vigilant. I have a friend in Oklahoma who ties down his trampoline with both anchors and sandbags for tornado season. He also removes the net and mat if a big storm is forecast. If you’re unsure about your area’s weather risks, check with your local weather service or talk to neighbors who’ve been through a few seasons.
My Personal Experience: Lessons Learned
When I first got my trampoline, I thought setting it up was the hard part. Then a windy night taught me otherwise. After flipping twice, I invested in a heavy-duty anchor kit and started checking the weather regularly. Now, my trampoline has survived three years of Ohio weather—everything from thunderstorms to snowstorms. The key is preparation and maintenance. I also learned to involve my kids in the process. They love helping me check the straps, and it teaches them responsibility while keeping our backyard safe.
Conclusion
Tying down a trampoline might seem like a small task, but it’s a big deal for safety and peace of mind. Whether you’re using an anchor kit, sandbags, or concrete blocks, the goal is the same: keep that trampoline where it belongs. I’ve shared my journey—from flipped trampolines to a rock-solid setup—so you can skip the mistakes and get it right the first time. Take the time to choose the right method, invest in quality materials, and check your setup regularly.
Your kids (and your wallet) will thank you when your trampoline stays put through the next big storm. So, grab those anchors, get out in the yard, and make your trampoline as safe as it is fun. Happy bouncing!
Frequently Asked Questions
How often should I check my trampoline’s tie-down system?
I check mine after every big storm or at least once a month. Wind, rain, or even regular use can loosen straps or anchors, so a quick inspection keeps everything secure.
Can I use regular ropes to tie down my trampoline?
I wouldn’t recommend it. Regular ropes can fray or snap in bad weather. Use heavy-duty, weather-resistant straps or ropes designed for trampolines to be safe.
What’s the best tie-down method for a windy area?
In my experience, a heavy-duty anchor kit with corkscrew stakes works best for windy areas. If you’re in a hurricane-prone spot, adding sandbags or concrete blocks can give extra security.
Do I need to tie down a small trampoline?
Yes, even small trampolines can flip in strong winds. I’ve seen 8-foot trampolines get tossed around. Use an anchor kit or sandbags to keep it grounded.
Can I leave my trampoline tied down all year?
You can, but I suggest checking the tie-downs regularly, especially in winter. Snow and ice can weaken straps or rust anchors, so maintenance is key.
What if my yard has rocky soil?
Rocky soil makes anchors tricky. I’d go with sandbags or concrete blocks instead. They don’t need to dig into the ground and still provide solid weight.