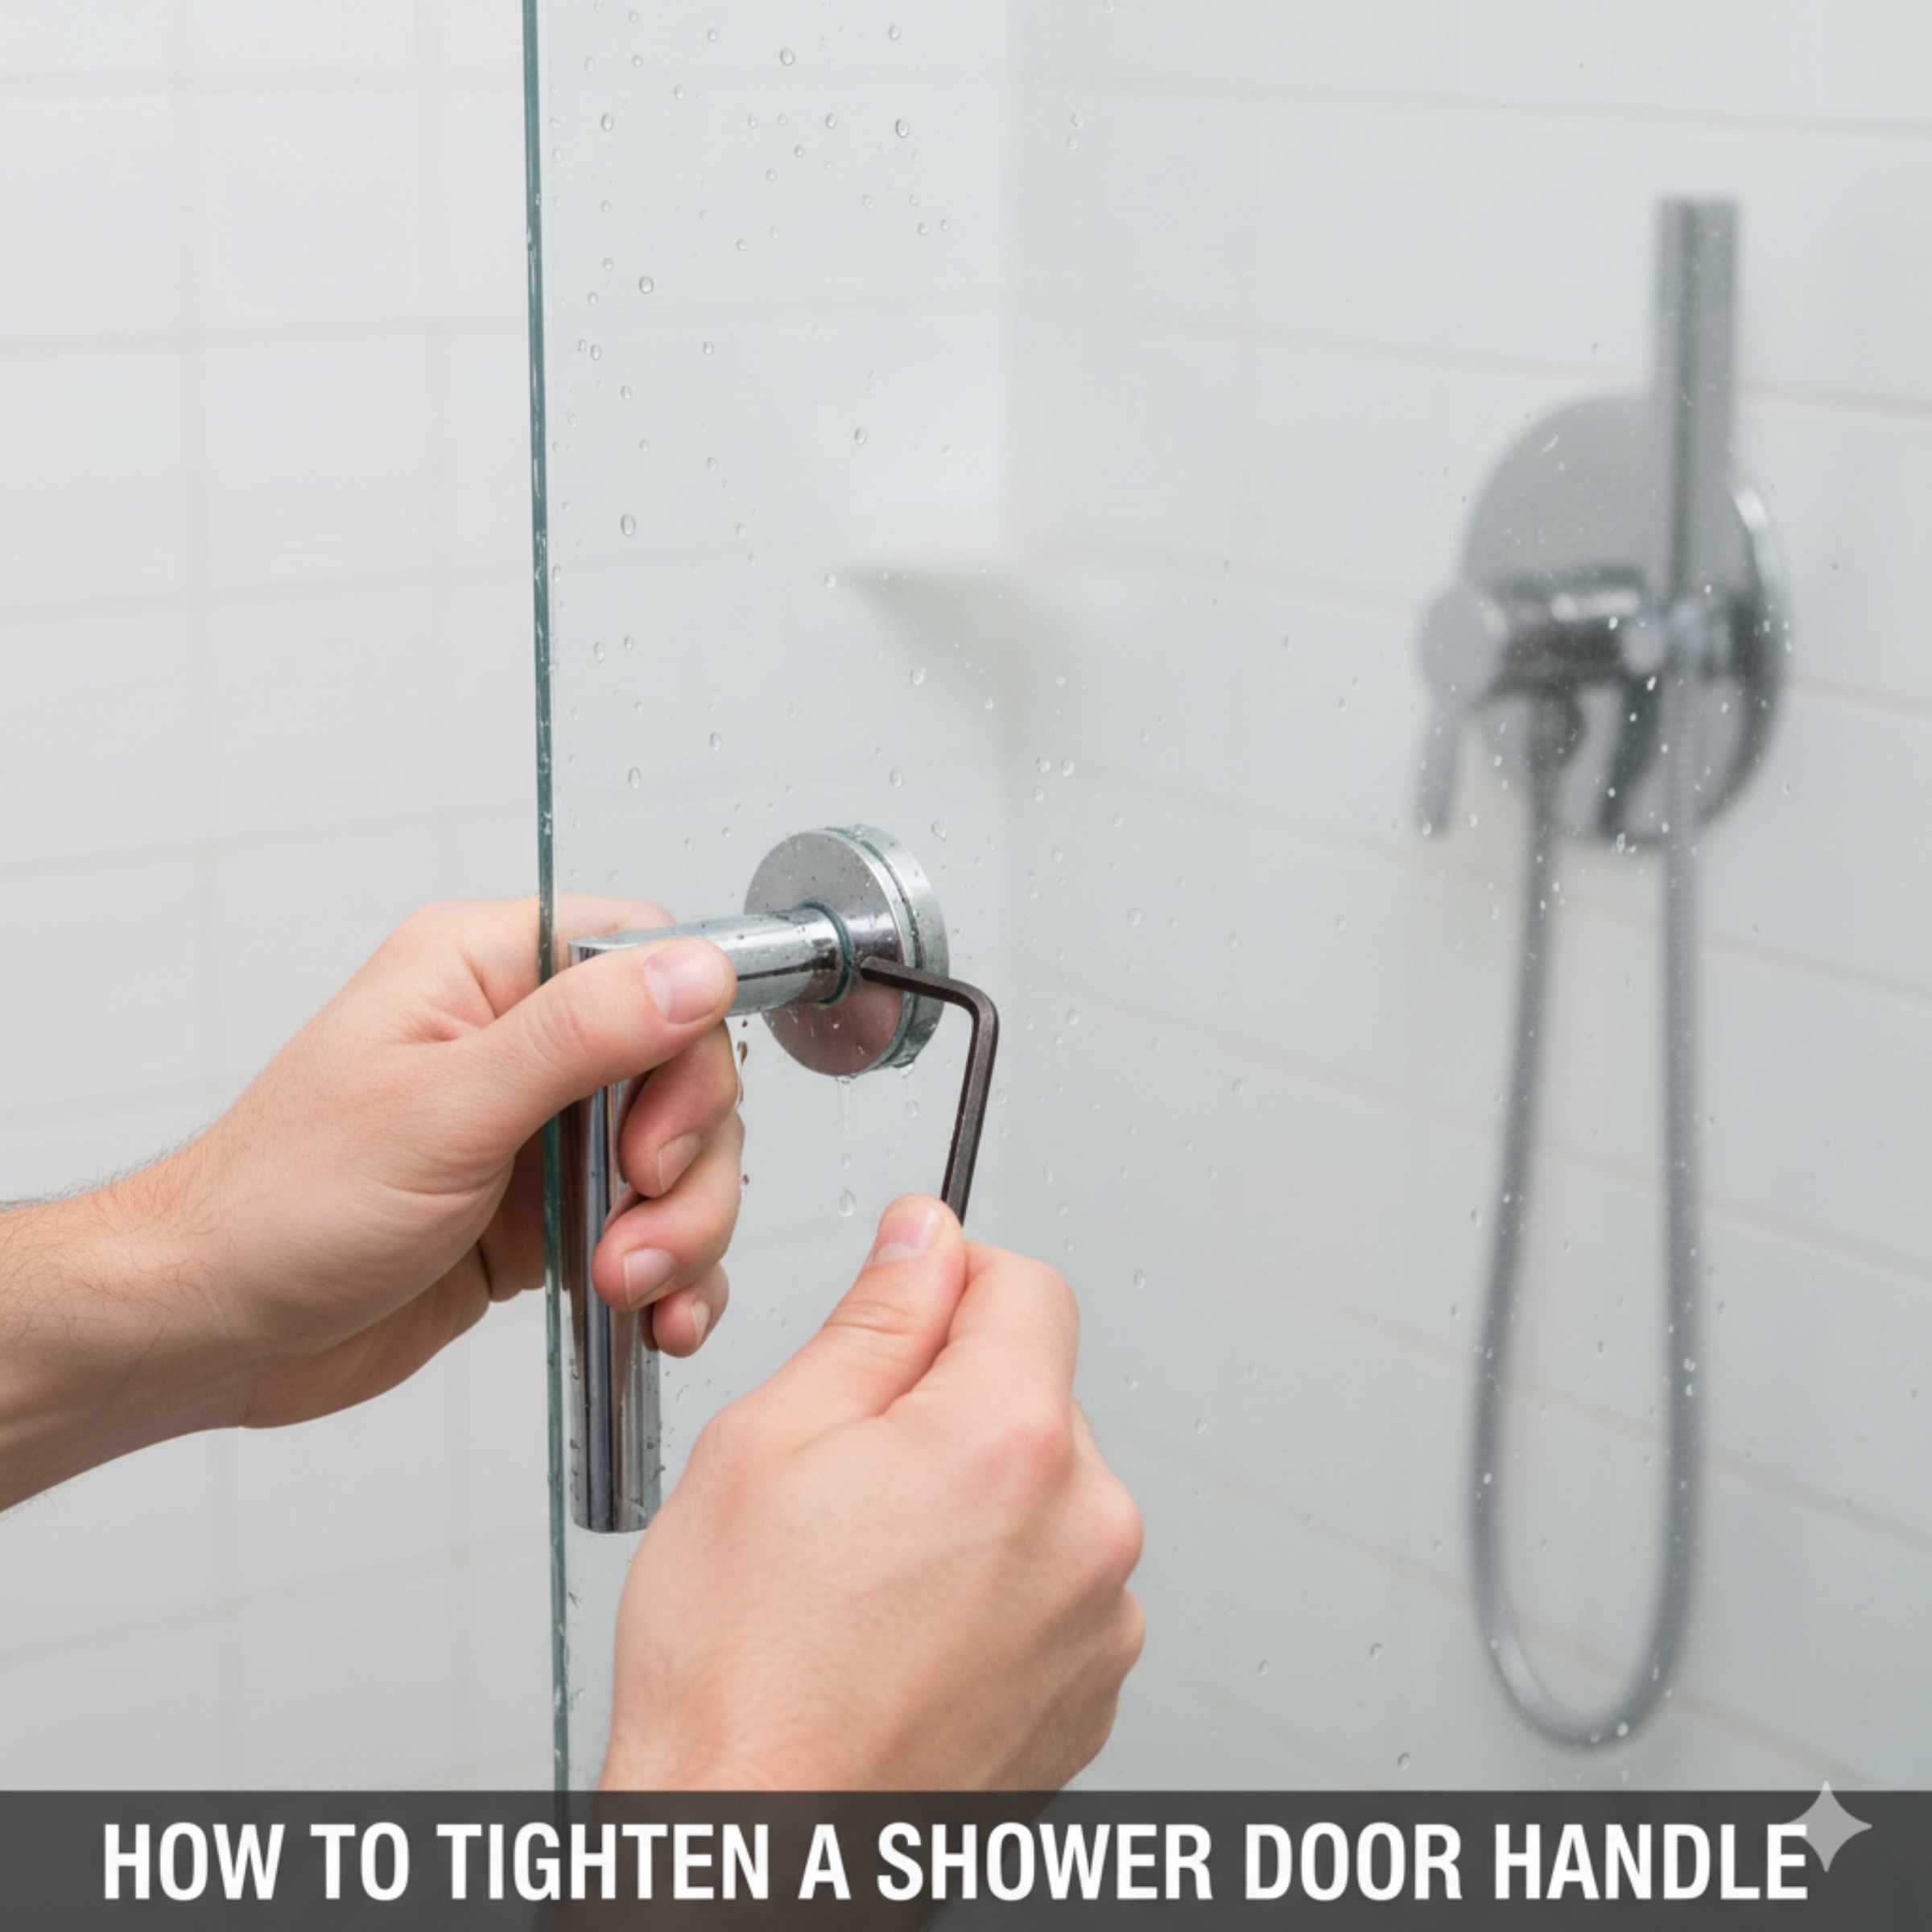
How To Tighten A Shower Door Handle: Essential Fix
To tighten a loose shower door handle, locate the visible or hidden screws, use the correct screwdriver (usually Phillips or flathead), and turn clockwise until snug. Do not overtighten, as this can crack the glass or strip the fastener.
That wobbly shower door handle is annoying, isn’t it? Every time you pull the door open, it wiggles, making your bathroom feel less sturdy. This is a super common problem in almost every home. The good news is that fixing a loose handle is usually a fast, easy job you can do in minutes. You do not need to call a professional plumber or handyman. With just a few simple tools and these straightforward steps, you’ll have a rock-solid handle again. Let’s dive in and get that handle feeling firm and secure!
Why Do Shower Door Handles Get Loose?
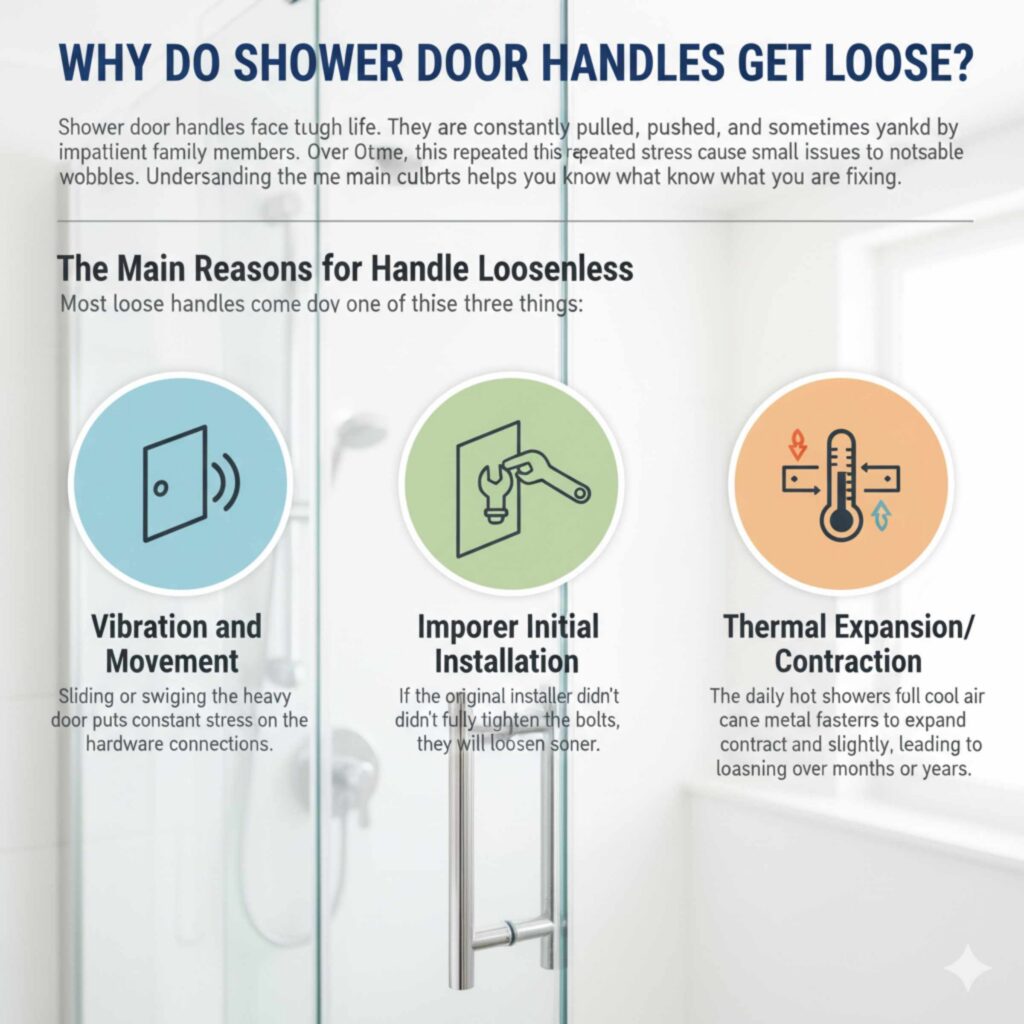
Shower door handles face a tough life. They are constantly pulled, pushed, and sometimes yanked by impatient family members. Over time, this repeated stress causes small issues to turn into noticeable wobbles. Understanding the main culprits helps you know what you are fixing.
The Main Reasons for Handle Looseness
Most loose handles come down to one of these three things:
- Vibration and Movement: Sliding or swinging the heavy glass door puts constant stress on the hardware connections.
- Improper Initial Installation: If the original installer didn’t fully tighten the bolts, they will loosen sooner.
- Thermal Expansion/Contraction: The daily hot showers followed by cool air can cause the metal fasteners to expand and contract slightly, leading to loosening over months or years.
Tools You Will Need for This Simple Fix
The best part about this repair is that you probably already own everything required. We are aiming for simplicity and effectiveness here. Keep your tool selection minimal to keep the job easy.
Here is your basic toolkit for tightening a shower door handle:
- Screwdriver: This is the most critical tool. You will likely need a Phillips head (cross-shaped tip) or a flathead (single slot). Check your existing handle hardware first to be sure.
- Soft Cloth or Towel: Essential for protecting the glass and metal finishes from accidental scratches while you work.
- Safety Glasses (Recommended): Good practice for any DIY job, just in case a small piece of debris falls.
- Optional: Penetrating Oil (If hardware is corroded): If the screws haven’t moved in years and look rusty, a little penetrating oil can help them turn smoothly.
Tip from the workshop: Before starting, always wipe down the handle area with a damp cloth. Dirt and soap scum can hide screws or make your screwdriver slip, which we want to avoid!
Step-by-Step Guide: How To Tighten A Shower Door Handle
We will break this down into simple stages. Whether you have a sliding door or a hinged door, the core principle of tightening the fasteners remains the same. We need to access the screws that hold the handle onto the glass panel.
Step 1: Determine Your Shower Door Handle Type
Shower door handles are generally attached in one of two main ways. Identifying yours tells you where to look for the tightening mechanism.
A. Through-Bolted Handles (Most Common)
These handles use a bolt that goes entirely through the glass door, secured by a nut or screw head on the opposite side. You will typically see one handle piece on the inside and one on the outside. You must tighten the screw head visible on one side while holding the nut/bolt head steady on the other.
B. Set Screw Handles (Less Common on Glass)
Sometimes, the handle itself screws directly onto a mounting post or base that is affixed to the door. In this case, there is usually a tiny screw hidden on the side or bottom edge of the handle base. This is called a set screw.
Step 2: Accessing the Fasteners (The Key Step)
This is where most beginners get stuck because the screws are often hidden for a cleaner look.
For Through-Bolted Handles:
- Locate the Screws: Look at both the interior and exterior handles. You should see the head of a screw on one side (often Phillips) and a corresponding flat section or nut on the other.
- Use the Soft Cloth: Wrap your cloth around the handle you plan to hold steady.
- Hold Steady: Use one hand to firmly hold the handle or the nut on the backside so it cannot spin. If the nut spins easily, you need a small wrench or pliers to gently hold it still.
- Tighten the Screw: Use your screwdriver to turn the screw head clockwise. Turn slowly until you feel firm resistance.
For Set Screw Handles:
- Find the Access Point: Examine the bottom or side edge of the handle’s mounting bracket or base plate. Look for a very small hole.
- Check for a Cap: Sometimes, manufacturers place a small plastic or decorative metal cap over this hole. Gently pry this cap off using a thin flathead screwdriver or even a fingernail. Work carefully to avoid scratching the surrounding metal.
- Tighten the Set Screw: Inside this hole, you will find a tiny set screw (often Allen head or small flathead). Use the appropriate tool and turn clockwise until the handle no longer wiggles.
Safety Note: When dealing with glass doors, remember that overtightening can crack the glass, which is expensive and dangerous. Tighten until it feels solid—do not force it past that point.
Step 3: Test the Handle Firmness
Once you think you have tightened it sufficiently, gently test the handle. Pull it softly, then with moderate force, simulating a normal pull. If it still moves, repeat Step 2, focusing on ensuring the part you are holding steady (the nut or the opposite handle) is completely immobilized while you turn the screw.
Troubleshooting Common Issues While Tightening
Even simple jobs can have hiccups. If you run into trouble, don’t panic. Here are solutions for the most common frustrations.
Issue 1: The Screw or Nut Spins Freely
This usually means the fastener is completely stripped, or the anchor point inside the glass hole is damaged. However, most often, it means the piece on the opposite side is moving too. You must anchor the back piece.
The Fix: Use an adjustable wrench or small pair of locking pliers to clamp onto the nut or the flat side of the bolt on the back of the door. Hold it absolutely still while turning the screw on the front.
Issue 2: The Screw Head is Stripped (Cammed Out)
If your screwdriver keeps slipping out of the screw head, the slot is damaged. This is common if the wrong size screwdriver was used previously.
The Fix: Try a slightly larger Phillips head driver if you are using one. If that fails, try firmly wedging a large, flat rubber band over the screw head before inserting the screwdriver. The rubber fills the stripped gaps and adds grip. For severe stripping, you might need a specialized screw extractor kit (though this is usually overkill for a simple shower handle).
Issue 3: Water Damage and Corrosion
If the screws look rusty or are stuck fast, forcing them can break them off inside the door—a much bigger problem!
The Fix: Apply a small amount of penetrating oil (like WD-40 or PB Blaster) around the screw threads. Let it sit for 15 minutes. This helps break down rust. Then, try turning slowly counter-clockwise first (just a tiny wiggle) to break the seal, then proceed clockwise to tighten.
Understanding Different Shower Door Hardware Configurations
While the goal is always tightening, the method changes based on what you see. Here is a quick comparison to help you identify your setup.
| Handle Style | What You See | How to Tighten | Risk of Overtightening |
|---|---|---|---|
| Knob or Pull Bar (Through-Bolted) | Visible screws/caps on both sides of the glass. | Hold the back nut still; tighten the front screw clockwise. | Medium to High (Glass hole stress). |
| Back-to-Back Handle Set | Two matching handles secured by one long bolt. | Tighten the visible screw head until the handles meet flush against the glass. | High (Requires firm, even pressure). |
| Surface Mounted (Set Screw) | Handle base sits flush; tiny set screw hidden underneath/on the side. | Tighten the small set screw firmly. | Low (Only secures the handle to the spindle). |
For more information on general glass door hardware maintenance, you can often find reliable diagrams and advice from manufacturers or general building resources, such as those provided by state safety boards on hardware installation standards.
Maintenance Tips for Long-Lasting Shower Handles
Once you’ve achieved that satisfying, solid feel, you want it to last! A little preventative care goes a long way in keeping your shower door handles tight and your hardware looking great.
Routine Checks to Perform
- Monthly Visual Inspection: Take a quick look at the handle bases once a month. Do they look tight against the glass?
- Seasonal Tightening: Schedule a check every three to four months. Pull the handle gently. If you notice even a slight give, apply a quarter-turn to the screw.
- Clean Gently: When cleaning the door, use soft cloths and mild cleaners. Harsh abrasive chemicals can degrade the sealing gaskets and rubber washers over time, which can contribute to handle movement.
- Check Gaskets: Ensure the clear plastic or rubber gaskets between the handle hardware and the glass are intact. If these are missing or severely deteriorated, the metal can grind directly against the glass, leading to faster wear and loosening.
By integrating these small maintenance habits, you turn a potential repair job into a simple, quick check, saving you time and frustration down the road. Think of it as giving your shower door a little pat on the back for doing its job!

Frequently Asked Questions (FAQ) About Tightening Shower Handles
Q1: Can I use super glue or silicone caulk to stop my handle from wiggling?
A: No. Do not use strong adhesives like super glue or silicone caulk to stop the wiggle. These materials are not designed to handle the pulling forces of a door handle, and they will fail, potentially making the repair much harder later on. Always tighten the fasteners first.
Q2: How tight should I make the screws on my glass shower door?
A: Tighten them until they are snug and the handle does not move when pulled, but stop immediately when you feel firm resistance. For glass doors, overtightening is the biggest risk, as it can cause the glass to crack under pressure. “Snug, not strained” is the rule.
Q3: My handle is loose, but I can’t find any screws at all. What should I look for?
A: If you see no visible screws, you likely have a handle that is attached via a hidden set screw (common on towel bars/pulls). Look very closely along the edges or underneath the handle mounting plate for a tiny hole where a small Allen wrench or flathead would fit.
Q4: Do I need to remove the entire handle to tighten one side?
A: Rarely. For most common through-bolted handles, you only need to access the screw head on one side while stabilizing the bolt/nut on the other. You only need to fully disassemble if the internal bolt itself is spinning loose, or if the mounting gaskets need replacing.
Q5: What if the screws are completely rusted and won’t turn?
A: Apply penetrating oil and let it sit for 15 minutes. If they still won’t budge, you risk snapping the screw. If they won’t move with light force, it is time to consider calling a handy professional who can carefully drill out the broken screw head without damaging the glass. Patience is key here.
Q6: Is it normal for a brand new shower door handle to feel a little loose?
A: Sometimes, yes, especially if it was installed quickly. Factory hardware can settle during shipping and installation. If it feels loose right out of the box, it’s best to tighten it immediately following these steps to ensure a secure fit from day one.
Conclusion: Confidence in Your Fix
See? That wasn’t so bad! You have successfully diagnosed and fixed that annoying wobble in your shower door handle. By taking the time to identify whether you have a through-bolt or a set screw system, and by using gentle but firm pressure while stabilizing the opposite side, you’ve restored stability to your daily routine. Remember, most home repairs are not about complex mechanics; they are about knowing where to look and applying the right amount of pressure. Keep practicing these simple maintenance checks, and you’ll find that tackling the next small home improvement project will feel even easier. Enjoy your newly solid, rattle-free shower door!