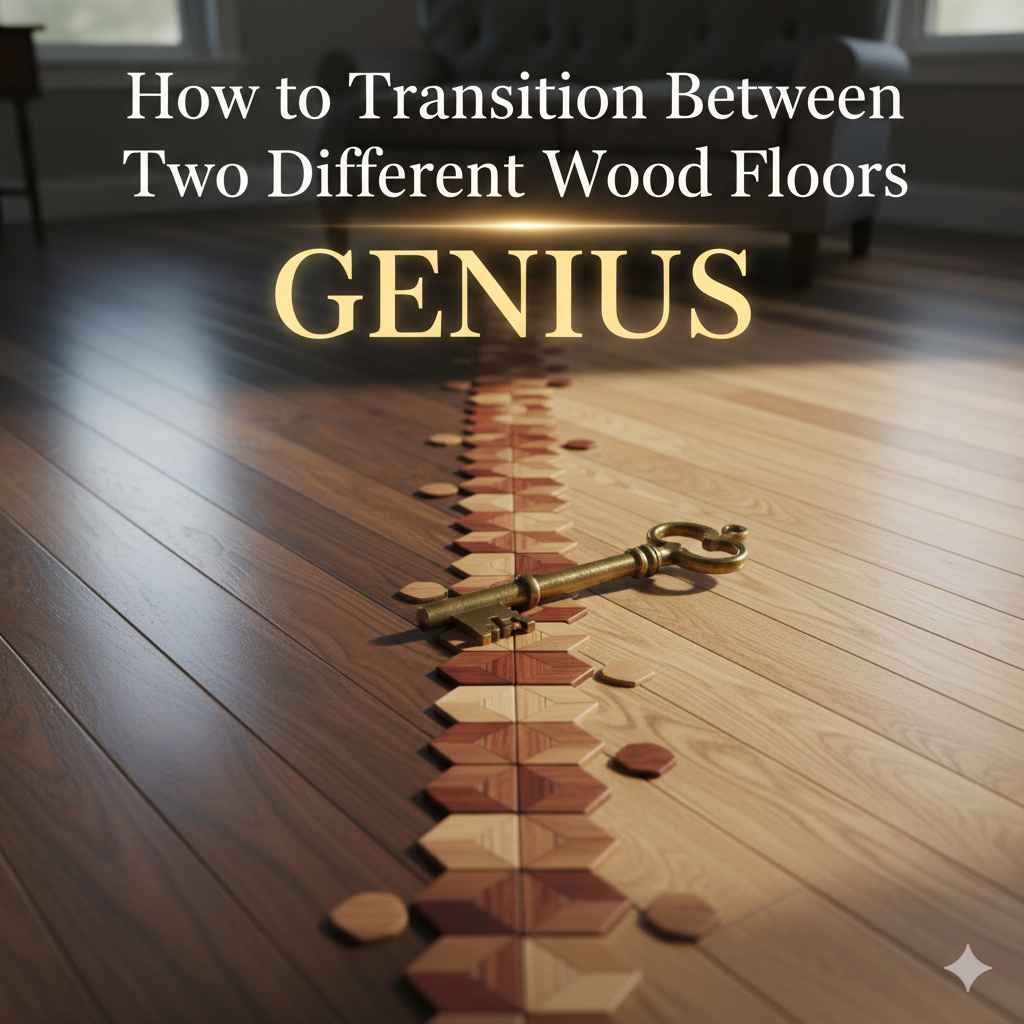
How to Transition Between Two Different Wood Floors: Genius
To transition between two different wood floors, select a transition strip that fits the gap and height difference. Use a T-molding for floors of the same height or a reducer for uneven heights. Measure the doorway or gap, cut the strip to length with a miter saw, and secure it with construction adhesive or by snapping it into a metal track.
Hello, friends! I’m Md Meraj, and today we’re tackling a common home improvement puzzle: that awkward gap where two different wood floors meet. Maybe you renovated your kitchen, and now the new oak floor bumps up against the classic pine in your living room. It can look unfinished and even be a tripping hazard. Don’t worry! Creating a smooth, beautiful transition is easier than you think.
You don’t need to be a master carpenter to get a professional-looking result. With a few simple tools and the right guidance, you can bridge that gap perfectly. In this guide, I’ll walk you through everything, step-by-step. We’ll explore the best methods, choose the right materials, and get this project done right. Let’s make your floors flow together seamlessly!
Why a Good Floor Transition Matters
Before we grab our tools, let’s talk about why this small detail is so important. A proper transition isn’t just about looks—it’s about function and safety, too. Wood is a natural material that expands and contracts with changes in humidity and temperature. That little gap between your floors isn’t a mistake; it’s an essential expansion gap that allows the wood to move without buckling or warping.
A transition strip covers this gap while allowing the floors to breathe. Here’s what a great transition does for your home:
- Prevents Tripping: A smooth, sloped transition between floors of different heights eliminates a dangerous trip hazard, especially for kids and the elderly.
- Protects Your Floors: It protects the exposed edges of your wood planks from chipping, splitting, and wear and tear.
- Creates a Polished Look: A well-chosen transition strip ties two different spaces together, making your home feel cohesive and professionally finished. It turns a potential eyesore into a deliberate design element.
- Hides Imperfections: Let’s be honest—sometimes the cuts where two floors meet aren’t perfectly straight. A transition strip neatly covers any minor flaws, giving you a clean line.
First, Understand Your Floors: Key Factors to Consider
The secret to a perfect transition is choosing the right method for your specific situation. Not all floors are the same. Take a moment to look closely at where your two wood floors meet. Ask yourself these three simple questions:
1. Are the Floors the Same Height?
This is the most important question. Get down on the floor and lay a straightedge (like a ruler or a level) across the seam.
- Even Floors: If the straightedge lies flat across both floors, they are the same height. This gives you the most options.
- Uneven Floors: If the straightedge rocks or there’s a gap under one side, your floors have a height difference. You’ll need a special type of transition, called a reducer, to connect them safely.
2. What Direction Are the Planks Running?
Look at the direction of the wood planks on both sides of the gap.
- Parallel: The planks on both floors run in the same direction. This is common when transitioning from a hallway to a room.
- Perpendicular: The planks on one floor run at a right angle to the planks on the other. This often happens in open-concept spaces.
- Angled: Sometimes, floors meet at a diagonal angle.
The direction of the planks can influence the visual style of your transition. A simple strip works for all, but for a truly custom look, a feature strip can follow the lines of the flooring beautifully.
3. How Wide is the Gap?
Measure the space between the two floors. Standard transition strips are designed to cover a typical expansion gap of about half an inch. If your gap is much wider, you may need a wider piece, like a threshold, to cover it properly.
| Consideration | What to Look For | Why It Matters |
|---|---|---|
| Floor Height | Use a straightedge to check if floors are level with each other. | Determines if you need a flat T-molding or a sloped reducer strip. |
| Plank Direction | Are planks parallel, perpendicular, or meeting at an angle? | Affects the visual flow and can help you decide on a more creative transition style. |
| Gap Width | Measure the distance between the two finished floors. | Ensures the transition strip you buy is wide enough to cover the gap completely. |
Gathering Your Tools and Materials
Great news! You don’t need a professional workshop for this project. Most of these tools are likely already in your garage or can be borrowed from a friend. Having everything ready before you start makes the job go smoothly.
Essential Tools:
- Tape Measure: For accurate measurements. Precision is key!
- Miter Saw or Miter Box with a Hand Saw: A miter saw will give you the cleanest, most precise cuts. A hand saw and miter box is a great budget-friendly alternative.
- Safety Glasses: Always protect your eyes when cutting wood. Safety first! Check out these guidelines from OSHA on eye protection.
- Pencil: For marking your cut lines.
- Drill (Optional): Needed if your transition strip requires screws for its track.
- Caulking Gun: For applying construction adhesive.
- Rubber Mallet: To gently tap the transition strip into place without damaging it.
Materials You’ll Need:
- Transition Strip: The star of the show! We’ll discuss the different types next.
- Construction Adhesive: A strong glue like Liquid Nails is perfect for securing the strip without visible fasteners.
- Matching Wood Putty or Caulk (Optional): For filling any tiny gaps for a flawless finish.
5 Genius Ways to Transition Between Two Wood Floors
Now for the fun part! Let’s explore the five most effective and popular methods for connecting your floors. I’ll explain what each one is and when it’s the best choice for your home.
1. The T-Molding: The Classic Choice for Even Floors
A T-molding is shaped exactly like the letter “T.” The top of the T rests on the surface of both floors, while the vertical stem fits neatly into the expansion gap. It’s the most common solution for a good reason—it’s simple, effective, and looks great.
Best for:
- Connecting two wood floors of the same height.
- Works well between any hard surfaces, like wood-to-wood or wood-to-tile.
- Ideal for doorways and straight seams.
How it works: Most T-moldings come with a metal track that you screw or glue into the subfloor inside the gap. The T-molding then simply snaps into this track. It’s a clean, hardware-free look.
2. The Reducer Strip: For a Smooth Shift Between Uneven Floors
If your two wood floors have a slight height difference, a reducer is your best friend. This strip is sloped on one side, creating a tiny ramp that smoothly connects the higher floor to the lower one. This is crucial for preventing trips and falls.
Best for:
- Connecting two floors with a slight difference in height (usually up to 1/4 inch).
- Transitioning from a thicker hardwood floor to a thinner engineered wood or luxury vinyl plank floor.
- Ensuring a safe, accessible transition.
How it works: A reducer is installed with the higher edge against the taller floor. It’s typically glued directly to the subfloor with construction adhesive for a secure hold.
3. The Threshold: The Sturdy Solution for Doorways and Wide Gaps
A threshold is a thicker, wider piece of wood than a T-molding or reducer. It sits on top of both floors and is commonly used in exterior doorways, but it’s also a fantastic problem-solver for interior transitions with very wide or irregular gaps.
Best for:
- Doorways, especially leading to rooms like bathrooms or laundry rooms where the floor might be a different material or height.
- Covering an unusually wide expansion gap.
- Creating a strong, durable transition in high-traffic areas.
How it works: Thresholds are installed directly on top of the subfloor in the gap and are secured with both construction adhesive and finish nails for maximum stability.
4. The Feature Strip: The Creative, Custom Look
Feeling a bit more adventurous? A feature strip is not a pre-made molding but a custom-cut piece of wood that you install between the two floors. It creates a beautiful, intentional design element. You can use a strip of a contrasting wood (like dark walnut between two light oak floors) or a different material entirely, like a thin strip of stone or metal.
Best for:
- Creating a high-end, custom look.
- Defining two different spaces in an open-concept layout.
- Homeowners who want a transition that is completely flush with both floors.
How it works: This method requires very straight cuts on both floors. The feature strip is cut to fit snugly in the gap and is glued and nailed into place. It’s then sanded and finished along with the rest of the floor for a perfectly seamless feel.
5. The Butt Joint: The Seamless, No-Strip Method
For the DIYer looking for a challenge, the butt joint method creates a transition with no visible strip at all. It involves running the planks of one floor directly up against the planks of the other. Often, one set of planks is laid perpendicular to the other, creating a clean, professional line.
Best for:
- Achieving a modern, minimalist look.
- When both floors are installed at the same time.
- DIYers with more experience and precision cutting tools.
How it works: This requires careful planning and flawless cuts. The ends of the boards must meet perfectly. An expansion gap is still necessary along the walls of the room, but the transition line itself is seamless. Sometimes a single “header” board is used to create a clean separation line.
| Transition Method | Best For | Difficulty Level | Pro Tip |
|---|---|---|---|
| T-Molding | Floors of the same height | Beginner | Buy an unfinished T-molding and stain it to perfectly match your floors. |
| Reducer | Floors with a slight height difference | Beginner | Always place the taller side of the reducer against the higher floor. |
| Threshold | Doorways and extra-wide gaps | Intermediate | Drill pilot holes before nailing to prevent the wood from splitting. |
| Feature Strip | A custom, decorative look | Advanced | Use a contrasting wood like maple or walnut to make the feature strip pop. |
| Butt Joint | A seamless, no-strip look | Advanced | Best achieved when installing both floors new, allowing for perfect alignment. |
Step-by-Step Guide: Installing a T-Molding Transition
Let’s walk through the most common project: installing a T-molding. The steps are very similar for a reducer, too. Follow along, and you’ll have this done in no time!
-
Step 1: Clean the Gap
First things first, clean out the gap between your floors. Use a vacuum with a crevice tool to remove all dust, wood shavings, and any other debris. A clean surface is essential for a secure installation.
-
Step 2: Measure and Cut the Metal Track
Most T-moldings come with a metal track. Measure the length of your doorway or transition area carefully. Use a hacksaw to cut the metal track to this exact length. Place the track in the center of the gap and secure it to the subfloor using the screws provided. If you have a concrete subfloor, you may need to use construction adhesive instead of screws.
-
Step 3: Measure and Cut the T-Molding
Now, measure the length one more time, just to be sure! Transfer that measurement to your wood T-molding. Using a miter saw will give you the most accurate and clean cut. Set the saw to a 90-degree angle for a straight cut. Always remember the woodworker’s golden rule: measure twice, cut once.
-
Step 4: Test the Fit
Before using any glue or snapping it in permanently, place your cut T-molding into the track to ensure it’s a perfect fit. It should be snug but not so tight that you have to force it. If it’s slightly too long, shave a tiny bit off with your saw.
-
Step 5: Secure the T-Molding
Once you’re happy with the fit, it’s time to install it for good. Position one end of the molding over the track. Using a rubber mallet, gently tap the molding downwards, working your way from one end to the other. You should hear and feel it snap securely into the track. For an extra-strong bond, some people like to add a small bead of construction adhesive into the track before snapping the molding in place.
-
Step 6: Finishing Touches
Stand back and admire your work! Your new transition should sit flush and look fantastic. If you see any tiny gaps at the ends near the door frame, you can fill them with a small amount of color-matched wood putty or paintable caulk for a truly professional finish.
Frequently Asked Questions (FAQ)
1. What is the easiest way to transition between two different wood floors?
The easiest and most common method is using a T-molding. It’s designed specifically for connecting two floors of the same height, comes in a kit with a track, and simply snaps into place. It’s very beginner-friendly.
2. How do I match the color of the transition strip to my floors?
The best way is to take a spare piece of your flooring to the hardware store to find the closest match. If you can’t find a perfect match, buy an unfinished wood transition strip and stain it yourself. This gives you complete control over the final color.
3. What do I do if my floors have a big height difference?
If the height difference is more than about half an inch, a standard reducer may not work. In this case, you might need a custom-made threshold or a two-piece transition designed for larger variations. Some flooring stores carry “multi-function” transitions that can handle steeper slopes.
4. Do I have to use nails or screws?
Not always. Many modern transition strips are designed for a “floating” installation where they snap into a track. Using a strong construction adhesive is also a great alternative that provides a clean, fastener-free look. However, for high-traffic areas, a few strategically placed finish nails can add extra security.
5. Can I use these same methods to transition from wood to tile?
Yes, absolutely! T-moldings and reducers work perfectly for transitioning between wood and other hard surfaces like tile, stone, or laminate. The principles are exactly the same: use a T-molding for even surfaces and a reducer for uneven ones.
6. Why is there a gap between my floors in the first place?
This is called an expansion gap. Wood naturally expands in humid weather and shrinks in dry weather. This gap gives the wood room to move without buckling or causing damage. According to flooring experts at educational institutions like the University of Arizona, proper gapping is critical for the longevity of a wood floor.
7. What if my transition isn’t in a straight line?
If your transition is curved, you can use a flexible transition strip made of vinyl or resin that can be bent to match the curve. For a wood transition, you would need to cut a solid piece of wood to the correct shape using a jigsaw or bandsaw, which is a more advanced woodworking project.
Conclusion: A Finishing Touch You Can Be Proud Of
And there you have it! Transitioning between two different wood floors is a project you can absolutely handle. It’s a small detail that makes a huge impact, turning a jarring seam into a smooth, elegant feature that ties your home together. By understanding your floors, choosing the right method, and taking your time with the installation, you can achieve a result that looks like it was done by a pro.
Remember, the key is patience and precision. Measure carefully, cut with confidence, and don’t be afraid to test the fit before making it permanent. You’ve now got the knowledge to not only fix that awkward gap but to do it with style. So go ahead, pick out that perfect transition strip, and give your floors the beautiful finishing touch they deserve. Happy building!