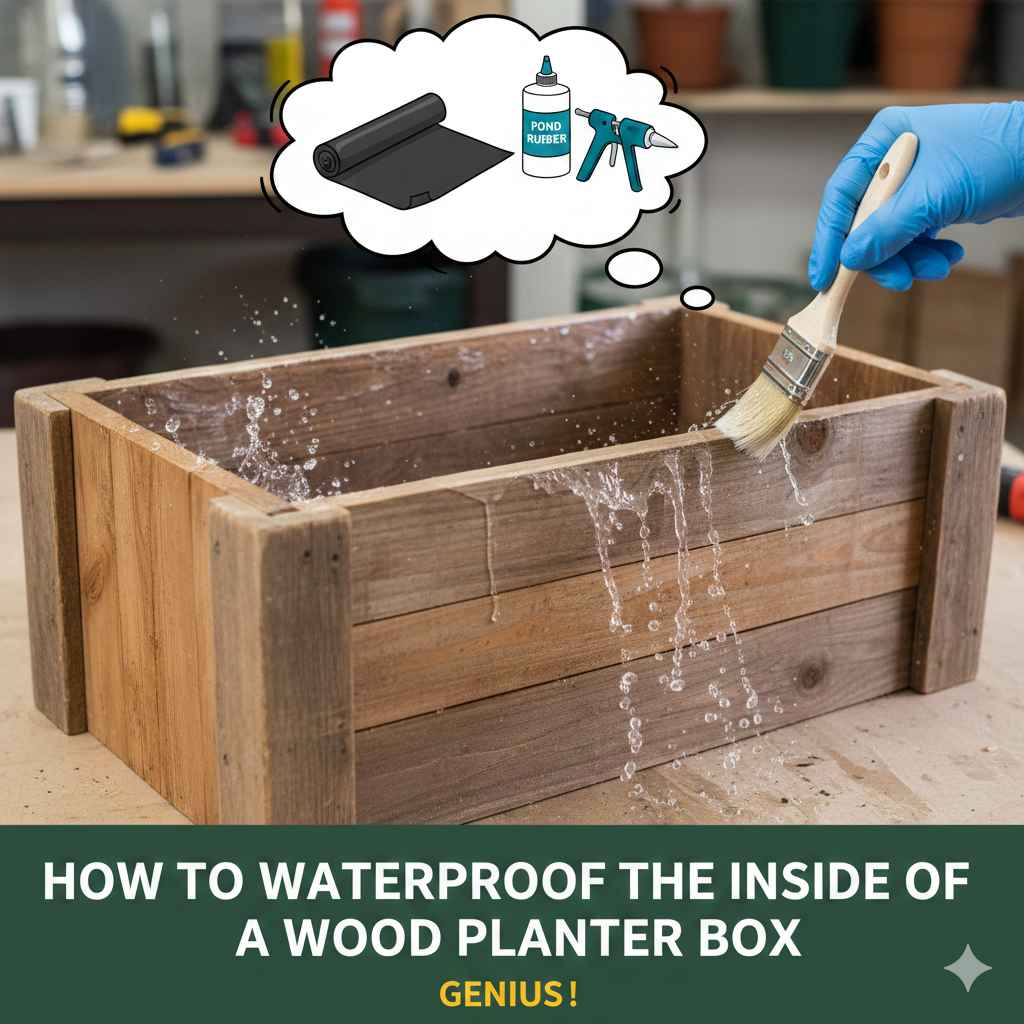
How To Waterproof The Inside Of A Wood Planter Box: Genius
To waterproof the inside of a wood planter box, first clean and sand the interior. Then, seal all seams with a waterproof silicone caulk. Finally, apply a physical barrier like a heavy-duty plastic liner or paint on several coats of a plant-safe, non-toxic liquid rubber sealant, ensuring you allow it to cure completely before adding soil.
Hello there! I’m Md Meraj, and I love helping folks like you tackle home projects with confidence. Have you ever built or bought a beautiful wood planter box, only to see it warp and rot after just one season? It’s a common frustration. That constant moisture from the soil wages a silent war on the wood, breaking it down from the inside out. But don’t worry, there’s a simple fix.
Protecting your planter is easier than you think. You don’t need a fancy workshop or years of experience. With a few basic materials and a little bit of time, you can create a waterproof barrier that keeps your planter strong and your plants happy for years to come. In this guide, I’ll walk you through every simple step. Let’s get it done!
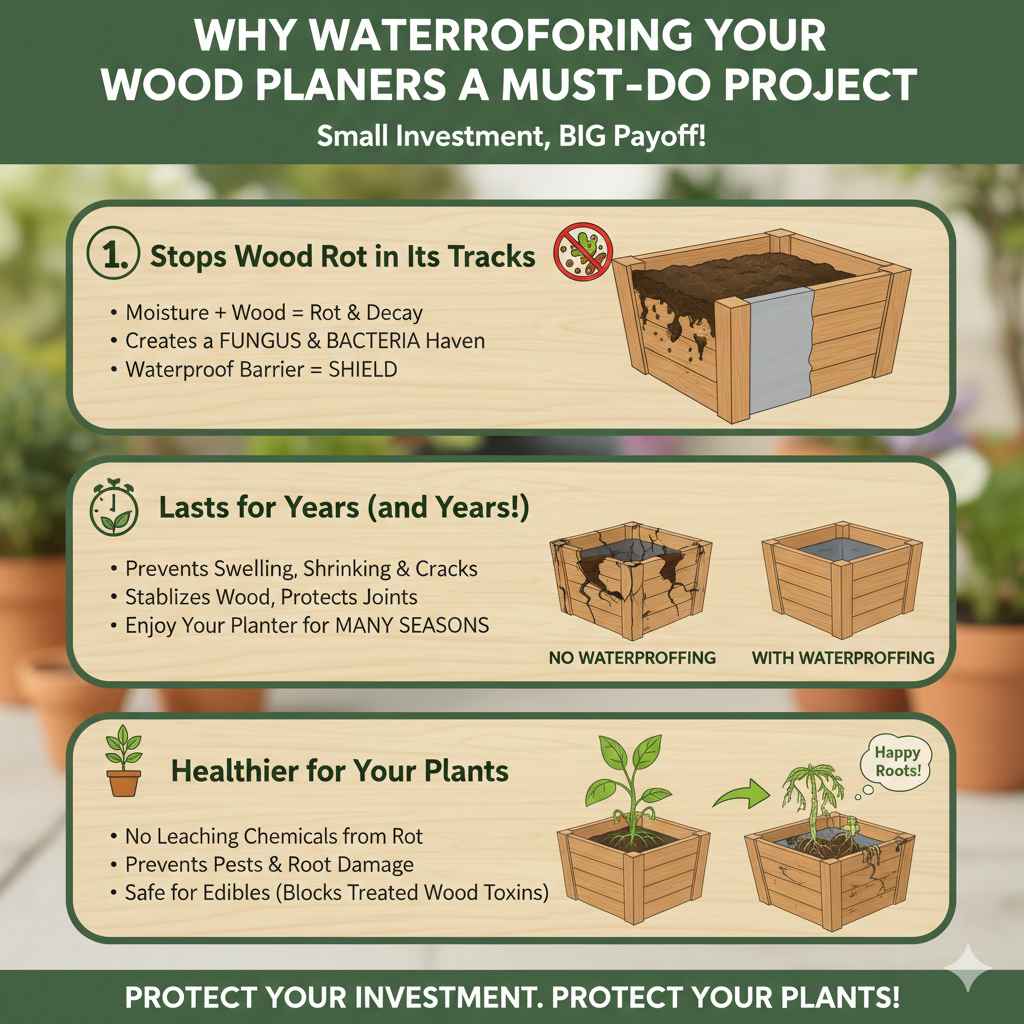
Why Waterproofing Your Wood Planter Is a Must-Do Project
You might be wondering if this extra step is truly necessary. Let me tell you, it’s a total game-changer for anyone who loves their wooden planters. Think of it as a small investment of time that pays off big time. Here’s exactly why waterproofing the inside is so important.
It Stops Wood Rot in Its Tracks
The number one enemy of any wood that lives outdoors is moisture. Soil is constantly damp, and when it’s packed directly against the raw wood of your planter, it creates the perfect environment for fungus and bacteria to thrive. This leads to wood rot, which turns your sturdy planter into a soft, crumbling mess. A waterproof barrier creates a shield between the damp soil and the wood, stopping rot before it can even start.
It Makes Your Planter Last for Years (and Years!)
A non-waterproofed planter might look good for a season or two, but it’s living on borrowed time. The constant cycle of watering and drying causes the wood to swell and shrink, leading to cracks, warping, and weakened joints. By waterproofing it, you stabilize the wood and protect it from this damaging cycle. This means your beautiful planter will grace your patio or garden for many years, not just a single summer.
It’s Healthier for Your Plants
This might surprise you, but waterproofing can also benefit your plants. When wood starts to rot, it can leach chemicals and attract pests that may not be good for plant roots. Also, a rotting planter can collapse, damaging the plant’s root system. A sealed, stable environment is a healthier one. Furthermore, some woods, like pressure-treated lumber, contain chemicals that you don’t want seeping into the soil of your edible plants. A waterproof liner ensures that only soil and water touch your plant’s roots.
Choosing Your Waterproofing Weapon: A Simple Breakdown
There are several great ways to waterproof your planter, and the best choice depends on your budget, time, and the type of planter you have. There is no single “best” method, just the best method for you. Let’s look at the most popular options so you can pick with confidence.
Here’s a quick table to help you compare the top choices at a glance:
| Method | Pros | Cons | Best For |
|---|---|---|---|
| Thick Plastic Liner | – Very affordable and easy to find. – Quickest method to install. – Creates a total physical barrier. |
– Can tear if you’re not careful. – Can look less tidy if not fitted well. – Not permanently bonded to the wood. |
Beginners, large planters, and anyone wanting a fast, non-permanent solution. |
| Liquid Rubber Sealant | – Creates a seamless, durable, flexible membrane. – Bonds directly to the wood. – Excellent long-term protection. |
– More expensive than a plastic liner. – Requires multiple coats and curing time. |
Those looking for the most durable, long-lasting, “set it and forget it” protection. |
| Epoxy or Flex Seal | – Extremely tough and waterproof. – Fills in small cracks and imperfections. – Very long-lasting. |
– Can be expensive. – Requires proper mixing and has a limited working time. – Can be rigid and may crack if wood flexes. |
Smaller planters or for those who want an incredibly hard, protective shell. |
| Oil-Based Spar Urethane | – Protects against both moisture and UV rays. – Penetrates the wood for good protection. |
– Not a true “waterproof” barrier; it’s water-resistant. – Needs to be reapplied every few years. – Can have a strong odor during application. |
Planters made from rot-resistant woods like cedar or redwood where you want to enhance the wood grain. |
For most beginners, I recommend either the thick plastic liner for its simplicity and low cost, or a plant-safe liquid rubber sealant for its superior, long-lasting protection. We will focus on these two methods in our step-by-step guide.
What You’ll Need: Your Simple Toolkit
The best part about this project is that you don’t need a lot of fancy tools. You probably have most of what you need already. Let’s gather everything before we start so the whole process goes smoothly.
For Prepping Your Planter (All Methods):
- Stiff-bristled brush: For scrubbing away dirt and loose wood fibers.
- Sandpaper (80-120 grit): A small piece is fine for smoothing rough spots.
- Clean rags or cloths: For wiping down the planter.
- Waterproof Silicone Caulk: To seal the corners and seams inside the box.
- Caulking gun: To apply the caulk neatly.
- Safety Gear: Gloves and safety glasses are always a good idea.
For the Plastic Liner Method:
- Heavy-duty plastic sheeting: At least 6 mil thick. A pond liner or a heavy-duty painter’s drop cloth works great.
- Staple gun with rust-resistant staples: To hold the liner in place.
- Utility knife or sharp scissors: For trimming the liner.
For the Liquid Sealant Method:
- Plant-safe liquid rubber sealant: Look for products labeled “pond safe,” “potable water safe,” or specifically for planters.
- Paintbrush: An inexpensive chip brush you can toss after use is perfect.
- Small paint roller and tray (optional): For larger planters, this can speed things up.
The Step-by-Step Guide to a Perfectly Waterproofed Planter
Alright, you’ve chosen your method and gathered your supplies. Now comes the fun part! Just follow these simple steps, and you’ll have a professionally protected planter box in no time.
Step 1: Prep Your Planter Like a Pro
This is the most important step! Don’t skip it. A clean, smooth surface helps your waterproof barrier stick properly and last longer. This is true whether you’re using a liner or a liquid sealant.
- Clean It Out: If your planter is new, just give it a quick wipe to remove any sawdust. If it’s been used, empty all the old soil. Use your stiff-bristled brush to scrub out all the caked-on dirt, grime, and any loose wood fibers.
- Let It Dry Completely: Wood needs to be bone-dry before you can seal it. If you had to wash it, let the planter sit in a sunny, dry spot for at least 24-48 hours. Trapping moisture underneath your sealant is a recipe for rot.
- Sand It Smooth: Once dry, lightly sand the entire interior surface with your 80 or 120-grit sandpaper. You’re not trying to make it perfect, just scuffing it up a bit. This roughs up the surface and helps liquid sealants grip better. For plastic liners, it helps prevent sharp splinters from poking a hole.
- Wipe It Down: Use a clean, dry rag to wipe away all the sanding dust. You want a perfectly clean surface to work with.
Step 2: Seal Every Crack and Seam
Water is sneaky. It will find any little gap or crack to seep into. The corners and bottom seams of your planter are the most vulnerable spots. We need to seal them tight.
- Load Your Caulking Gun: Place your waterproof silicone caulk tube into the caulking gun.
- Apply a Neat Bead: Run a continuous bead of caulk along all the interior joints—where the sides meet each other and where the sides meet the bottom.
- Smooth the Bead: Dip your finger in a little water and run it along the caulk line to smooth it out and press it firmly into the seam. This creates a clean, watertight seal.
- Let It Cure: Check the instructions on the caulk tube. Most need a few hours to cure before you can proceed to the next step.
Step 3: Apply Your Waterproofing Layer
Now it’s time to create the main barrier. We’ll cover the two best options for beginners: the easy plastic liner and the ultra-durable liquid sealant.
Method A: Installing a Plastic Liner (The Quick & Easy Way)
- Cut Your Liner: Roll out your heavy-duty plastic sheeting and place your planter on top of it. Cut a piece that is large enough to go up all four interior sides and have a little extra to fold over the top edge. It’s always better to cut it too big; you can trim it later.
- Press It Into Place: Drape the plastic inside the box. Start from the bottom and press it firmly into the corners and against the sides. Try to get it as smooth as possible, folding the corners neatly like you’re wrapping a gift.
- Staple It Down: Starting at the top edge of one side, fold the excess plastic over the rim. Use your staple gun to place a staple every 3-4 inches along the top edge to hold the liner securely. Work your way around all four sides, pulling the liner taut as you go for a snug fit.
- Trim the Excess: Use your utility knife to carefully trim any excess plastic just below the rim of the planter for a clean look.
Method B: Applying a Liquid Rubber Sealant (The Super-Durable Way)
- Stir Well: Open your container of liquid rubber sealant. Many of these products separate, so it’s important to stir it thoroughly according to the manufacturer’s instructions.
- Apply the First Coat: Using your paintbrush, apply a thin, even coat to the entire interior of the planter. Pay special attention to the corners and seams, making sure you cover them completely. Don’t apply it too thick; multiple thin coats are much better than one thick, gloppy coat.
- Wait for It to Dry: This is a test of patience! Check the product label for drying times. It usually takes a few hours for the first coat to become tacky or dry to the touch. The EPA’s Safer Choice program can help you identify products with safer chemical ingredients, which is especially important if you’re growing edible plants.
- Apply Subsequent Coats: You will need to apply at least two to three coats for a truly waterproof seal. Apply the second coat in the opposite direction of the first (e.g., if you used vertical strokes first, use horizontal strokes for the second). This ensures you don’t miss any spots. Allow each coat to dry completely according to the instructions before applying the next.
Step 4: Don’t Forget Drainage!
This is a critical step that people often forget! Without drainage, your planter will turn into a bathtub, and your plant roots will rot. A waterproof planter needs drainage holes just as much as an unsealed one.
- Locate the Original Holes: From the outside of the planter, find the original drainage holes in the bottom.
- Puncture the Barrier: Using your utility knife or a drill bit, carefully cut or drill through your new waterproof layer (both plastic liner and liquid sealant) from the inside out, aligning with the existing holes. Make sure the holes are clear and open. Don’t add a ton of new holes, just clear the ones that are already there. This ensures excess water can escape. According to the PennState Extension, proper drainage is essential for healthy root development in container plants.
Step 5: Let It Cure (Patience is Key)
You’re almost there! The final step is simply to wait. This allows your waterproofing material to fully harden and become completely inert and safe for your plants.
- For Plastic Liners: You’re good to go! Once the liner is in and the drainage holes are cut, you can add soil immediately.
- For Liquid Sealants: This is crucial. Check the product’s instructions for the full cure time. It can be anywhere from 24 to 72 hours. Don’t rush this! Adding soil and water before the sealant has fully cured can ruin your hard work. Place the planter in a well-ventilated, dry area to cure properly.
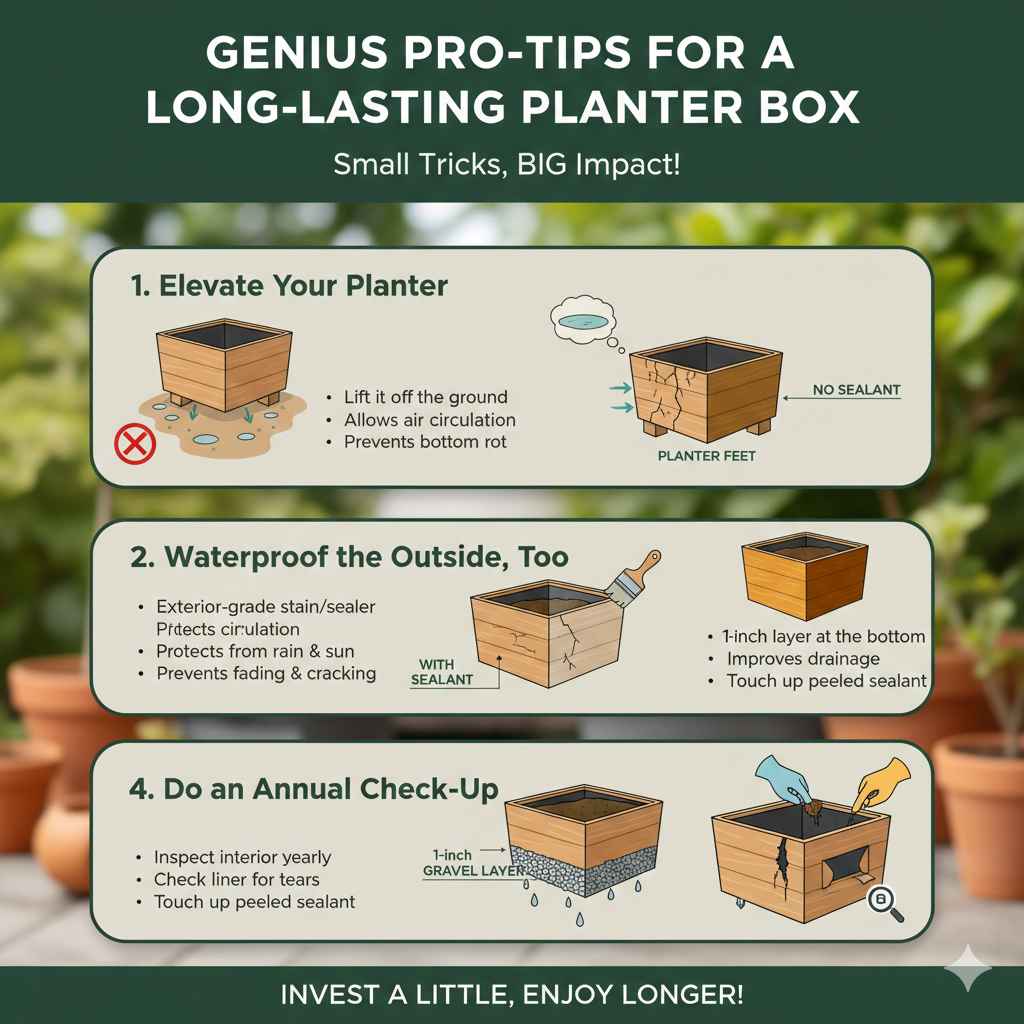
Genius Pro-Tips for a Long-Lasting Planter Box
Want to go the extra mile? Here are a few simple tricks I’ve learned over the years to make your planter boxes last even longer.
- Elevate Your Planter: Don’t let your planter sit directly on the ground or a deck. Use “planter feet” or small blocks of wood to lift it up by an inch or so. This allows air to circulate underneath, preventing the bottom from staying constantly damp and rotting out.
- Waterproof the Outside, Too: While the inside is the priority, applying a coat of exterior-grade stain or sealer to the outside of the planter will protect it from rain and sun, preventing fading and cracking.
- Add a Layer of Gravel: Before you add your soil, consider putting a one-inch layer of small gravel or pebbles at the bottom of the planter. This can help improve drainage and prevent the soil from clogging the drainage holes.
- Do an Annual Check-Up: Once a year, when you’re changing out plants, take a moment to inspect the interior. If you used a liner, check for tears. If you used a sealant, look for any spots that may have peeled or cracked and touch them up.
Frequently Asked Questions (FAQ)
What is the easiest way to waterproof a wood planter for a beginner?
The absolute easiest and quickest method is using a heavy-duty (6 mil) plastic liner. You simply cut it to size, press it into the planter, and staple it around the top edge. It’s affordable, requires no drying time, and provides an excellent waterproof barrier.
Can I just use paint to waterproof the inside of my planter?
While some exterior paints offer water resistance, they are generally not designed for constant submersion in damp soil. Over time, the moisture will cause the paint to bubble, peel, and fail. A dedicated rubberized sealant or a thick plastic liner is a much more durable and reliable solution.
Is it safe to use these sealants for planters where I grow vegetables?
This is a great question! Yes, it is safe, but you must choose the right product. Look for sealants specifically labeled as “non-toxic,” “plant-safe,” “pond-safe,” or “safe for potable water.” These formulas are designed to be inert once fully cured and will not leach harmful chemicals into your soil or vegetables.
How often should I re-waterproof my planter?
If you use a high-quality liquid rubber sealant, it can last for many years (5-10+) without needing reapplication. A plastic liner should also last for years, but it’s a good idea to check it for tears or holes whenever you change the soil. If you opted for a less durable sealer like spar urethane, you might need to reapply it every 2-3 years.
Do I need to waterproof the outside of the planter too?
It’s not as critical as waterproofing the inside, but it’s highly recommended. Sealing the outside with a good quality exterior stain or sealer will protect the wood from rain, snow, and UV rays from the sun. This prevents the wood from fading, graying, and cracking, keeping your planter looking beautiful for much longer.
What if my planter already shows signs of rot?
If the rot is minor and only on the surface, you can still save it. Use a wire brush or a scraper to remove all the soft, rotted wood until you get back to solid wood. Let it dry out completely, then apply a wood hardener to the affected area. Once the hardener is cured, you can proceed with the waterproofing steps. If the rot is extensive and the wood is crumbling, it may be time to build or buy a new planter.
Can I use a garbage bag as a liner?
While you can, it’s not the best choice. Standard garbage bags are very thin and can be easily punctured by roots, tools, or even sharp edges of the wood. They also break down more quickly when exposed to soil and sunlight. It’s much better to invest in heavy-duty plastic sheeting (at least 6 mil thick) or a pond liner for a durable, long-lasting solution.
Conclusion: You’ve Got This!
And there you have it! Waterproofing a wood planter box isn’t some complicated secret only professional carpenters know. It’s a simple, straightforward project that anyone can do. By taking a little time to prepare the wood and apply a protective barrier, you’re not just saving your planter from rot—you’re investing in years of future enjoyment.
You’ve learned why it’s so important, how to choose the best method for your needs, and followed the exact steps to get it done right. Whether you chose the quick plastic liner or the durable liquid sealant, your planter is now ready to be a healthy, long-lasting home for your beautiful plants. Be proud of the work you’ve done. Now, go get your hands dirty and start planting!