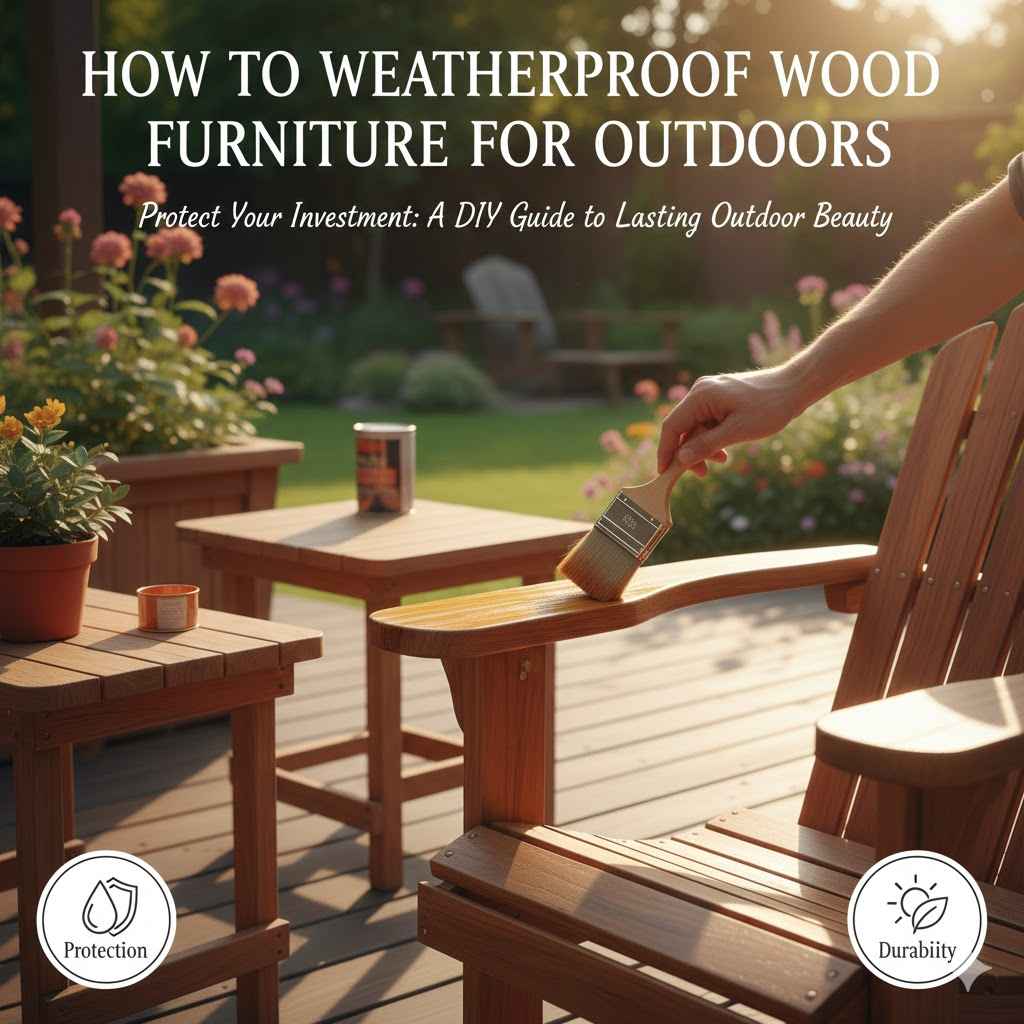
How to Weatherproof Wood Furniture for Outdoors
Keeping your outdoor wood furniture looking great all year can feel like a big job, especially if you’re new to it. Many people worry about making mistakes or not knowing where to start when they think about How to Weatherproof Wood Furniture for Outdoors. It might seem complicated, but it’s actually quite simple once you break it down.
This guide will walk you through everything you need to do, step-by-step, so you can protect your beautiful furniture and enjoy it for years to come.
Protect Your Outdoor Wood Furniture
Protecting your outdoor wood furniture is essential for making it last longer and look its best. Wood can be damaged by sun, rain, snow, and even insects. Without proper care, your furniture can start to look worn, faded, and even rot.
Learning how to weatherproof it is key to keeping it strong and beautiful through all kinds of weather.
Why Weatherproofing Matters
Wood is a natural material, and like all natural things, it’s affected by the environment. When wood is exposed to the elements, it can dry out, crack, and fade. Moisture can seep into the wood, leading to mold, mildew, and rot.
The sun’s UV rays can break down the wood’s fibers, making it brittle and weak. This is why taking steps to weatherproof your furniture is so important. It creates a barrier against these damaging forces.
Think about a wooden deck or a picnic table left outside for years without any treatment. You’ll likely see gray, splintered wood. This is what happens when wood isn’t protected.
Weatherproofing seals the wood, repelling water and blocking harmful UV rays. It helps maintain the wood’s natural color and strength, ensuring your furniture remains a lovely addition to your outdoor space.
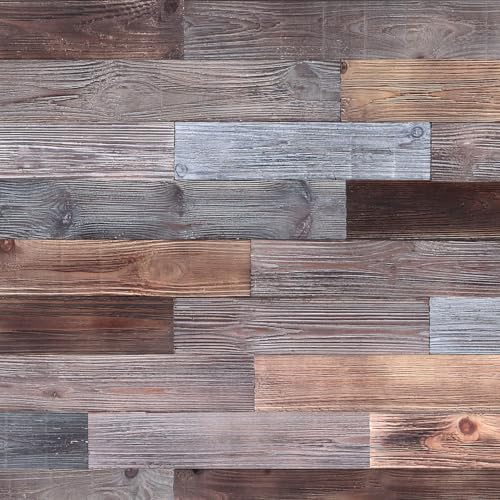
Common Wood Types for Outdoor Furniture
Not all woods are created equal when it comes to outdoor use. Some types naturally resist decay and insects better than others. Knowing your wood type helps you choose the best way to protect it.
-
Teak: This is a popular choice for outdoor furniture because it’s very durable and naturally contains oils that repel water and insects. It has a beautiful golden-brown color that can weather to a silvery gray if left untreated. Teak is known for its longevity and resistance to rot.
-
Cedar: Cedar is another excellent option. It’s lightweight and has natural oils that make it resistant to rot and insect damage. Cedar has a distinctive pleasant aroma and a reddish-brown color.
It’s a more budget-friendly option than teak.
-
Redwood: Similar to cedar, redwood is naturally resistant to decay and insects due to its natural oils and tannins. It has a rich, reddish hue. Redwood is quite stable and doesn’t warp or twist easily.
-
Pine and Fir: These are more affordable woods but are less naturally resistant to decay and insects. They require more thorough weatherproofing treatments to last outdoors. Often, these woods are pressure-treated to enhance their durability.
The Impact of Weather on Wood
The sun, rain, and temperature changes all take a toll on wood. Over time, these elements can cause significant damage if wood is not properly protected. Understanding these impacts helps us appreciate the need for weatherproofing.
-
Sun Exposure UV rays from the sun can break down the lignin in wood. Lignin is a natural glue that holds wood fibers together. When it degrades, the wood becomes weaker and more prone to cracking.
Sunlight also causes wood to fade, turning its natural color dull and gray.
-
Moisture Damage Rain, dew, and humidity introduce moisture into the wood. If this moisture doesn’t dry out properly, it can lead to fungal growth, such as mold and mildew. This not only looks unsightly but can also cause the wood to rot from the inside out.
Trapped moisture can also cause wood to swell and warp.
-
Temperature Fluctuations Wood expands when it’s warm and contracts when it’s cold. These constant changes can put stress on the wood fibers. Over many cycles of heating and cooling, this can lead to cracks and splits forming in the wood, especially in areas that are exposed to direct sunlight or moisture.
Preparing Your Wood Furniture for Protection
Before you can protect your wood furniture, you need to get it ready. This preparation is a very important step. It makes sure the protective treatments can work their best and stick properly.
Skipping this part means your effort might not last as long.
Cleaning Your Furniture
The first step is to give your furniture a thorough cleaning. You want to remove all dirt, grime, old finishes, and any mildew or mold. This ensures that your new sealant or finish will bond well to the bare wood.
Use a mild soap and water solution for general cleaning. For tougher spots or mildew, a mixture of water and vinegar or a specialized wood cleaner can be very effective. Always rinse thoroughly and allow the wood to dry completely before moving to the next step.
A good scrubbing brush helps get into the grain and remove stubborn dirt. After washing, a hose can be used to rinse away soap residue. It is critical that the furniture is totally dry before applying any sealant.
This can take 24-48 hours, depending on the weather. Placing furniture in a sunny spot can speed up the drying process.
Dealing with Mildew and Mold
Mildew and mold thrive in damp outdoor conditions and can quickly make wood furniture look unsightly and even damage it. You must get rid of these before you can effectively weatherproof. A solution of one part bleach to four parts water is often recommended, but be careful.
This can lighten or damage some wood types. A safer alternative is a solution of equal parts white vinegar and water. Scrub the affected areas with a stiff brush, let it sit for about 15 minutes, and then rinse well.
After treating for mildew, ensure the area dries completely. You might need to scrub vigorously to remove any black spots left behind. Repeat the treatment if necessary.
It’s also a good idea to clean the surrounding area where the furniture was kept, as mold spores can spread.
Sanding for a Smooth Finish
Sanding is crucial for creating a smooth surface that will accept finishes evenly. If your furniture has an old, peeling finish, sanding will remove it. Even if it’s bare wood, light sanding can open up the wood’s pores.
This helps the sealant or stain penetrate better. Use medium-grit sandpaper (around 100-150 grit) to start. Then, follow up with a finer grit (180-220 grit) for a super smooth feel.
Always sand in the direction of the wood grain. After sanding, wipe away all the dust with a tack cloth or a slightly damp rag.
The goal of sanding is to create a uniform surface. Uneven sanding can lead to an uneven finish. For curved or detailed areas, you might need sanding blocks or even sandpaper wrapped around a soft cloth.
Feel the wood after sanding. It should be smooth to the touch, with no rough spots or splinters.
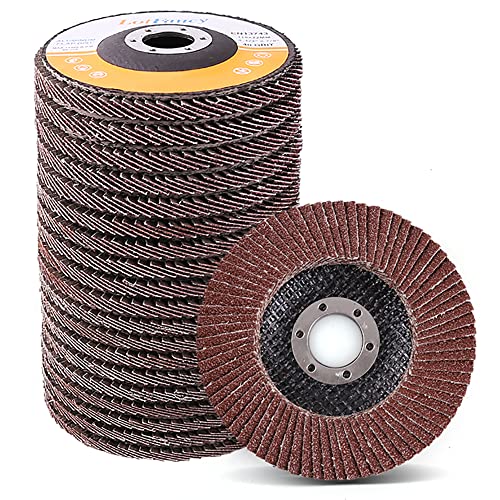
Types of Sandpaper Grits
Sandpaper comes in different grits, which measure how coarse or fine the abrasive material is. Understanding these grits is key to effective sanding. The higher the grit number, the finer the sandpaper.
-
Coarse Grit (20-80): Used for heavy-duty stripping of old finishes or removing a lot of material. Not typically used for preparing bare wood for sealing.
-
Medium Grit (100-150): Good for initial smoothing of rough wood or removing minor imperfections. This is often where you’ll start for preparing outdoor furniture.
-
Fine Grit (180-220): Used for creating a smooth surface after using medium grit. This is ideal for preparing wood for stain or a clear sealant.
-
Very Fine Grit (300+): Used for ultra-smooth finishes, often for furniture that will be painted or for very fine woodworking. Less common for basic weatherproofing but can be used for a premium finish.
Repairing Any Damage
Before you seal your furniture, take time to fix any existing damage. This includes loose joints, wobbly legs, or small cracks. Wood glue and clamps are useful for repairs.
For larger gaps or holes, wood filler can be used. Make sure to let any glue or filler dry completely and sand it smooth to match the rest of the wood. Addressing these issues now will prevent them from worsening when exposed to the elements.
Check all screws and bolts. Tighten any that are loose. If you find any rotten spots, you may need to cut out the rot and fill the area with an epoxy wood filler.
This ensures the structural integrity of the furniture is sound before you apply any protective coatings.
Applying Sealants and Finishes
Once your furniture is clean, smooth, and repaired, it’s time to apply protective treatments. There are several options, each offering different levels of protection and aesthetics. Choose a product designed for outdoor wood use.
Read the product instructions carefully before you begin.
Understanding Different Protective Coatings
The world of wood finishes can seem a bit confusing. For outdoor furniture, you want something that will hold up against the weather. The main goal is to create a barrier that keeps water out and protects against UV rays.
-
Water Sealants: These are clear or lightly tinted liquids that penetrate the wood to repel water. They are often a good choice if you want to maintain the natural look of the wood. They don’t offer much UV protection on their own, so they’re best used on woods that have natural UV resistance or if you don’t mind some fading.
-
Stains: Stains add color to the wood and often contain UV inhibitors. They can range from transparent to opaque. Transparent stains let the wood grain show through, while opaque stains cover the grain more like paint.
Many stains also offer water repellency.
-
Oils: Natural oils, like tung oil or linseed oil, penetrate the wood and nourish it. They enhance the wood’s natural beauty and provide some water resistance. However, they often require more frequent reapplication than sealants or stains.
-
Varnishes and Polyurethanes: These create a hard, protective film on the surface of the wood. Exterior-grade versions are quite durable and offer good protection against water and UV. However, they can sometimes chip or peel over time, especially with heavy use or extreme temperature changes.
Choosing the Right Product for Your Wood
The type of wood you have and the look you want will guide your choice of finish. For naturally durable woods like teak or cedar, a simple water sealant or a good quality oil might be enough to enhance their natural beauty and provide basic protection. If you want to add color and protect against fading, a stain is a great option.
For maximum durability and a very protective layer, an exterior-grade varnish or polyurethane could be used, but be prepared for potential surface wear.
Always check the product label to ensure it’s suitable for outdoor use and the specific type of wood you’re treating. Some products are designed for vertical surfaces, while others are better for horizontal ones. Reading reviews can also help you find high-performing products.
Applying Sealant or Stain
When applying your chosen product, follow the manufacturer’s instructions. Typically, you’ll use a brush, roller, or a rag. Apply thin, even coats.
Avoid letting the product pool, as this can lead to an uneven finish or sticky spots. If you’re using a stain or sealant that requires wiping off excess, do so within the time frame specified on the product. Allow each coat to dry completely before applying the next.
For most products, two coats are recommended for good protection. Work in a well-ventilated area and wear gloves. The weather also plays a role; avoid applying finishes on very humid days or when rain is expected, as this can affect drying and curing.
Techniques for Even Application
Achieving an even application is key to a professional-looking finish. Whether you’re brushing, rolling, or wiping, consistency is important. Always apply in long, even strokes following the direction of the wood grain.
If using a brush, avoid overloading it, which can lead to drips and runs. If using a rag, use a clean one for each application to avoid spreading dust or debris.
For stains that require wiping off excess, work in small sections. This ensures you can manage the product before it starts to dry. If you see any drips or uneven patches as you work, address them immediately.
For products that build a film, like varnishes, multiple thin coats are much better than one thick coat.
Allowing for Proper Curing Time
Most sealants and finishes need time to cure, which is when they harden and reach their full protective strength. This is different from just drying to the touch. Rushing this process can lead to the finish being damaged easily.
Always check the product packaging for specific curing times. It might take several days or even weeks for a finish to fully cure. During this time, try to keep the furniture in a dry, protected area if possible.
This curing period is essential for the finish to bond properly with the wood. If you expose freshly treated furniture to heavy rain or intense sunlight too soon, you might compromise the protection. Patience here will pay off in the long run.
Ongoing Maintenance for Weatherproofed Furniture
Weatherproofing is not a one-time job. Regular maintenance will ensure your furniture stays protected and looking good for many years. This includes cleaning and reapplying finishes as needed.
Regular Cleaning Schedule
Establish a routine for cleaning your outdoor furniture. A quick wipe-down with a damp cloth can remove dust and light debris before it has a chance to build up. For more thorough cleaning, wash the furniture with mild soap and water at least once or twice a year, or whenever it looks visibly dirty.
This helps prevent the buildup of dirt and grime that can degrade the finish over time.
Pay attention to areas where water might pool, such as under the seats or armrests. Keeping these areas clean can help prevent mold and mildew growth. Rinsing thoroughly after washing is important to remove all soap residue.
Seasonal Checks and Touch-Ups
Before and after each outdoor season, give your furniture a good inspection. Look for any signs of wear, such as faded patches, small cracks, or areas where the finish might be thinning. Address these small issues promptly with touch-up applications of your sealant or stain.
This prevents minor wear from turning into major problems.
A yearly check is a good time to clean the furniture more deeply and reapply a protective coat if needed. This proactive approach is much easier than dealing with significant damage later on. For example, a small chip in the finish can be easily touched up, but a large area where the finish has worn away will require more work to repair.
Reapplication of Finishes
The frequency of reapplication will depend on the type of finish you used and how much your furniture is exposed to the elements. Generally, you might need to reapply a water sealant or oil every one to two years. Stains and varnishes might last longer, perhaps two to five years.
Keep an eye on the wood’s appearance. If you notice it looking dull, dry, or water no longer beads up on the surface, it’s probably time for another coat.
When reapplying, you usually don’t need to do a full sanding and stripping unless the old finish is severely damaged or peeling. A light cleaning and scuff sanding might be enough to prepare the surface for a new layer of protection. Always follow the product guidelines for reapplication.
Signs Your Furniture Needs Reapplication
Several visual cues indicate it’s time to reapply your wood finish. One of the most obvious is when water no longer beads up on the surface. Instead, it soaks in, leaving a darker patch that eventually dries.
Another sign is a dulling or fading of the wood’s color, especially in areas exposed to direct sunlight. You might also see the wood starting to look dry and chalky.
Chipping or peeling of the finish is a clear sign that the protective layer is failing and needs to be refreshed. Small hairline cracks can also appear as the wood expands and contracts, and these should be addressed before they widen. Inspecting your furniture regularly helps you catch these issues early.
Advanced Tips for Extreme Climates
If you live in an area with harsh weather, like intense sun, heavy snow, or extreme humidity, you might need to take extra steps to protect your furniture. These situations demand a more robust approach to weatherproofing.
Protection Against Intense Sun and Heat
In very sunny climates, UV rays can degrade wood quickly. Consider using a finish with high UV protection. Some outdoor stains and sealants are specifically formulated to block a significant amount of UV radiation.
If possible, position your furniture under a covered porch or umbrella. Storing furniture indoors during the hottest parts of the day can also reduce exposure.
The heat itself can dry out wood rapidly, leading to cracking. Regular application of a good quality oil or sealant can help keep the wood moisturized. You might need to reapply finishes more frequently in these conditions, perhaps every 6-12 months for oils.
Using UV-Resistant Finishes
When selecting a finish, look for labels that specifically mention UV protection. Some products offer SPF (Sun Protection Factor) ratings for wood, similar to sunscreen for skin. These are designed to absorb or reflect harmful UV rays, preventing the wood from degrading.
These finishes are particularly important for furniture made from woods that don’t have natural UV resistance, like pine.
Clear coats with UV inhibitors can be applied over stained wood to add an extra layer of protection without altering the color. Always check that the UV-resistant finish you choose is compatible with the wood type and any existing treatments.
Dealing with Heavy Rain and Snow
For areas with frequent rain or heavy snowfall, preventing moisture absorption is paramount. High-quality water sealants are essential. These should be applied generously and often.
Ensure that the finish is completely waterproof. Consider using a spar varnish, which is designed for marine use and provides excellent water resistance.
When winter arrives, storing your furniture indoors or covering it with breathable, waterproof covers can make a huge difference. If furniture is left outside, snow and ice can trap moisture and cause expansion damage. Make sure covers are secured to prevent wind from lifting them off, and allow for some air circulation to prevent mildew.
Waterproofing Techniques for Moisture Resistance
Several techniques can boost moisture resistance. Applying multiple thin coats of sealant is better than one thick coat, as it creates a more thorough barrier. Ensure you seal all surfaces, including undersides and end grains, which are particularly susceptible to moisture uptake.
Some products are specifically designed for end grain sealing.
For very high-moisture environments, you might consider a marine-grade sealant or a product designed for boat docks. These are built to withstand constant exposure to water and are exceptionally durable. Regularly inspecting the finish for any cracks or gaps where water could penetrate is also vital.
Benefits of Covering or Storing Furniture
Even with excellent weatherproofing, covering or storing your furniture offers an extra layer of protection. Covers should be breathable to prevent moisture buildup and mildew. If storing, choose a dry, well-ventilated location.
Basements, garages, or sheds are ideal. Covering furniture during intense sun or prolonged rain can significantly extend its lifespan and maintain its appearance.
This practice is especially beneficial for more delicate wood types or furniture with elaborate designs. It minimizes the constant exposure to the elements, reducing the need for frequent refinishing and preventing potential damage from extreme weather events.
Frequently Asked Questions
Question: How often should I reapply sealant to outdoor wood furniture
Answer: Reapplication frequency varies. For water sealants and oils, plan to reapply every one to two years. Stains and varnishes might last two to five years.
Watch for signs like water soaking in instead of beading up, or dullness in the wood.
Question: Can I paint my outdoor wood furniture instead of sealing it
Answer: Yes, you can paint outdoor wood furniture. Ensure it is properly cleaned, sanded, and primed. Use an exterior-grade paint designed for outdoor use.
Paint provides a protective layer, but it will eventually chip or peel and may require more upkeep than sealants or stains.
Question: What is the best wood for outdoor furniture
Answer: Teak, cedar, and redwood are among the best woods for outdoor furniture due to their natural resistance to rot, insects, and weather. These woods contain natural oils that help protect them, making them durable and long-lasting.
Question: Do I need to sand wood furniture every time I reapply finish
Answer: Usually, you don’t need to do a full sanding and stripping every time. A light cleaning and a scuff sanding with fine-grit sandpaper is often enough to create a good surface for the new finish to adhere to. Only fully sand and strip if the old finish is peeling or severely damaged.
Question: How can I tell if my outdoor furniture has mold or mildew
Answer: Mold and mildew typically appear as black, gray, or greenish spots on the surface of the wood. They often have a fuzzy or powdery texture. You might also notice a musty smell.
Cleaning these areas thoroughly with a vinegar solution or specialized cleaner is crucial before applying any new finish.
Summary
Weatherproofing your outdoor wood furniture is an essential task. It involves preparing the wood by cleaning, sanding, and repairing any damage. Then, applying appropriate sealants or stains creates a protective barrier.
Regular cleaning and periodic reapplication of finishes are key to long-term protection. By following these steps, you can ensure your furniture withstands the elements and remains beautiful for years.