Painting Varnished Wood: A Guide to Success Without Sanding
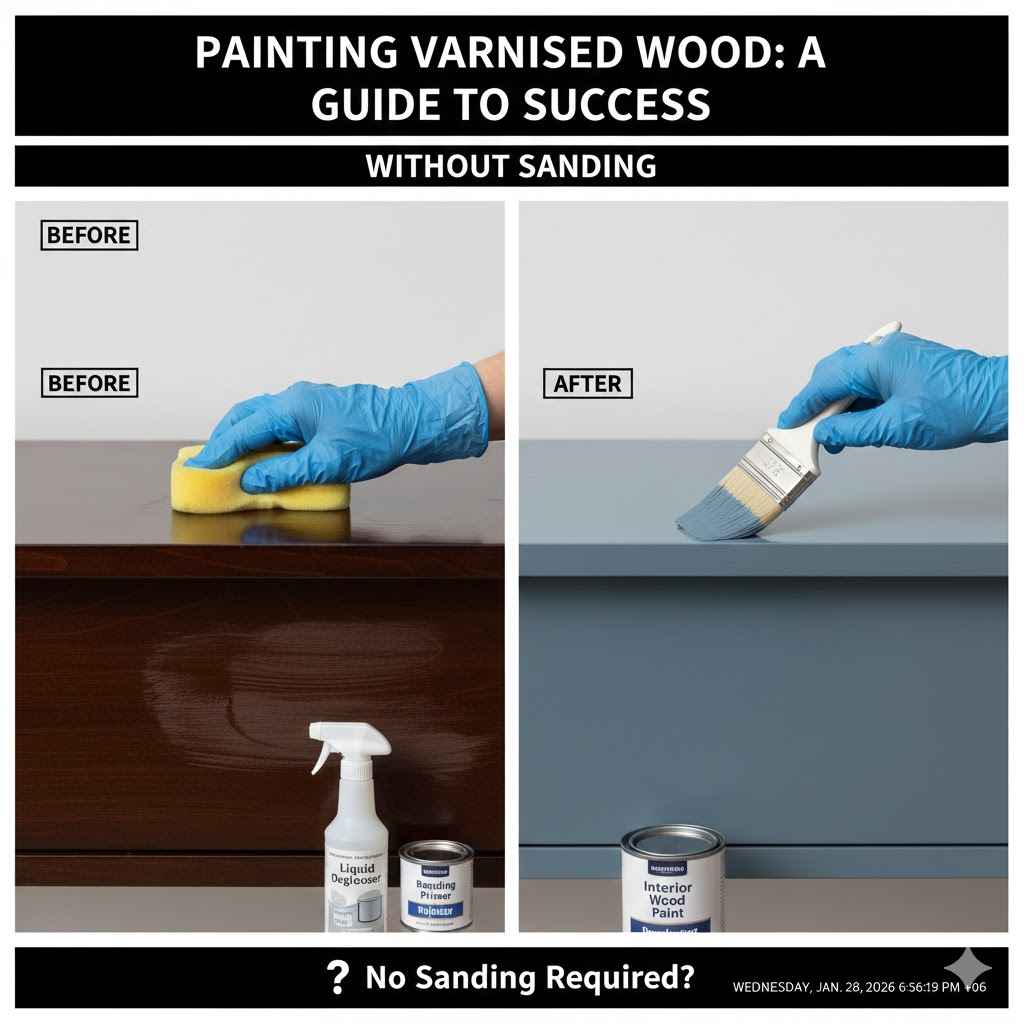
Thinking about painting your varnished wood furniture but dreading the sanding part? You’re not alone! Many people ask, Can You Paint Varnished Wood Without Sanding? It seems like a tough task, especially for new DIY-ers. But don’t worry, it’s totally doable! This guide will show you how to prepare and paint your varnished wood without the messy sanding, making the whole process easier. Get ready to transform your furniture with a few simple steps. We’ll explore the secrets to a smooth, long-lasting finish.
Preparation Is Key: Exploring the Wood’s Surface
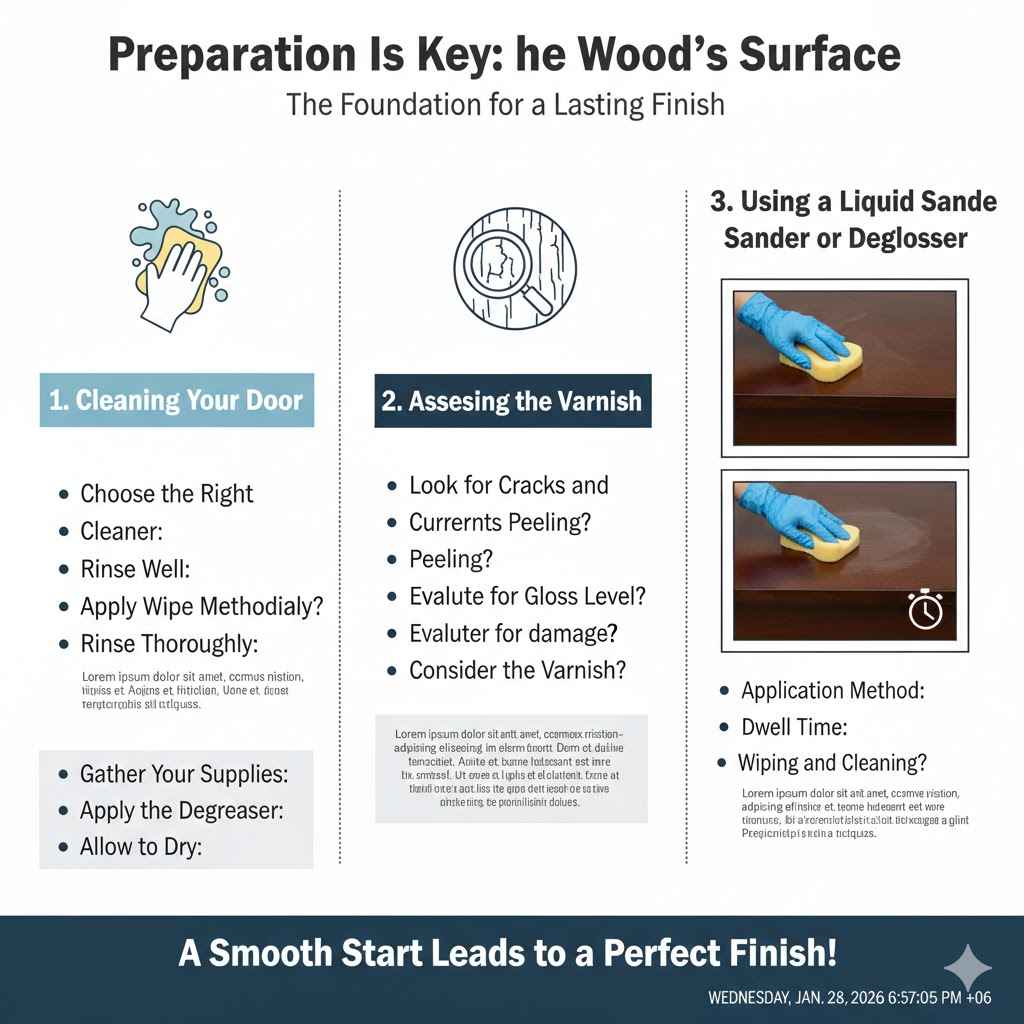
Before you even think about grabbing a paintbrush, getting the varnished wood ready is very important. This involves more than just a quick wipe-down; it’s about creating a surface that paint will truly stick to. We’ll be using different tools and materials, making the process very straightforward and user-friendly. Proper preparation ensures that your paint job looks great and lasts a long time. It also prevents problems like peeling or chipping down the road. Let’s explore the essential steps to prepare your varnished wood for painting without sanding.
Cleaning the Wood’s Surface
The first step is cleaning. Varnished wood often has dust, dirt, grease, and even old cleaning products on it. These things will prevent the paint from sticking well. Use a good cleaner, like a degreaser or a cleaner specifically made for wood. These cleaners cut through grime without harming the varnish. Apply the cleaner to a soft cloth and wipe down the entire surface of the wood. Rinse with clean water and let it dry completely before moving on to the next step. Ensure the wood is completely dry; moisture can be a big problem.
-
Choose the Right Cleaner: Picking the correct cleaner depends on the wood’s condition and the type of varnish. For heavily soiled surfaces, a strong degreaser might be needed.
These cleaners help in removing oils and other substances that interfere with paint adhesion. - Apply and Wipe Methodically: Apply the cleaner with a clean cloth, working in sections to ensure even coverage. Wipe in the direction of the wood grain to remove dirt more effectively.
- Rinse Thoroughly: After cleaning, rinse the wood with clean water to remove any cleaner residue. Use a clean cloth and wipe down the surface. Leaving any cleaner on the surface can prevent the paint from sticking.
- Dry Completely: The most crucial step is letting the wood dry. This can take several hours, depending on the humidity and temperature. Make sure the wood is totally dry before you start painting.
Assessing the Current Varnish
After cleaning, take a good look at the varnish. Is it cracked, peeling, or in good shape? If the varnish is in poor condition, you might need to take extra steps. This might involve using a liquid sander or a bonding primer. Inspect the wood for any damage, like scratches or dents. This inspection helps you decide what other products you might need for the best results. A good inspection will save time and money later on, guaranteeing a great finish.
- Look for Cracks and Peeling: Inspect the wood closely for any signs of damage to the varnish. Cracks and peeling often mean the varnish is failing and needs more attention.
- Check for Gloss Level: The glossiness of the varnish affects the paint’s ability to adhere. Glossy surfaces may require scuffing or a specialized primer.
- Evaluate for Damage: Check for any scratches, dents, or other damage to the wood surface. These imperfections might need to be filled or repaired before painting for a flawless finish.
- Consider the Age of the Varnish: Older varnish might be more brittle and less likely to accept paint. This factor can influence your choice of prep work and products.
Using a Liquid Sander or Deglosser
If you’re trying to avoid sanding, a liquid sander or deglosser is your new best friend. These are chemical products that soften the surface of the varnish, making it easier for paint to stick. You simply apply the liquid sander to the wood, let it sit for a short time, and then wipe it clean. Follow the instructions on the product label for the best results. This creates a slightly textured surface without the need for physical sanding. This process is less labor-intensive and helps prepare the wood surface for your paint.
- Application Method: Apply the liquid sander evenly over the varnished surface using a clean cloth or sponge. Avoid applying too much, as this can cause the product to run or drip.
- Dwell Time: Allow the liquid sander to sit on the wood surface for the amount of time specified on the product label. This lets the chemicals soften the varnish for paint adhesion.
- Wiping and Cleaning: After the dwell time, wipe the surface with a clean cloth to remove the softened varnish residue. This leaves a surface that is ready for painting.
- Test on an Inconspicuous Area: Try the liquid sander on a small, hidden area of the wood first. This lets you see how the product works and if there is any adverse reaction.
Choosing the Right Paint for Varnished Wood
Selecting the right paint is half the battle when painting varnished wood without sanding. You need paint that sticks well to the surface, resists chips, and gives you the look you want. There are several paint types that work well, including certain primers and topcoats. This section will guide you through picking the correct paint for your project, making sure that your newly painted wood looks beautiful and lasts.
Paint Types That Work Best
Not all paints are made equal, especially when it comes to varnished wood. Acrylic paints, especially those designed for furniture, are often a great choice because they have good adhesion. Alkyd paints are another option, providing a durable finish. Oil-based paints used to be the go-to, but they take a long time to dry and release strong fumes. Make sure the paint you choose is suited for the job. Read the paint labels carefully to make certain the product is a great fit for your project. Consider the environment where the furniture will be located. Choosing the right paint will make all the difference in your results.
- Acrylic Paints: Acrylic paints are popular because they offer great adhesion to many surfaces, including varnished wood. They dry quickly and have low odor, making them simple to work with.
- Alkyd Paints: Alkyd paints are known for their durability and smooth finish. They are a good choice if you want something that stands up to daily wear and tear.
- Hybrid Paints: Hybrid paints combine the best aspects of acrylic and alkyd formulas. They deliver good adhesion, durability, and easy cleanup.
- Enamel Paints: Enamel paints provide a hard, durable finish that is resistant to scratches and chips. They are a great choice for areas that get a lot of use.
The Importance of Primers
Primers are essential for painting varnished wood. They create a base for your paint and help it stick. There are specialized primers for surfaces like varnished wood that do not need sanding. They offer excellent adhesion and block stains or bleed-through. Choose a primer compatible with the type of paint you’ve picked. Apply the primer evenly, and let it dry completely before you apply the topcoat. The right primer will make your paint job last much longer. Primers are the unsung heroes of a great paint finish.
- Adhesion Primers: These primers are specially formulated to stick to surfaces like varnished wood. They provide a strong base for your topcoat to adhere to.
- Stain-Blocking Primers: If your wood has stains or imperfections, a stain-blocking primer is essential. These primers prevent stains from bleeding through your paint.
- Water-Based Primers: Water-based primers are low-VOC (volatile organic compounds), which means they have less odor and are better for the environment.
- Oil-Based Primers: Oil-based primers are known for their strong sealing properties and ability to block stains. They do, however, have a stronger odor.
Color and Finish Considerations
Along with the paint type, think about color and finish. Consider the style of your room and the look you want. For example, a satin or semi-gloss finish is easier to clean. Also, a satin or semi-gloss finish is great for furniture that gets a lot of use. Matte finishes have a more modern feel, but they can be harder to clean. It’s smart to test different colors and finishes on a small area of the wood before you start painting. This lets you see how the color and finish look in different lighting conditions. Making these choices up front will help you get the exact results you want.
- Color Selection: Choose colors that fit your existing decor or the style you are after. Consider how natural light affects the color in different parts of your house.
- Matte Finish: Matte finishes offer a non-reflective look that creates a soft appearance. This makes the wood look more understated and modern.
- Satin Finish: Satin finishes provide a subtle sheen, offering a balance between a flat and glossy look. These are easy to wipe clean, which is very useful for furniture.
- Glossy Finish: Glossy finishes reflect light and can make a room look bigger. These finishes are the most durable and are excellent for high-use areas.
Painting Techniques for Varnished Wood
Once you’ve prepped your wood and picked your paint, it’s time to start painting. The method you use will affect the final result of your project. Things like how you apply the paint, how many coats you use, and the tools you use will all play a part. This will include brushing, rolling, or spraying the paint onto the wood. With some care and attention to detail, you can achieve a professional-looking finish. Let’s explore the best painting methods that help you create beautiful and lasting results.
Brushing versus Rolling
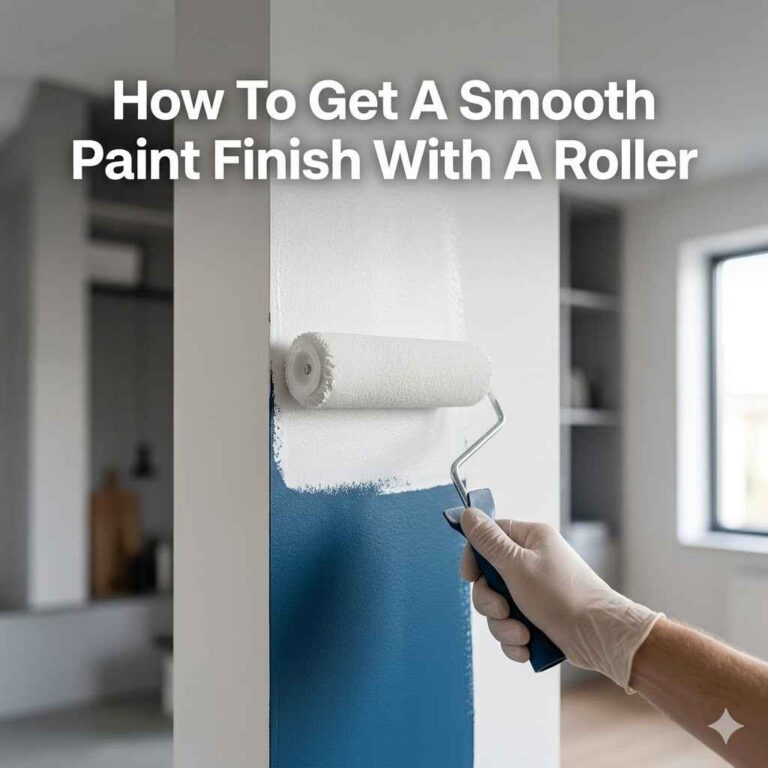
Which is better: brushing or rolling? Both have their advantages. Brushing is better for intricate areas and offers more control. Rolling is faster for big, flat surfaces and can create a smoother finish. For best results, use a high-quality brush or roller designed for the paint you are using. Apply the paint in thin, even coats, and avoid overworking the paint. The way you apply the paint impacts the appearance and durability of the finished project. Experimenting with both methods will help you get better with each one.
- Brushing Techniques: When brushing, apply paint with even strokes, following the wood grain. This avoids brush marks.
- Rolling Techniques: When rolling, use a foam roller for smooth surfaces, working in a consistent pattern. This helps eliminate bubbles and ensures even coverage.
- Equipment Quality: Use high-quality brushes or rollers. The right tool can significantly affect the finished look of the paint job.
- Application Method: Both techniques should use thin coats. This means the paint dries more quickly, and the finish looks more even.
Spraying as an Option
If you want the smoothest finish, spraying is a good option, especially for larger pieces of furniture. It is very fast and produces a very smooth surface. Sprayers need practice, so you can control the paint flow to avoid drips or uneven coverage. When using a sprayer, make sure you protect your work area from overspray. It is a good idea to wear a mask and other safety gear. The right spray technique results in an excellent and professional finish. Spraying might be the best route for big jobs.
- Equipment Choices: There are many types of paint sprayers, from airless sprayers to HVLP (High Volume Low Pressure) sprayers. Choose a sprayer suitable for the paint you are using.
- Prep Work: Before spraying, make sure your wood is clean, properly primed, and prepared. This includes masking off areas that you do not want to paint.
- Spraying Technique: Use even strokes, overlapping each pass to ensure even coverage. Keep the sprayer moving to prevent drips and runs.
- Safety: When spraying, use proper safety gear, including a respirator mask and eye protection. Work in a well-ventilated area to avoid inhaling paint fumes.
Multiple Coats for a Better Finish
Always apply multiple coats of paint for the best look and durability. Thin coats are better than one thick coat. Let each coat dry completely before applying the next coat. This helps prevent drips, runs, and an uneven finish. The number of coats needed depends on the paint and the coverage. For most projects, two or three coats are ideal. Applying multiple coats ensures a consistent color and a durable surface. Patience is crucial for perfect results.
- Drying Time: Always let each coat of paint dry completely before you apply the next. This time is important for the paint to adhere properly.
- Light Sanding: Before applying the second coat, you can lightly sand the surface with fine-grit sandpaper. This helps with adhesion and gives a very smooth finish.
- Inspection: After each coat, inspect the surface for any imperfections. Fix any drips or runs before applying the next coat.
- Consistency: Apply each coat evenly, making sure you cover the entire surface. This ensures that the color is consistent across the entire project.
Avoiding Common Mistakes and Troubleshooting
Even with the best planning, problems can arise. Understanding potential issues, such as poor adhesion or drips, and what to do will make you a better painter. This section will guide you through fixing common issues and preventing them in the first place. Knowing how to troubleshoot will make a big difference in the final look of your project. Let’s fix some paint problems!
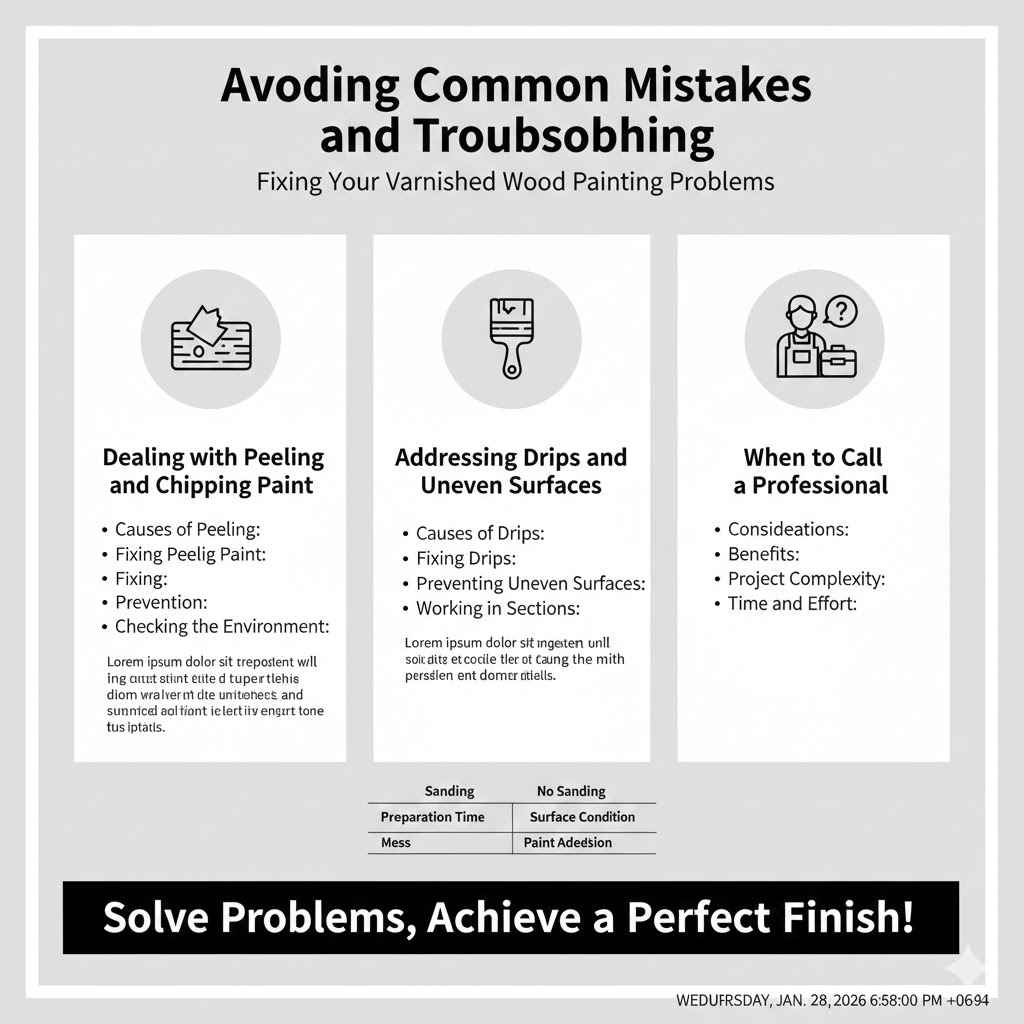
Dealing with Peeling and Chipping Paint
If the paint is peeling or chipping, it often means the surface wasn’t prepped correctly. Make sure you clean and prime the wood well before painting. You can also lightly sand the wood after you have applied the primer to help it adhere better. If you already have paint that is peeling, you’ll need to remove the loose paint. You can do this by scraping it off or lightly sanding the area. Then, prime the surface again before you repaint it. Properly preparing the surface will fix this issue.
- Causes of Peeling: Common reasons for peeling paint include poor surface prep, using the wrong type of paint, and not letting the primer dry completely.
- Fixing Peeling Paint: Scrape away any loose paint, sand the area, and clean it. Next, re-prime the surface and repaint it, following all instructions on the label.
- Prevention: Always ensure the surface is clean, and the primer and paint are compatible. Always apply the correct number of coats.
- Checking the Environment: Humidity and temperature can impact how the paint adheres. Paint in a climate-controlled room if possible.
Addressing Drips and Uneven Surfaces
Drips and an uneven look can ruin your paint job. They often happen when too much paint is applied or the paint is applied too quickly. To avoid drips, apply paint in thin, even coats. If you do get drips, use a brush or sanding block to remove them while the paint is still wet. For an uneven surface, you can lightly sand the painted area after it has dried and then apply another thin coat of paint. Proper application techniques and some extra steps can fix these issues.
- Causes of Drips: Drips are usually caused by applying too much paint or from not letting the paint dry between coats.
- Fixing Drips: If the paint is still wet, you can smooth the drip with your brush or roller. If the paint has dried, you can gently sand the area and apply another coat.
- Preventing Uneven Surfaces: Use proper brushing or rolling techniques and apply the paint evenly. Always apply multiple thin coats for the best results.
- Working in Sections: Break the work into manageable sections to control the paint application and reduce the chances of unevenness.
When to Call a Professional
While painting can be a fun DIY project, sometimes it’s best to call in a professional. If you are uncertain about the job, or the furniture is valuable, it might be worth hiring an expert. A professional painter will have the right tools, knowledge, and experience to get the job done right. They can also provide a warranty on their work. If you’re tackling a big or complex project, think about getting professional help.
- Considerations: If you are unsure about getting a great finish, don’t know how to prepare the surface well, or if the piece of furniture is expensive, consider professional help.
- Benefits: Professionals ensure the prep work is correct, use the right paint, and guarantee a high-quality finish, often with a warranty.
- Project Complexity: For elaborate projects with intricate designs or multiple colors, a professional has the know-how to achieve exceptional results.
- Time and Effort: Hiring a professional painter frees up your time and prevents any mistakes. This also ensures your furniture gets a great look.
Here’s a quick comparison of when you might consider sanding versus not sanding:
| Feature | Sanding | No Sanding |
|---|---|---|
| Preparation Time | More Time Required | Less Time Required |
| Mess | Creates a Lot of Dust | Less Messy |
| Surface Condition | Provides a Textured Surface | Uses Chemical Etching or Primers |
| Paint Adhesion | Usually Improves Adhesion | Achieves Good Adhesion with Specific Products |
Frequently Asked Questions
Question: Do I have to sand varnished wood before painting?
Answer: Not necessarily! Using the correct primer and paint designed to stick to non-sanded surfaces can help you bypass the sanding process altogether, saving you time and effort.
Question: What type of paint should I use on varnished wood?
Answer: Acrylic paints, alkyd paints, and hybrid paints all work well. It’s crucial to select a paint designed for furniture or cabinets, as these have great adhesion and durability.
Question: How can I prepare varnished wood without sanding?
Answer: Clean the surface thoroughly, use a liquid sander or deglosser, and prime the wood with a bonding primer. These steps create a surface that is great for paint adhesion.
Question: Can I use any primer on varnished wood?
Answer: Use a primer meant for hard-to-stick surfaces. Adhesion primers are best. Stain-blocking primers can be used if you have stains or imperfections.
Question: How many coats of paint do I need?
Answer: For the best results, use multiple thin coats of paint. Most projects look great with two to three coats, letting each coat dry before the next.
Final Thoughts
So, can you paint varnished wood without sanding? Absolutely! With the right steps, you can give your furniture a fresh, new look without the hassle of sanding. You now have a clear guide, covering everything from preparing the surface to picking the correct paint and techniques
. The key is to start with a clean surface, use a liquid sander or deglosser, and choose a quality primer and paint. Remember that patience is important; let each coat dry fully. By following these steps, you will enjoy a beautiful finish that lasts. Get ready to transform your furniture and enjoy the satisfaction of a DIY paint job! Now get painting and enjoy your newly painted furniture!